 EN
 IT Italiano
 ES Español
 FR Français
 DE Deutsch
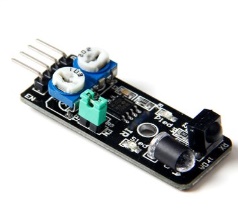
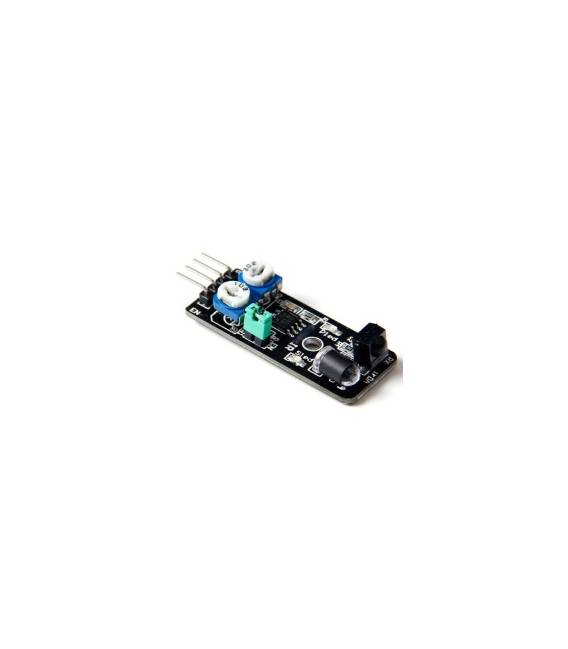
Description
Obstacle Avoidance / Smart Car / Infrared Sensor
Tutorial: How to Use Obstacle Avoidance Sensor
This infrared sensor helps you create robots or autonomous vehicles that move while avoiding obstacles. Useful for beginners and intermediates in electronics and programming.
What you need
- Obstacle Avoidance Sensor
- Arduino UNO or compatible
- 5V power cable
- 10kΩ resistor
- connection cable
Steps
- 1. Prepare all necessary tools.
- 2. Connect the Arduino to the computer for code upload.
- 3. Mount the sensor on the vehicle or smart car.
- 4. Connect the sensor to pin A0 of the Arduino.
- 5. Connect a 10kΩ resistor between the VCC pin of the sensor and 5V of the Arduino.
- 6. Connect the GND pin of the sensor to GND of the Arduino.
- 7. Upload the example code to your Arduino.
- 8. Test the sensor to ensure it works correctly.
Example code
void setup() {} void loop() { int sensorValue = analogRead(A0); Serial.println(sensorValue); }Mini project
Build a simple autonomous robot that moves and stops when it encounters an obstacle. Estimated time: 30 minutes.
Common mistakes
- Do not connect the sensor pins correctly.
- Omit to upload the code to Arduino.
- Use a digital pin instead of an analog one.
- Do not check the sensor before using it.
Recommended accessories
- Arduino UNO
- 5V power supply cable
- 10kΩ resistor
- Arduino compatible microcontroller
Frequently asked questions
Does the sensor work with other microcontrollers?
Yes, it works with any microcontroller that supports analog pins.
Which Arduino pins to use?
Use an analog pin, such as A0, A1, A2, or A3.
How long does the battery last?
Check the datasheet for precise information.
Does the sensor work with all types of vehicles?
Yes, it works with any vehicle, but make sure the design allows it.
Reviews
There are no reviews yet.