 EN
 IT Italiano
 ES Español
 FR Français
 DE Deutsch
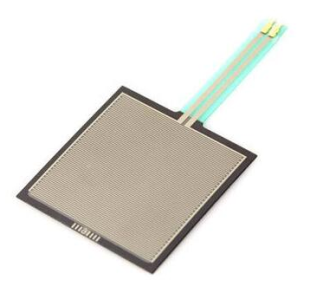
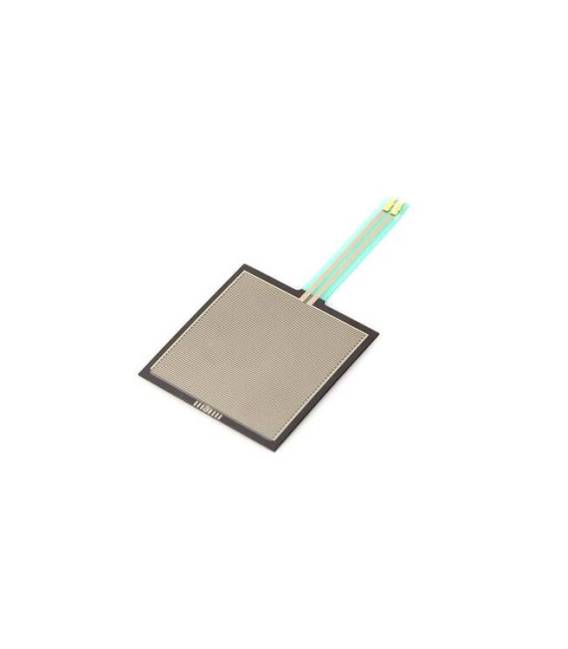
Description
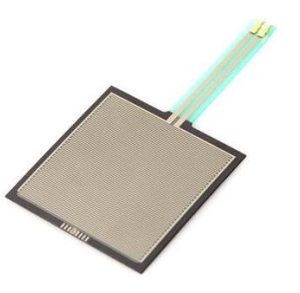
FSR406
Tutorial: How to Use FSR406
The FSR406 is a pressure sensor ideal for human interface projects, such as touch-sensitive buttons or robot controls. Useful for beginner and intermediate makers.
What you need
- FSR406
- Arduino
- 10kΩ Resistor
- Jumper Connector
Steps
- 1. Mount the FSR406 on a protoboard circuit.
- 2. Connect pin A (Analog) to pin A0 of Arduino.
- 3. Connect pin VCC to 5V of Arduino.
- 4. Connect pin GND to GND of Arduino.
- 5. Connect a 10kΩ resistor between pin OUT and GND.
- 6. Load the example Sketch code.
- 7. Test pressure by applying an object to the FSR.
- 8. Check the datasheet for further details.
Example code
```void loop() { int val = analogRead(A0); Serial.println(val); }```Mini project
Create a virtual button: connect the FSR406 to an LED, turn on the LED when pressure is applied.
Common mistakes
- Do not connect pin OUT directly to VCC.
- Ensure the 10kΩ resistor is correct.
- Make sure pin A0 is correct.
- Check the power supply voltage.
Recommended accessories
- Arduino Uno
- LED
- Variable resistors
- Jumper wire
Frequently asked questions
What is the difference between VCC and OUT pins?
VCC provides power, while OUT provides pressure reading.
Can I use an Arduino Mega?
Yes, but make sure pin A0 is compatible.
How long does the battery last?
Power consumption is low, but check the datasheet.
Can I connect more FSR406?
Yes, but connect each to a different analog pin.
Reviews
There are no reviews yet.