 EN
 IT Italiano
 ES Español
 FR Français
 DE Deutsch
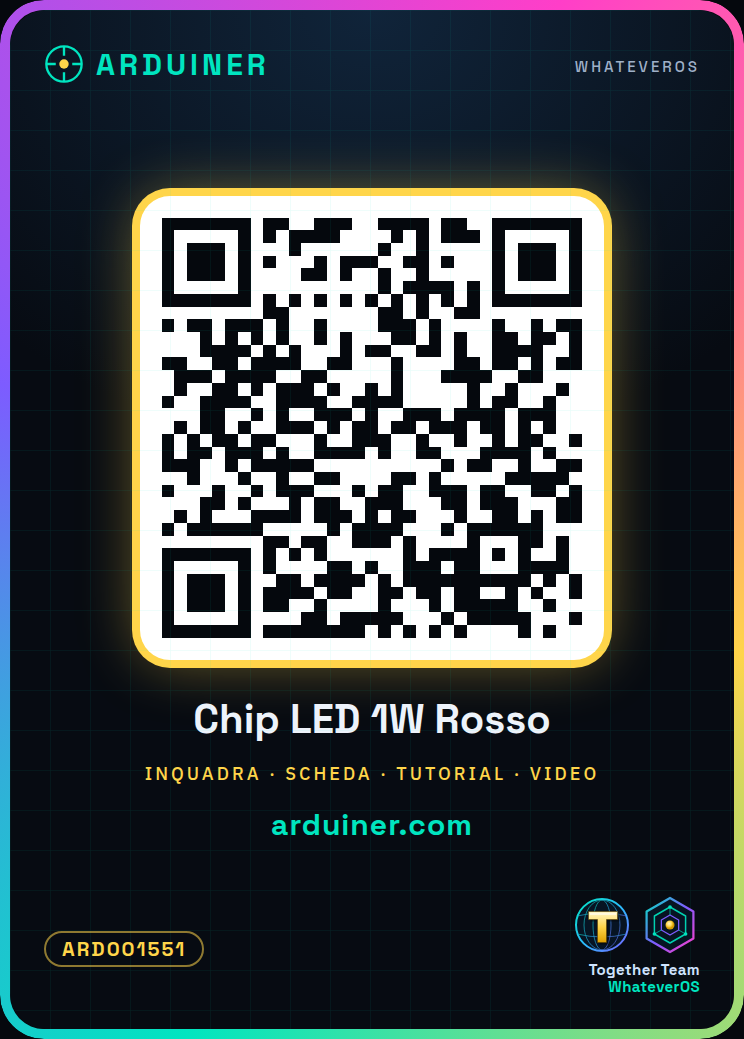
Description
What it is
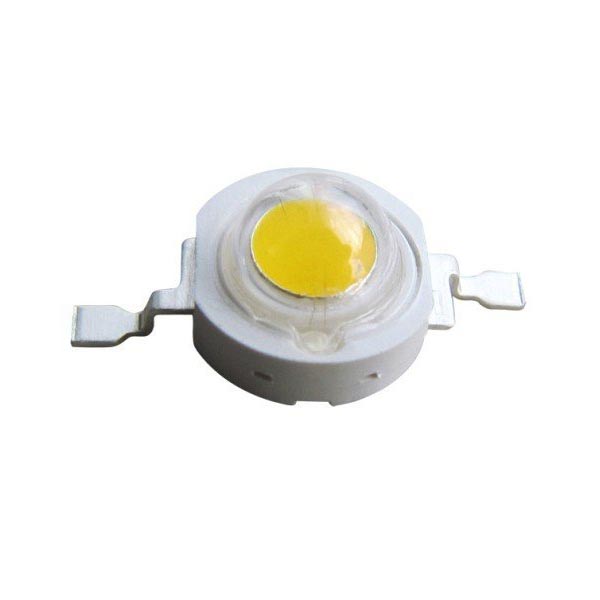
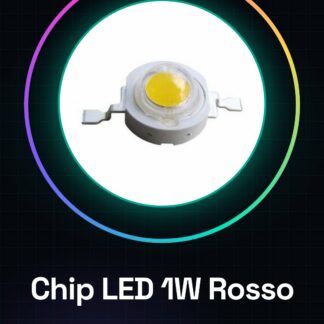
The 1W Red LED Chip is an electronic component designed to provide strong illumination in small sizes. With a brightness of 45-50 lumens, this high-brightness red LED chip is suitable for various DIY and creative applications.
Features
- Brightness: 45 – 50 lumens
- Power: 1W
What it is for
This red LED chip can be used to create intense lights in DIY projects such as wall sconces with pulsing illumination. It is compatible with various custom 3D printed supports and can be easily integrated into Arduino or ESP circuits.
Tutorial: How to Use High Brightness 1W Red LED Chip
The high-brightness red LED chip is ideal for projects that require strong illumination in a small space. It is perfect for beginners and makers who want to add intense lights to their devices or creations.
What you need
- Arduino Uno R3
- Protection resistor (check the datasheet)
- Jumper cable
Steps
- Check the operating voltage of the LED and choose an appropriate resistor for protection (check the datasheet).
- Connect the anode (pin +) of the LED to the output pin of the Arduino.
- Connect the cathode (pin -) of the LED to ground through the protective resistor.
- Download and upload the provided Arduino sketch to test the LED.
Example code
// Codice Arduino
const int ledPin = 13; // Collega il LED al pin 13 dell'Arduino
void setup() {
  pinMode(ledPin, OUTPUT);
}
void loop() {
  digitalWrite(ledPin, HIGH); // Accende il LED
  delay(500);
  digitalWrite(ledPin, LOW); // Spegne il LED
  delay(500);
}
Mini project
Create a wall-mounted red pulsating light sconce. Use the red LED chip to add a bright light and mount it on a custom 3d printed bracket.
Common mistakes
- Using a resistor that is too small or none at all, risking damaging the LED.
- Connecting the polarity of the LED backwards.
- Failing to correctly verify the voltage and current values on the datasheet.
- Omitting a circuit to protect against current spikes.
Recommended accessories
- 1/4W resistor
- Arduino Uno R3
- 3d printer for custom brackets
- Connector kit
Frequently asked questions
What is the operating voltage of the LED?
Check the datasheet.
How can I adjust the light intensity?
Add a potentiometer to the circuit to vary the resistance level, and thus the light intensity.
Reviews
There are no reviews yet.