 EN
 IT Italiano
 ES Español
 FR Français
 DE Deutsch
Description
What it is
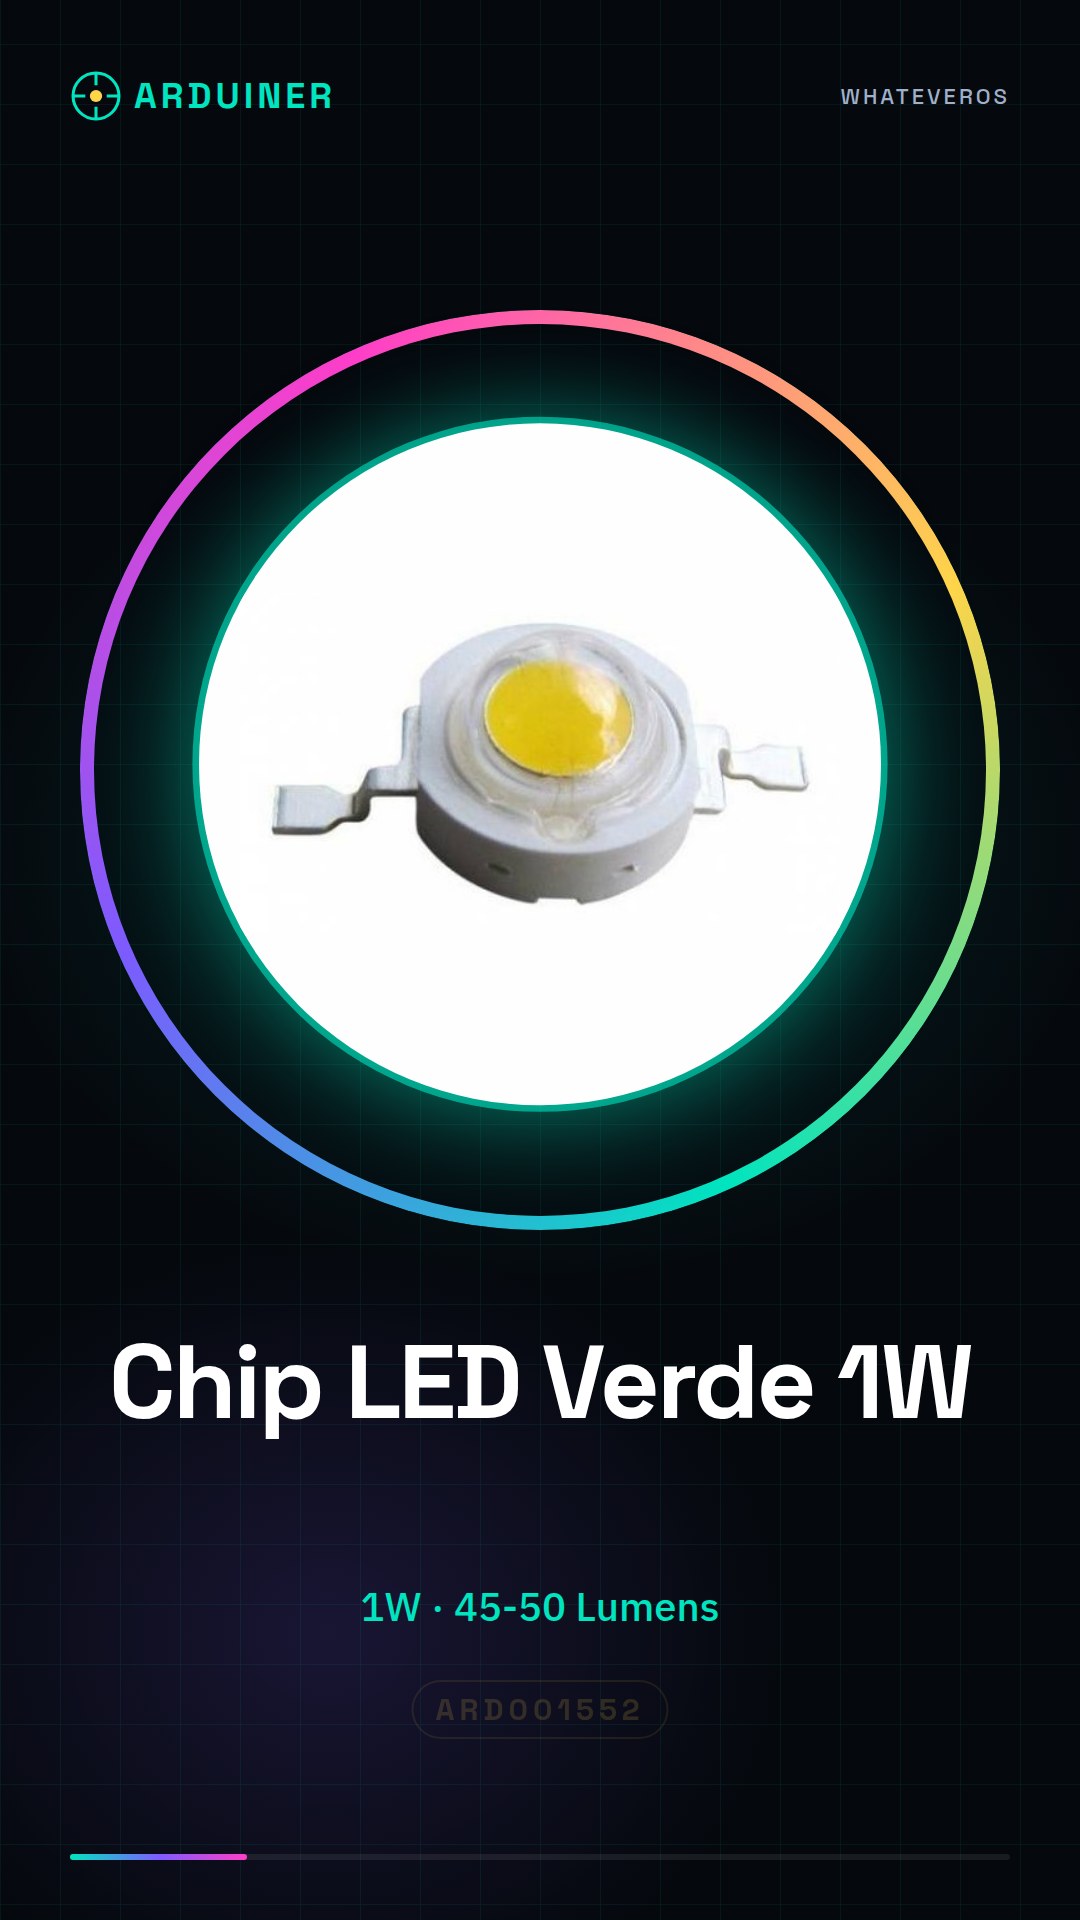
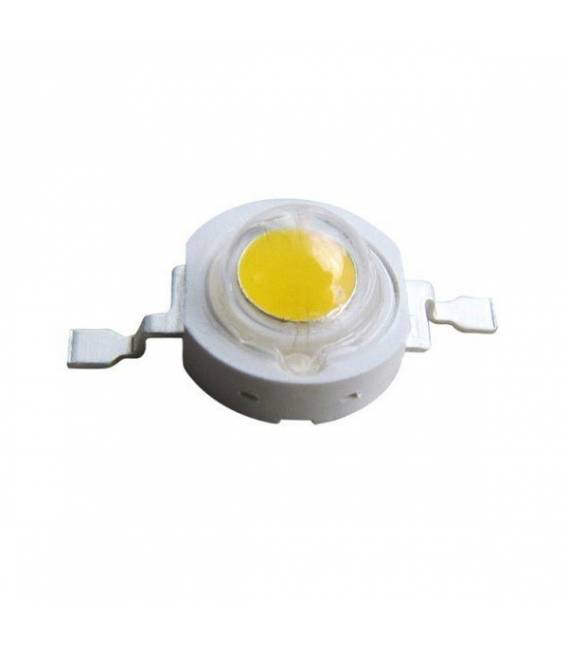
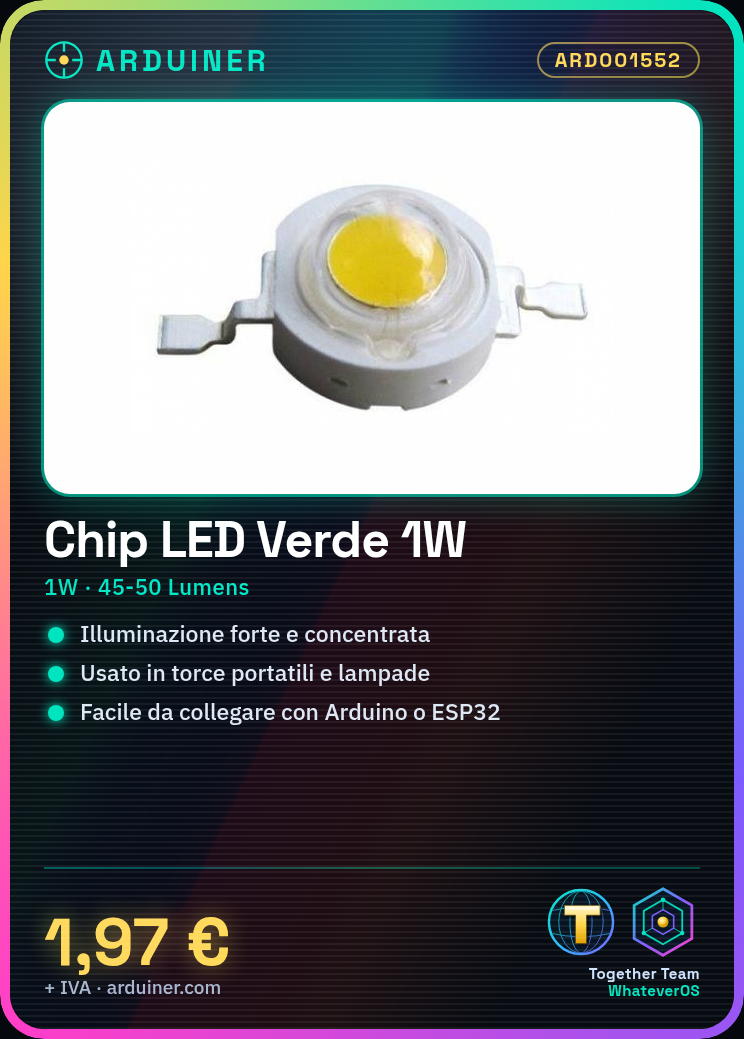
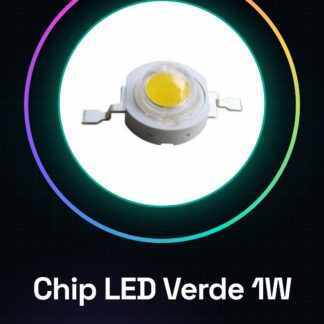
The 1W High Brightness Green LED Chip is an electronic component designed for applications requiring concentrated strong illumination. With a brightness range of 45-50 lumens, this green LED chip offers an ideal solution for various DIY projects.
Features
- Power: 1W
- Brightness: 45-50 Lumens
What it is for
This green LED chip is suitable for projects that require concentrated strong illumination. It is ideal for use in portable flashlights, ceiling lamps, or any other electronic device where a strong light source is needed. It can be easily integrated with Arduino or ESP32 to control brightness or add interactive features.
Tutorial: How to Use High Brightness Green LED Chip
The high-brightness green LED chip, with a power of 1W and an illumination range of 45-50 lumens, is ideal for projects requiring concentrated bright lighting. This component is perfect for beginner and intermediate makers looking to explore intense light in various types of applications.
What you need
- Arduino Uno
- Resistor (check the datasheet)
- Connecting wire
- Soldering tweezers
Steps
- Connect the LED chip to the circuit, ensuring the polarity is correct.
- Connect a resistor between the Arduino and the LED chip to limit the current.
- Solder the LED chip wires for a stable connection.
- Write an Arduino sketch to control the intensity of the brightness.
- Verify that the LED chip functions as expected, turning on and off with the input button.
Example code
void setup() {
  pinMode(9, OUTPUT);
}

void loop() {
  digitalWrite(9, HIGH);   // Accende il led
  delay(1000);              // Attende un secondo
  digitalWrite(9, LOW);    // Spegne il led
  delay(1000);              // Attende un secondo
}
Mini project
Create a portable LED flashlight: mount the LED chip in a plastic container with a button to turn the light on and off.
Common mistakes
- Do not use a sufficient resistor, risking damage to both the LED chip and the Arduino.
- Connect the anode and cathode of the LED chip in reverse.
- Use an inadequate voltage to power the LED chip.
- Ignore the datasheet specifications regarding the maximum allowed current.
Recommended accessories
- Variable resistor
- PWM control module
- Prototype board
- Plastic container
Frequently asked questions
How can I control the brightness level?
Use a PWM module or write an Arduino sketch that regulates the duration of the HIGH/LOW cycle.
What are the advantages of using this LED chip compared to smaller types of LEDs?
This LED chip offers much higher brightness and can be used in projects that require strong illumination.
Reviews
There are no reviews yet.