 EN
 IT Italiano
 ES Español
 FR Français
 DE Deutsch
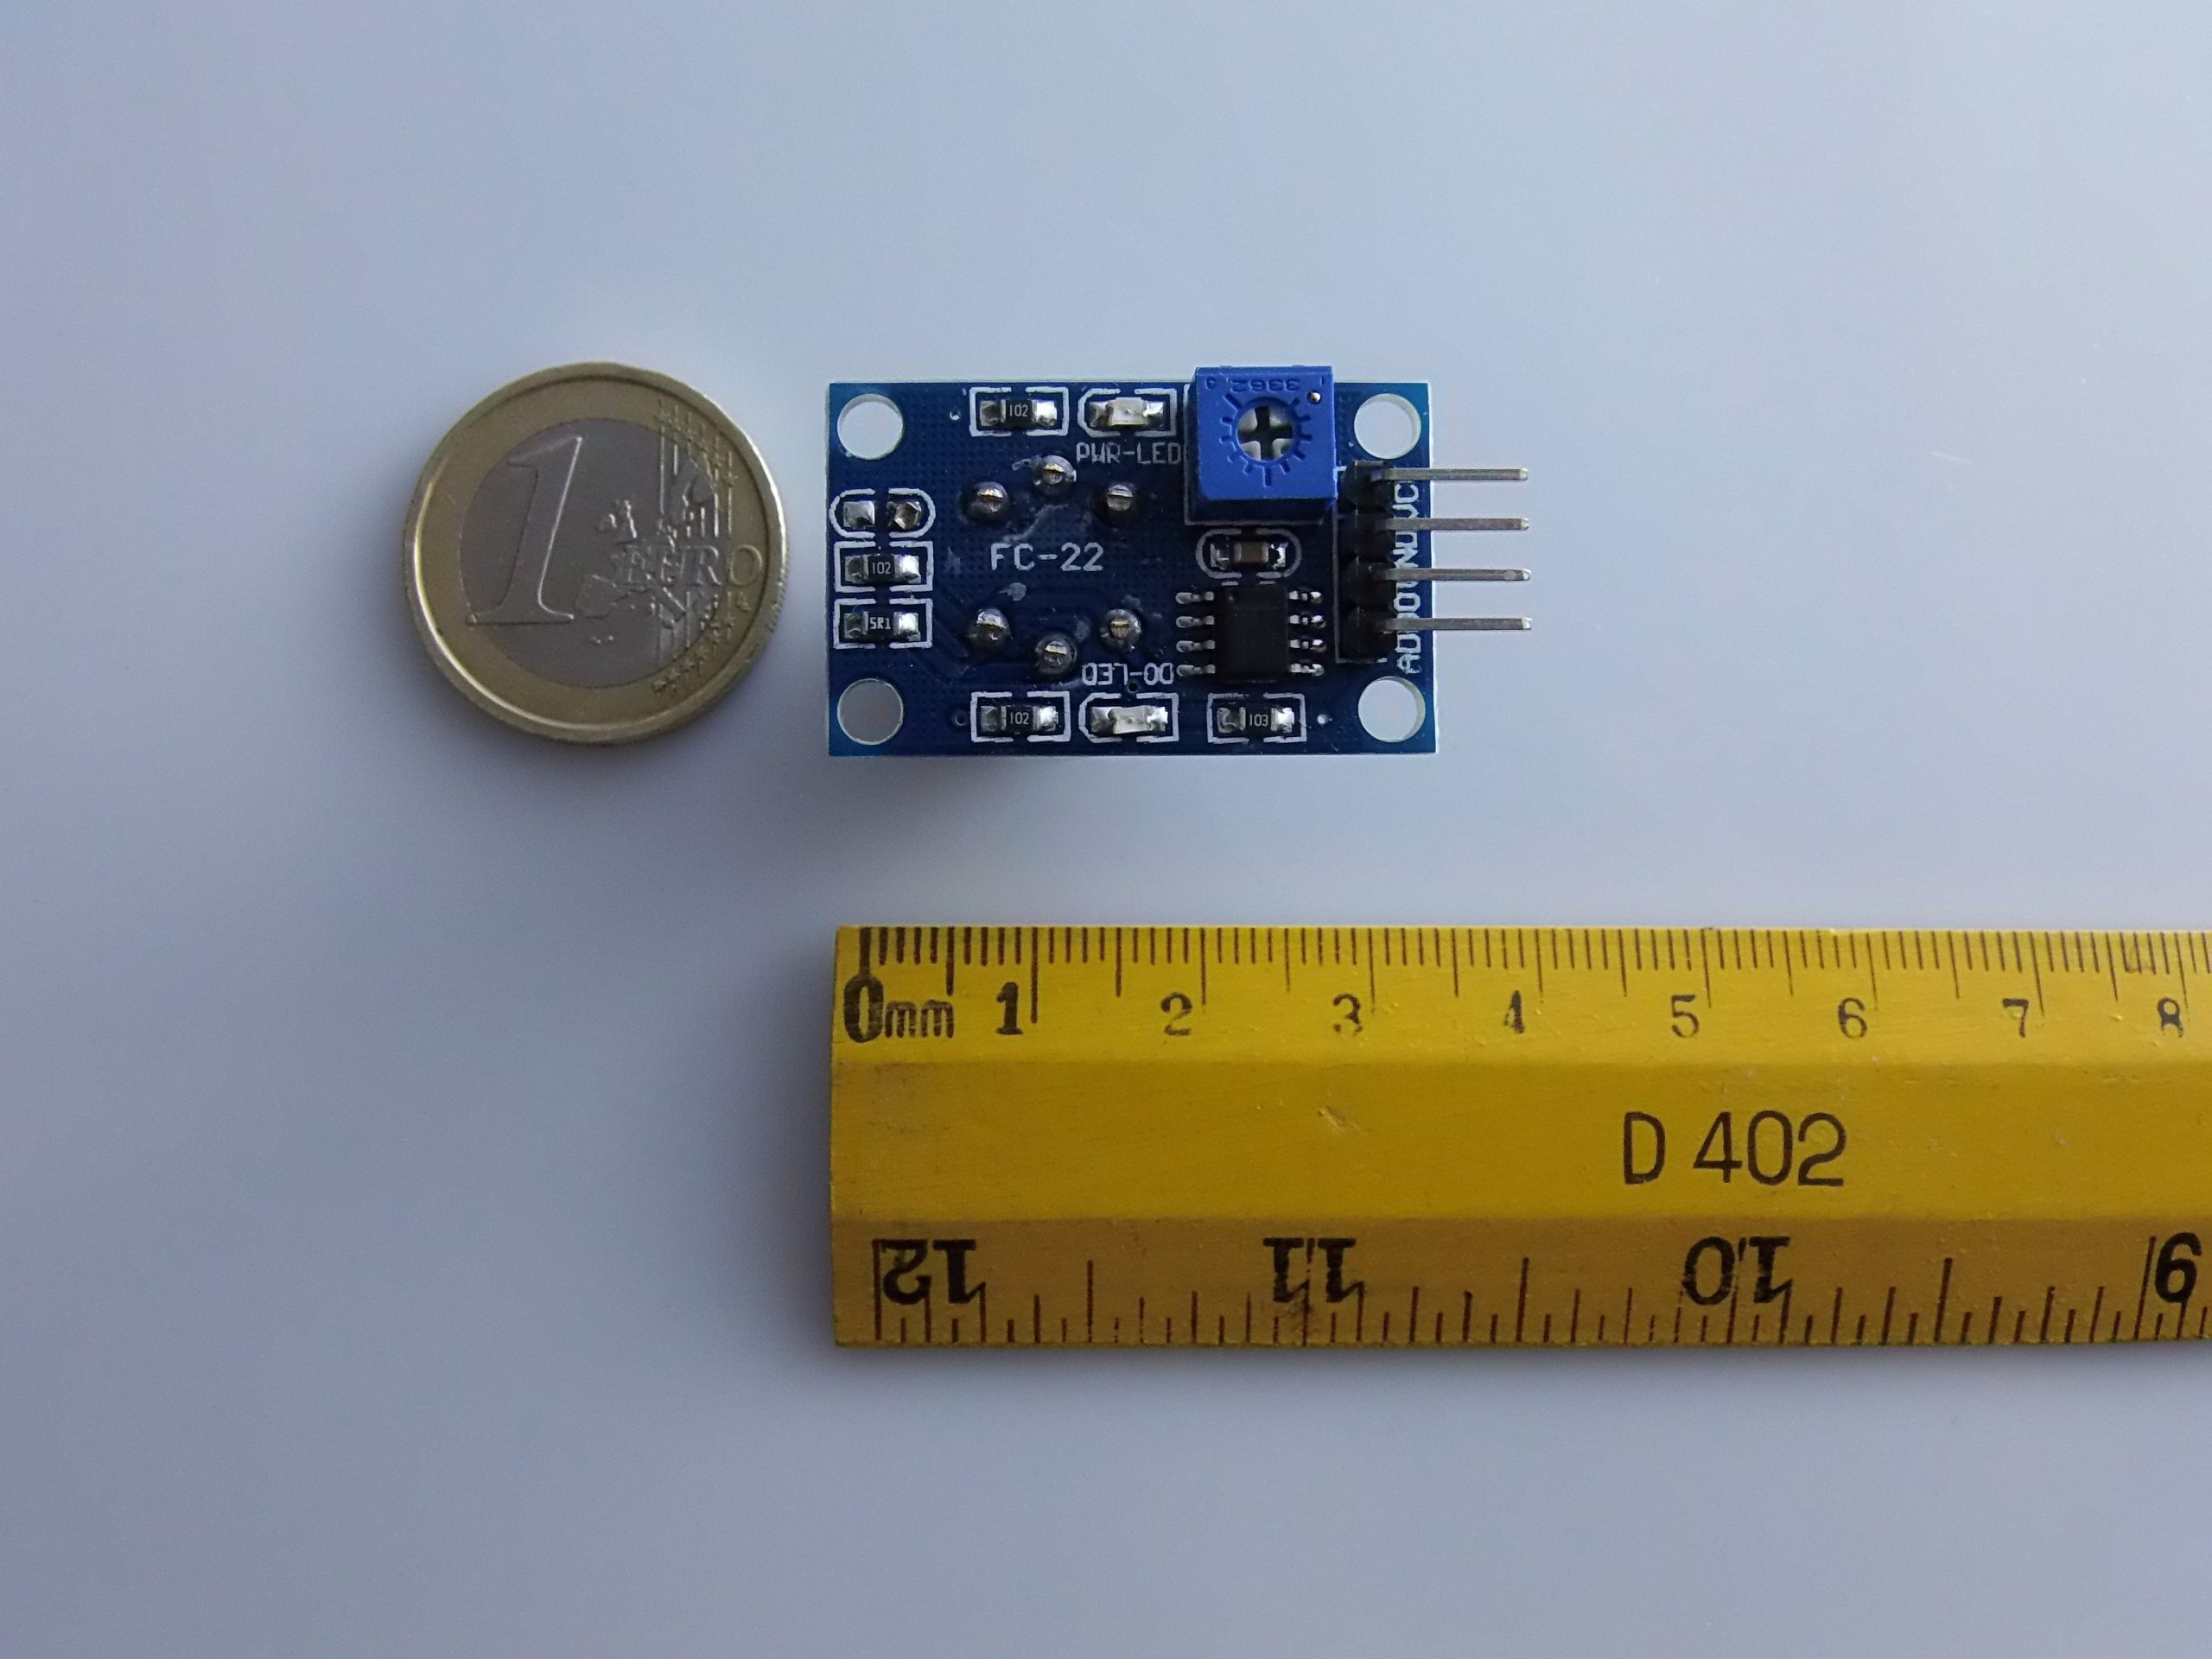
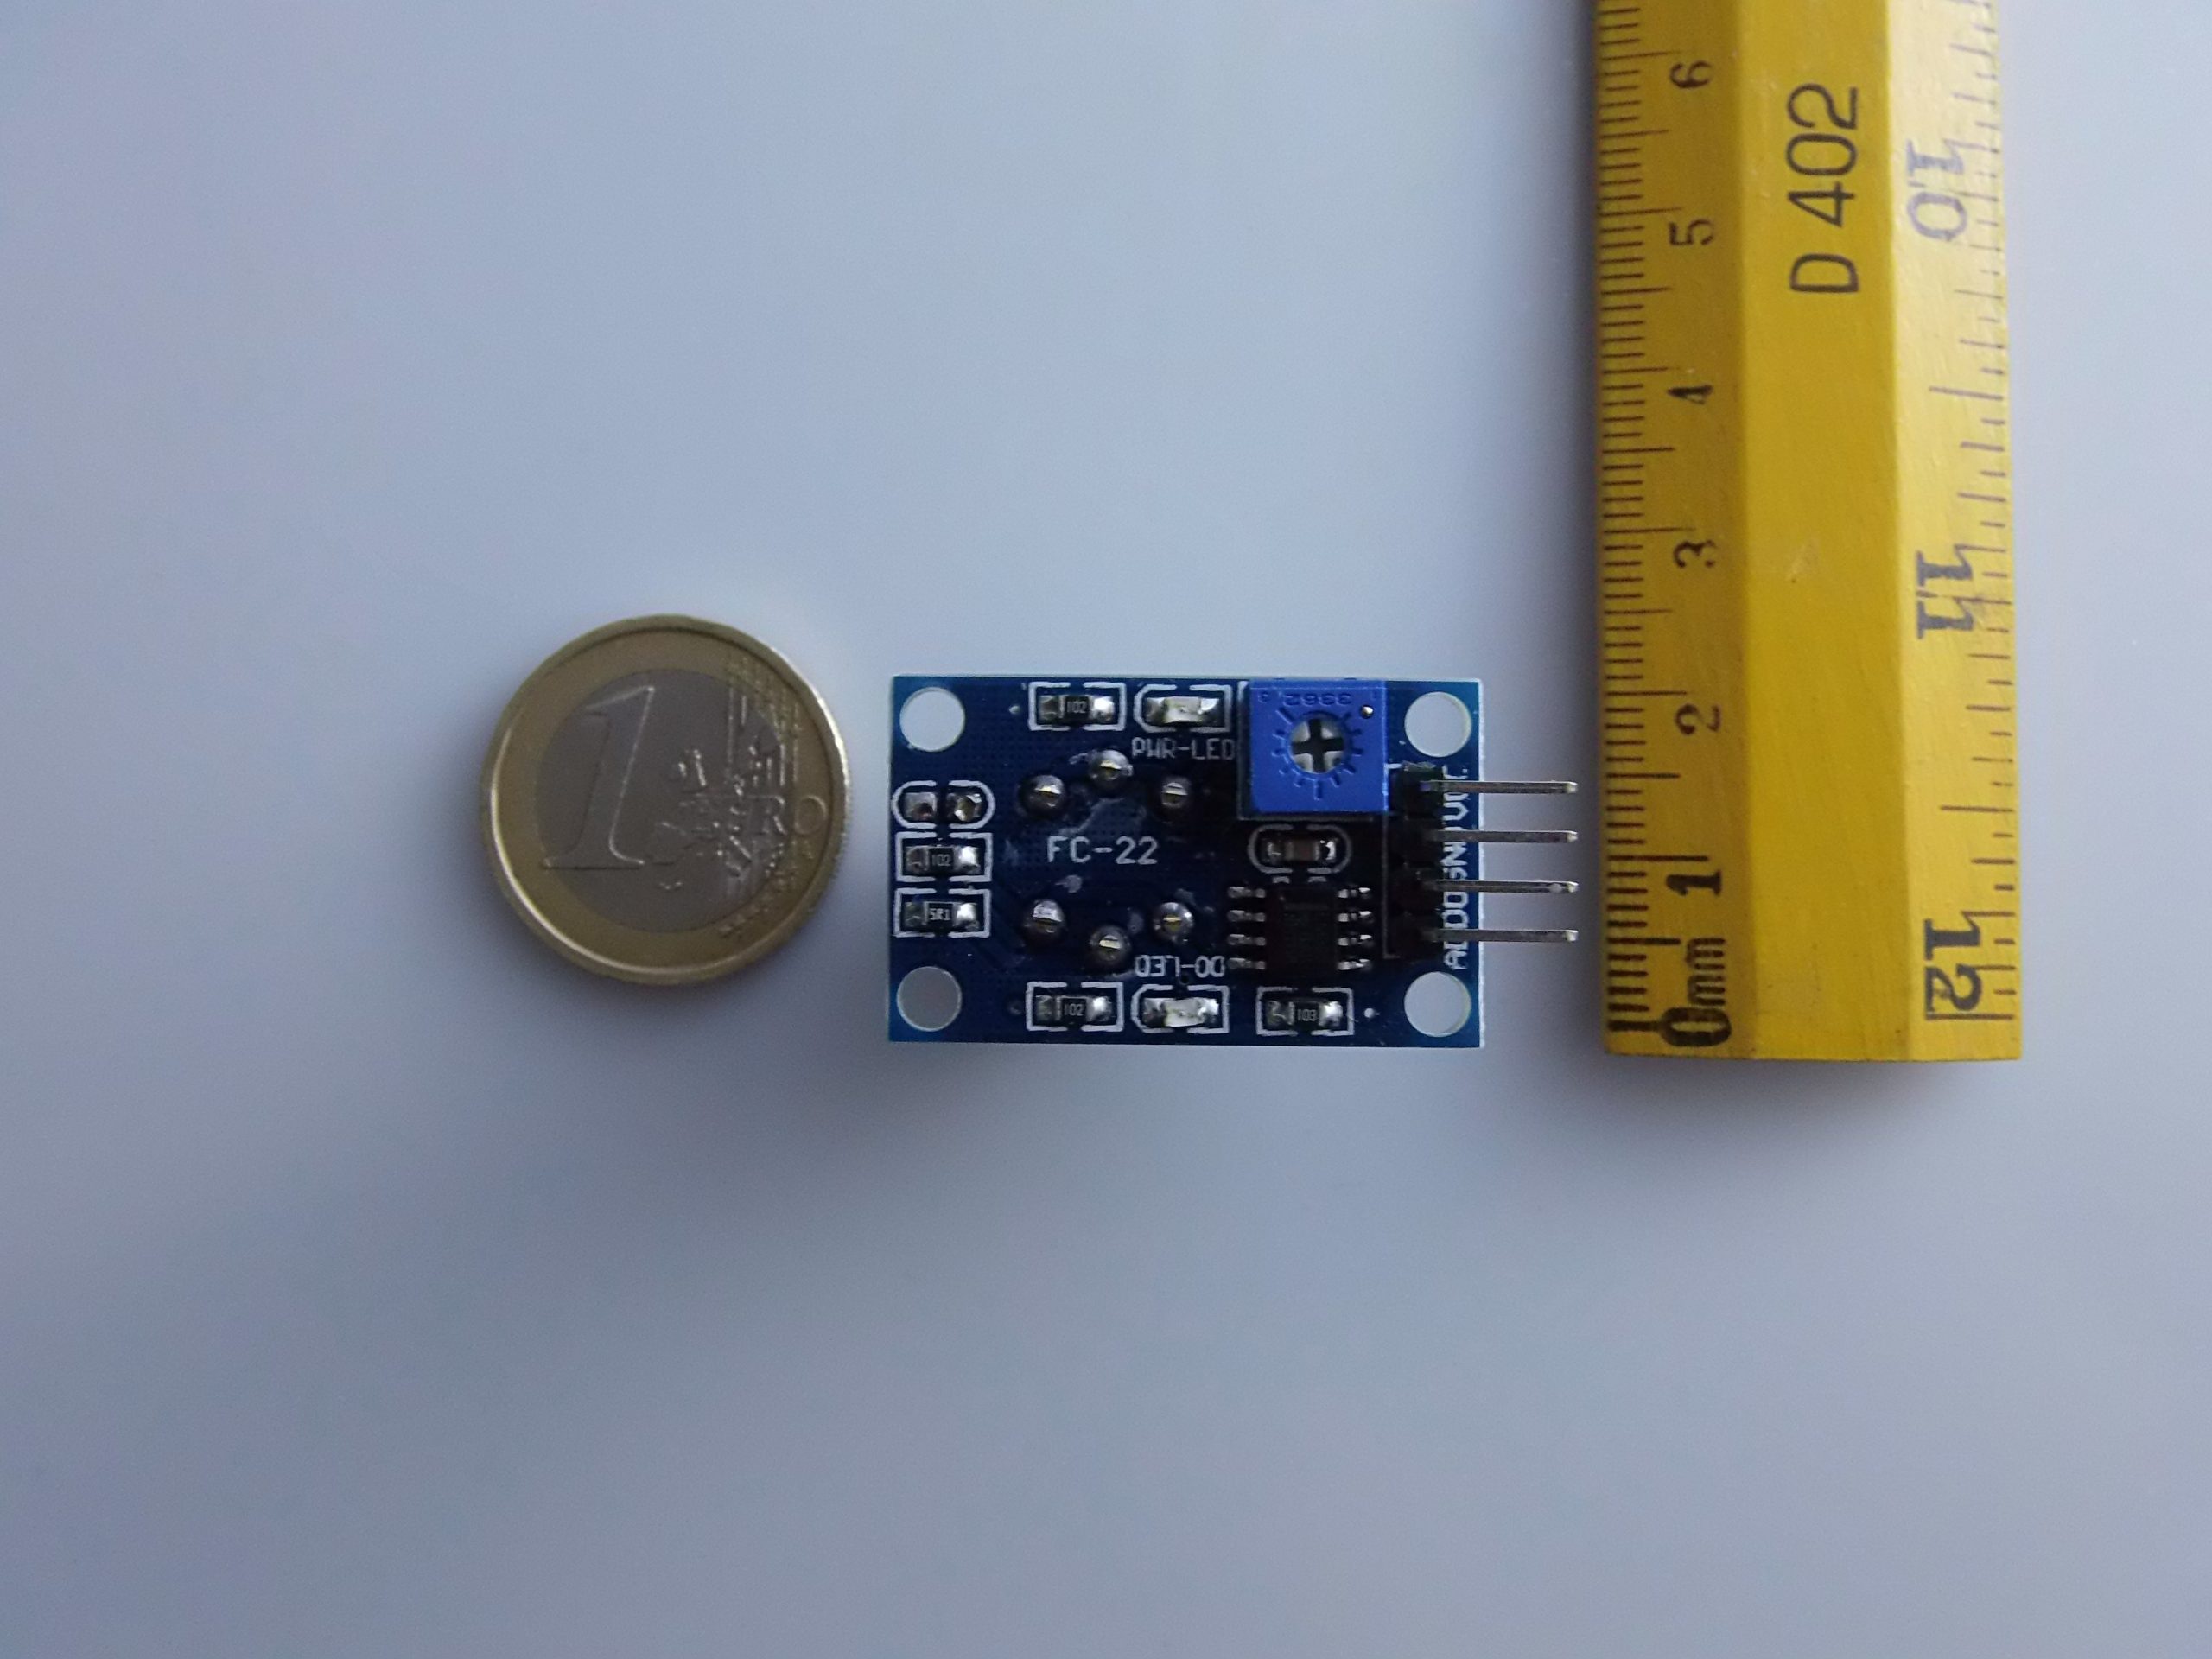
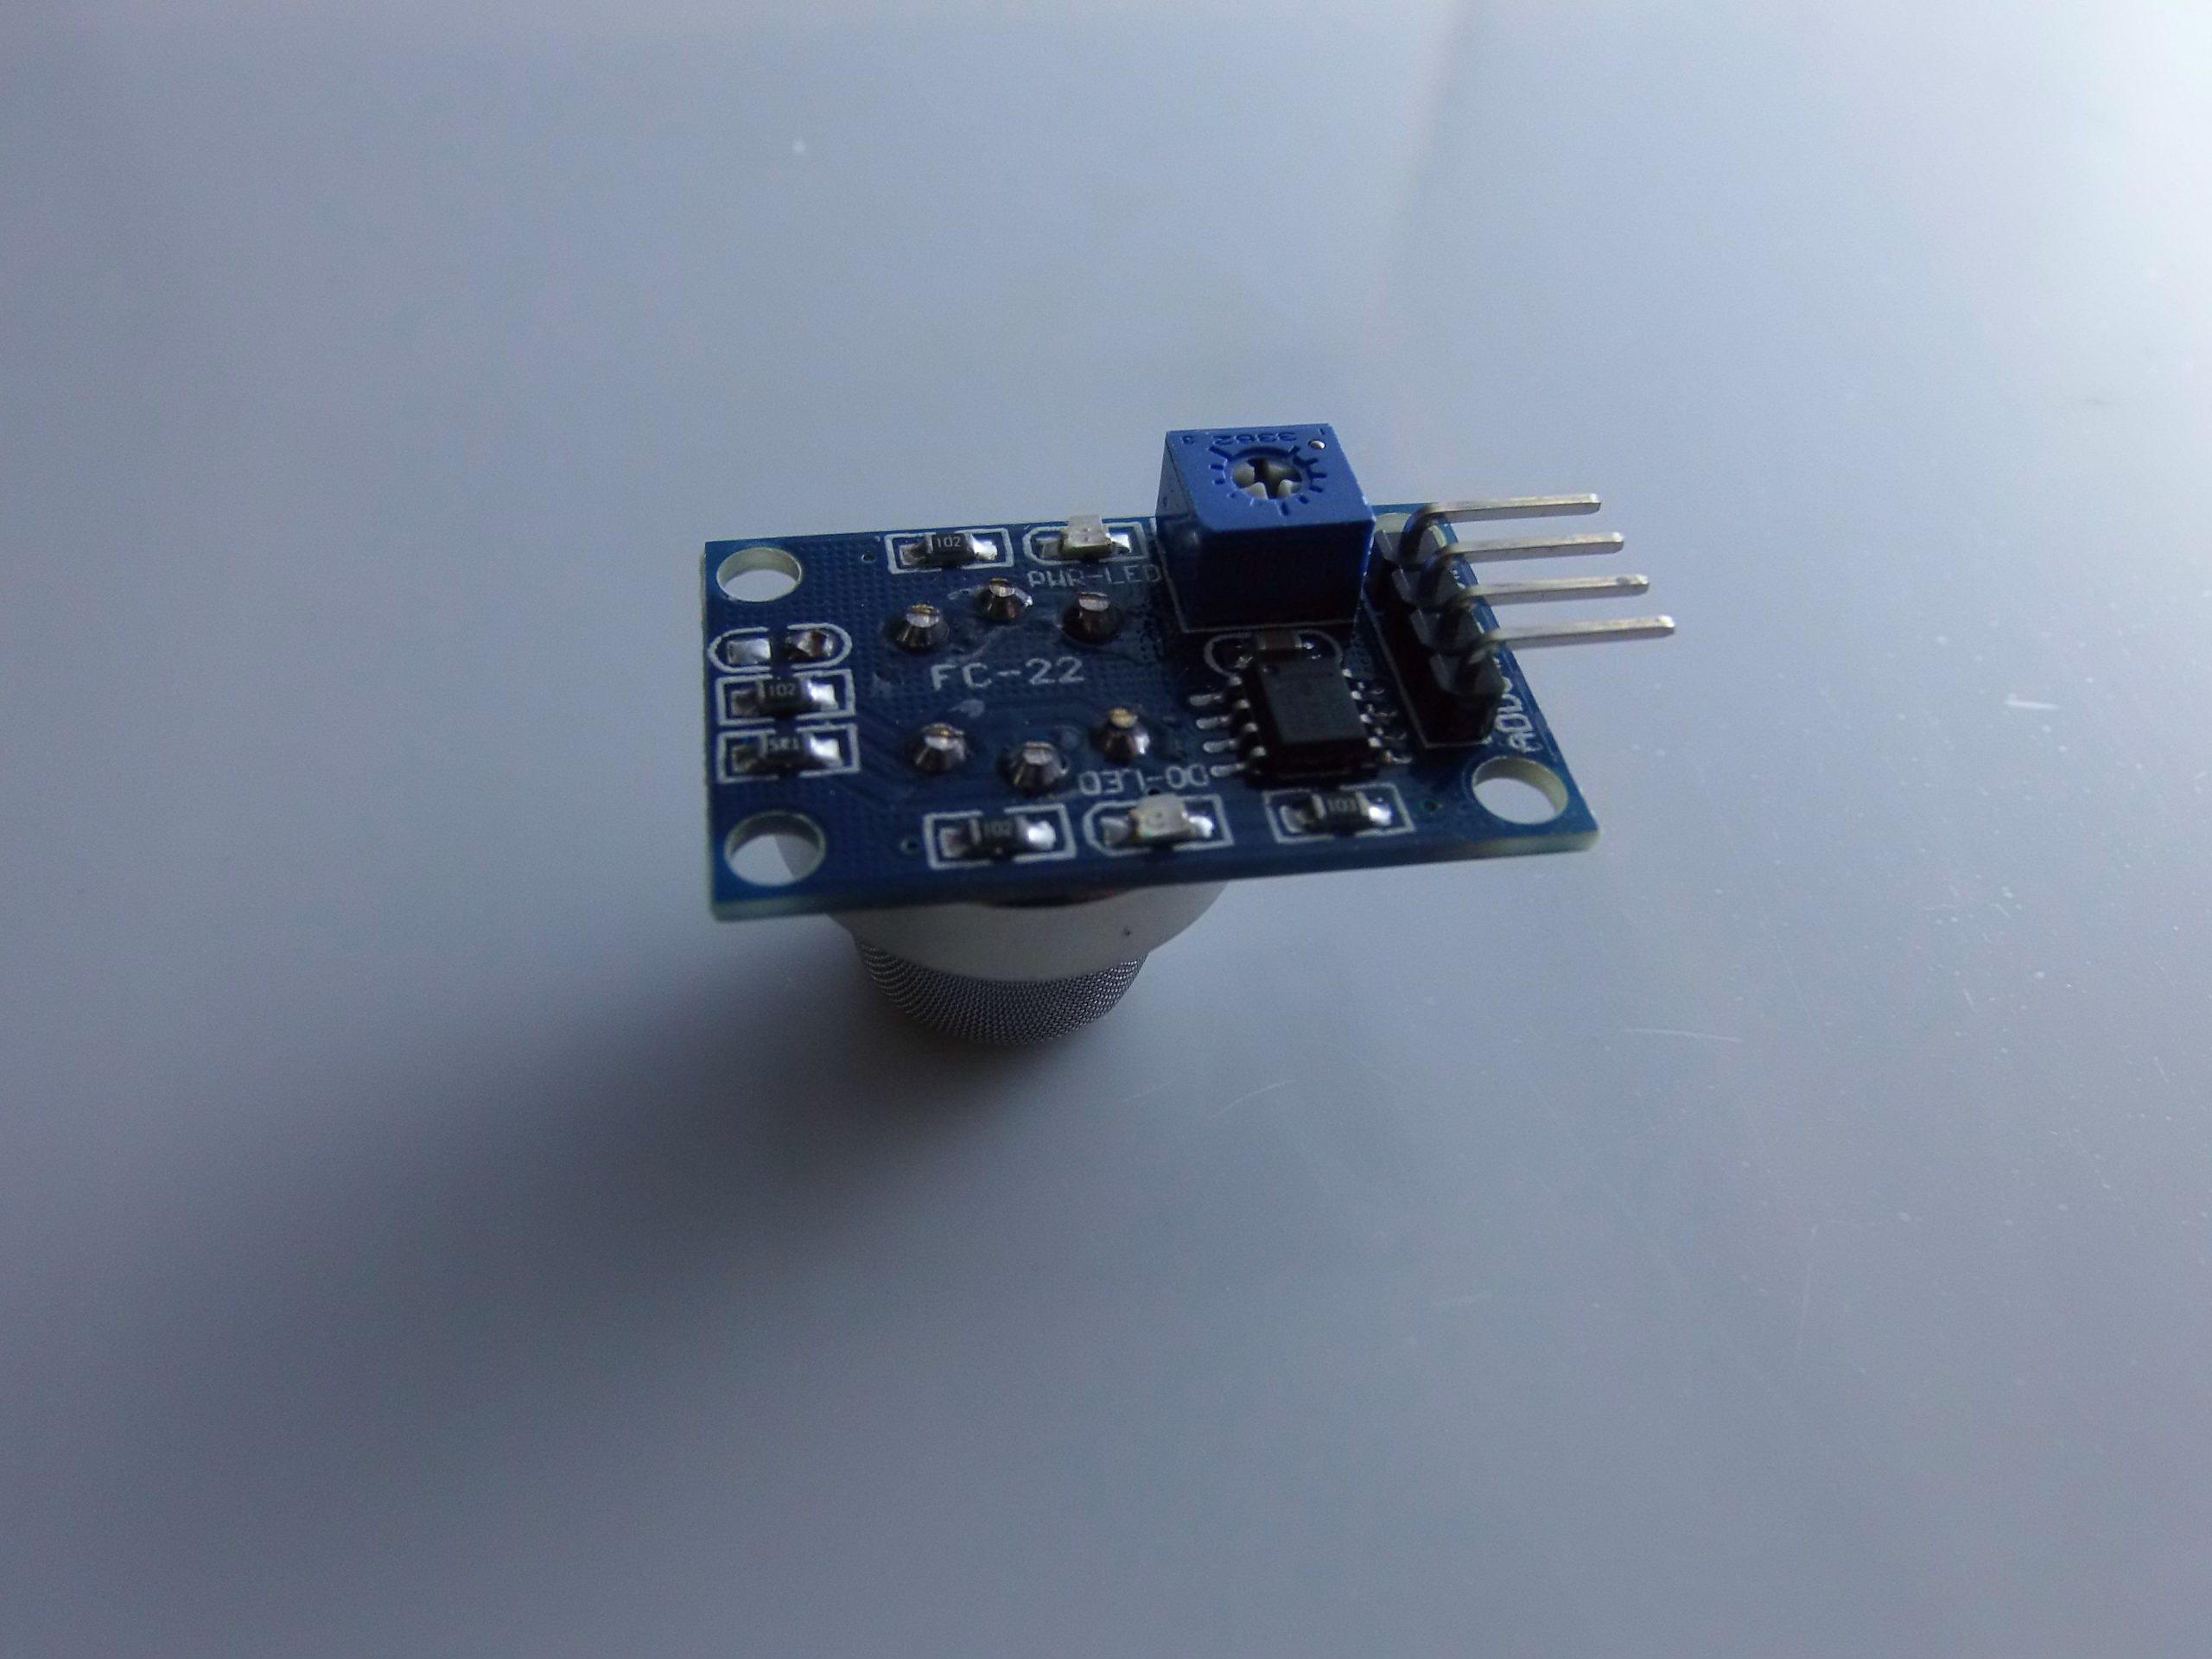
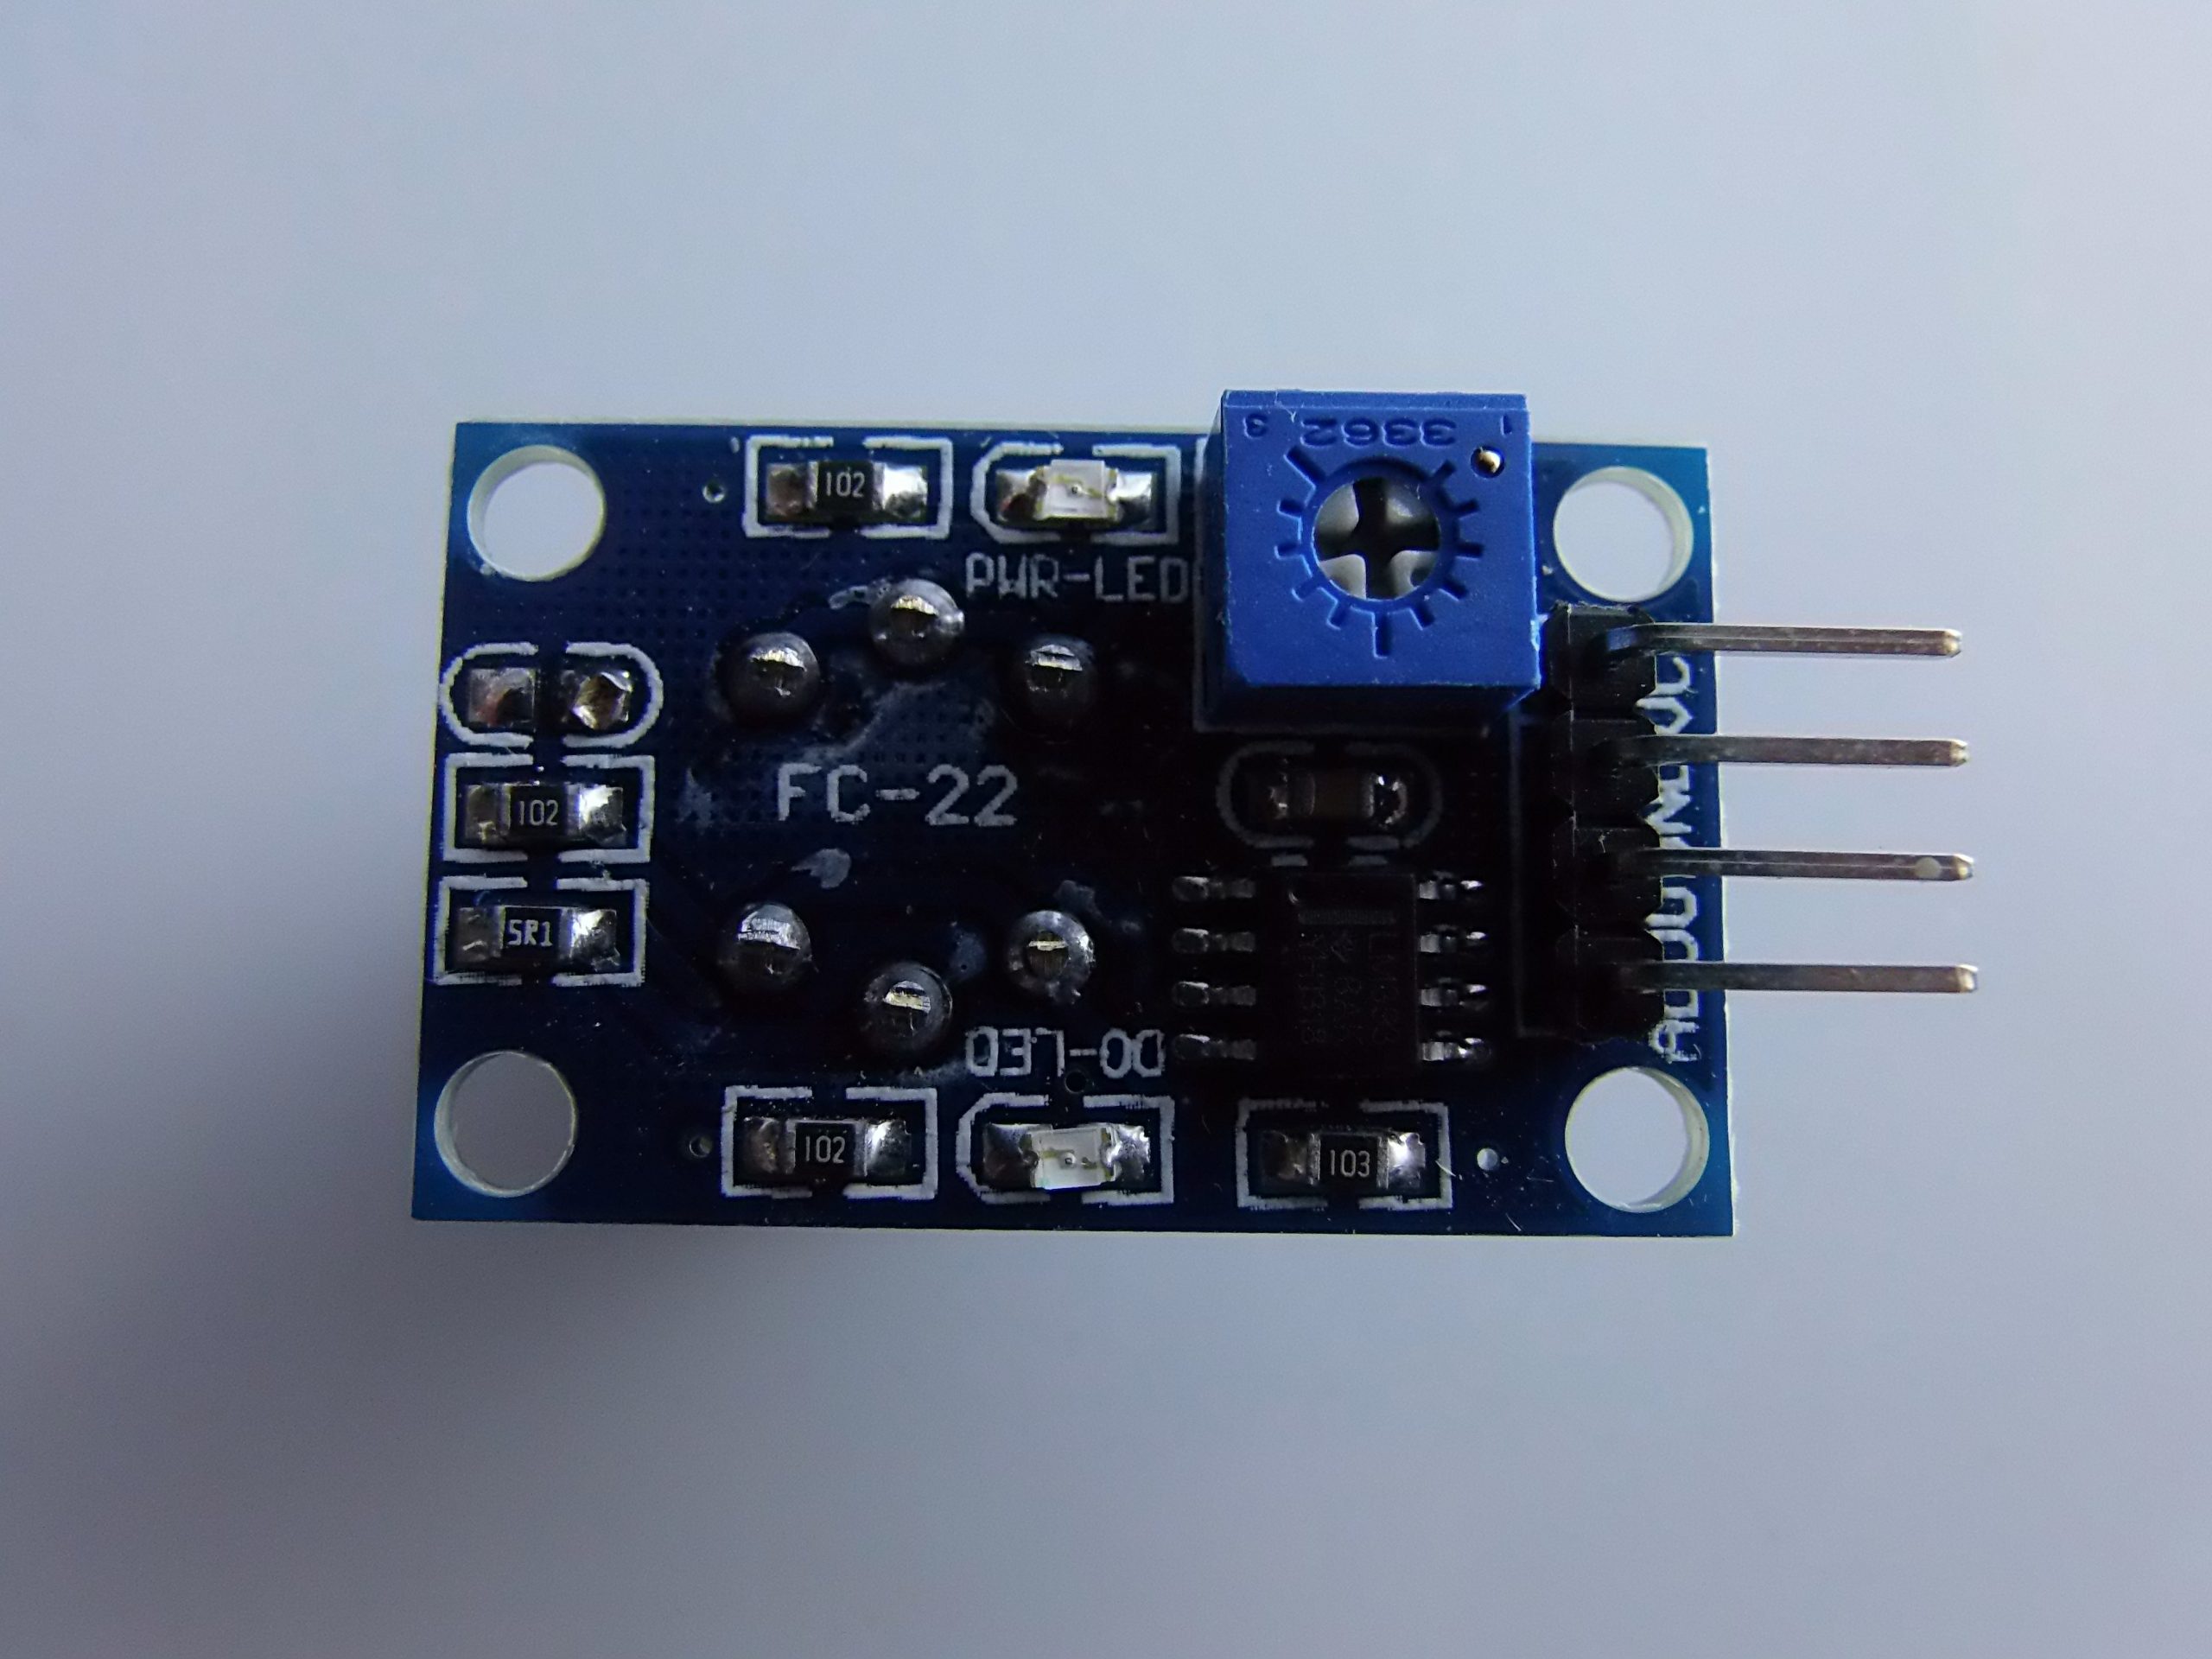
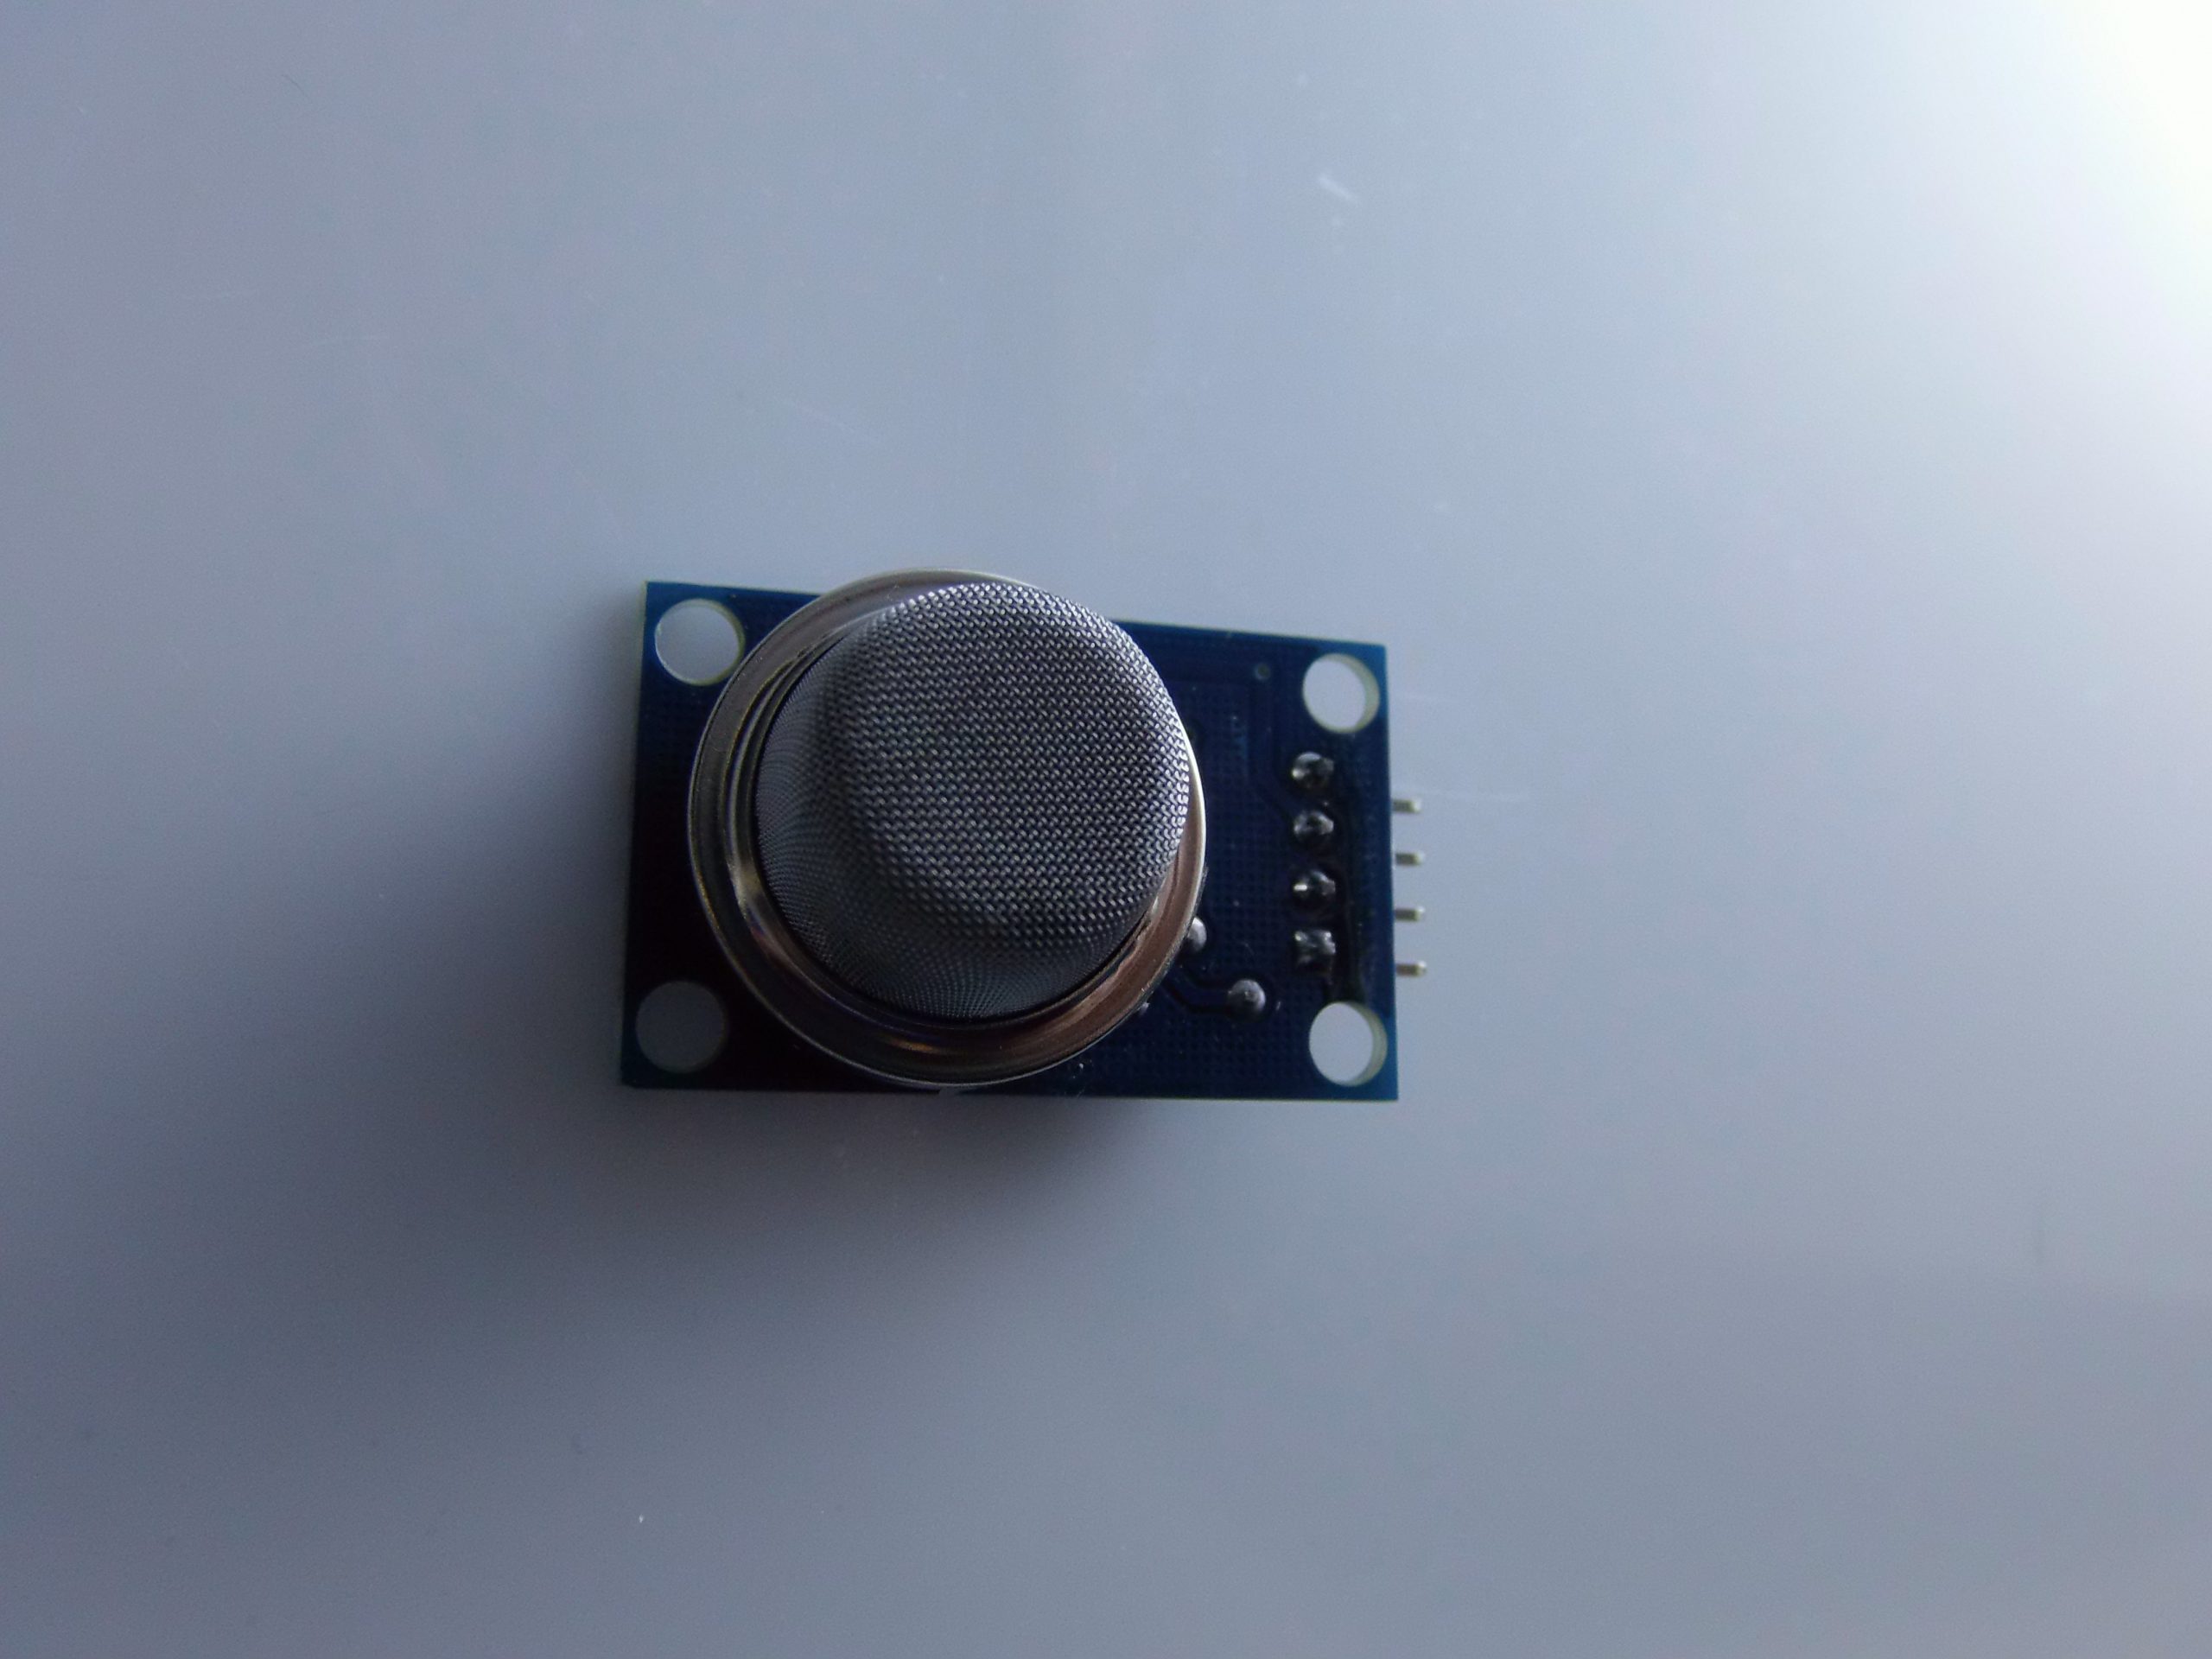
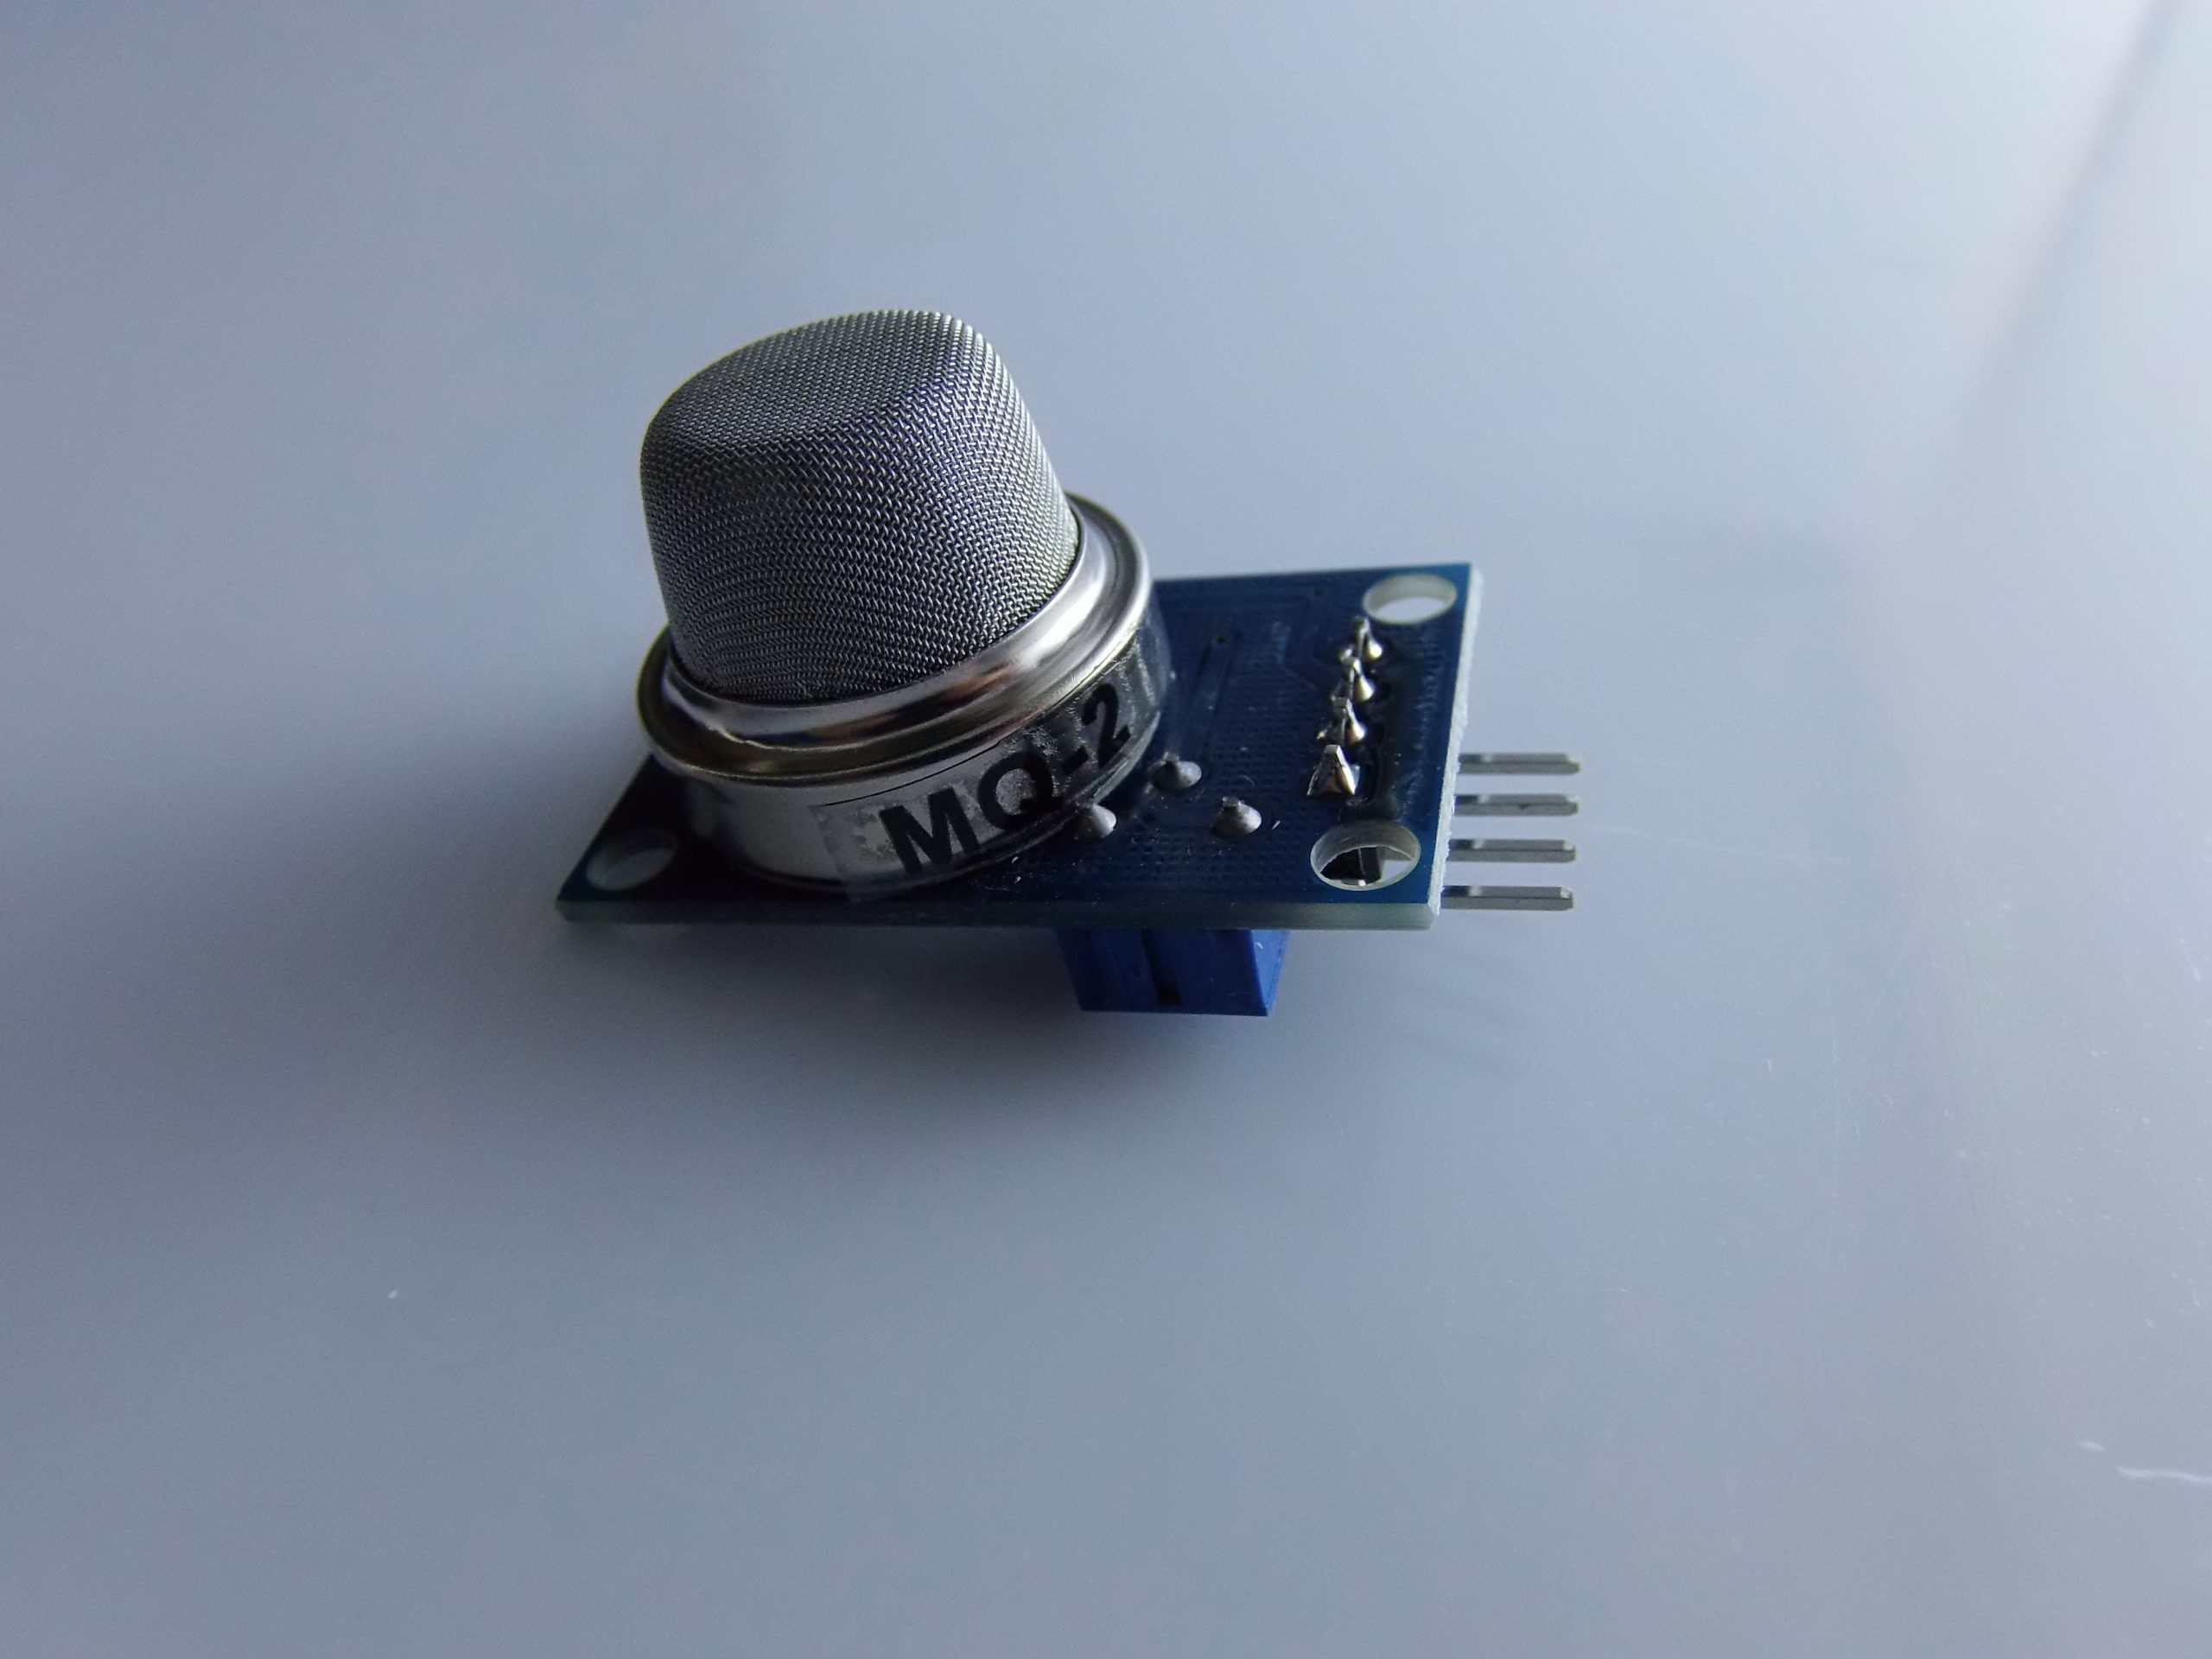
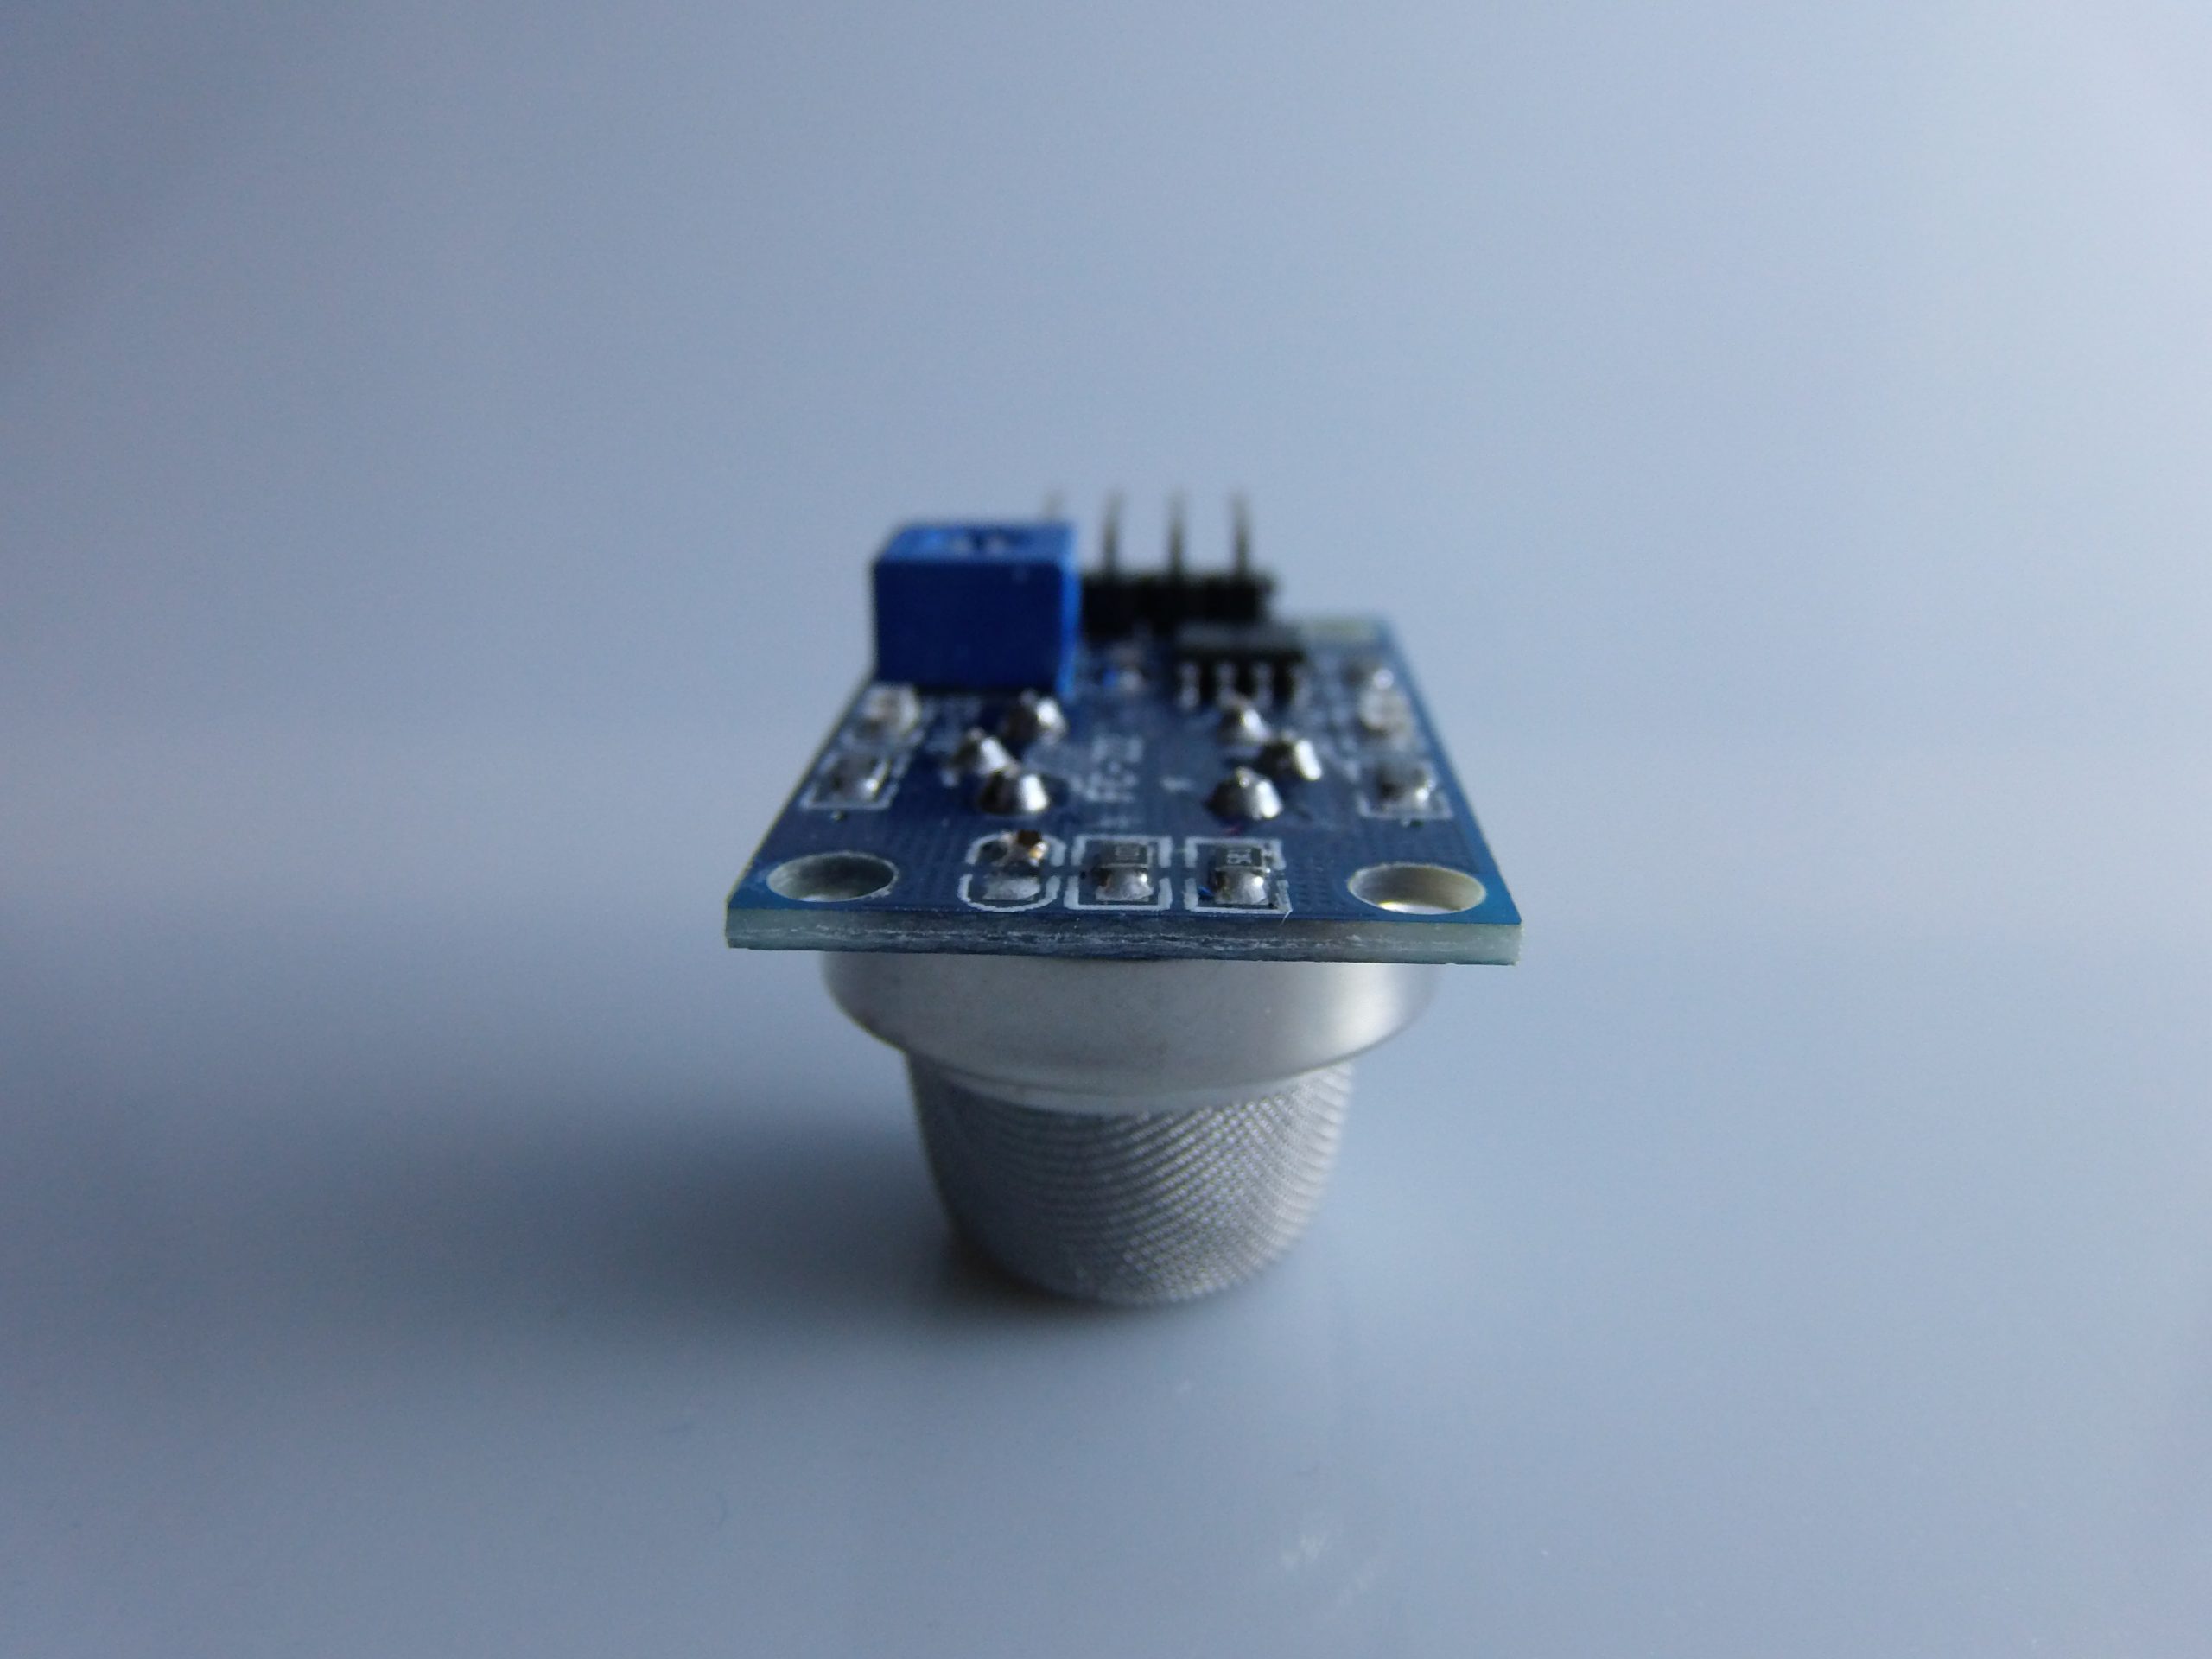
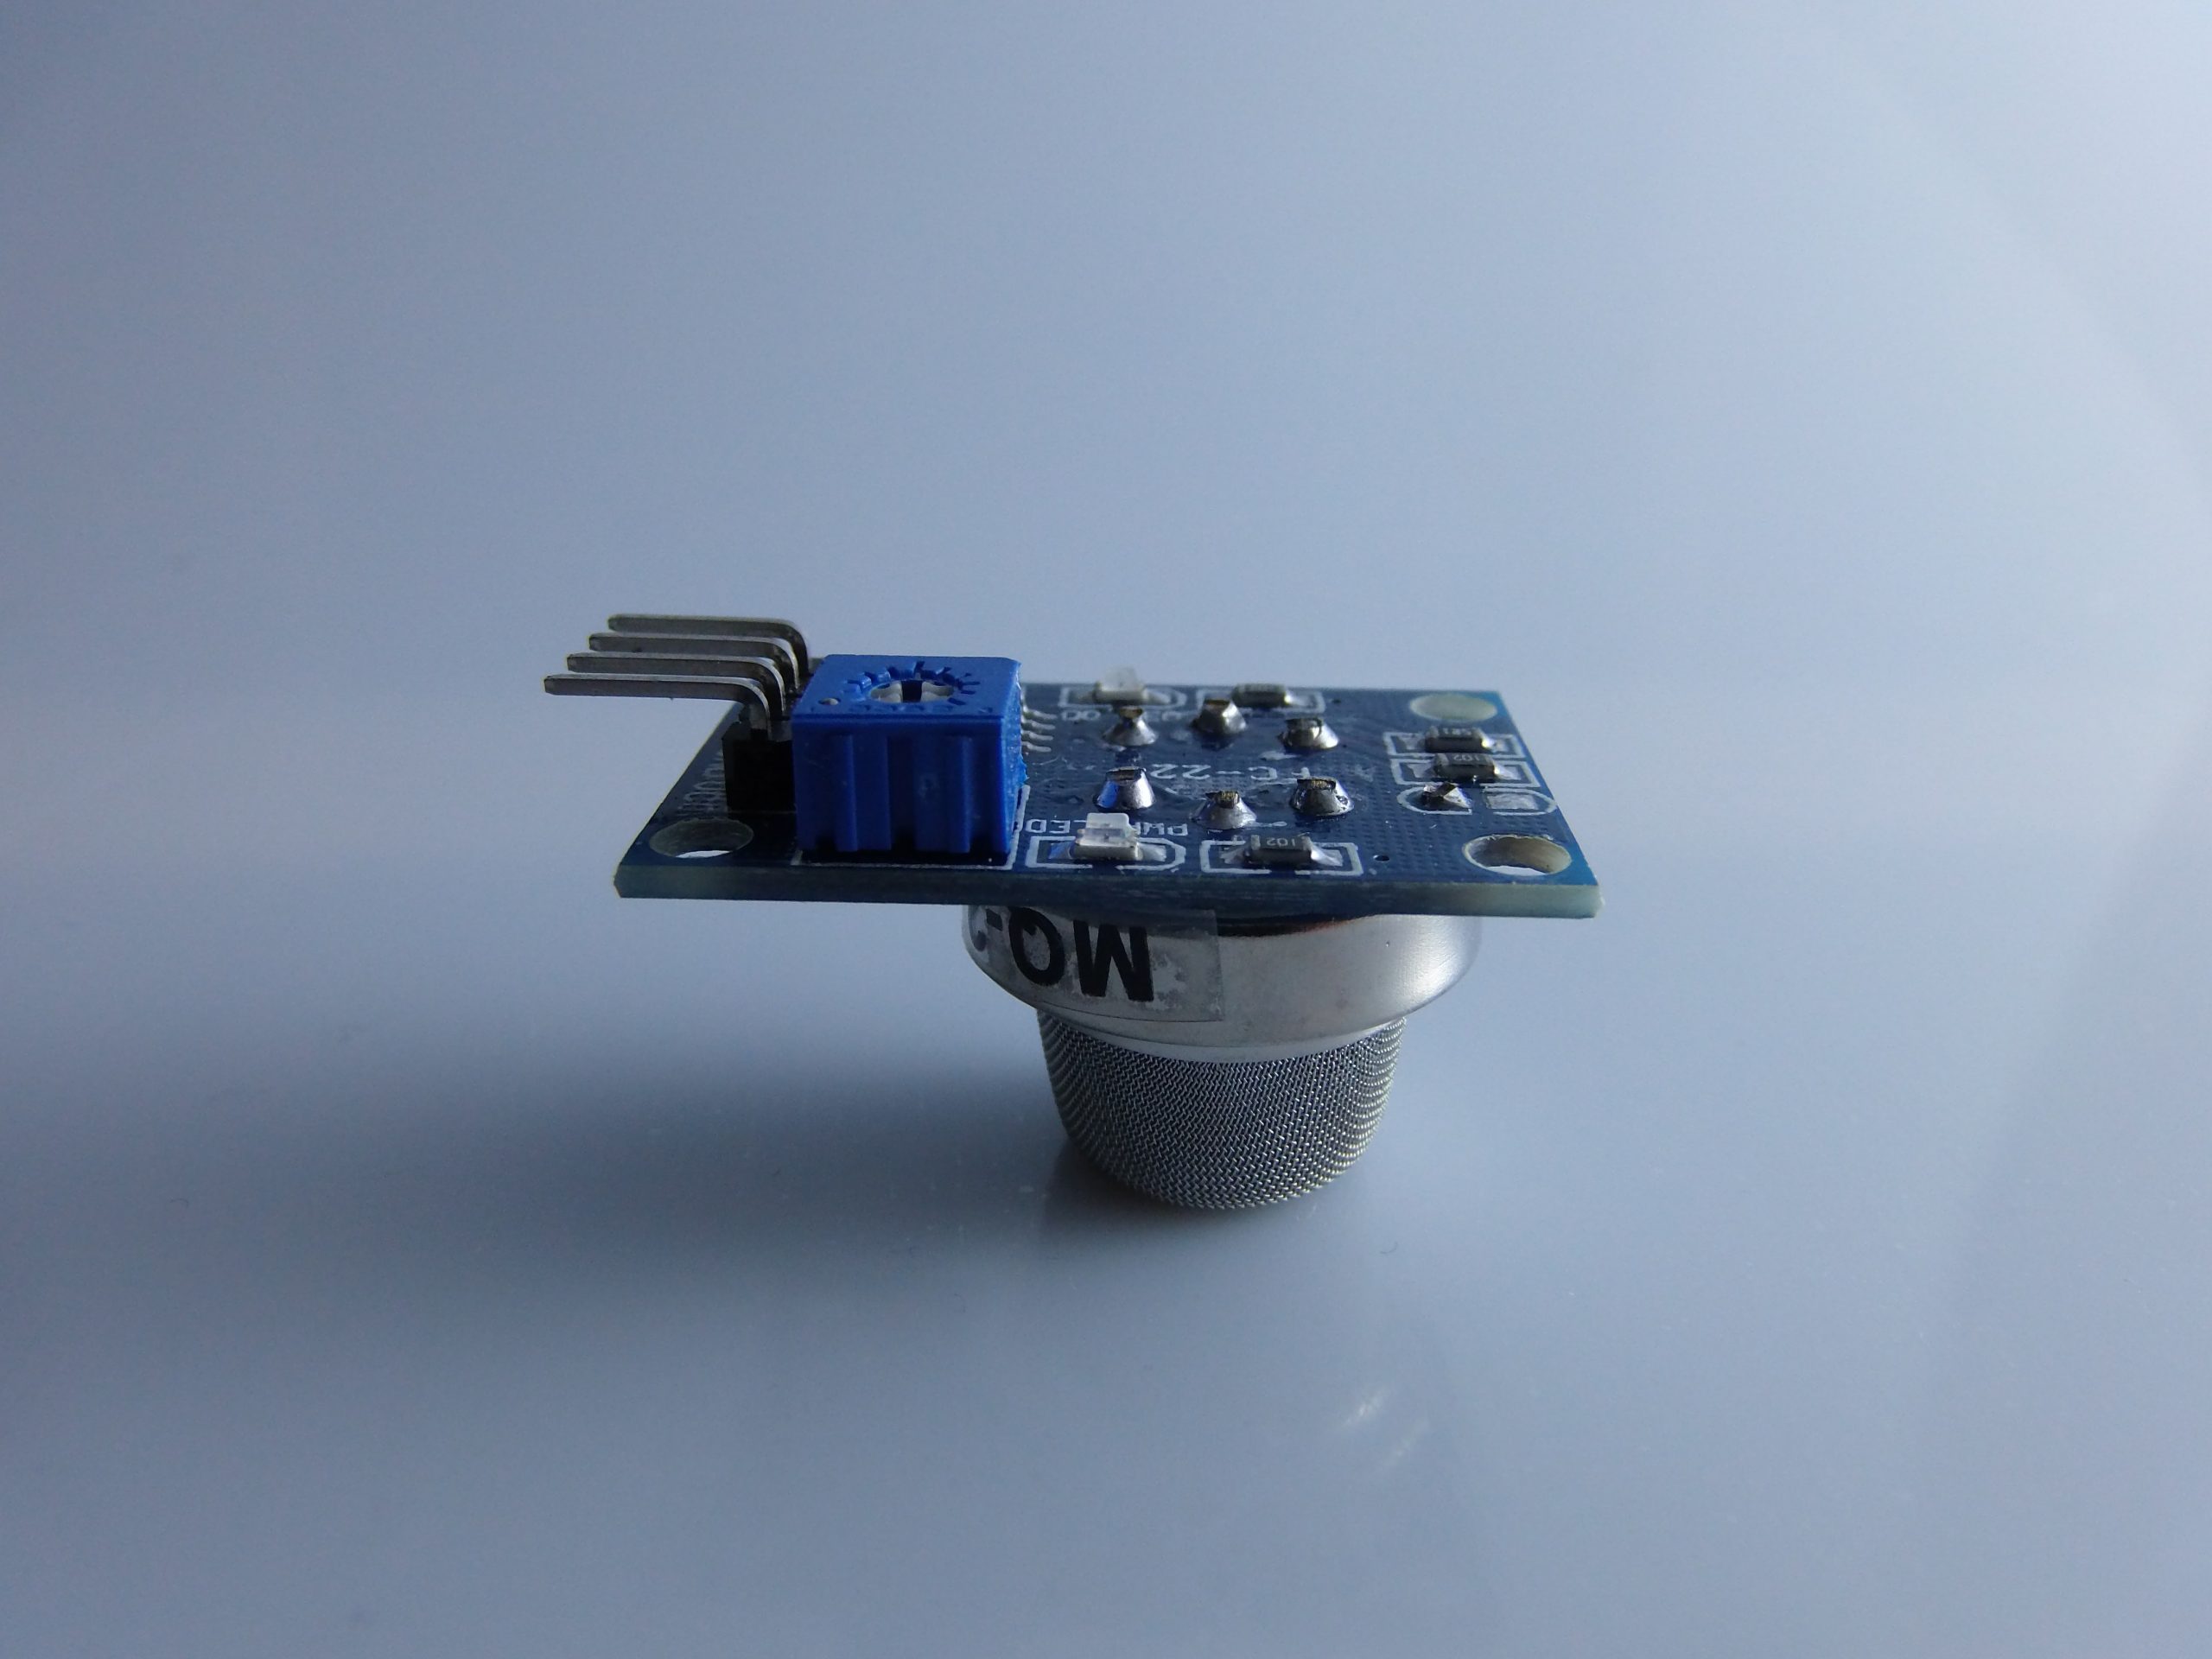
Description
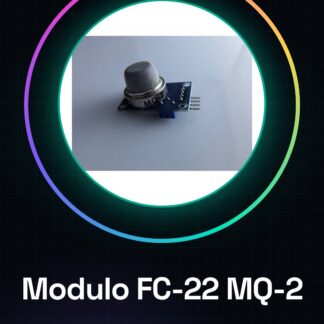
🧾 Description of FC-22 Module with MQ-2 Sensor
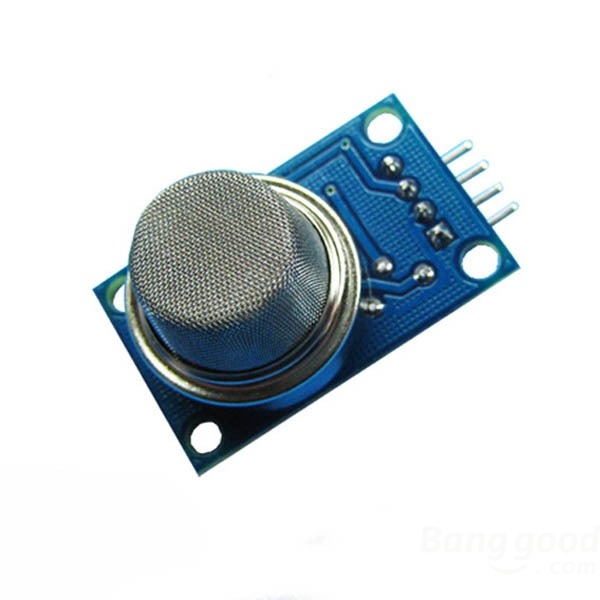
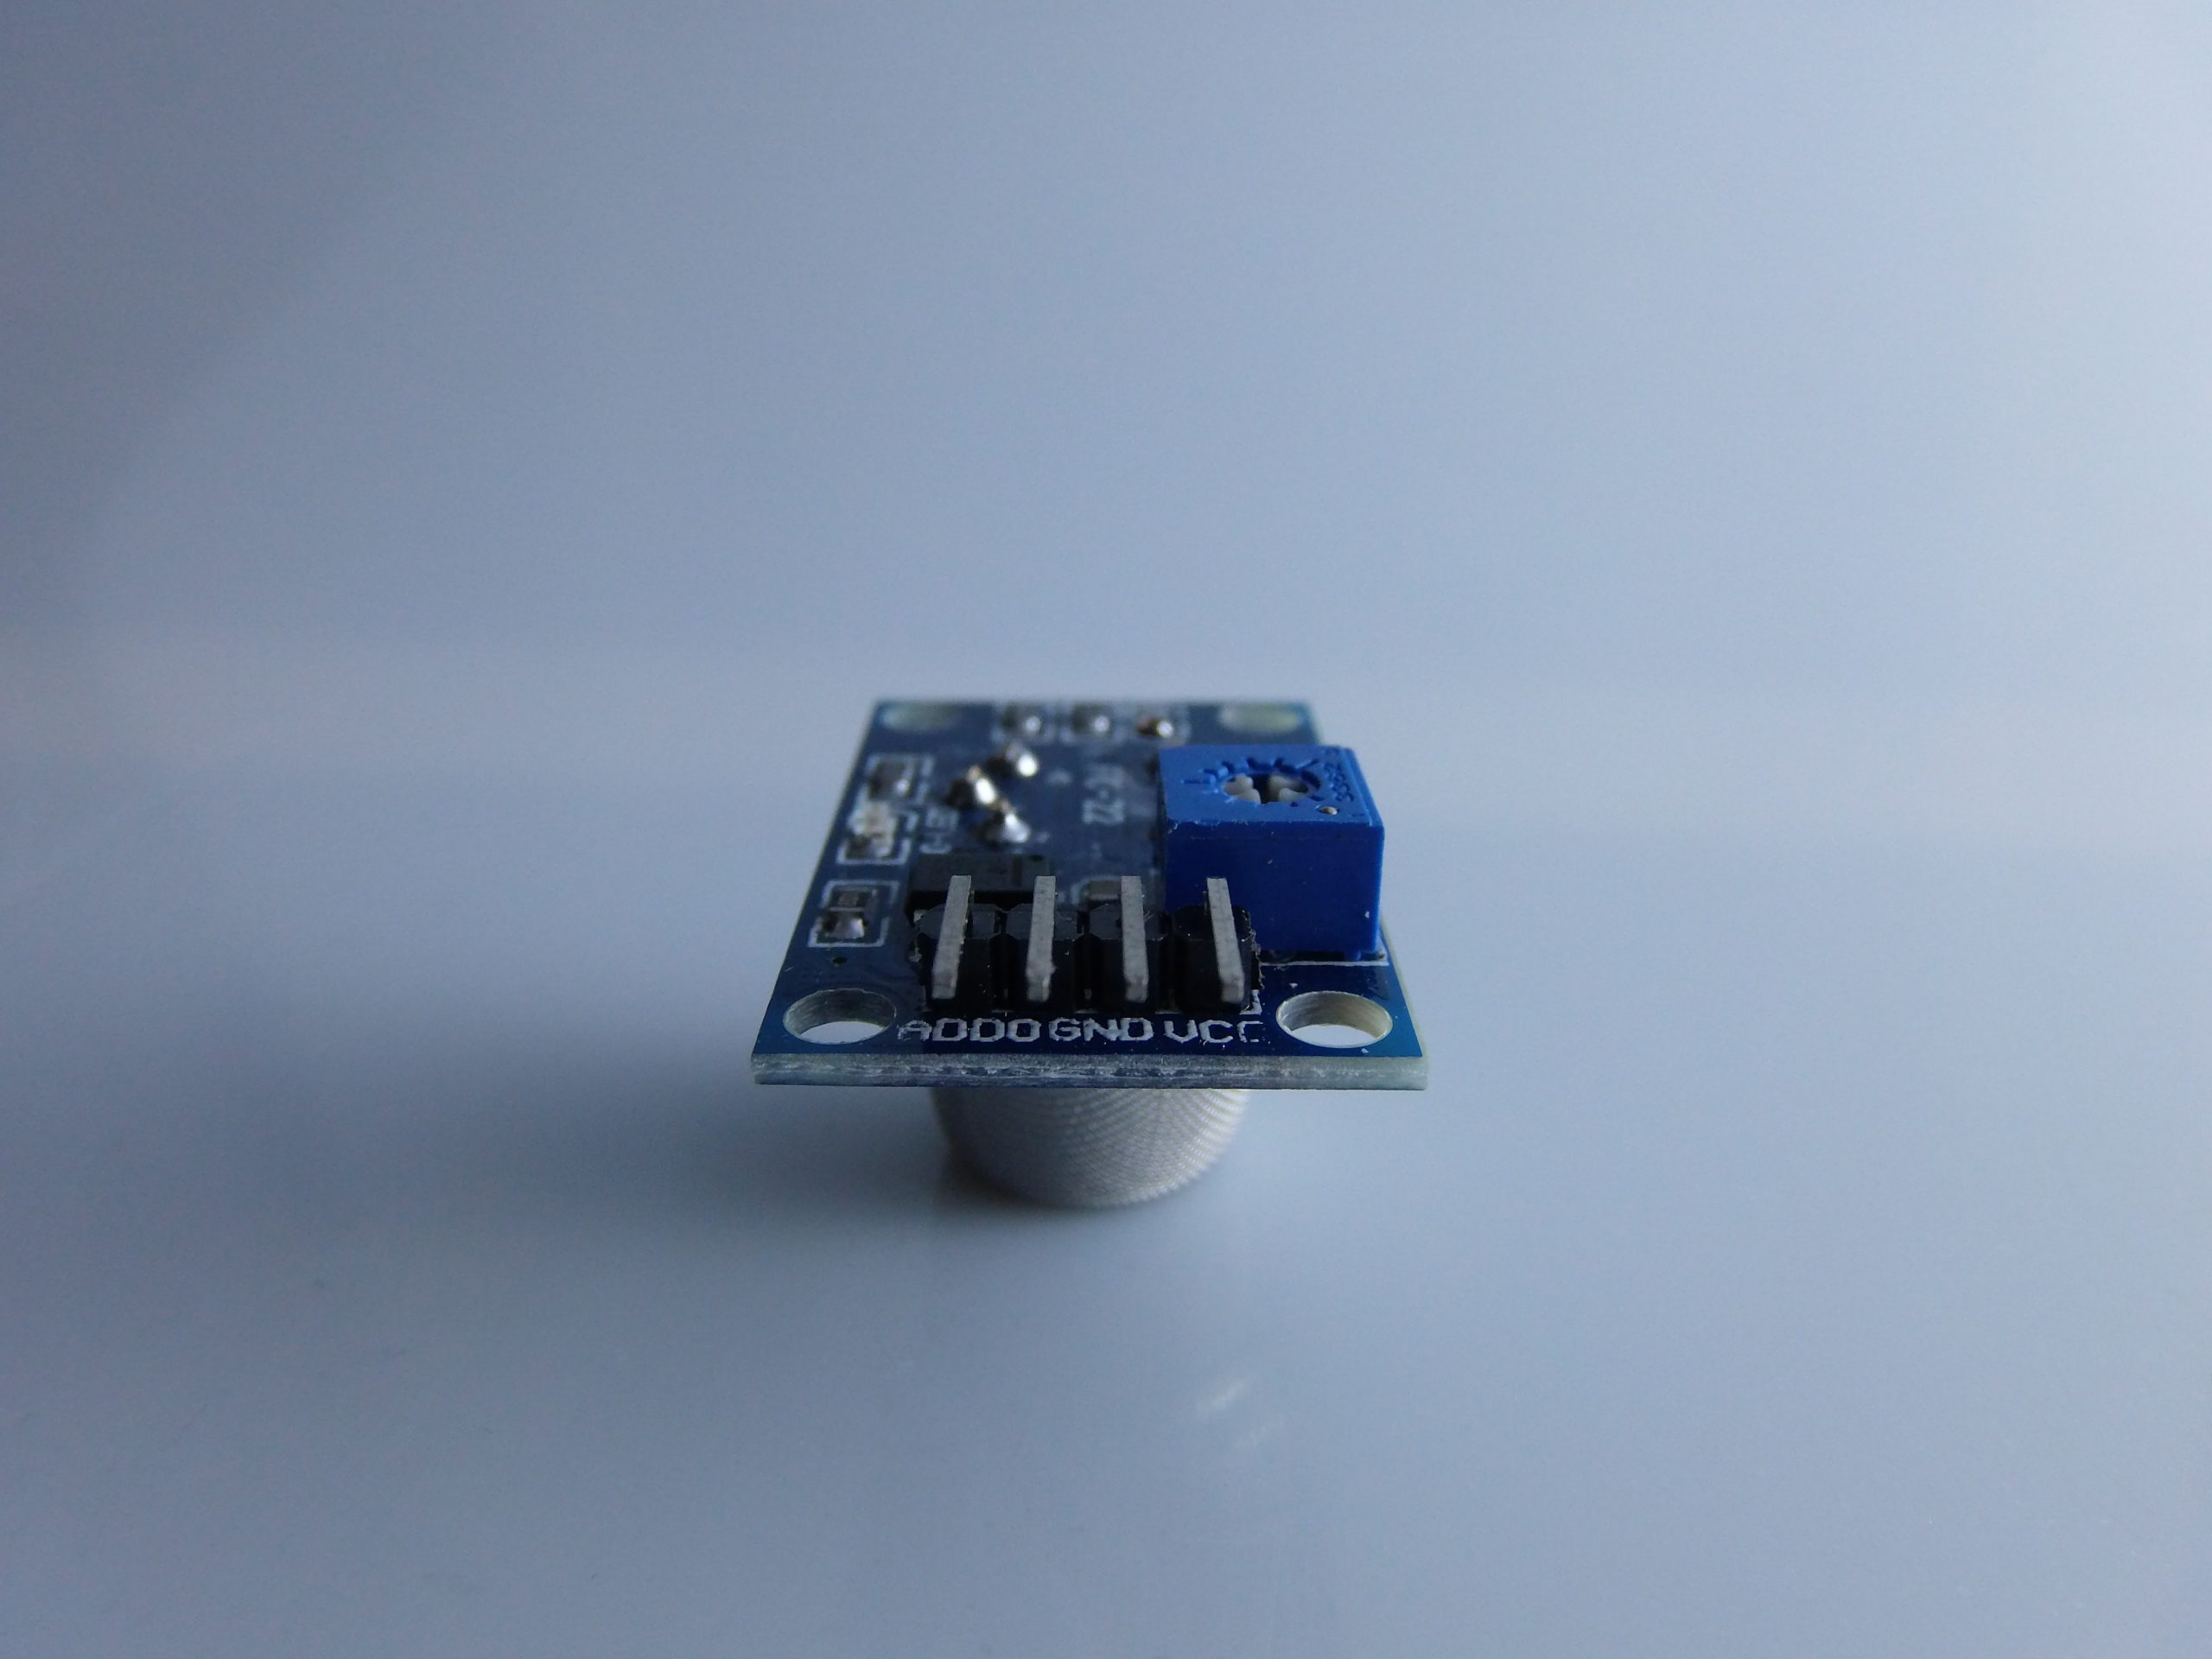
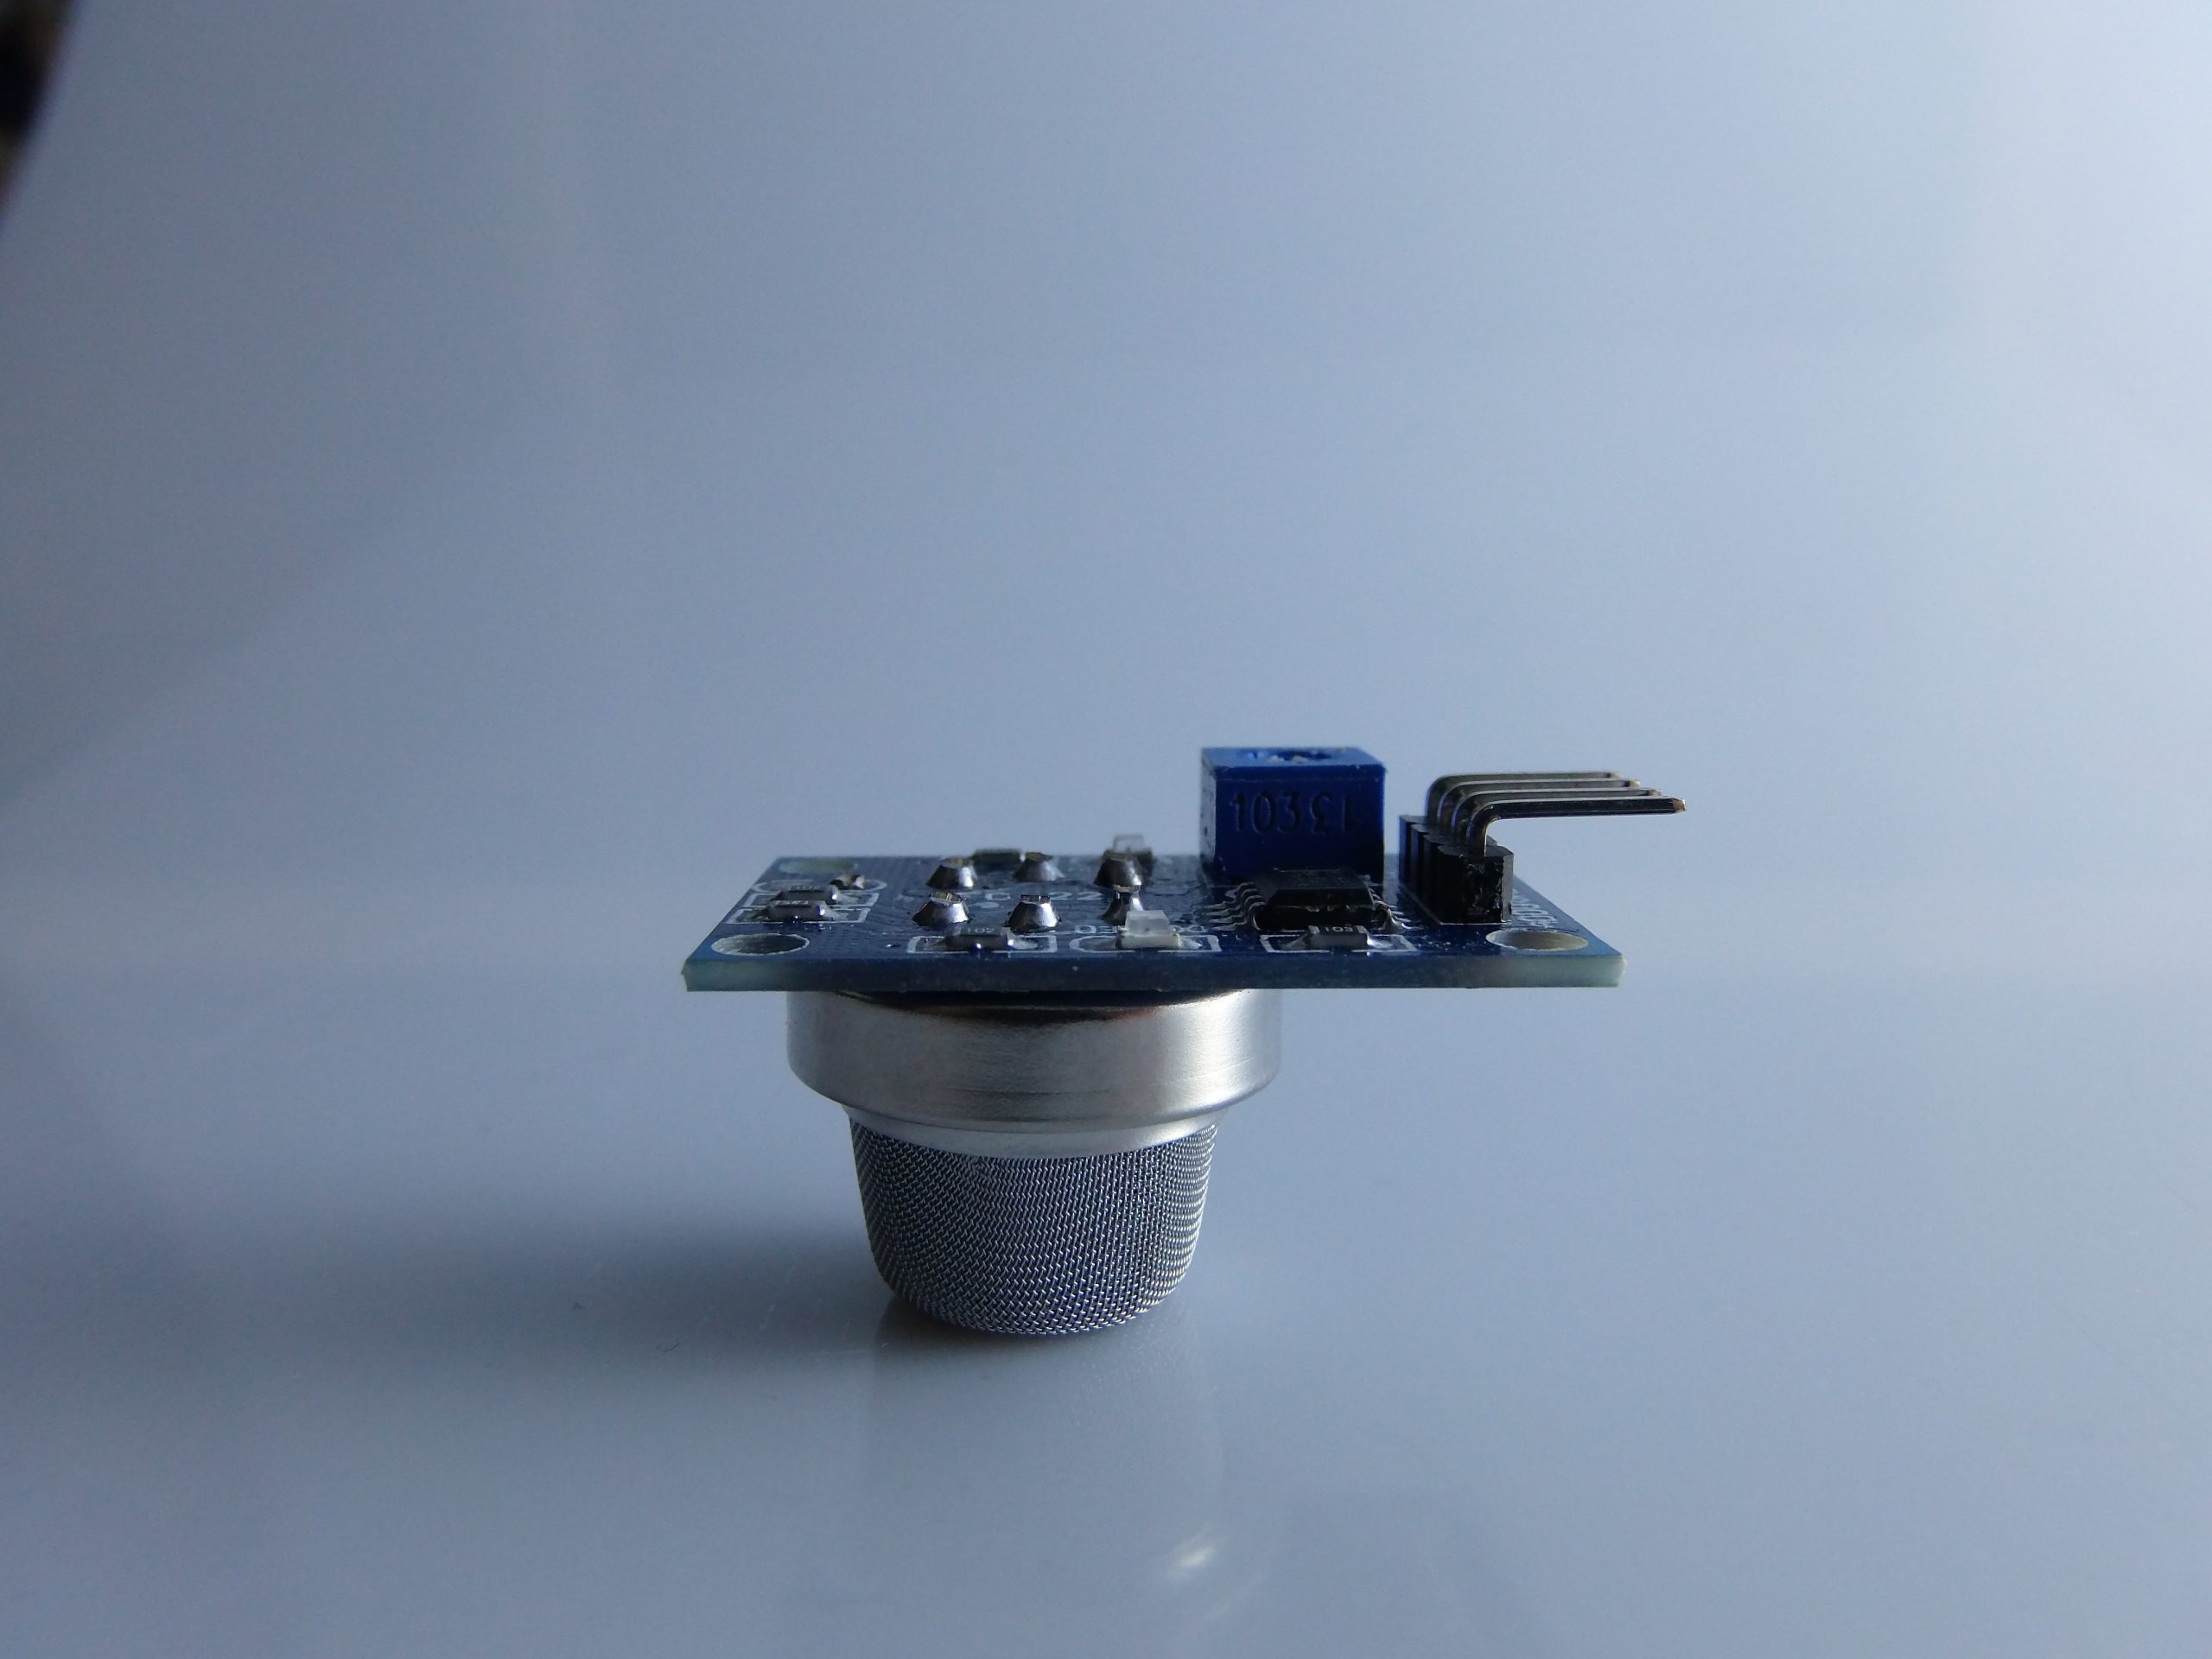
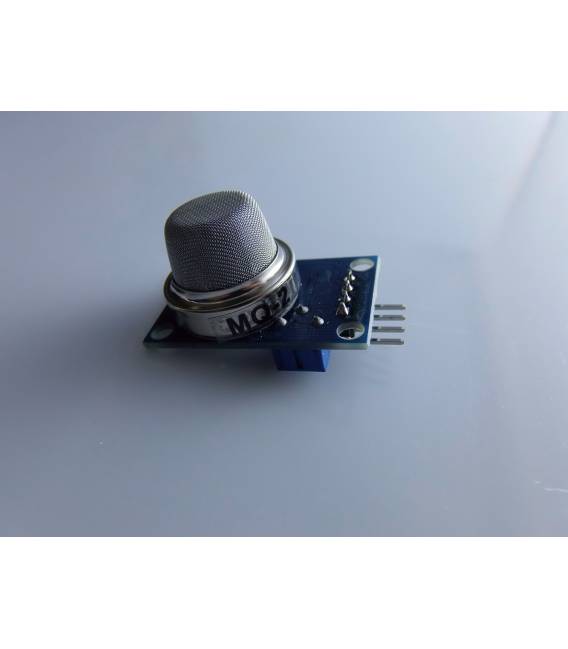
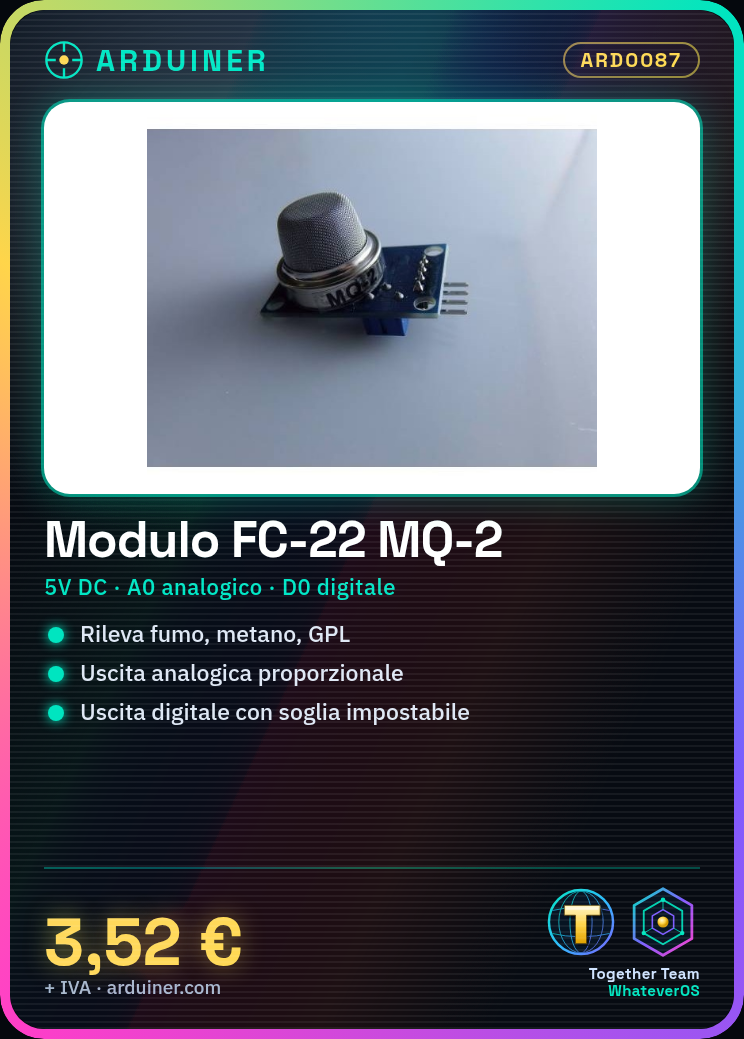
The FC-22 Module is a gas sensor based on theMQ-2, designed to detect smoke, methane (CH₄), LPG (liquefied petroleum gas) and other flammable gases present in the air.
📦 Main Features
- Sensor: MQ-2
- Detection Type: Smoke, Methane, LPG, Hydrogen, Alcohol, Propane
- Operating Voltage: 5V DC
- Interface:
- Analog (A0): output proportional to gas concentration
- Digital (D0): HIGH/LOW output based on set threshold
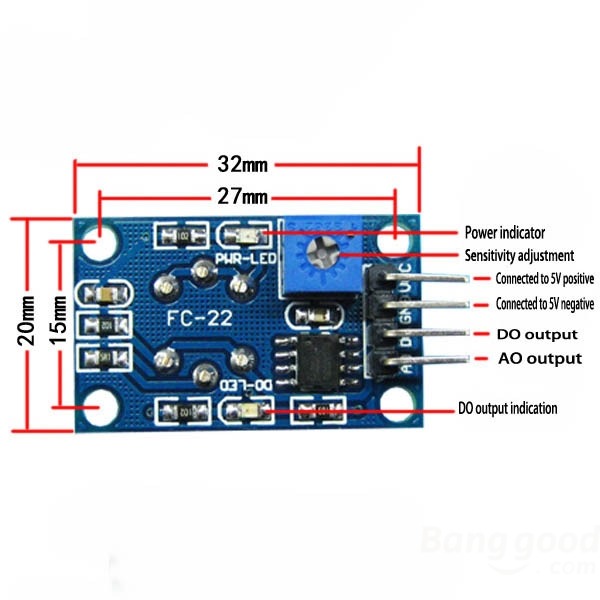
- Potentiometer integrated for threshold adjustment (digital output)
- LED indicator for power supply and digital status
- Preheating time: 20-30 seconds
- Dimensions: approximately 32 x 22 x 27 mm
⚙️ FC-22 Module Connections with Arduino
| FC-22 Pin | Function | Recommended Arduino Pin |
|---|---|---|
| VCC | Power Supply (5V) | 5V |
| GND | GND | GND |
| D0 | Digital Output | Any Digital Pin |
| A0 | Analog Output | A0 (or any other analog pin) |
🧪 How the MQ-2 Sensor Works
The MQ-2 sensor contains a sensitive material (SnO₂) that changes resistance in the presence of flammable gases. This change is converted into an electrical signal.
- Analog Output (A0): provides a value proportional to the gas concentration.
- Digital Output (D0): returns HIGH (1) if the concentration exceeds the threshold, LOW (0) otherwise.
🔧 Arduino Programming Guide
🔌 1. Basic Connections
Arduino     FC-22
--------     -----
5V          → VCC
GND         → GND
A0          → A0 (uscita analogica)
D2          → D0 (uscita digitale)
🧑💻 2. Example Code: Analog Read (A0)
const int analogPin = A0;

void setup() {
  Serial.begin(9600);
}

void loop() {
  int gasValue = analogRead(analogPin);
  Serial.print("Valore gas rilevato: ");
  Serial.println(gasValue);
  delay(1000);
}
📝 Note: Read values can range from 0 to 1023. Higher the value, higher the gas concentration detected.
🧑💻 3. Example Code: Threshold Detection with Digital Output (D0)
const int digitalPin = 2;
const int ledPin = 13;

void setup() {
  pinMode(digitalPin, INPUT);
  pinMode(ledPin, OUTPUT);
  Serial.begin(9600);
}

void loop() {
  int gasDetected = digitalRead(digitalPin);

  if (gasDetected == LOW) {
    Serial.println("⚠️ Gas rilevato!");
    digitalWrite(ledPin, HIGH);
  } else {
    Serial.println("✅ Aria pulita.");
    digitalWrite(ledPin, LOW);
  }
  delay(1000);
}
🧰 Practical Tips
- ⚠️ Warm-up: the sensor needs 20-30 seconds of warm-up time before providing reliable readings.
- 🔧 Digital Threshold Adjustment: use the potentiometer on the module to set the digital threshold sensitivity.
- 🧪 Calibration: for more precise measurements, compare values with professional tools and use a calibration algorithm.
- 🔋 Power Supply: works best when powered by a stable 5V source (e.g., Arduino or external power supply with common GND).
💡 Common Applications
- DIY Smoke Detectors
- Home Gas Leak Alarms
- Environmental Monitoring Systems
- IoT Projects with Gas Notification
📈 Project Expansion
You can extend the project with:
- LCD/OLED Display to show values
- Buzzer/Sound Alarm
- Wi-Fi Module (ESP8266/ESP32) for remote notification or logging
- Relay to turn off valves or activate fans

Here is a connection diagram module description FC‑22 with MQ‑2 sensor connected to Arduino, followed by a step-by-step guide for integration on Arduino IoT Cloud.
🧑🔧 Electrical diagram (wiring)
Required components:
- FC‑22 (MQ‑2)
- Arduino UNO or compatible
- LED (green and red) + resistors 220 Ω
- Buzzer (optional)
- Breadboard and jumpers
Connections:
| FC‑22 module | Function | Arduino UNO |
|---|---|---|
| VCC | 5V power supply | 5V |
| GND | Mass | GND |
| A0 | Analog Output | Pin A0 |
| D0 | Digital Output | Ex. Pin 8 (optional LED) |
For LED and buzzer:
- Red LED with 220 Ω resistor → Digital Pin (example 8)
- Green LED with resistor → Pin 13 (on board) or other
- Buzzer if applicable, on pin 9 (GND to common)
☁️ Integration on Arduino IoT Cloud
1. Setting up the “Thing”
- Log in to Arduino IoT Cloud, create a new Thing named “GasSensor”.
- Add variable:
- GasLevel (type Float), permission: Read Only, policy On Change.
2. Configure device (e.g. Arduino MKR or Nano IoT)
Connect and register the device (Arduino MKR/Nano IoT). Arduino Cloud will provide a file thingProperties.h to include in your sketch.
3. Hardware connections on IoT board
Similar to Arduino UNO: A0 → uscita analogica MQ-2, VCC/GND common (teachmemicro.com, Random Nerd Tutorials, Arduino Project Hub, Arduino Intro, Instructables).
4. Example Code
#include "thingProperties.h"

const int gasPin = A0;
float gasLevel = 0;

void setup() {
  Serial.begin(115200);
  delay(1500);
  initProperties();
  ArduinoCloud.begin(ArduinoIoTPreferredConnection);
  while (!ArduinoCloud.connected()) {
    ArduinoCloud.update();
    delay(500);
  }
  Serial.println("Connesso a Arduino IoT Cloud");
}

void loop() {
  gasLevel = analogRead(gasPin);
  gasLevel = map(gasLevel, 0, 1023, 0, 5000) / 10.0; // opzionale: converti value in mV o scala personalizzata
  ArduinoCloud.update();
  Serial.print("Valore gas (A0): ");
  Serial.println(gasLevel);
  delay(1000);
}
5. Cloud Dashboard
- Add Widget Value for variable
GasLevel. - Add Widget Indicator to signal threshold:
Configure logic green if value below threshold, red if above.
If you use Status Indicator, you can base it on gasLevel or a boolean variable derived from the analog value (teachmemicro.com, Arduino Introduction, Arduino Forum).
🧾 Detailed Explanation
- Wiring: standard connections Vcc-GND-A0-D0 as described by various tutorials (diyi0t.com).
- Analog usage (A0) provides continuous readings, while digital (D0) is used only if a fixed threshold alarm is needed.
- Pre-amplifies the sensor for 2–5 minutes (or 24–48 hours for initial calibration) before taking reliable measurements (Arduino Introduction).
✅ In summary
- The FC-22 module (MQ-2) easily connects to Arduino to detect flammable gases and smoke.
- The connection diagram is simple and standard.
- On Arduino IoT Cloud, it is possible to send the analog value
GasLeveland create a remote dashboard with security indicators. - The code shown allows for an analog read and cloud upload every second.
Tutorial: How to use FC-22 Module with MQ-2 Sensor
The FC-22 module with MQ-2 sensor is a useful device for detecting smoke, methane, and other flammable gases. Ideal for home or industrial security projects.
What you need
- Arduino
- USB Type B cable
- Soldering iron
Steps
- Connect the FC-22 module to the Arduino using the VCC, GND, and SIG pins.
- Download and install the Adafruit_Sensor library if it is not already installed.
- Insert the example sketch provided with the library into your Arduino IDE.
- Compile and upload the source code to your Arduino.
- Open the serial monitor to view the sensor values.
- Check that the sensor reacts appropriately to changes in gas concentration.
- Adjust the alarm threshold according to your needs.
- Test the system with test gases (if available).
Example code
void setup() {
  Serial.begin(9600);
}

void loop() {
  int val = analogRead(A0); // Verifica sul datasheet per la corretta lettura del pin SIG.
  Serial.println(val);
}
Mini project
Create a home alarm system with the MQ-2 sensor and a Wi-Fi module. The device sends an email or message notification when it detects gas.
Common mistakes
- Do not connect the sensor pins correctly.
- Ignore the initial calibration of the sensor.
- Use excessively high gas concentrations to test the device.
- Omit the installation of the necessary library for the sensor.
Recommended accessories
- ESP8266 Wi-Fi Module
- Li-Po Batteries for Portable Power
- Relay to Activate Alarm Devices
- OLED Display to Show Sensor Data
Frequently asked questions
Can the sensor detect specific gases like CO?
Check the datasheet to see if the MQ-2 sensor supports carbon monoxide.
How can I improve the accuracy of my tests?
Calibrate the sensor in environments with known gas concentrations and adjust the alarm thresholds.
Reviews
There are no reviews yet.