 EN
 IT Italiano
 ES Español
 FR Français
 DE Deutsch
Description
What it is
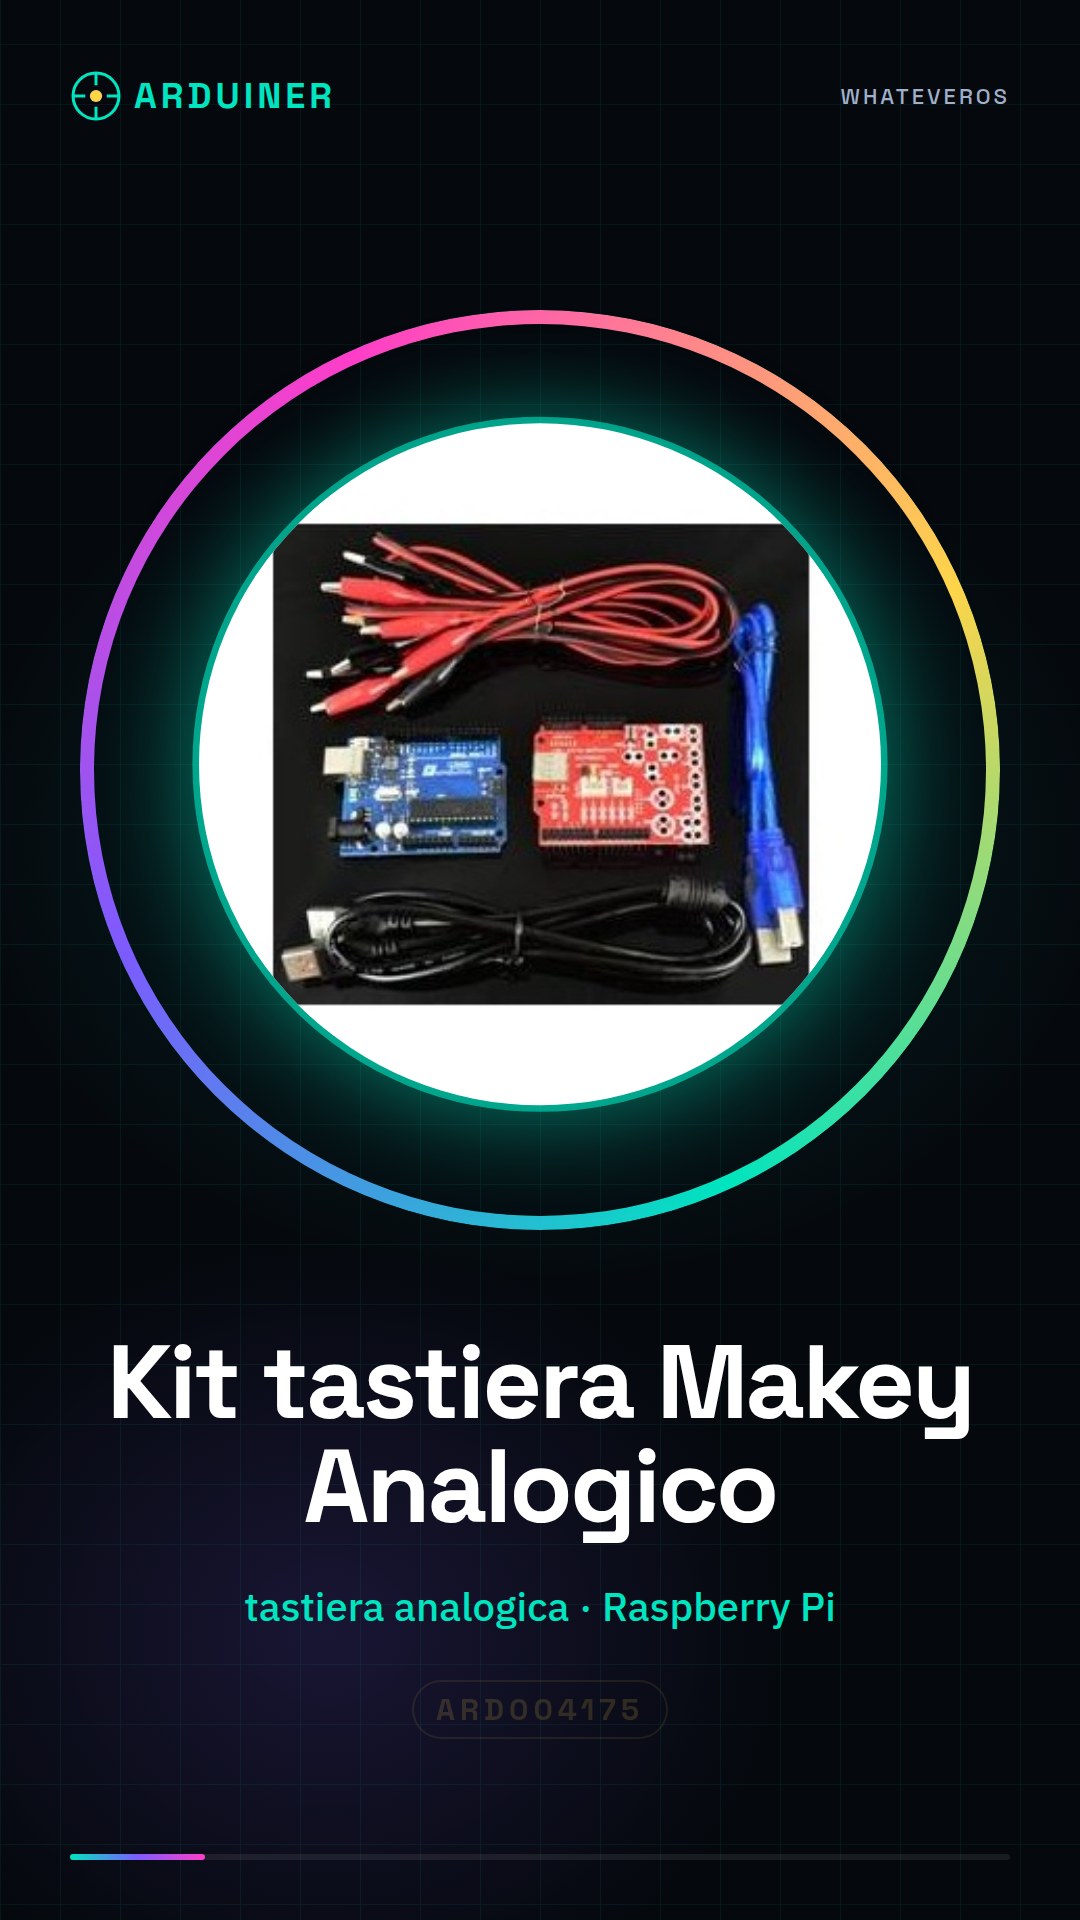
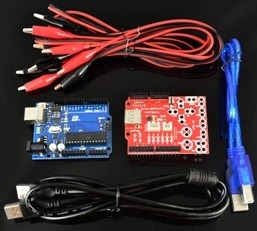
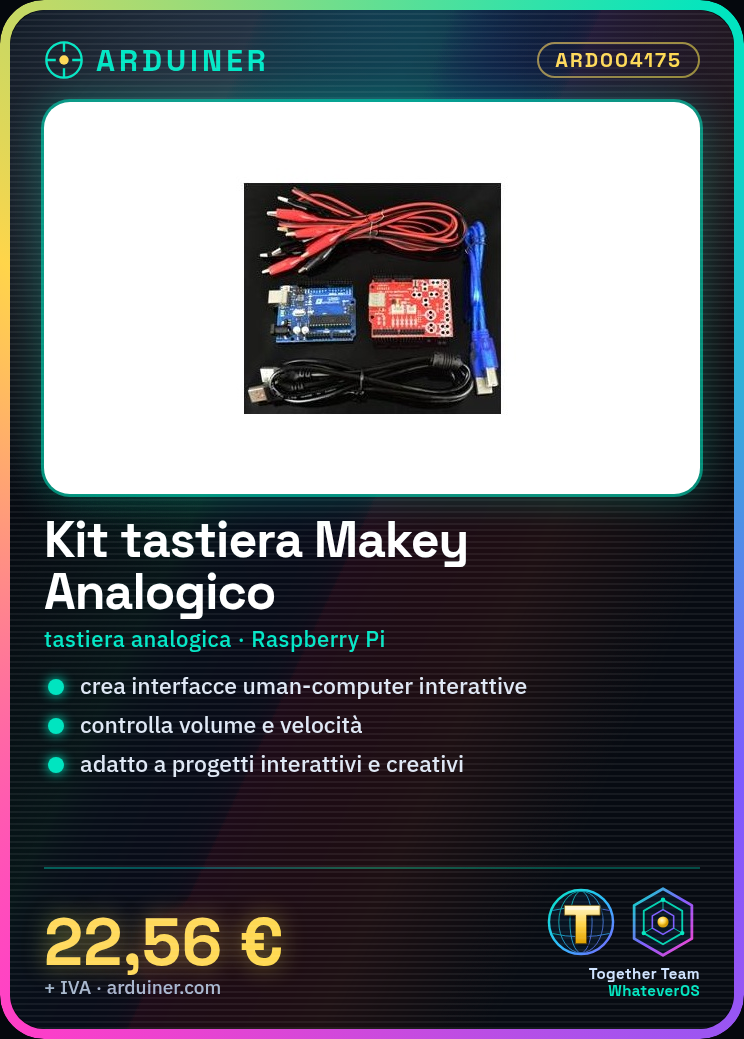
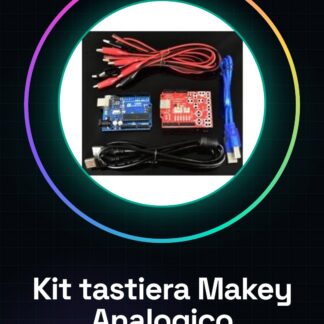
The Makey Analog Touch Keyboard Kit is a device that allows you to create interactive human-computer interfaces with Arduino and Raspberry Pi. This kit includes an analog touch keyboard, ideal for interactive and creative projects.
Features
- Ideally suited for controlling continuous variables such as volume or speed;
- Compatible with Arduino and Raspberry Pi;
What it is for
It is used to create custom interfaces that allow you to control variables in an analog way. For example, it can be used to develop small games where the keys of the keyboard control the speed and direction of movement of a character.
Tutorial: How to Use Makey Analog Touch Keyboard Kit
The touch analog keyboard kit is ideal for interactive and creative projects that require control over volume, speed, or any other continuous variable. It is perfect for both beginners and more experienced makers looking to explore physical interaction with devices.
What you need
- Arduino Uno
- USB A-MicroB cable
- Aluminum foil or conductive objects
Steps
- Connect the kit to the Arduino board using a USB A-MicroB cable for programming.
- Check the connections between the kit’s pins and those of the Arduino according to the datasheet specifications. For example, connect GND to GND and VCC to 5V or 3.3V (check the datasheet).
- Write an Arduino sketch that reads analog values from the keyboard kit.
- Save your project and upload it to the Arduino.
- Test the functionality of the keyboard kit by interacting with conductive objects such as aluminum foil or other metallic materials.
- Adapt the sketch to use the values read from the keyboard kit in a specific application, for example to control the volume of music or move a character in a game.
Example code
void setup() {
  Serial.begin(9600);
}

void loop() {
  int val = analogRead(A0); // Verifica sul datasheet per l'interfaccia corretta.
  Serial.println(val);
}
Mini project
Create a small game where the keys of this kit control the speed and direction of movement of a character.
Common mistakes
- Do not check the connections between the kit and the Arduino.
- Use non-conductive objects to interact with the kit.
- Ignore the analog values received from the kit.
- Omit uploading the sketch to Arduino.
Recommended accessories
- Aluminum foil
- Variety Sensor Kit
- 3D Printer for creating custom keyboards
- Arduino Starter Kit
Frequently asked questions
How can I use this kit with a Raspberry Pi?
You can connect it similarly to how you would with Arduino, but make sure to use Python software to read the analog values.
Can I use any conductive object with this kit?
Yes, you can use any object that is capable of conducting electrical current to interact with the keyboard kit.
Reviews
There are no reviews yet.