 EN
 IT Italiano
 ES Español
 FR Français
 DE Deutsch
Description
Technical Specifications
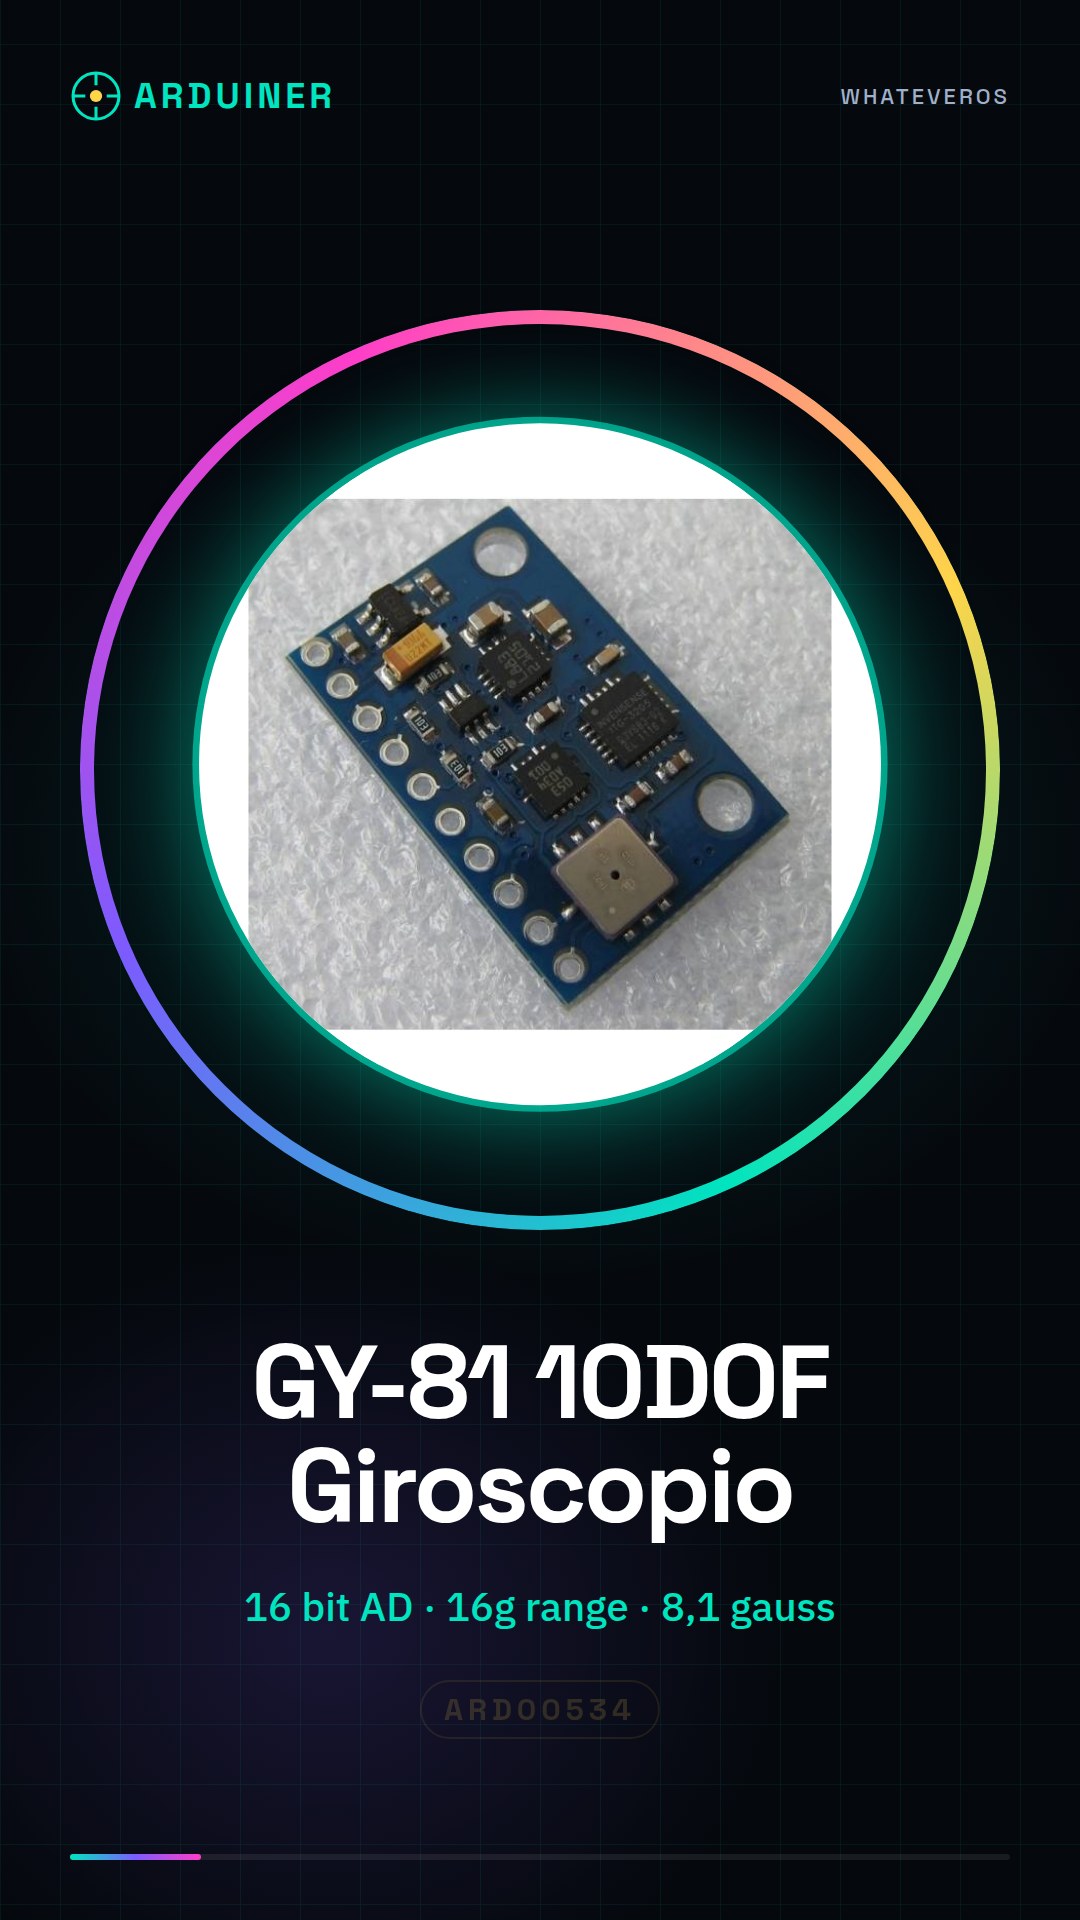
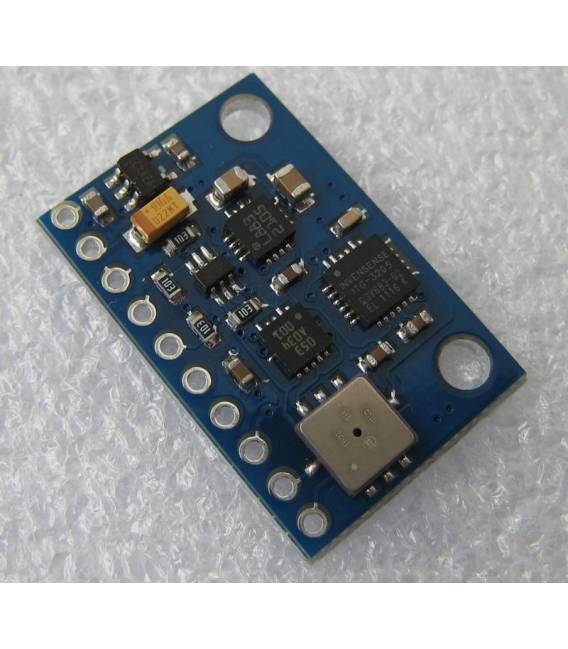
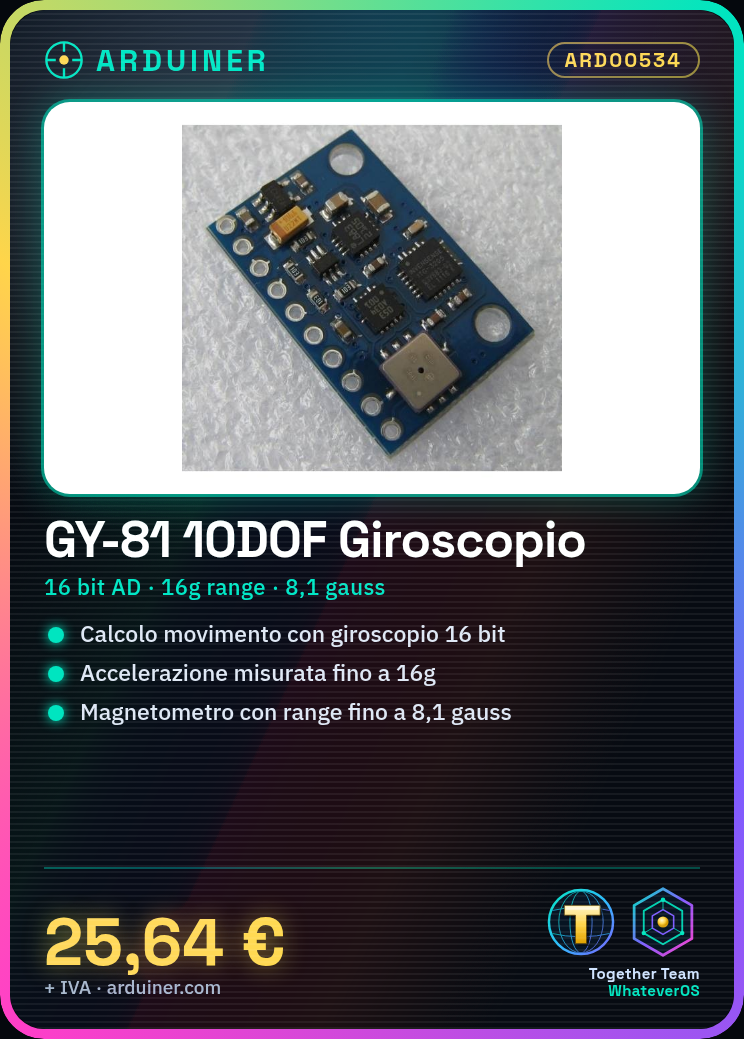
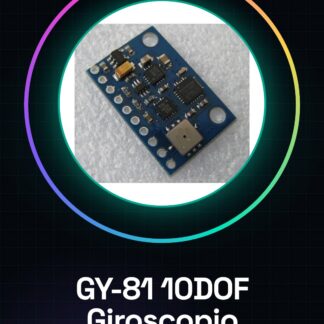
The GY-81 module is a 10 degrees of freedom (10DOF) device that integrates an ITG3200/ITG3205 gyroscope, a BMA180 accelerometer, an HMC5883L magnetometer, and a BMP085 pressure sensor. This module is designed to monitor movement and orientation in applications requiring high precision and stability. The GY-81 provides 16-bit data for the gyroscope, accelerometer, and magnetometer, allowing for accurate reading of movement parameters.
The module uses the I2C interface for communication with the microcontroller. The presence of an integrated 16-bit AD converter ensures high resolution and accuracy in measurements. The module is designed to be easily integrated into Arduino projects and other microcontroller systems.
The GY-81 is suitable for applications requiring measurement of rotational angles, acceleration, magnetic orientation, and atmospheric pressure data. It is used in robotics projects, remote-controlled vehicles, navigation systems, and other areas where movement precision is crucial.
Key Specifications
| Parameter | Value |
| Model | GY-81 |
| Quantity | 1 |
| Gyroscope | ITG3200/ITG3205 |
| Accelerometer | BMA180 |
| Magnetometer | HMC5883L |
| Pressure Sensor | BMP085 |
| Interface | I2C |
| A/D Converter | 16-bit Integrated |
| Dimensions | N/D (see manufacturer’s technical sheet) |
| Container | N/D (see manufacturer’s technical sheet) |
Installation and Usage
- Install the GY-81 module driver on the PC.
- Connect the Arduino to the computer via a USB cable.
- Load the example sketch onto the Arduino module.
- Verify communication between Arduino and GY-81 in Serial Monitor.
- Follow the specific project configuration steps.
Compatibility and Requirements
- The GY-81 module is compatible with Arduino and other microcontroller systems that support the I2C interface.
- A USB cable is required for the connection between Arduino and computer.
- The Arduino IDE software is required to load the source code.
- For 3D printing of mechanical components, a CAD software is recommended.
- An OLED display can be used for sensor data visualization.
Limitations and Important Notes
- The module does not support the SPI interface.
- Data accuracy may be affected by extreme environmental conditions.
- Ensure I2C settings are correctly configured before using the module.
- Serial communication may be compromised by driver issues or incorrect settings.
Troubleshooting
Serial communication error.
Probable cause: Incorrect I2C settings.
Solution: Verify and correct I2C settings in the Arduino code.
Incorrect sensor data.
Probable cause: Extreme environmental conditions.
Solution: Detect and correct environmental conditions that may affect the data.
Module does not respond.
Probable cause: Drivers not installed correctly.
Solution: Install the necessary drivers for the GY-81 module.
Error during connection.
Probable cause: Damaged USB cable.
Solution: Replace the USB cable with a working one.
Use cases
Garage parking sensor
Objective: Monitor the orientation and position of the vehicle in the garage.
What you need: GY-81, Arduino, OLED display.
Steps: 1) Install the GY-81 module. 2) Connect the OLED display. 3) Load the example code. 4) Configure the OLED display. 5) Test the system.
Expected result: The system monitors the orientation of the vehicle in the garage.
Robot Navigation System
Objective: Guide a robot along a precise path.
What you need: GY-81, Arduino, DC motor.
Steps: 1) Install the GY-81 module. 2) Connect the DC motor. 3) Load the example code. 4) Configure the DC motor. 5) Test the system.
Expected result: The system guides the robot along a precise path.
Drone Stabilization System
Objective: Maintain stability of a drone during flight.
What you need: GY-81, Arduino, propellers.
Steps: 1) Install the GY-81 module. 2) Connect the propellers. 3) Load the example code. 4) Configure the propellers. 5) Test the system.
Expected result: The system maintains stability of the drone during flight.
Motion control system for prototypes
Objective: Monitor and control the movement of mechanical prototypes.
What’s needed: GY-81, Arduino, servomotors.
Steps: 1) Install the GY-81 module. 2) Connect the servomotors. 3) Load the example code. 4) Configure the servomotors. 5) Test the system.
Expected result: The system monitors and controls the movement of mechanical prototypes.
Orientation system for remote control vehicles
Objective: Orient a remote control vehicle along a path.
What’s needed: GY-81, Arduino, DC motors.
Steps: 1) Install the GY-81 module. 2) Connect the DC motors. 3) Load the example code. 4) Configure the DC motors. 5) Test the system.
Expected result: The system orients the remote-controlled vehicle along a path.
Domestic robot movement monitoring system
Objective: Monitor the movement of domestic robots.
What’s needed: GY-81, Arduino, distance sensors.
Steps: 1) Install the GY-81 module. 2) Connect the distance sensors. 3) Load the example code. 4) Configure the distance sensors. 5) Test the system.
Expected result: The system monitors the movement of domestic robots.
Navigation system for road vehicles
Objective: Guide a vehicle along a road path.
What’s needed: GY-81, Arduino, DC motors.
Steps: 1) Install the GY-81 module. 2) Connect the DC motors. 3) Load the example code. 4) Configure the DC motors. 5) Test the system.
Expected result: The system guides the vehicle along a path on the road.
Motion control system for mechanical prototypes
Objective: Control the movement of mechanical prototypes.
What’s needed: GY-81, Arduino, servomotors.
Steps: 1) Install the GY-81 module. 2) Connect the servomotors. 3) Load the example code. 4) Configure the servomotors. 5) Test the system.
Expected result: The system controls the movement of mechanical prototypes.
In the package
- 1 piece
Complete the project
- GY-91 MPU9250 BMP280 10DOF 9 axis Digital Gyroscope Accelerometer Compass Sensor Module: The GY-91 is another 10DOF module that can be used in similar projects to the GY-81.
- MMA7660 3 Axis Digital Triaxial Accelerometer Gyroscope Module: The MMA7660 is a 3-axis accelerometer module that can be used as an alternative for less complex projects.
- ITG3205 3-Axis Gyroscope IC Integrated Circuits: The ITG3205 is a 3-axis gyroscope that can be used separately for projects that require only rotation data.
- 3-Axis Accelerometer Module, Model GY-61 ADXL335 Chip for Arduino
- GY-521 MPU-6050 3-Axis Digital Gyroscope 6DOF Module
Technical FAQs
What are the necessary I2C settings for the GY-81 module?
I2C settings must be correctly configured in the Arduino code to ensure communication with the module.
How can I resolve a serial communication error with the GY-81 module?
Check and correct the I2C settings in the Arduino code.
What components are required to use the GY-81 module?
To use the GY-81 module, you need Arduino, USB cable, and optionally an OLED display for data visualization.
What are the precision limits of the GY-81 module?
Data accuracy can be affected by extreme environmental conditions, such as temperature and humidity.
Tutorial: How to use GY-81 10DOF Multi-sensor Module
The GY-81 module combines gyroscope, accelerometer, and magnetometer to monitor movement and orientation. Perfect for beginners.
What you need
- Arduino
- USB A-MicroB Cable
- Arduino IDE Software
Steps
- Install the GY-81 module driver on the PC.
- Connect the Arduino to the computer via USB cable.
- Upload the example sketch to the module.
- Check the communication between Arduino and GY-81 in Serial Monitor.
Example code
void setup() {
 Serial.begin(9600);
}

void loop() {
 // Leggi i dati dal GY-81 e inviala via seriale.
}
Mini project
Build a remote-controlled vehicle that automatically orients itself.
Common mistakes
- Serial communication error
- Incorrect I2C settings
- Driver not installed correctly
Recommended accessories
- Arduino Uno R3
- 3D Printer for mechanical projects
- OLED Display to show sensor data
- LiPo Batteries for external power
Frequently asked questions
Is the GY-81 compatible with Raspberry Pi?
Yes, but it requires the installation of specific libraries.
What other modules can be added to the GY-81?
You can add a GPS module or a temperature module for more complete projects.
Reviews
There are no reviews yet.