 EN
 IT Italiano
 ES Español
 FR Français
 DE Deutsch
Description
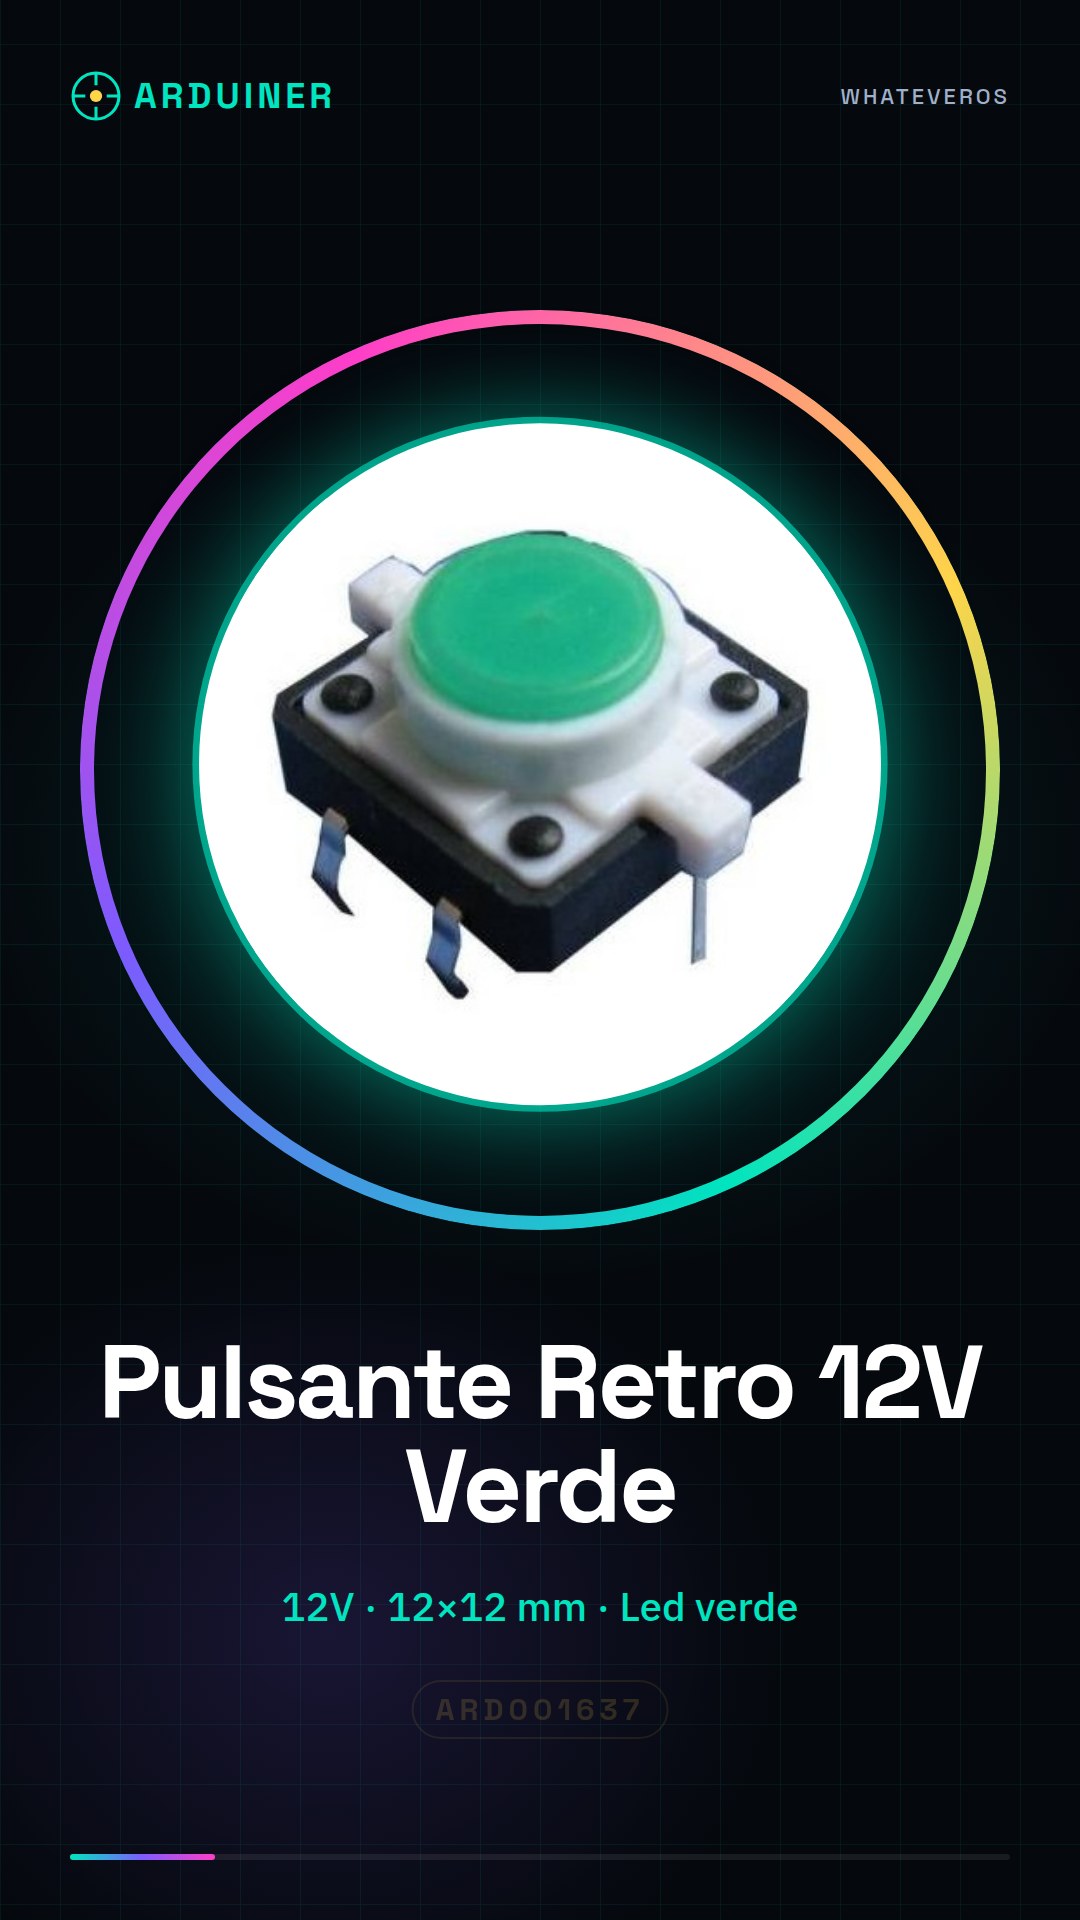
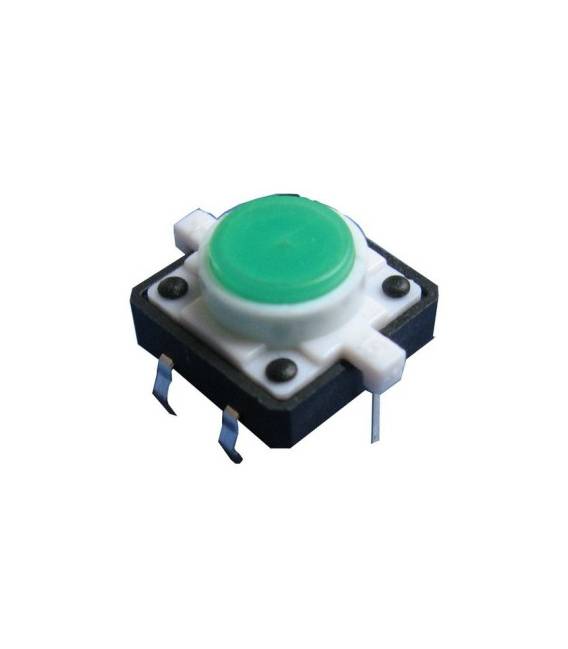
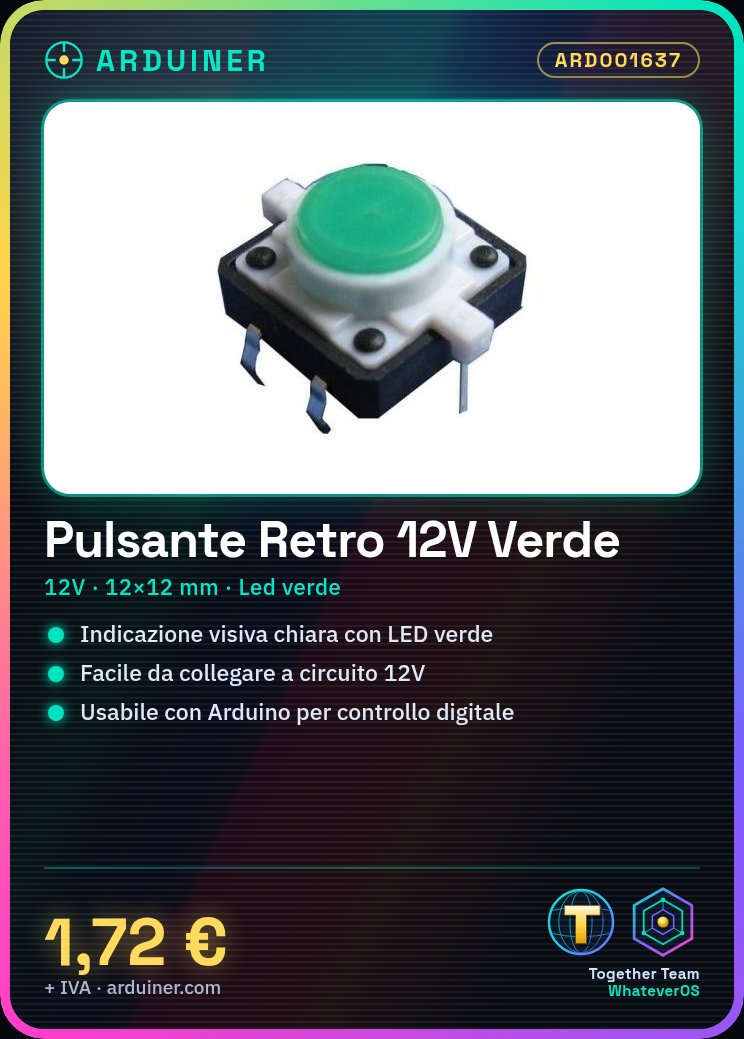
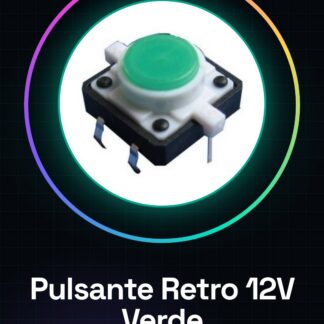
Backlit Button with Color Green LED 12v Size 12×12
We have datasheets available for all components, should the datasheet not be present in the product download sheet, send us a message through the contact us form and we will publish it as soon as possible on our website.
Tutorial: How to use Backlit Green Button 12V
The backlit green button at 12V is ideal for home or industrial electronics projects where a clear visual indication is required. This component is particularly useful for beginners who wish to add an interactive function to their devices.
What you need
- Arduino Uno
- USB A-Micro B Cable
- Backlit Green Button 12V
Steps
- Connecting the backlit button to the 12V power circuit
- Connecting the logic side of the button (control pins) to a digital pin of the Arduino
- Write an Arduino sketch to read the state of the button and manage the lighting
- Verify that the internal LED is on when the button is pressed
- Test the function with various inputs
Example code
void setup() {
  pinMode(2, INPUT_PULLUP);
}

void loop() {
  if (digitalRead(2) == LOW) {
    digitalWrite(LED_BUILTIN, HIGH);
  } else {
    digitalWrite(LED_BUILTIN, LOW);
  }
}
Mini project
Create a home alarm system that activates a siren when the button is pressed. Insert a red LED as an indicator of the active alarm.
Common mistakes
- Connect the button to a voltage lower than specified
- Do not verify the polarity of the internal LED
- Omit the use of pull-up or pull-down resistors for the Arduino digital pin
- Ignore the instructions in the datasheet for proper backlighting
Recommended accessories
- Variable resistors
- Motion sensors
- 12V relay
- 12V siren
Frequently asked questions
How can I control the brightness of the internal LED?
Check the datasheet for any dedicated pins for brightness control.
Can the button be used with voltages lower than 12V?
Check the datasheet to verify if the component is compatible with lower voltages.
Reviews
There are no reviews yet.