 EN
 IT Italiano
 ES Español
 FR Français
 DE Deutsch
Description
What it is
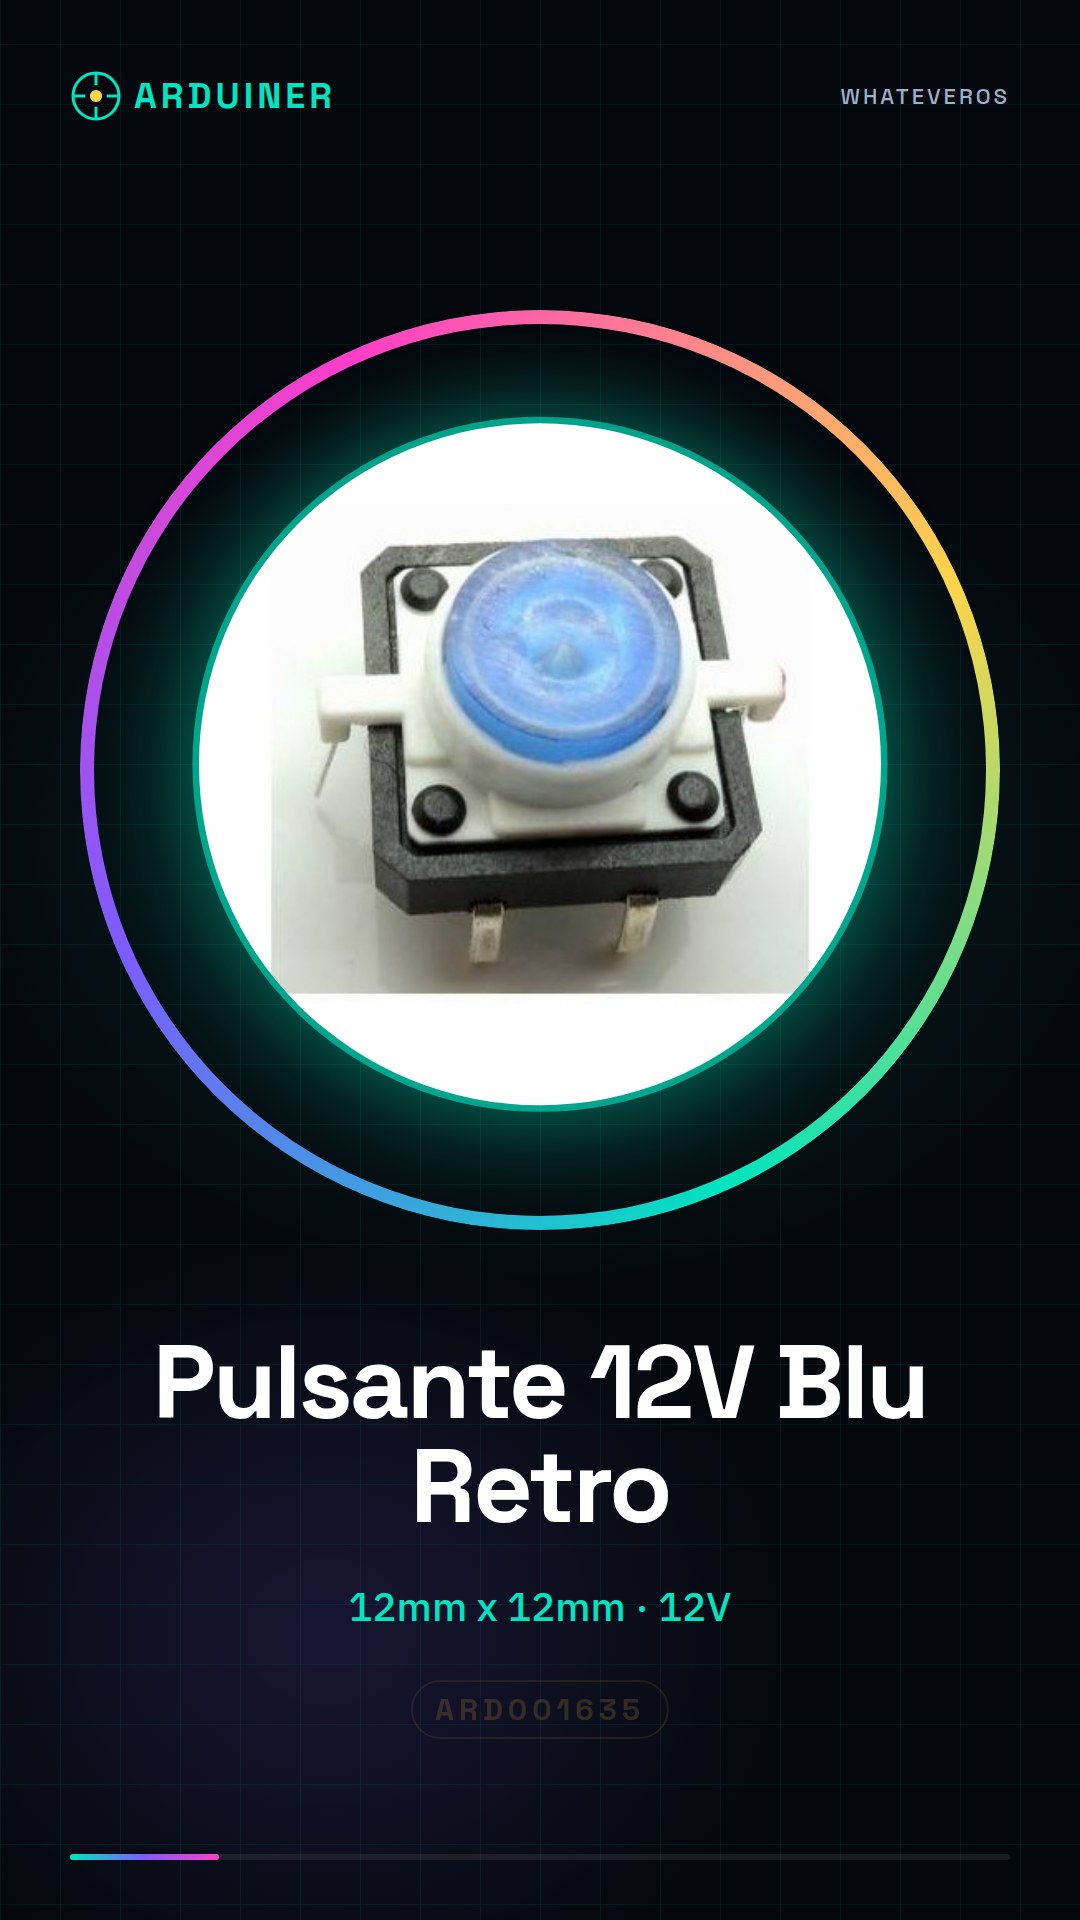
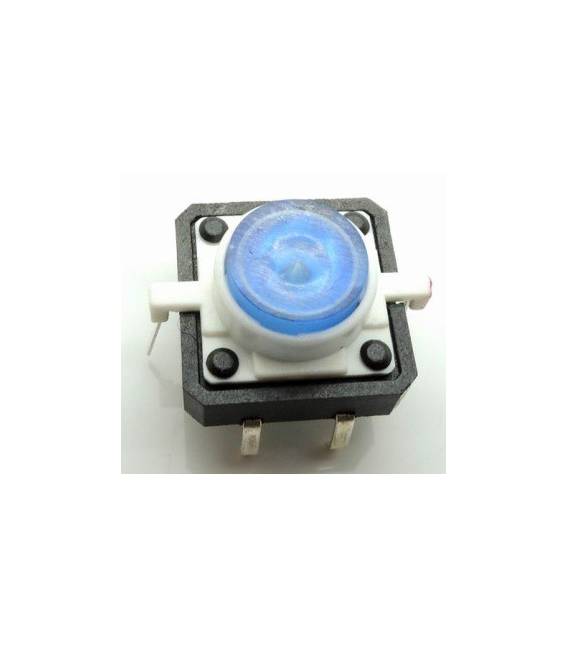
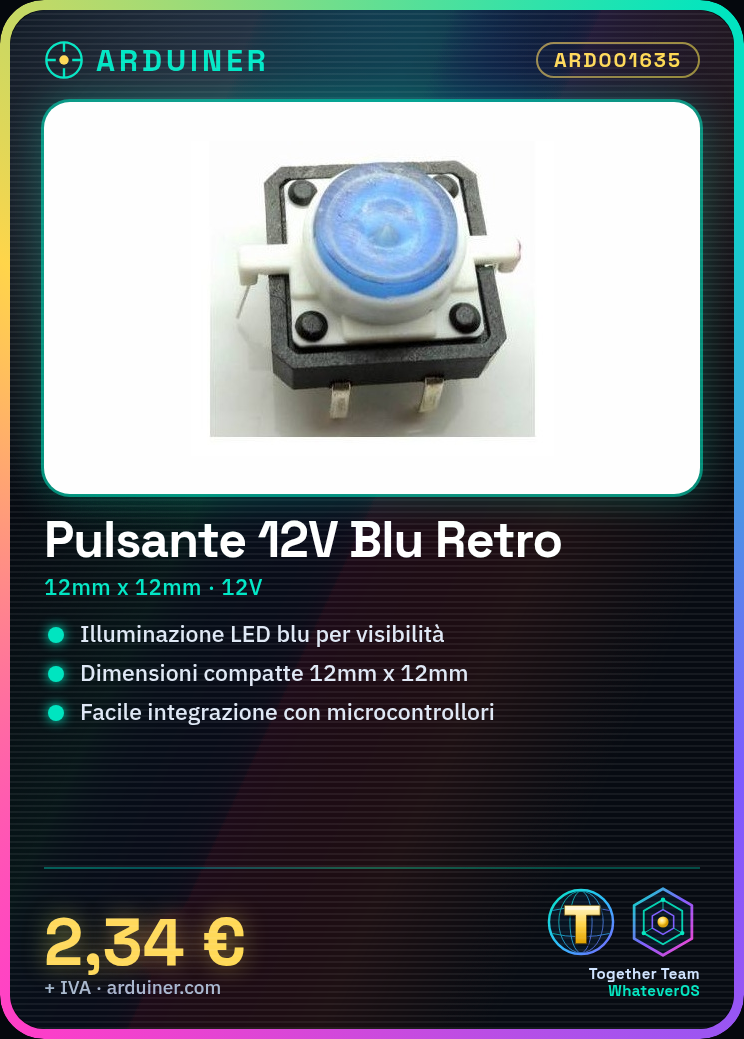
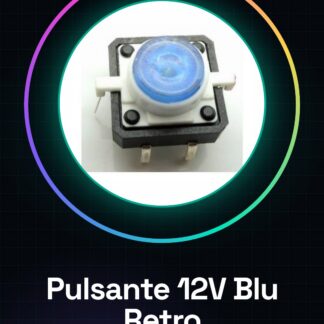
The illuminated blue button with LED at 12V is an electronic component designed to add an interactive and visually appealing feature to your projects. This button, featuring internal blue lighting, makes user interactions clearer and more engaging.
Features
- Diameter: 12mm x Height: 12mm
- Supply Voltage: 12V
What it is for
This illuminated button is ideal for projects requiring clear and engaging visual interactions. You can use it in various contexts, such as touch screens or illuminated controls. It is suitable for both beginners and experts, offering easy integration with Arduino or other microcontrollers.
Tutorial: How to Use Blue Illuminated Button
The blue illuminated button is ideal for electronic interactivity projects, such as touch screens or illuminated controls. This component is suitable for both beginners and more experienced makers.
What you need
- Arduino Uno
- USB Connection
- Jumper Cable M/F
- 12V Battery
Steps
- Connect the two contacts of the button (without LED) to the input pin of the Arduino and to GND.
- Check the operating voltage of the button (check on the datasheet).
- If necessary, add a resistor between the button and the power supply to limit the current.
- Connect the contacts of the LED to the 12V power pin and to GND through an appropriate resistor (check on the datasheet).
- Download the provided Arduino sketch and upload it to the microcontroller.
- Test the button by pressing it to see if the output changes correctly on Serial Monitor.
- If necessary, adjust the LED backlighting according to the project requirements.
Example code
const int buttonPin = 2; // pin di input
int buttonState = 0;
void setup() {
pinMode(buttonPin, INPUT);
Serial.begin(9600);}
void loop() {
buttonState = digitalRead(buttonPin);
Serial.println(buttonState);
}
Mini project
Create a backlit timer with the button: press to start and stop the time count.
Common mistakes
- Use an inadequate voltage.
- Do not add protection resistors.
- Connect the LED without considering the maximum allowed current.
Recommended accessories
- Resistor for LED
- Arduino Starter Kit
- Breadboard
Frequently asked questions
How can I control the color of the lighting?
The button has only blue lighting. It is not possible to change its color.
Can I use a power supply different from 12V?
Check the datasheet for compatibility with other voltages.
Reviews
There are no reviews yet.