 EN
 IT Italiano
 ES Español
 FR Français
 DE Deutsch
Description
What it is
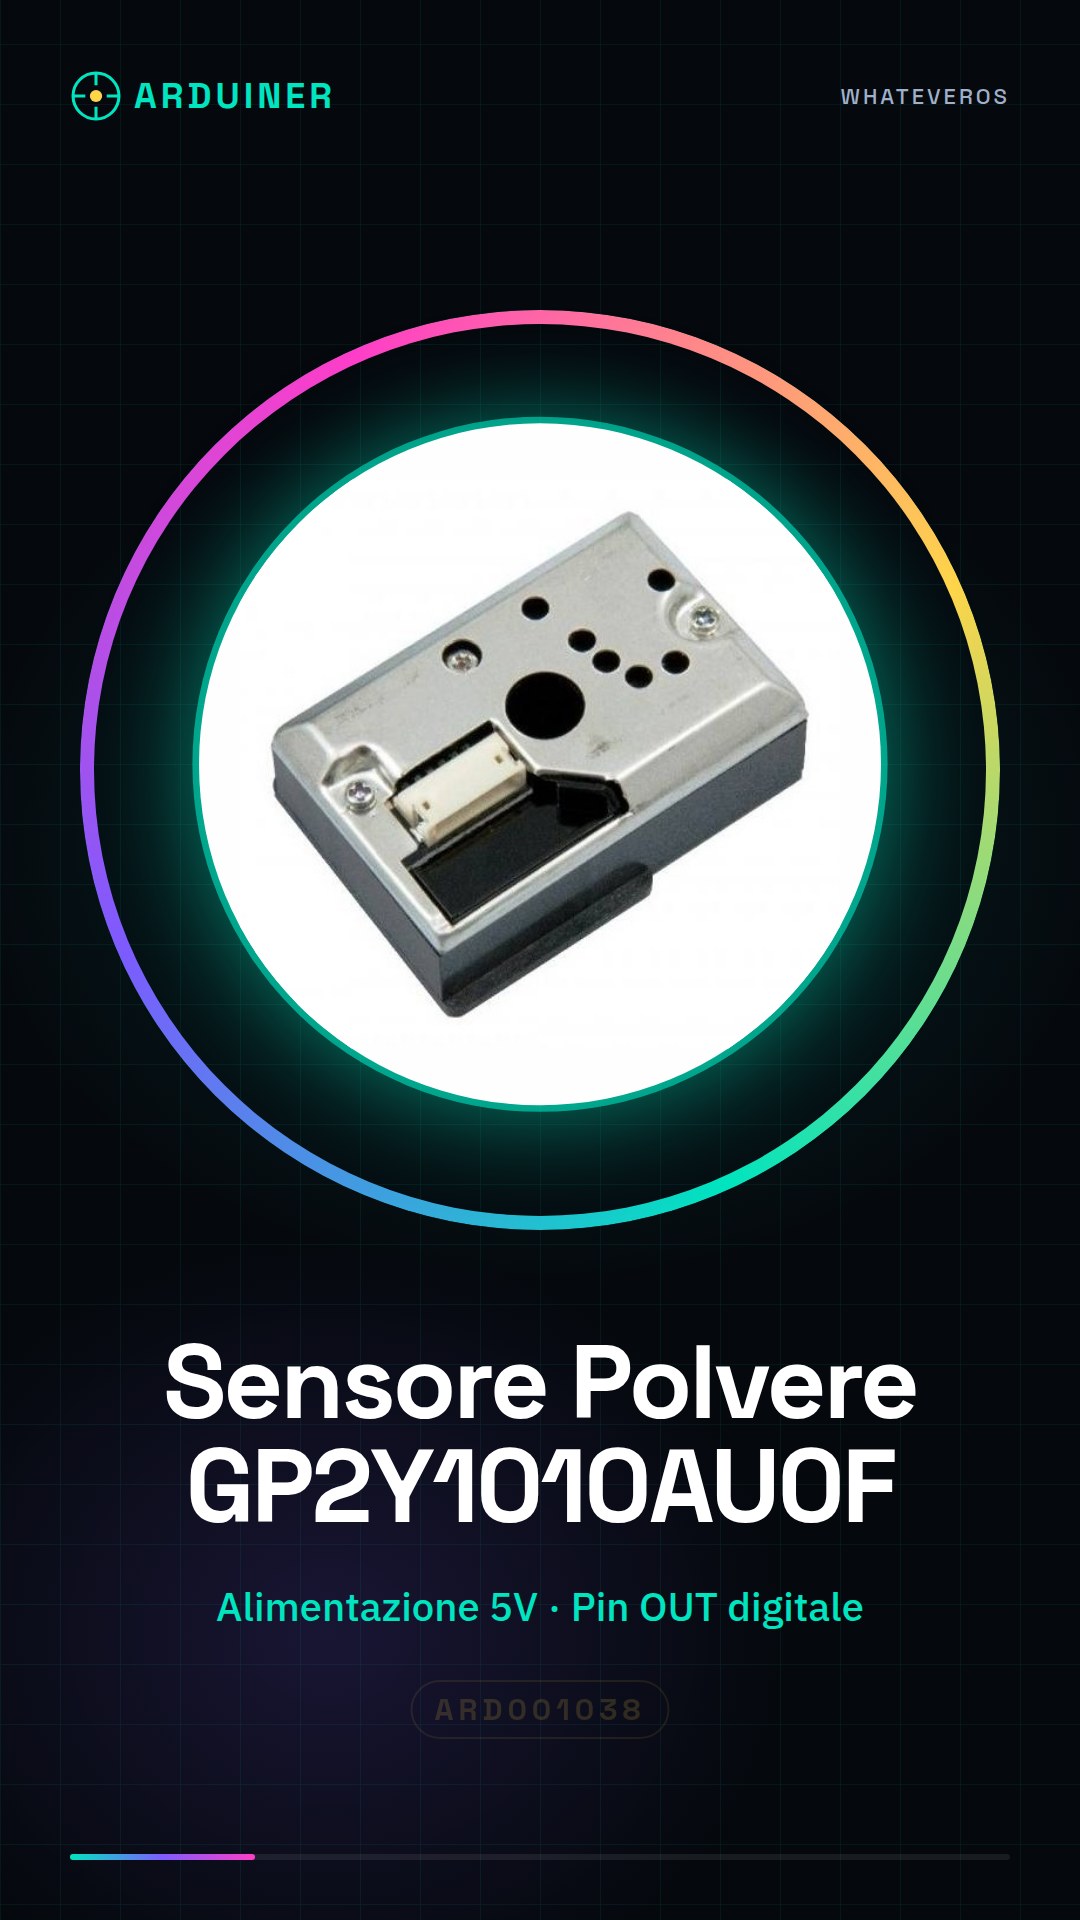
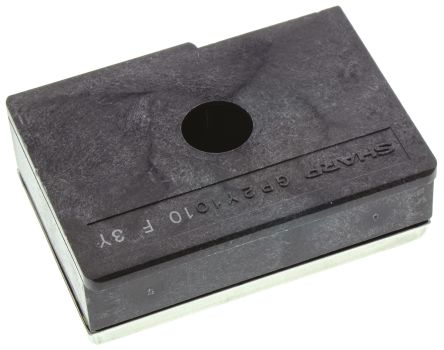
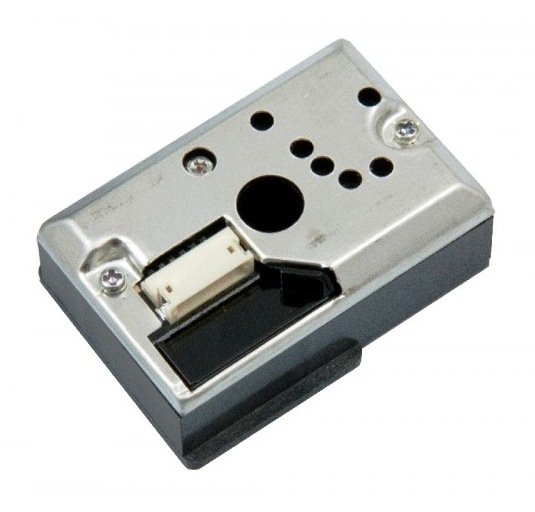
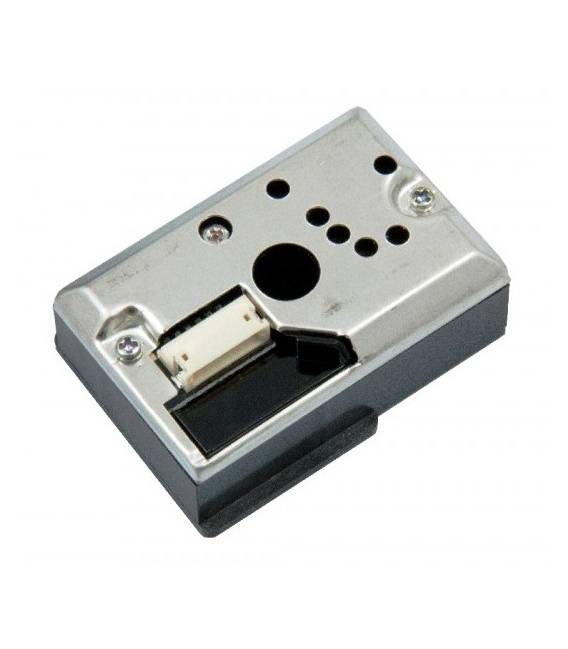
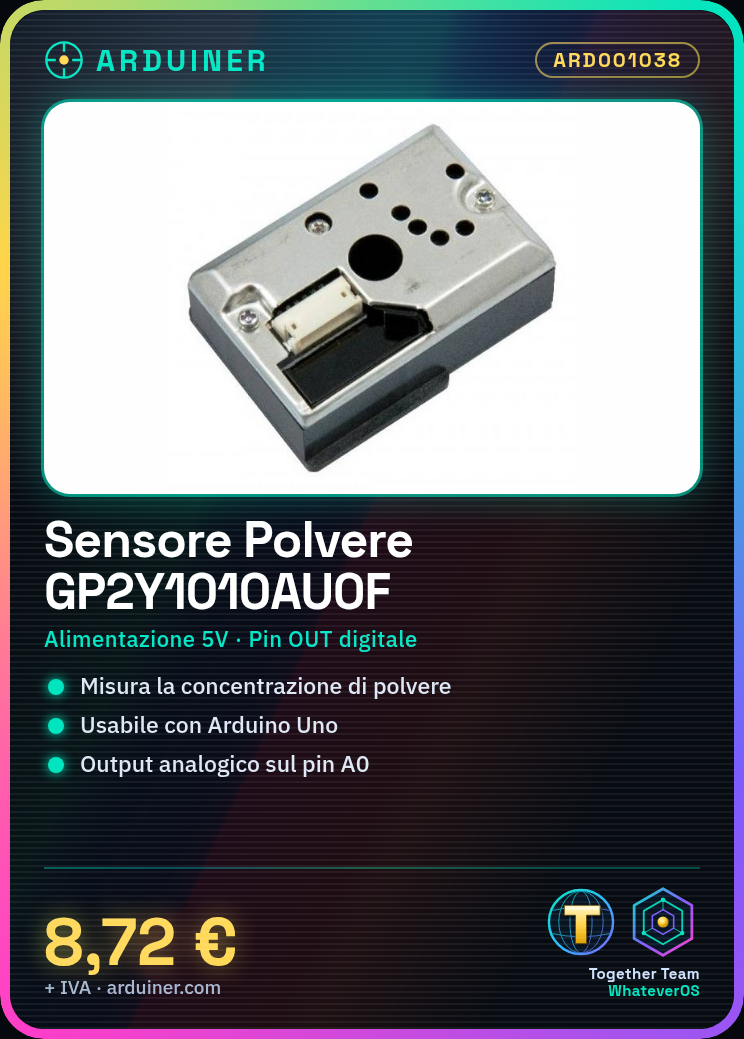
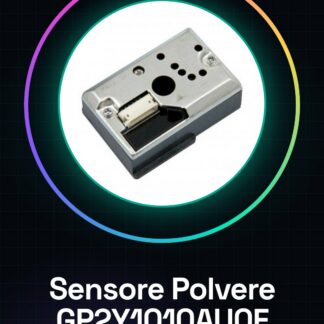
The GP2Y1010AU0F optical dust sensor is a component used to measure air quality, specifically the concentration of suspended particulate matter. This sensor is ideal for projects that require air quality monitoring in domestic or industrial environments.
Features
- Measures dust concentration in the air;
- Ideally suited for Arduino and other microcontroller projects;
- High resolution for accurate measurements;
What it is for
This sensor can be used to create weather stations that monitor air quality in real-time. It is compatible with Arduino and other microcontrollers, making it an essential component for environmental monitoring projects.
Tutorial: How to use the GP2Y1010AU0F Optical Dust Sensor
The GP2Y1010AU0F optical dust sensor is a crucial component for monitoring air quality in domestic or industrial environments. Ideal for both beginners and experts, this sensor allows for measuring the concentration of suspended particulate matter in the air with high resolution.
What you need
- Arduino Uno
- USB A-Micro B cable
- Connect to computer
Steps
- Connect the GP2Y1010AU0F sensor to the Arduino Uno: VCC to 5V, GND to GND, OUT to a digital pin.
- Open Arduino IDE and install the Adafruit Unified Sensor library.
- Upload the example sketch for the GP2Y1010AU0F sensor to the Arduino Uno.
- Check that the sensor output is displayed correctly on the Arduino IDE serial monitor.
- Modify the sketch to send sensor data to an online data collection platform such as ThingSpeak or Adafruit IO.
- Create a real-time dust level graph in the air using the data received from the data collection platform.
- Install a data visualization software like Grafana to analyze long-term trends.
- Try to integrate the sensor with other IoT devices to create a complete sensor network.
Example code
void setup() {
  Serial.begin(9600);
}

void loop() {
  int value = analogRead(A0); // Leggi il valore dal sensore GP2Y1010AU0F
  Serial.println(value);      // Invia il valore al monitor seriale
}
Mini project
Create a home weather station that monitors air quality in real-time, integrating the GP2Y1010AU0F dust sensor with a temperature and humidity sensor.
Common mistakes
- Make sure the sensor is correctly powered at 5V.
- Check that the necessary library is installed in the Arduino IDE.
- Check the connections between Arduino and sensor to avoid short circuits.
- Use a software or hardware filter to reduce noise in the sensor data.
Recommended accessories
- Temperature and Humidity Sensor DHT11
- ESP8266 WiFi Module
- 0.96″ I2C OLED Display
- 3.7V LiPo Battery
Frequently asked questions
How can I increase the sensitivity of the sensor?
Check the datasheet for sensitivity specifications and consider using a hardware/software filter.
Does the sensor measure only suspended particulate or also other gases?
The GP2Y1010AU0F is primarily designed for measuring suspended dust, not gases.
Reviews
There are no reviews yet.