 EN
 IT Italiano
 ES Español
 FR Français
 DE Deutsch
Description
What it is
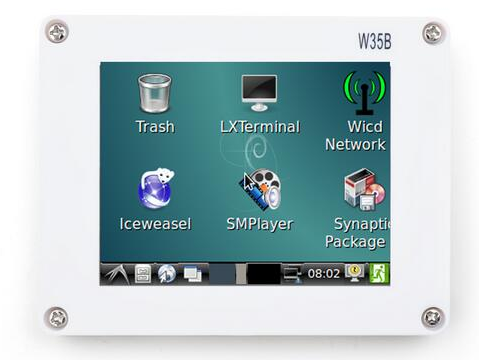
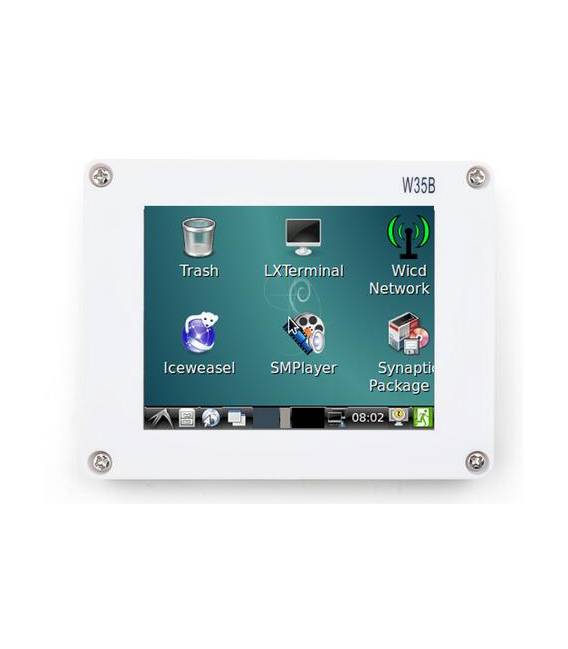
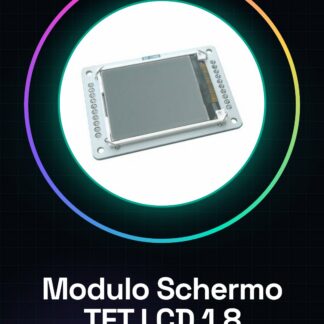
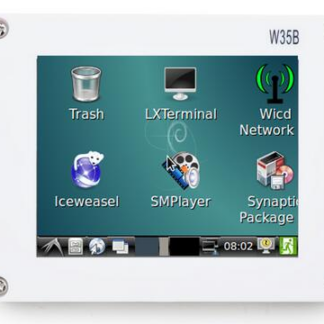
The 3.5 inch resistive touch Friendly LCD is a display suitable for electronic projects and prototypes that require a simple visual user interface. This device allows the display of information and interaction through a resistive touchscreen.
Features
- Type: LCD TFT
- Screen Size: 3.5 inches
- Touch: Resistive Touch
What it is for
Ideally used to create projects that require simple visualization and user interaction such as a stopwatch or countdown timer. Compatible with Arduino and other similar microcontrollers.
Tutorial: How to use 3.5 inch Friendly LCD with Resistive Touch
This display allows you to view information and interact with your project through a resistive touchscreen. Useful for projects that require a simple and visual user interface.
What you need
- Arduino
- Shield Cable for Arduino
- 10kΩ Resistor
- Coin Holder
Steps
- 1. Installation: Attach the display to your Arduino using the 16 pins.
- 2. Connection: Connect VCC to 5V, GND to GND, TX to RX (or to a digital pin) and a 10kΩ resistor between the touch pin VCC and GND.
- 3. Insert the coin holder.
- 4. Load the code onto Arduino.
- 5. Configure the display with the datasheet instructions.
- 6. Try writing text or numbers.
- 7. Add touch interactions.
- 8. Check the datasheet for additional options.
Example code
```
#include <ILI9341_t3.h>

ILI9341_t3 tft = ILI9341_t3(D1, D2, D3, D4, D5, D6, D7, D8, D9, D10, D11, D12, D13, D14, D15, D16);
void setup() {
  tft.begin();
  tft.println("Benvenuto!");
}
void loop() {}
```
Mini project
Create a simple stopwatch. Set a countdown of 60 seconds, displaying the remaining time on the display.
Common mistakes
- Do not use a resistor other than 10kΩ.
- Ensure the display is properly connected.
- Check that the voltage is correct (5V).
- Check the TX/RX pin configuration.
Recommended accessories
- Arduino Nano
- Shield Cable for Arduino
- Resistor 10kΩ
- LiPo Battery
Frequently asked questions
How can I update the display?
Use the function `tft.println(“New text”);` to update the display.
The display does not turn on.
Check the connection and voltage. Make sure you have inserted the battery.
Which pins to use?
Follow the datasheet instructions for the correct pin configuration.
Can I use an Arduino Uno?
Yes, but you may need to modify the pin configuration.
Reviews
There are no reviews yet.