 EN
 IT Italiano
 ES Español
 FR Français
 DE Deutsch
Description
What it is
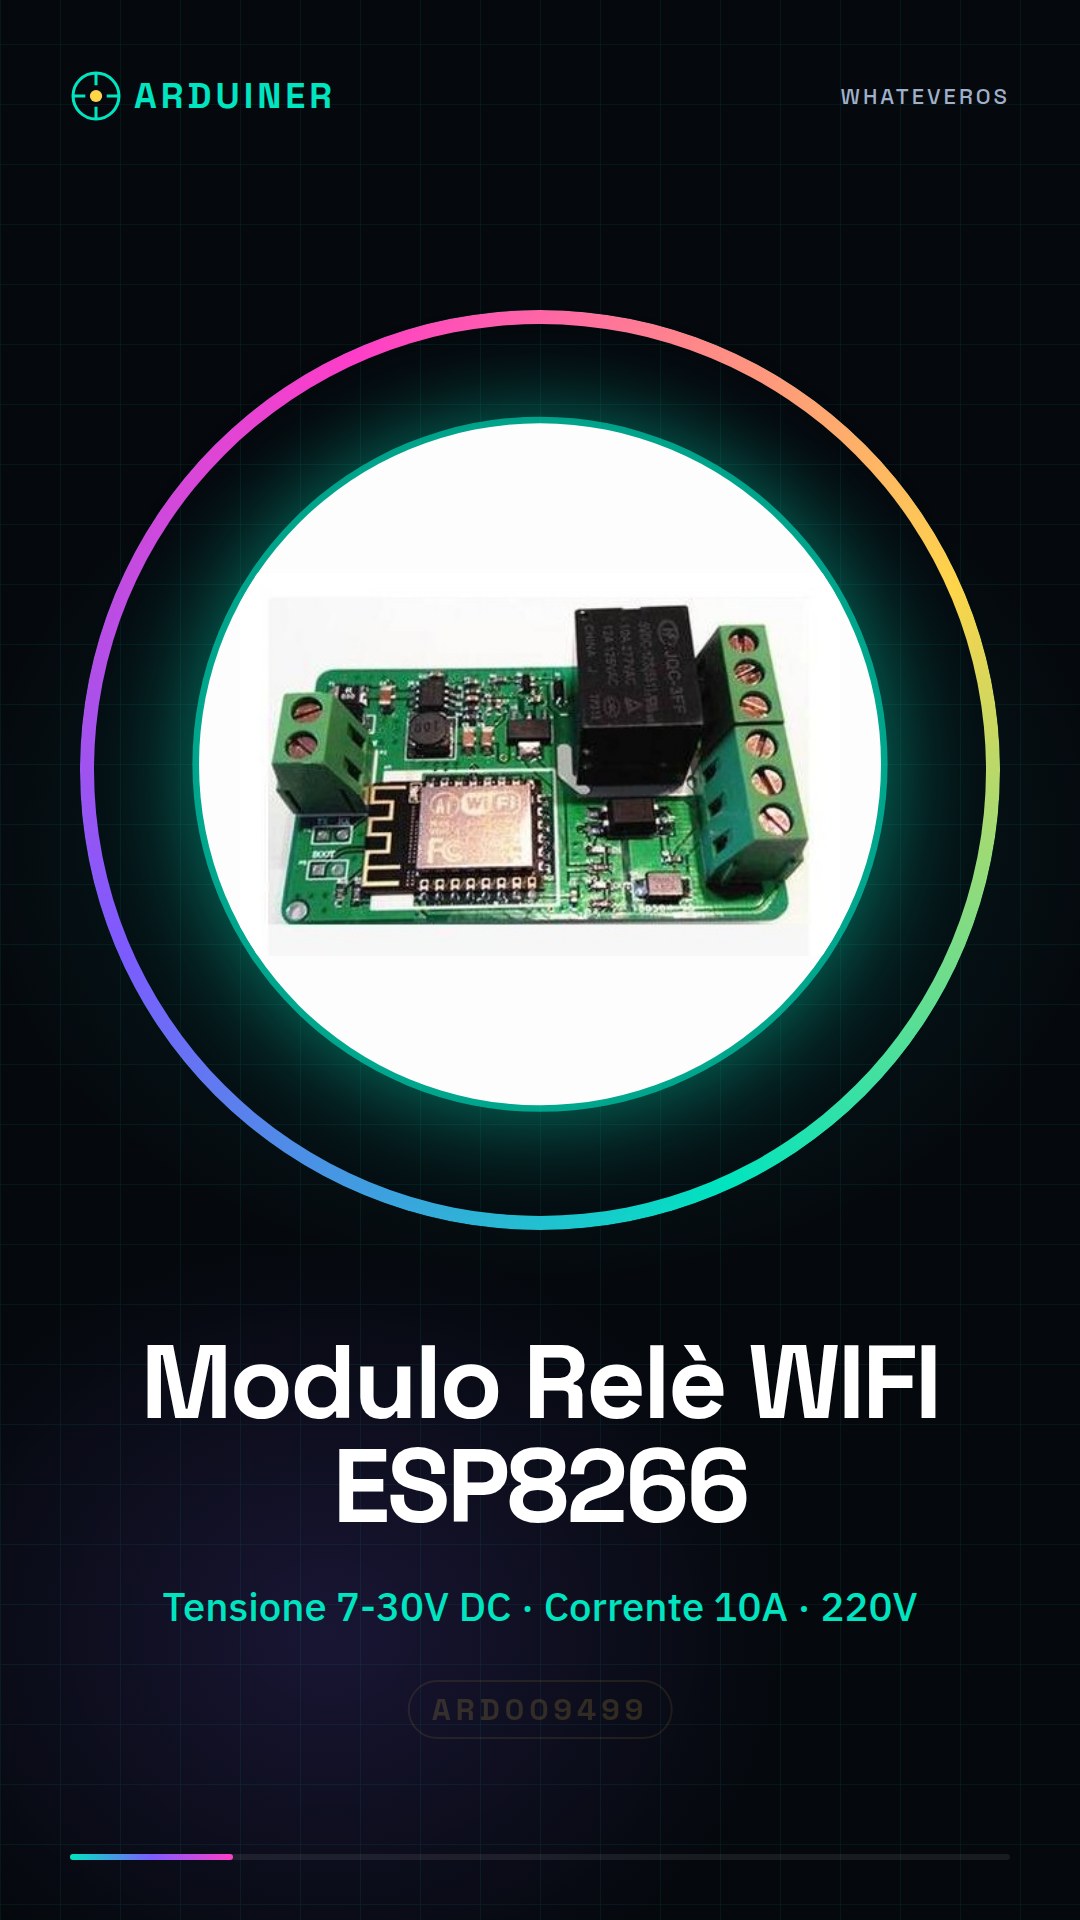
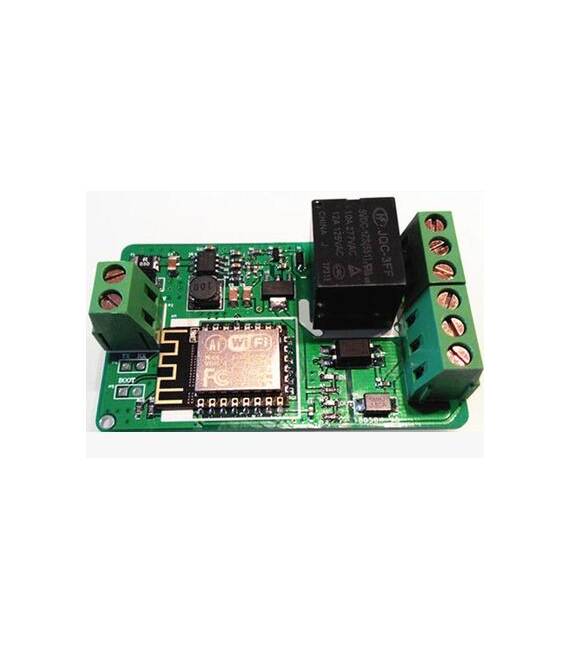
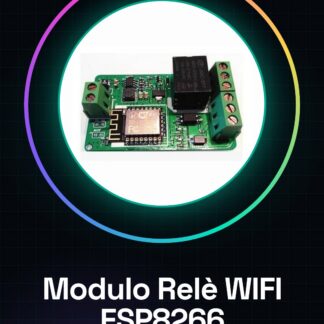
The ESP8266 WiFi Network Relay Module is a device that allows you to control electrical devices remotely through a Wi-Fi connection. This module integrates relay control with the ESP8266’s WiFi functionality, making it useful for home or industrial automation projects.
Features
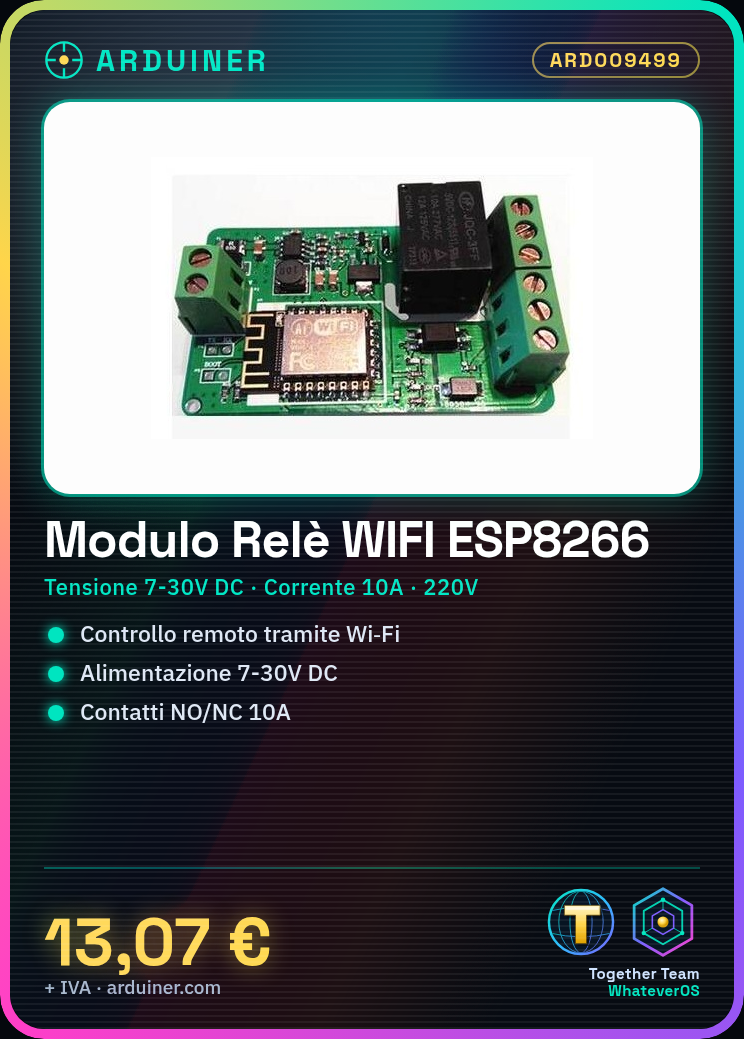
- Supply Voltage: 7 V ~ 30 V DC
- Maximum Current: 10A
- Operational Voltage: 220V
- Command Contacts: NO/NC (Normally Open / Normally Closed)
What it is for
WiFi relay modules are useful for projects that require remote control of electrical devices. You can connect this module to a lamp or electrical outlet, configure it via Arduino or ESP8266 code, and control it remotely through a mobile app.
Tutorial: How to Use ESP8266 WiFi Relay Module
The ESP8266 WiFi Relay Module is a fundamental component for anyone who wants to control electrical devices from a distance. Ideal for home or industrial automation projects, it allows remote control of loads up to 10A.
What you need
- ESP8266 WiFi Relay Module
- Arduino IDE installed
- Computer with internet connection
- USB Power Supply for ESP8266
- USB cable
Steps
- Connect the WiFi Relay Module to the USB Power Supply and then to the computer via USB cable.
- Install the ESP8266WiFi library in Arduino IDE: see online guides.
- Configure the WiFi credentials in the code (SSID, password).
- Write the code that activates/deactivates the relay via WiFi commands (see example below).
- Upload the sketch to the ESP8266 module.
- Verify the WiFi connection and the relay operation by checking the output.
- Test remote relay control via an app or web site.
- Configure automation rules (optional)
Example code
// Codice Arduino per attivare/disattivare il relè
#include <ESP8266WiFi.h>
// Verifica sul datasheet per ssid, password e pin del relè.
void setup() {
  WiFi.begin(ssid, password);
}
void loop() {
  if (WiFi.status() == WL_CONNECTED) {
    digitalWrite(relayPin, HIGH); // Attiva il relè
    delay(5000);                   // Attende 5 secondi
    digitalWrite(relayPin, LOW);   // Disattiva il relè
  }
}
Mini project
Create a remote control system for a lamp or electrical circuit: connect the module to the circuit, configure the code, and test the functionality via an app.
Common mistakes
- Incorrect WiFi credentials setup.
- Incorrect relay pin in the Arduino code.
- Insufficient power supply for the ESP8266 module.
- WiFi connection issues during installation.
Recommended accessories
- ESP8266 WebServer
- Test socket
- Test bulb
- Arduino Uno
Frequently asked questions
How can I control the relay from an app?
Use a library like Blynk or Tasmota to create a user interface.
What are the advantages of using this module compared to others?
The ESP8266 module offers integrated WiFi connectivity and low cost, making it ideal for home automation projects.

Reviews
There are no reviews yet.