 EN
 IT Italiano
 ES Español
 FR Français
 DE Deutsch
Description
What it is
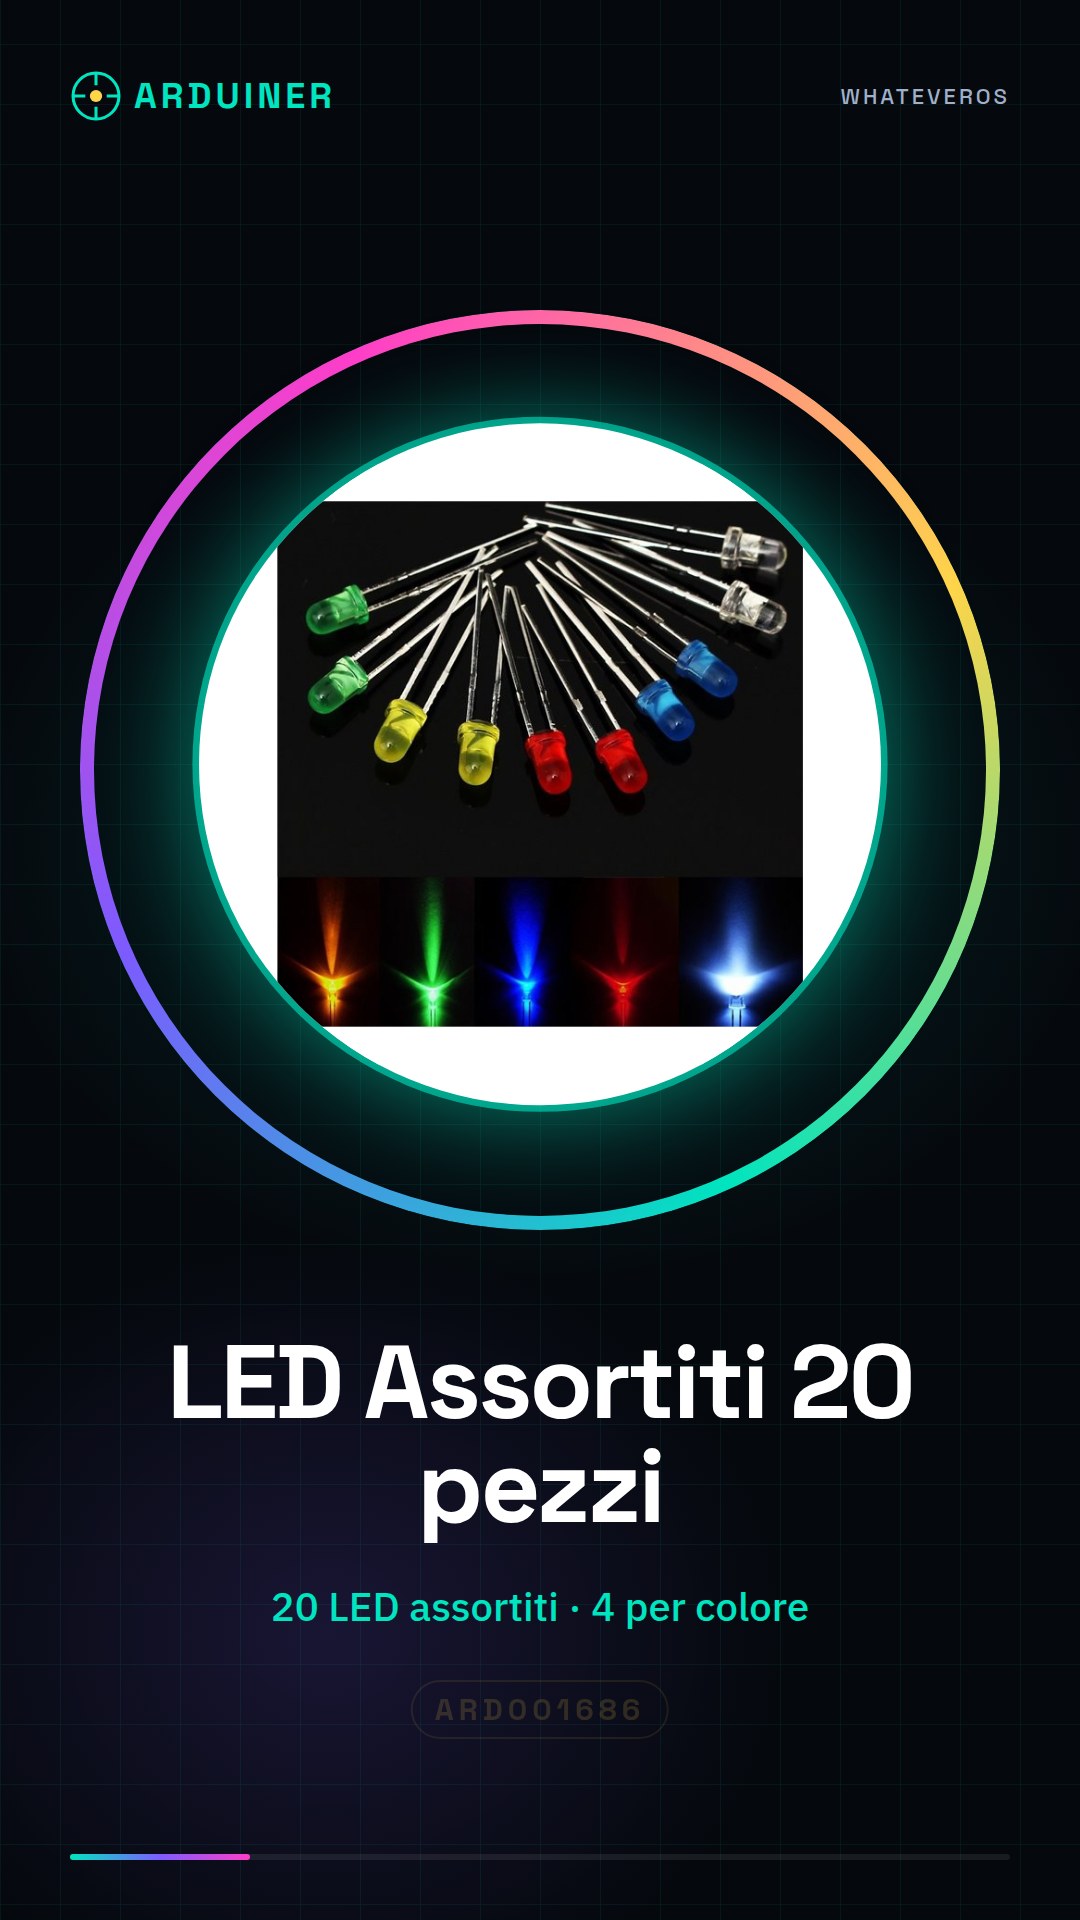
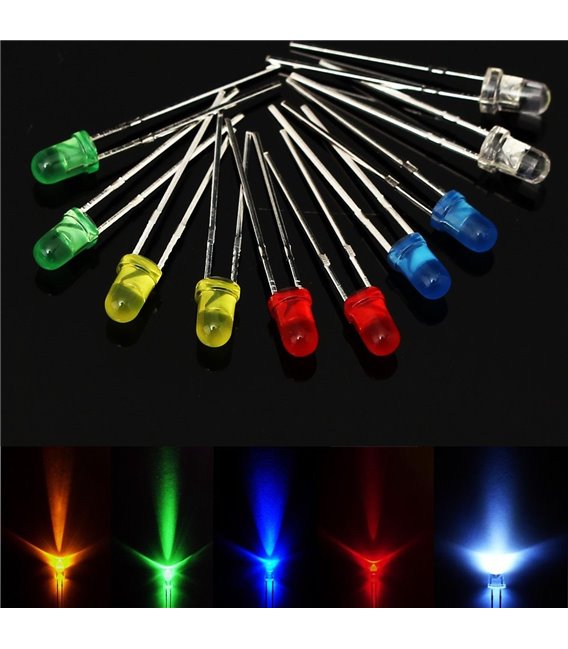
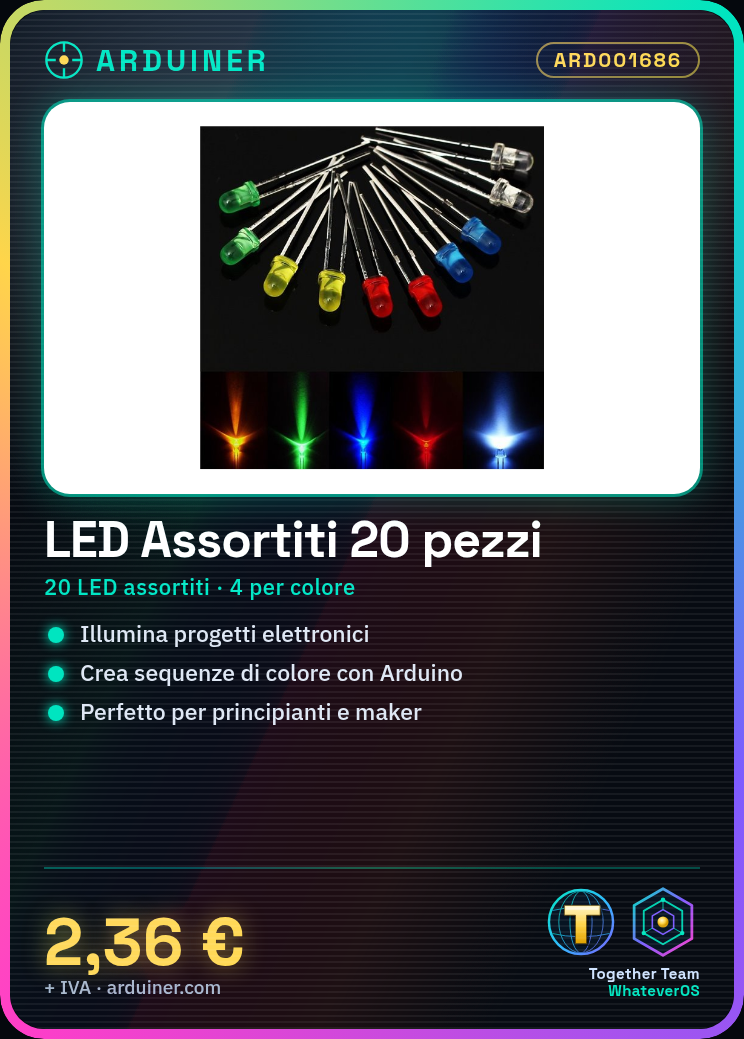
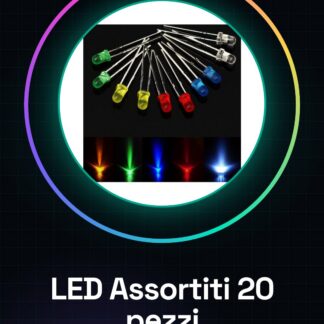
This kit contains 20 LEDs in various colors, with 4 pieces per color. They are ideal for customizing 3D printers, CNC machines, and electronic projects.
Features
- 20 Assorted LEDs (4 pieces per color)
- SKU: ARD001686
- Price: 2.36 €
What it is for
These LEDs can be used to illuminate electronic projects, such as an LED lamp controlled by Arduino. They can be connected to the output pins of Arduino and programmed to turn on and off in sequence.
Tutorial: How to Use Assorted LEDs
This kit of assorted LEDs is perfect for anyone learning to work with Arduino and wanting to illuminate their projects. With four pieces in each color, these LEDs are great for both beginners and more experienced makers.
What you need
- Arduino Uno
- Resistor / Resistance
- Connecting Wire
- Prototype Kit
Steps
- Check the specifications of your LEDs on the datasheet. Verify the maximum electrical voltage (Vf) for each color.
- Select an appropriate resistor to protect your LED. The formula is R = (Vs – Vf) / I, where Vs is the circuit supply voltage and I is the desired current through the LED.
- Connect one end of the resistor to the output pin of the Arduino that you want to use to turn on the LED. Connect the other end to the negative leg (cathode) of the LED.
- Connect the positive leg (anode) of the LED to the Arduino’s +5V power supply through a wire connection.
- Write an Arduino sketch to control the brightness and color of the LEDs. Use the digitalWrite() or analogWrite() commands.
- Check that the LED turns on correctly when you send signals to the circuit.
- Repeat steps 2-4 with LEDs of other colors to create a mix of lighting.
- Try combining more LEDs of the same color in series or parallel according to the specifications on the datasheet.
Example code
void setup() {
  pinMode(13, OUTPUT);
}

void loop() {
  digitalWrite(13, HIGH);   // accendi il LED collegato alla pin 13
  delay(1000);               // attende per un secondo
  digitalWrite(13, LOW);    // spegni il LED
  delay(1000);               // attende per un secondo
}
Mini project
Create an LED lamp controlled by Arduino. Connect different colors of LEDs to the Arduino output pins and use a sketch to turn the LEDs on or off in sequence.
Common mistakes
- Using resistors that are too small can damage the LED.
- Connect the anode to the negative pin of the LED.
- Not checking the LED specifications on the datasheet.
- Using a supply voltage higher than the maximum Vf for your LEDs.
Recommended accessories
- Variable resistors
- Arduino prototyping kit
- Colored connecting wire
- Arduino Uno
Frequently asked questions
Which resistors should I use?
The choice of resistor depends on the maximum electrical voltage (Vf) of your LED and the desired current. Use the formula R = (Vs – Vf) / I to calculate it.
How can I combine more LED colors?
You can connect the positive pins of your LEDs to a common power source and the negative pins to separate Arduino output pins.
Can I use these LEDs for 3D printing?
Yes, you can use these LEDs as status indicators or lighting for your 3D printer project.

Reviews
There are no reviews yet.