 EN
 IT Italiano
 ES Español
 FR Français
 DE Deutsch
Description
What it is
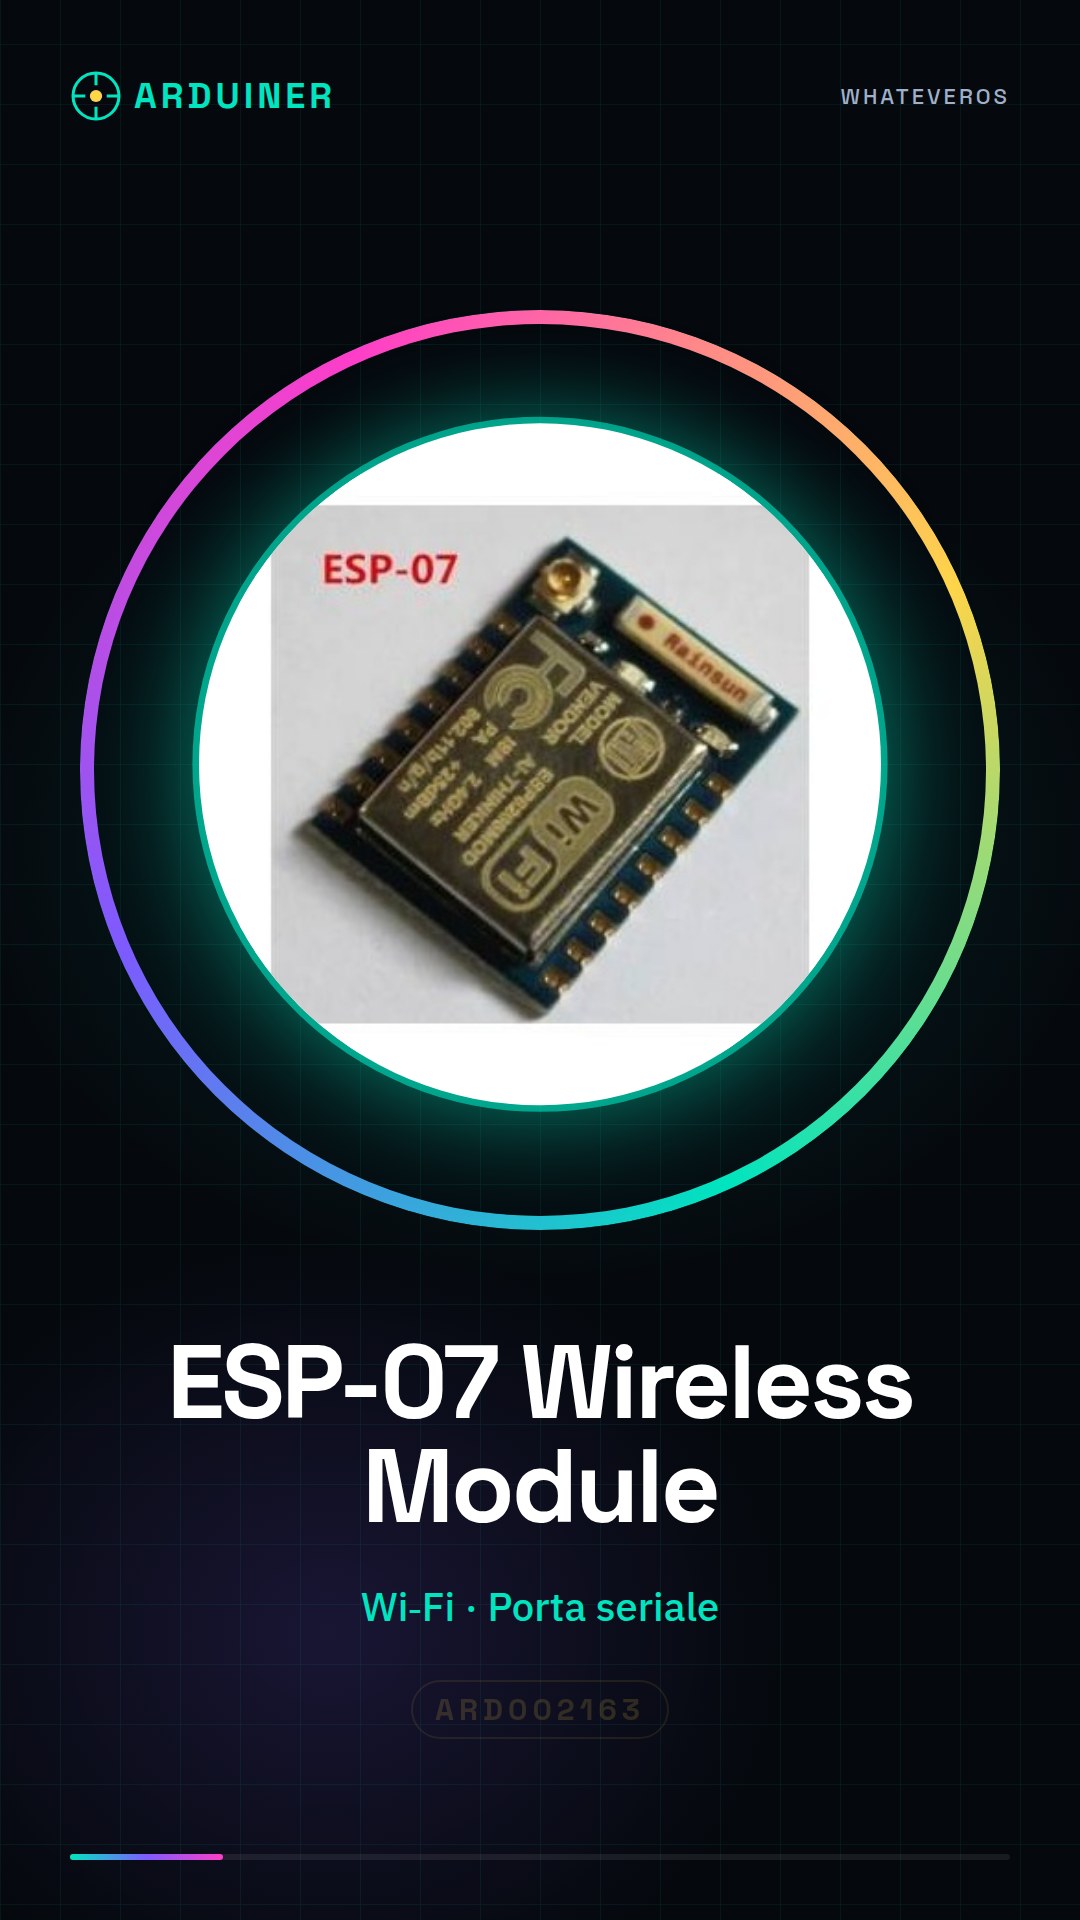
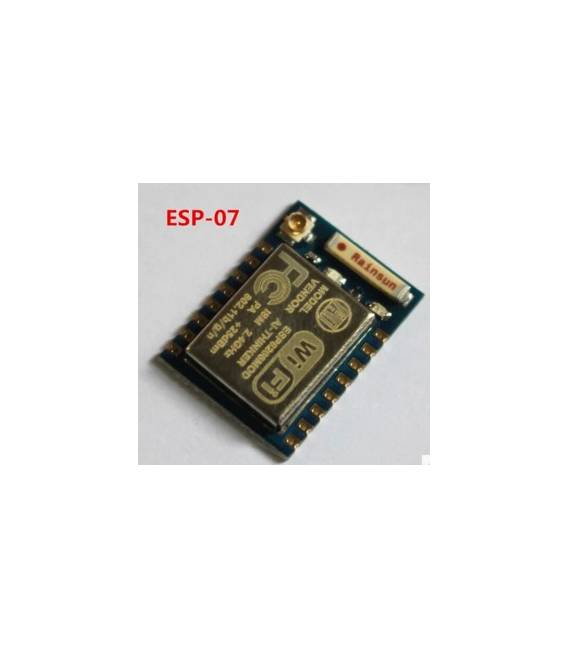
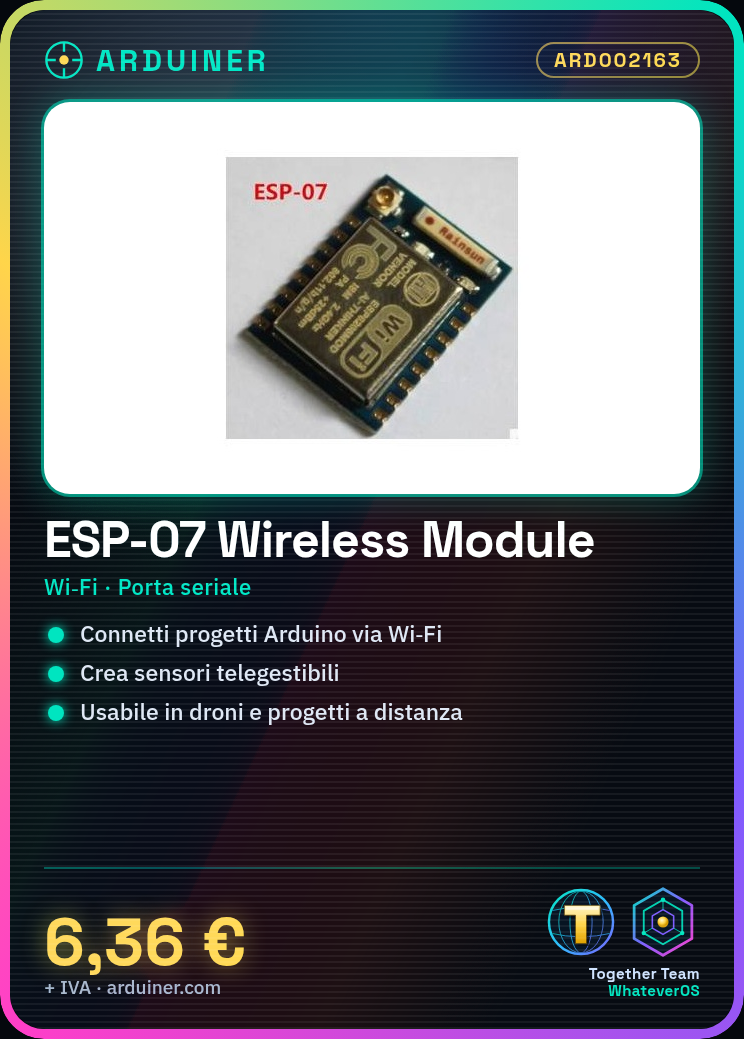
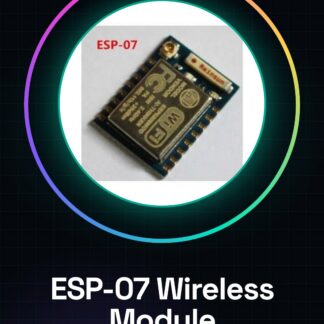
The ESP8266 ESP-07 module is a small wireless device that allows you to connect your Arduino or electronic projects to a Wi-Fi network. This module is ideal for adding remote controllable features to your devices, remote sensors, or drones with connectivity.
Features
- Small wireless ESP8266 module
- Ideally suited for use in drones and remote controllable projects
What it is for
It is used to connect your Arduino devices or other electronic projects to a Wi-Fi network, allowing you to send data remotely. It can be used to create remote controllable sensors, for example, a temperature sensor with the DHT11.
Tutorial: How to use ESP8266 ESP-07 Module
The ESP8266 ESP-07 module is a small wireless device that allows you to connect your Arduino or electronic projects to a Wi-Fi network. Perfect for those who want to create remote controllable devices, remote sensors, or drones with connectivity.
What you need
- Arduino Uno
- USB Type-A to Type-B cable
- Arduino IDE Software
Steps
- Install the ESP8266 library in the ‘libraries’ folder of the Arduino IDE.
- Connect the ESP-07 module to the Arduino serial interface via the TX and RX pins, adding pull-up resistors if necessary.
- Open the ‘WiFiEsp/examples/SerialExample’ code example in the Arduino IDE to test connectivity.
- Modify the Wi-Fi network name and password in the code according to your needs.
- Upload the sketch to your Arduino, ensuring that the ESP-07 module is powered.
- Open the serial monitor of the Arduino IDE to view debug messages and establish a Wi-Fi connection.
- Verify data reception through the computer’s serial port.
- If everything works correctly, you can start writing your custom code.
Example code
#include <ESP8266WiFi.h>

const char* ssid = "SSID";
const char* password = "PASSWORD";

void setup() {
  Serial.begin(115200);
  WiFi.begin(ssid, password);
}

void loop() {
  if (WiFi.status() == WL_CONNECTED) {
    Serial.println("Connesso!");
  }
}
Mini project
Create a remotely controllable temperature sensor. Connect a DHT11 sensor to the ESP-07 module and send temperature data via Wi-Fi to an online platform like ThingSpeak.
Common mistakes
- The correct network name or password has not been specified.
- The ESP8266 module does not respond to the computer’s serial port.
- The ESP8266 library has not been installed correctly.
- The TX and RX pins are connected in reverse, blocking communication.
Recommended accessories
- Arduino Uno
- DHT11 sensor
- 10kOhm pull-up resistors
Frequently asked questions
How can I update the firmware of the ESP8266 module?
Use the Arduino IDE and the ESP8266NonOS SDK to load a new firmware.
The module does not connect to the Wi-Fi network, what should I do?
Check that the network name and password are correct in the code. Also, ensure you have good Wi-Fi coverage in the area where you are working.
Reviews
There are no reviews yet.