 EN
 IT Italiano
 ES Español
 FR Français
 DE Deutsch
Description
Tutorial: How to Use JST Socket Connector
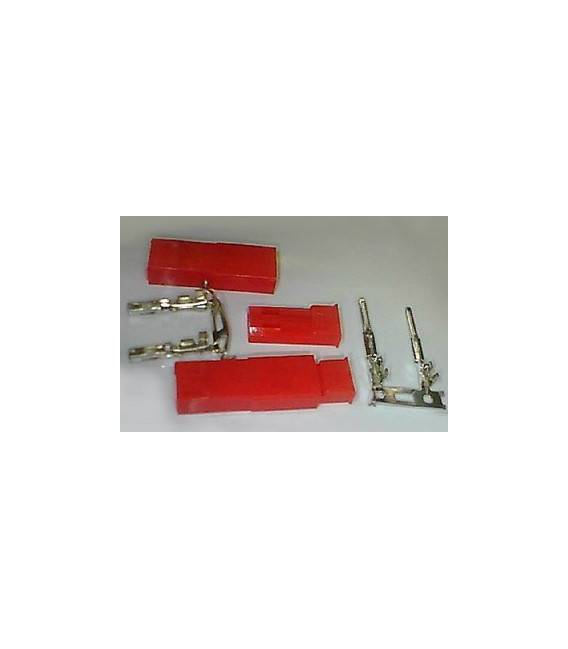
JST connectors are essential for easily connecting sensors and power supplies to your Arduino projects. This tutorial will guide you through installing these JST sockets, ideal for both beginners and more experienced makers.
What you need
- JST Socket Connector
- JST cable
- spudger tool
Steps
- Check the type and polarity of the JST connector you are trying to connect to the socket.
- If necessary, use the appropriate tools to remove any cables or components from the socket slot.
- Gently insert the JST connector into the socket, ensuring it is inserted correctly and not crooked.
- Verify the connection by checking that the signals are stable and functioning.
- If necessary, apply electrical tape around the connector to prevent any accidental shifts or damage.
Mini project
Create a portable weather sensor with Arduino that uses the JST Connector Socket to easily connect the battery and sensors.
Common mistakes
- Insert the connector into the socket in the wrong direction
- Force the insertion of the connector, causing physical damage
- Do not properly check the connection stability after installation
Recommended accessories
- JST cable
- Weather sensors
- Battery for portable projects
- Arduino Uno R3
Frequently asked questions
My connector does not connect to the socket.
Check the polarity and orientation of the connector. If necessary, use a multimeter to check the contacts.
Can I use these sockets with other types of connectors?
These sockets are specifically designed for JST connectors. Check the datasheet to see if your connector is compatible.

Reviews
There are no reviews yet.