 EN
 IT Italiano
 ES Español
 FR Français
 DE Deutsch
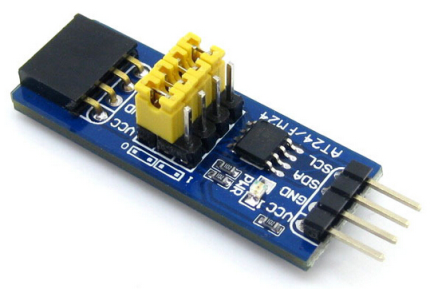
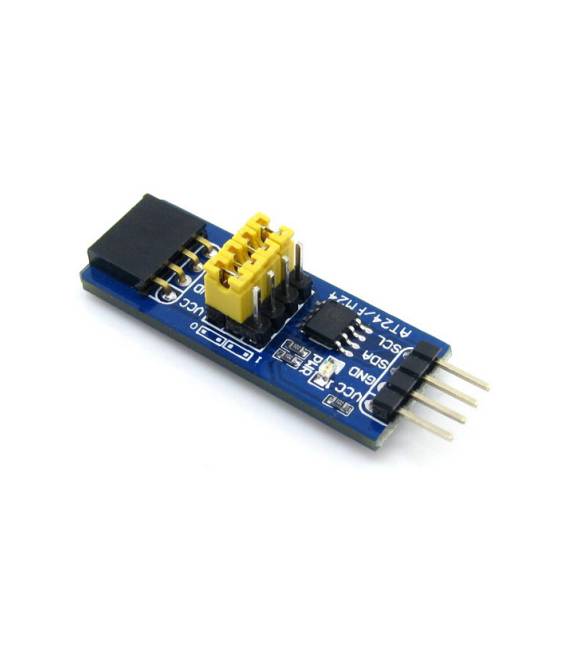
Description
What it is
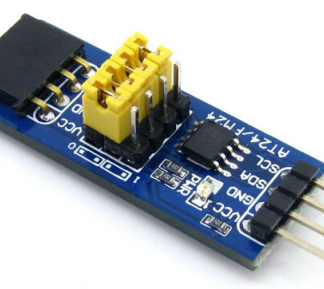
The AT24C04B EEPROM Board is an I2C memory module that allows for persistent storage of small data. It can be used with Arduino and Raspberry Pi to store information that remains available even after the device is turned off.
Features
- Memory Type: EEPROM
- Model: AT24C04B
- Interface: I2C
- Capacity: 512 bytes
What it is for
The AT24C04B EEPROM Board is ideal for Arduino and Raspberry Pi projects that require persistent storage of small amounts of data, such as:
- Saving project settings
- Storing data from a custom timer
- Archiving game or app information
Tutorial: How to use AT24C04B EEPROM Board
The AT24C04B EEPROM Board is a non-volatile memory module ideal for storing small amounts of data. Useful for projects that require persistent storage, it is perfect for beginners and intermediates.
What you need
- Arduino IDE
- USB cable
- Arduino microcontroller
- Computer with Windows, macOS or Linux
Steps
- 1. Download and install the Arduino IDE.
- 2. Connect the Arduino to your computer with the USB cable.
- 3. Download the example code from the ‘Code’ section.
- 4. Open the Arduino IDE and upload the code to your microcontroller.
- 5. Connect the AT24C04B EEPROM Board to your microcontroller via I2C.
- 6. Check the datasheet for the correct I2C configuration.
- 7. Run the code to read and write data.
- 8. Verify correct read and write operations.
Example code
```cpp
#include <Wire.h>
#include <EEPROM.h>

void setup() {
  Wire.begin();
  Serial.begin(9600);
}

void loop() {
  writeData();
  readData();
}

void writeData() {
  int address = 0;
  int data = 12345;
  Wire.beginTransmission(0x50);
  Wire.write((byte)address);
  Wire.write((byte)data);
  Wire.endTransmission();
  delay(1000);
}

void readData() {
  int address = 0;
  int data;
  Wire.beginTransmission(0x50);
  Wire.write((byte)address);
  Wire.endTransmission();
  Wire.requestFrom(0x50, (byte)1);
  if (Wire.available()) {
    data = Wire.read();
    Serial.println(data);
  }
}
```
Mini project
Create a custom timer that saves the current time in EEPROM and retrieves it on restart.
Common mistakes
- Ensure the I2C cable is properly connected.
- Make sure the microcontroller is at 3.3V.
- Check the I2C configuration on the datasheet.
- Verify that the Arduino code is correct.
Recommended accessories
- Temperature sensors
- LCD display
- Buttons and switches
- LiPo Battery
Frequently asked questions
How can I check I2C connection?
Use an oscilloscope or an I2C analyzer like I2C Scanner.
My microcontroller has 5V, can I still use it?
Check the datasheet for the module’s operation at 5V. Otherwise, use a voltage converter.
Can I use this module with non-Arduino microcontrollers?
Yes, the module supports any I2C microcontroller.
Reviews
There are no reviews yet.