 EN
 IT Italiano
 ES Español
 FR Français
 DE Deutsch
Description
What it is
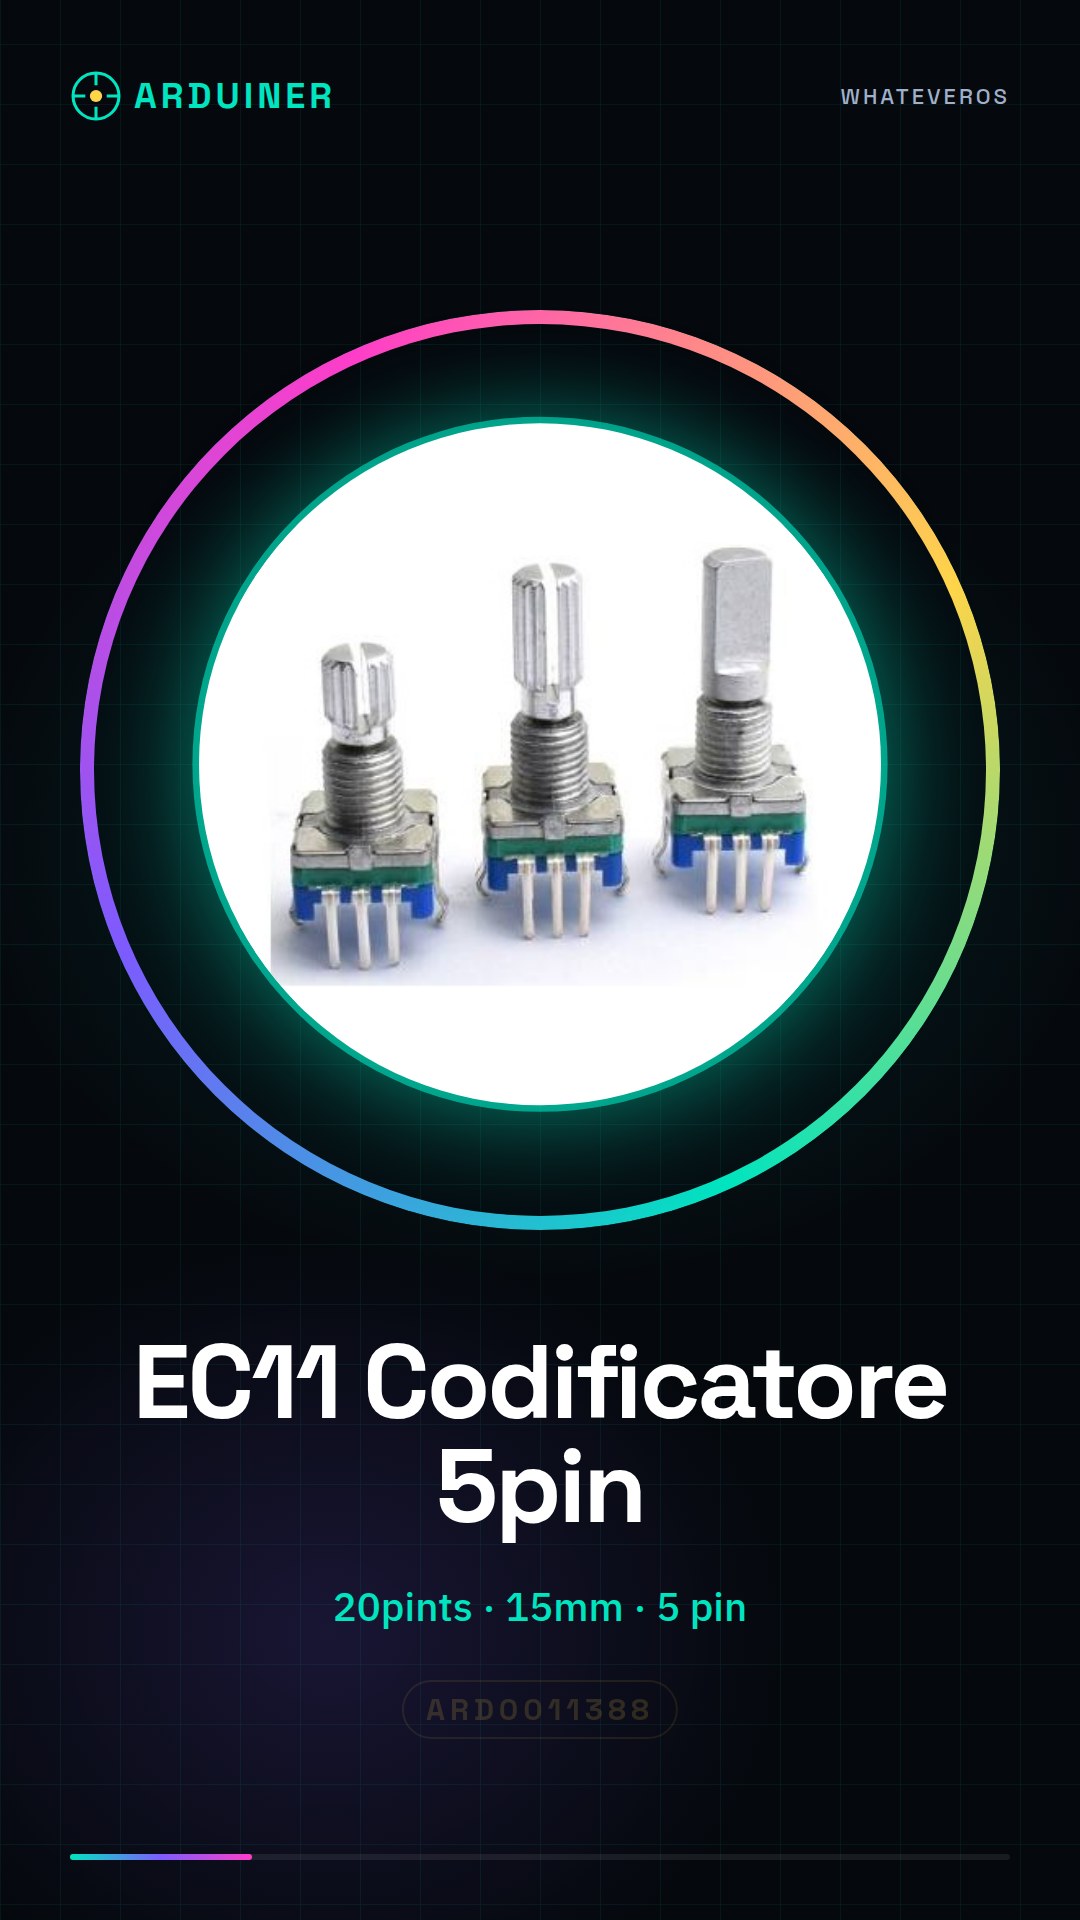
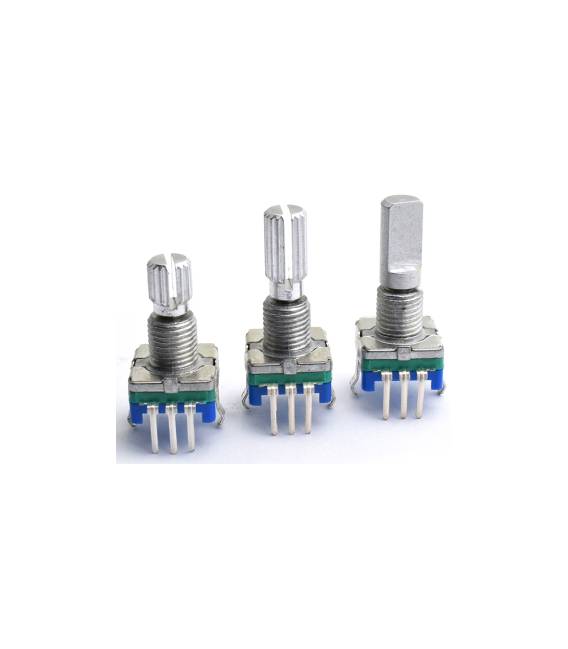
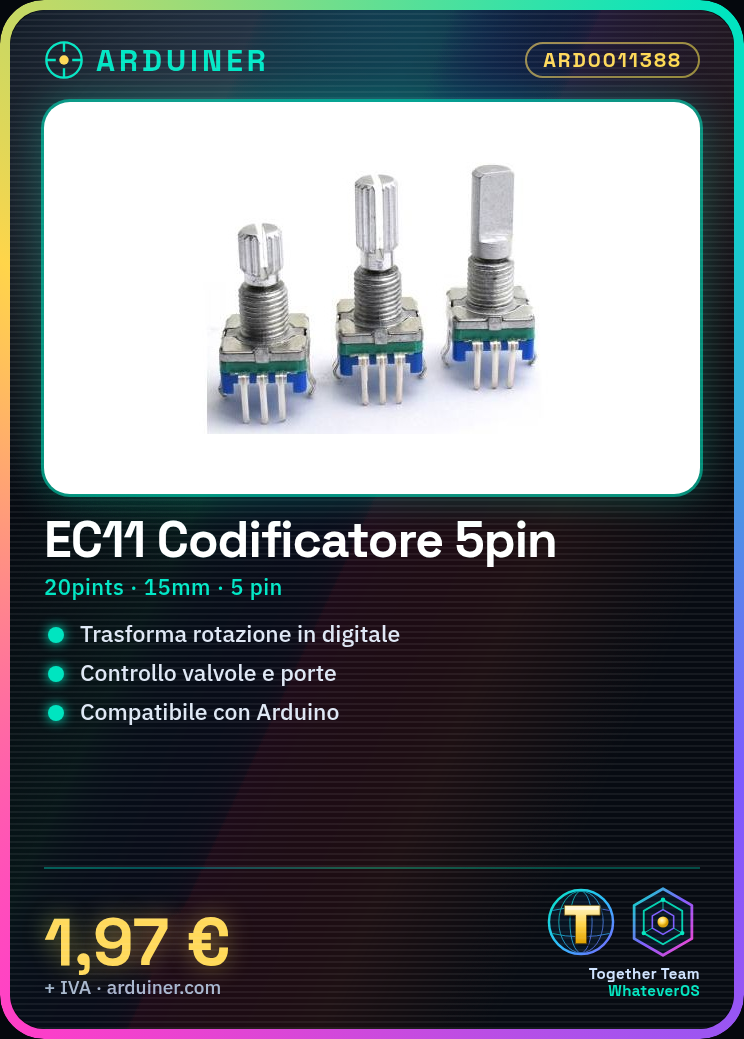
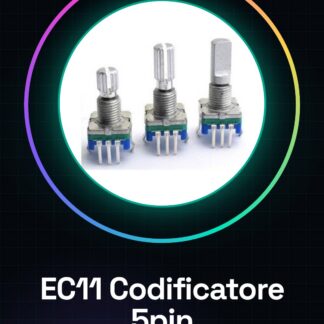
The EC11 20pints 15mm 5pins is a digital audio encoder designed to be used with Arduino and other electronic platforms. It allows for the conversion of mechanical rotation into digital signals, which can be read and interpreted by a microcontroller.
Features
- 20pints
- Dimensions: 15mm
- 5 pin
- Type: Digital audio encoder
What it is for
The EC11 encoder is ideal for applications requiring precise and digital control of a mechanical action. Example usage: creating an automatic valve opening system with a button. The encoder can be connected to a button and a valve, and an Arduino sketch can be used to control the valve’s state based on the digital signal received from the encoder.
Tutorial: How to use EC11 20pints 15mm 5pins
The EC11 encoder is ideal for controlling the opening of valves or doors. Perfect for home and industrial automation projects.
What you need
- Arduino or compatible microcontroller
- Connection cable
- Valve or gate to control
Steps
- 1. Assemble the valve or door in the closed position.
- 2. Connect the GND pin of the encoder to the GND of the microcontroller.
- 3. Connect the VCC pin of the encoder to the VCC of the microcontroller.
- 4. Connect pin 1 (SW) to a digital pin of the microcontroller.
- 5. Connect pin 2 (GND) to GND.
- 6. Connect pin 3 (VCC) to VCC.
- 7. Connect pin 4 (SW) to an analog pin of the microcontroller.
- 8. Connect pin 5 (GND) to GND.
Example code
```void setup() {
  pinMode(2, OUTPUT);
  pinMode(A0, INPUT);
}

void loop() {
  if (digitalRead(2) == HIGH) {
    int val = analogRead(A0);
    if (val > 512) {
      Serial.println("Aperto");
    } else {
      Serial.println("Chiuso");
    }
  }
}```
Mini project
Create an automatic valve opening system with a button. Connect the encoder to a button and a valve. Use an Arduino sketch to control the valve’s state.
Common mistakes
- Do not connect the GND and VCC pins correctly.
- Use a digital pin to control the state of the encoder.
- Forget to check the correct analog value for the state.
- Do not use a compatible microcontroller.
Recommended accessories
- 2-position valve
- Button
- Connection cable
- Arduino Nano
Frequently asked questions
How can I verify the correct state of the encoder?
Check the datasheet or ask the supplier.
Can I use this encoder with a different microcontroller?
Yes, but check the compatibility on the datasheet.
Does the encoder work with batteries?
Check the datasheet for the power supply voltage.
Can I use this encoder to control doors?
Yes, but make sure the valve or door is compatible with the power supply voltage.
Reviews
There are no reviews yet.