 EN
 IT Italiano
 ES Español
 FR Français
 DE Deutsch
Description
What it is
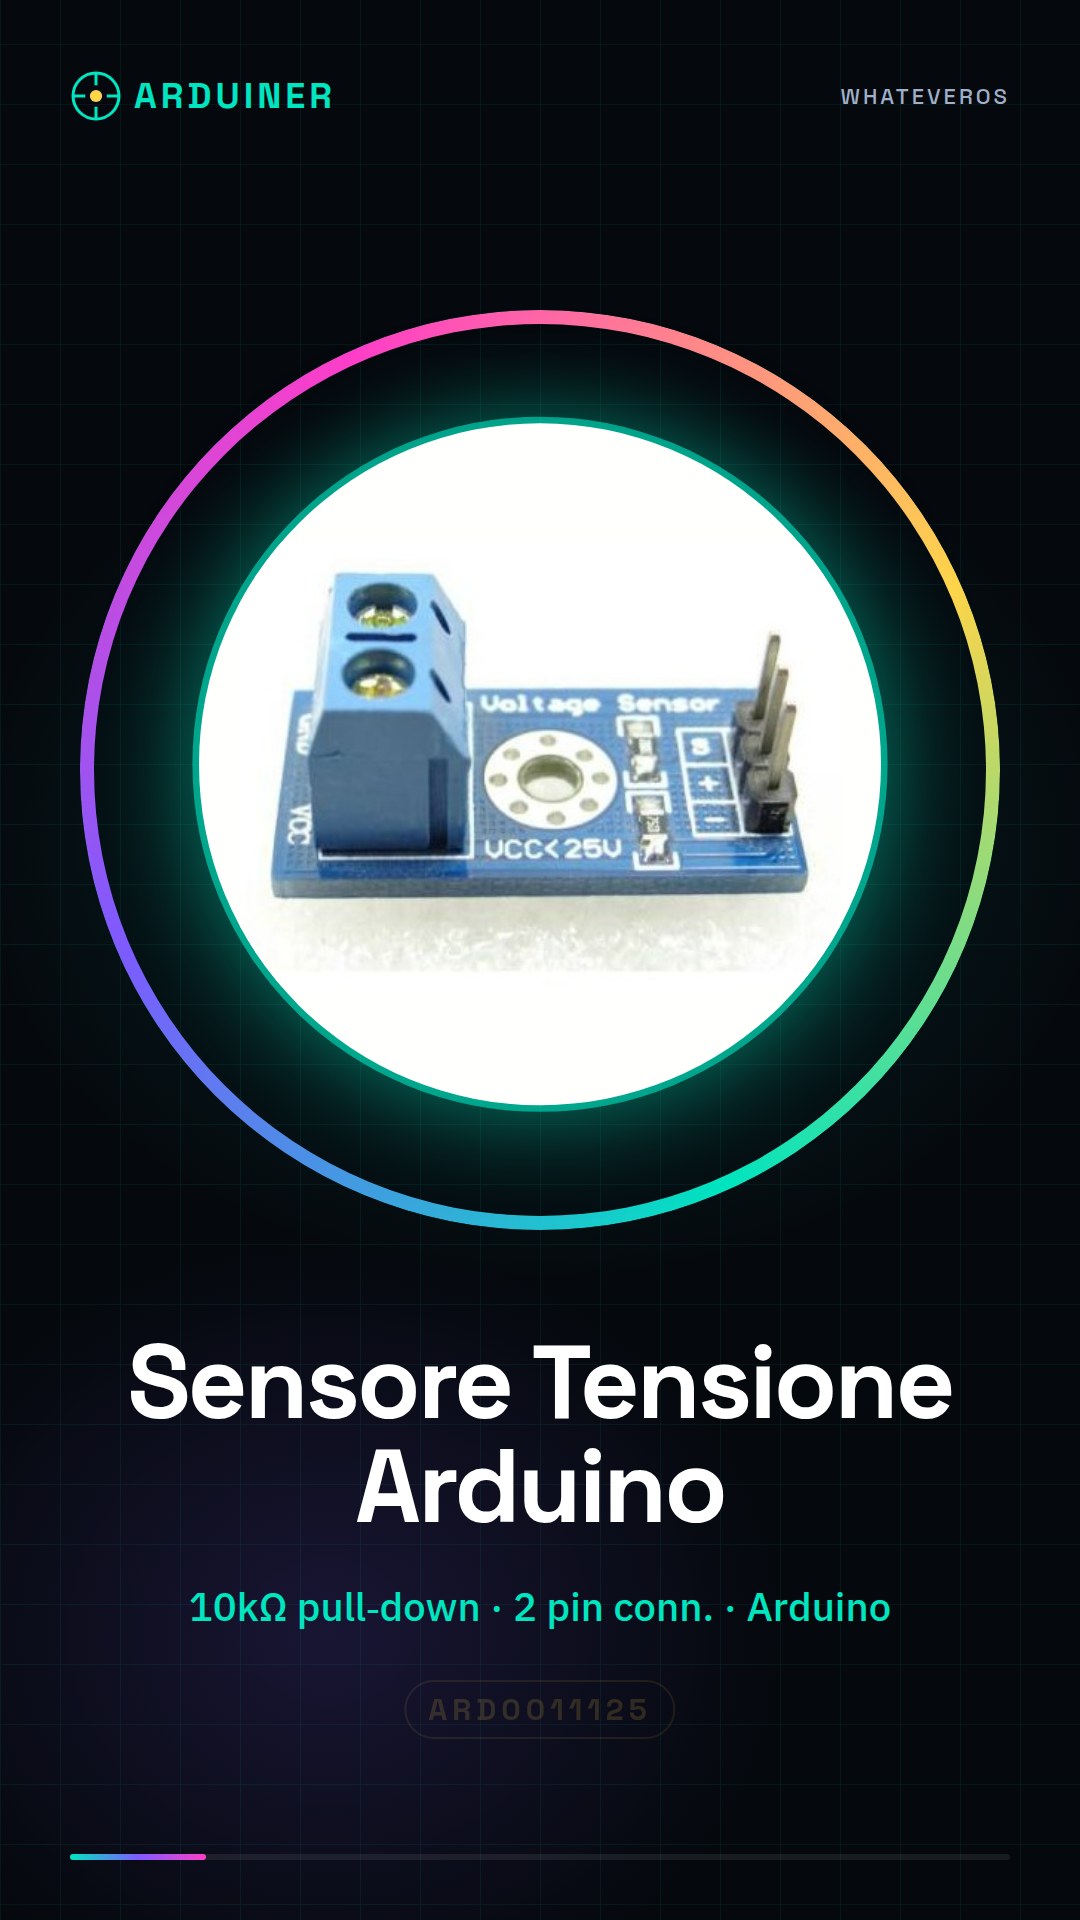
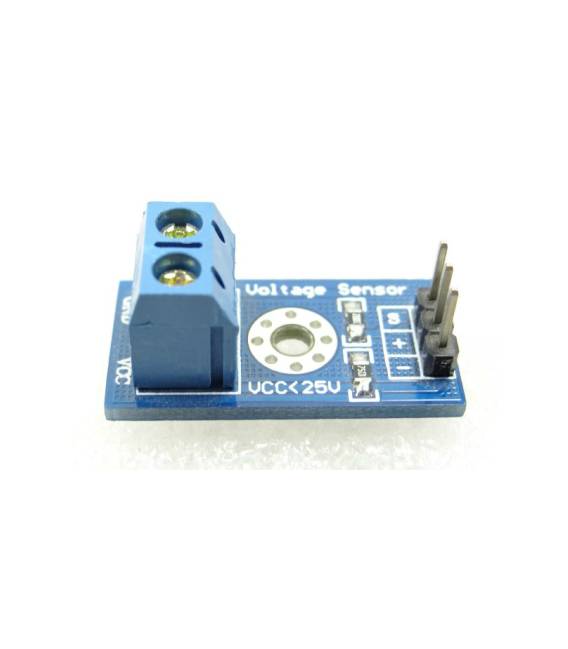
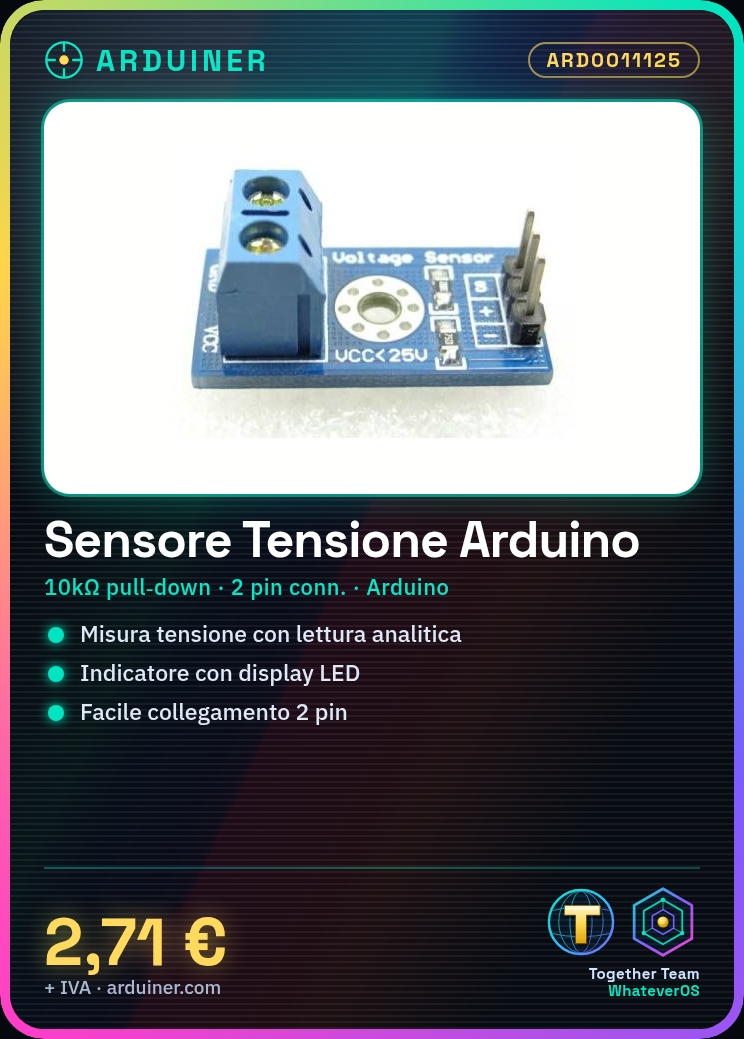
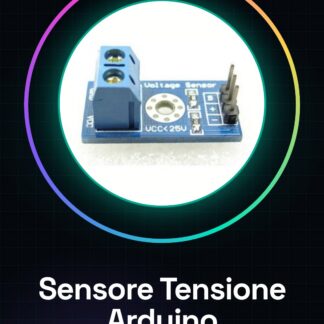
Voltage sensors for Arduino are useful devices for measuring electrical voltage in various electronic projects. This sensor is ideal for both beginners and more experienced operators.
Features
- Ideally suited for Arduino
- Measures voltage
What it is for
This sensor can be used to create a simple voltage indicator with an LED display. It is compatible with various types of electronic projects, including those based on Arduino.
Tutorial: How to use 2 Piece Voltage Sensors for Arduino
This sensor measures voltage and can be used in various electronic projects, perfect for beginners and intermediates.
What you need
- 2 piece Voltage Sensors
- Arduino
- 10kΩ resistor
- 2 pin connector
Steps
- 1. Installation: Check the datasheet for the sensor specifications.
- 2. Connection: Connect the VCC and GND pins of the sensor to the 5V and GND of the Arduino.
- 3. Connection: Connect the OUT pin of the sensor to pin A0 of the Arduino.
- 4. Connection: Connect a 10kΩ resistor between the OUT pin of the sensor and GND of the Arduino.
- 5. Code: Load the following code onto the Arduino.
- 6. Code: Check that the value read corresponds to the measured voltage.
- 7. Test: Verify the functionality of the sensor with a variable voltage source.
- 8. Test: Verify that the sensor works correctly in various contexts.
Example code
int sensorPin = A0; int value = 0; void setup() { Serial.begin(9600); } void loop() { value = analogRead(sensorPin); Serial.println(value); delay(1000); }Mini project
Create a simple voltage indicator using the sensor and an LED display.
Common mistakes
- Do not connect the sensor pins correctly.
- Omit the pull-down resistor.
- Use a digital pin instead of an analog pin.
- Do not verify functionality with various voltage levels.
Recommended accessories
- LED display
- Variable voltage source
- 100Ω resistor (for the display)
- Connection cable
Frequently asked questions
How to connect the sensor?
Connect VCC to 5V, GND to GND and OUT to A0, add a pull-down resistor.
Which pins to use?
Use an analog pin like A0.
Why add a resistor?
To protect the sensor and establish a minimum voltage level.
How to test the sensor?
Place the sensor in various contexts and verify the read value with a variable voltage source.


Reviews
There are no reviews yet.