 EN
 IT Italiano
 ES Español
 FR Français
 DE Deutsch
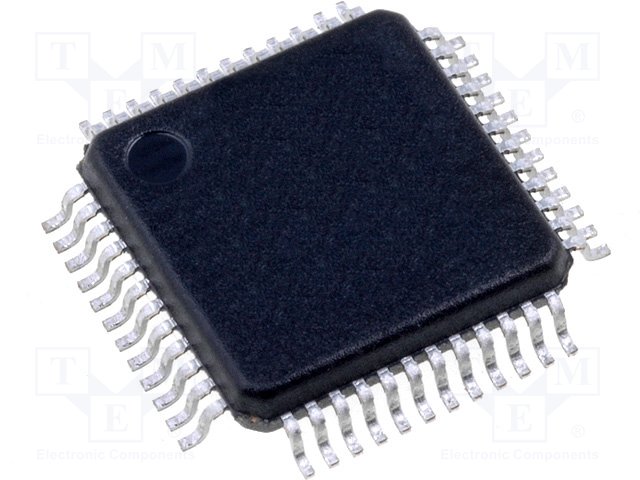
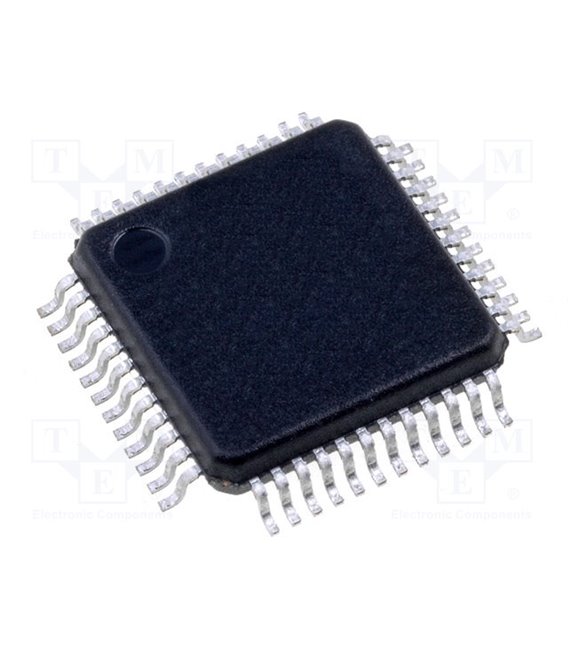
Description
Tutorial: How to use DP83848CVV
The DP83848CVV is an Ethernet controller to connect your Arduino project to the internet. It is useful for projects that require Ethernet connectivity.
What you need
- DP83848CVV
- Arduino
- Ethernet cable
- 1 kΩ resistor
Steps
- 1. Install the Ethernet driver on your Arduino.
- 2. Connect the DP83848CVV to your Arduino via the I/O pins.
- 3. Connect the Ethernet cable to the DP83848CVV.
- 4. Connect the 1 kΩ resistor between VCC and GND of the DP83848CVV.
- 5. Load the Arduino code.
- 6. Check Ethernet connectivity.
- 7. Configure your network.
- 8. Try to send a test packet.
Example code
Ethernet.begin(mac);Mini project
Create a simple HTTP server on Arduino with Ethernet connectivity.
Common mistakes
- Forgetting to install the Ethernet driver.
- Incorrectly connecting the DP83848CVV pins.
- Omitting the 1 kΩ resistor.
- Do not check connectivity before sending packets.
Recommended accessories
- Ethernet Shield Module
- Ethernet Cable
- 1 kΩ Resistor
- Arduino
Frequently asked questions
How do I install the Ethernet driver?
Go to Arduino IDE > Tools > Ethernet Library.
Which pins to use?
Check the datasheet for specific pins.
Does the DP83848CVV support Wi-Fi connections?
No, it is an Ethernet controller.
Reviews
There are no reviews yet.