 EN
 IT Italiano
 ES Español
 FR Français
 DE Deutsch
Description
What it is
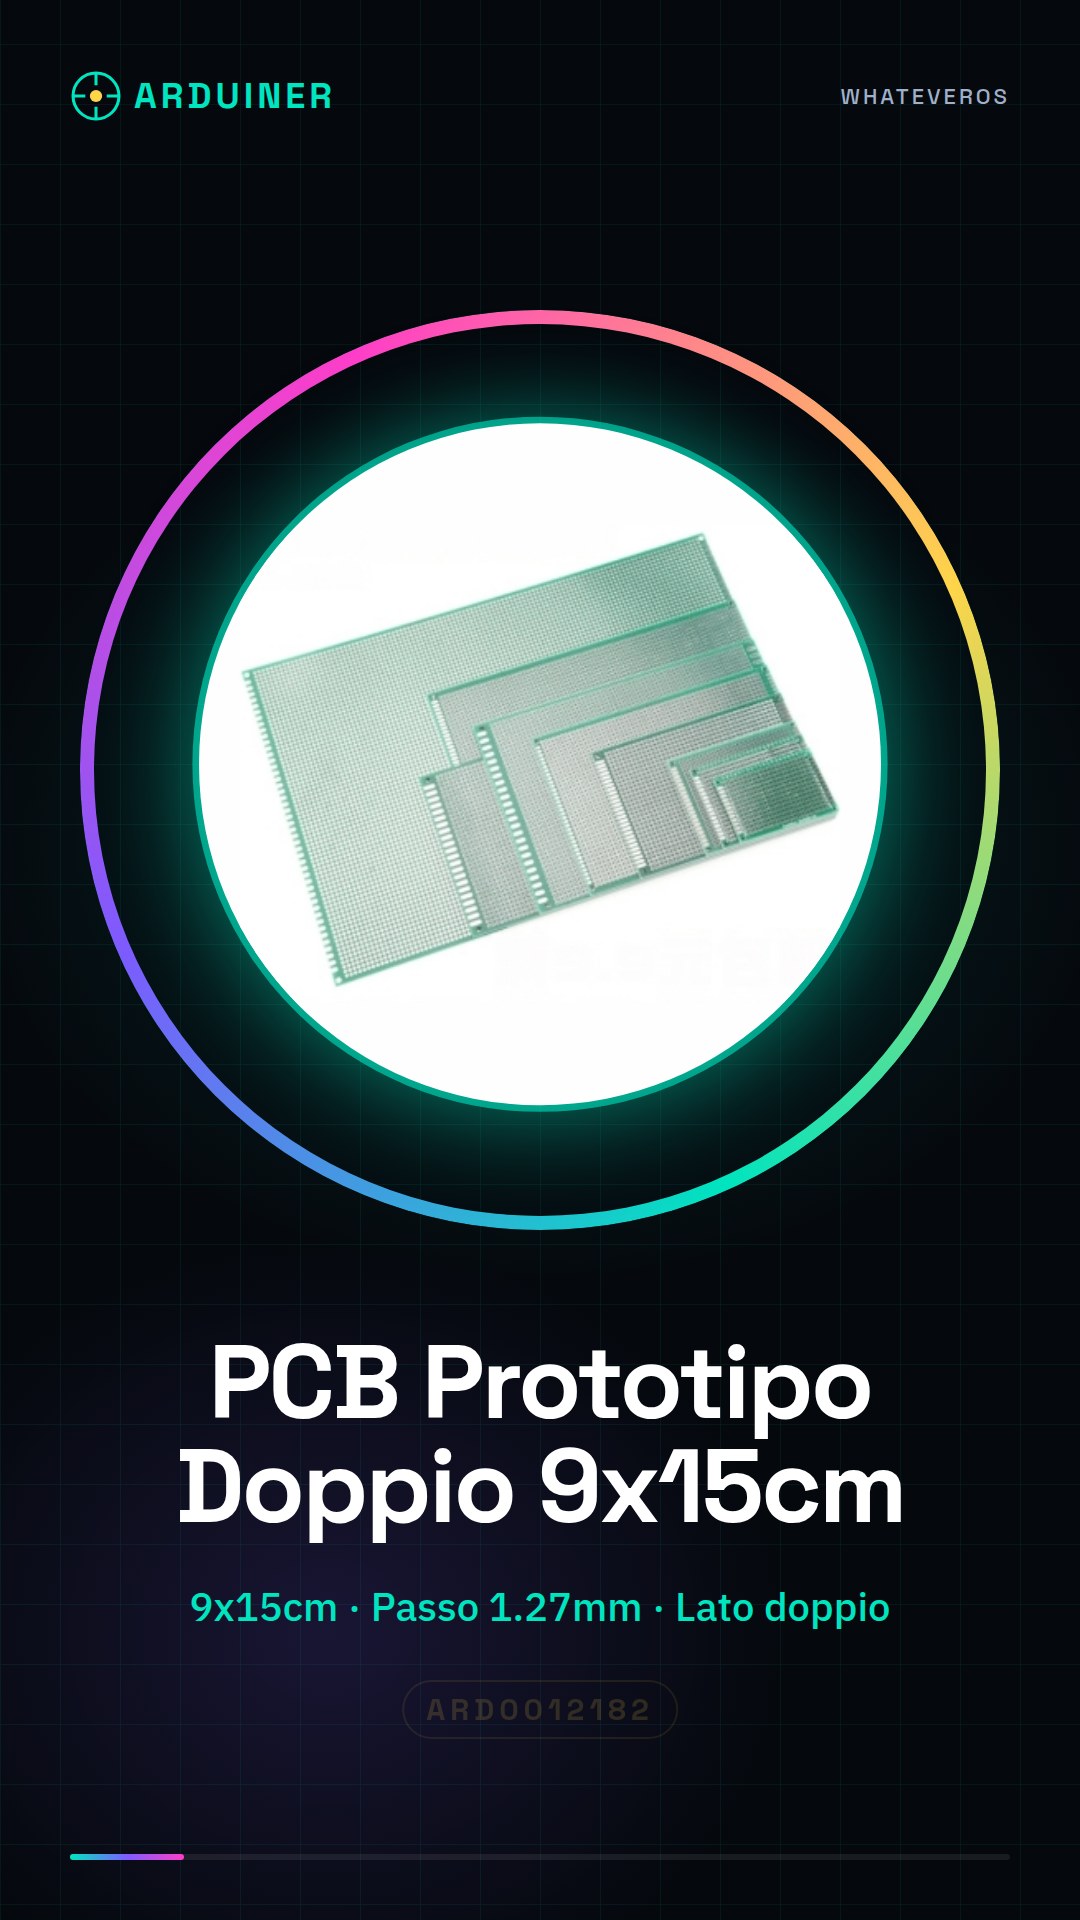
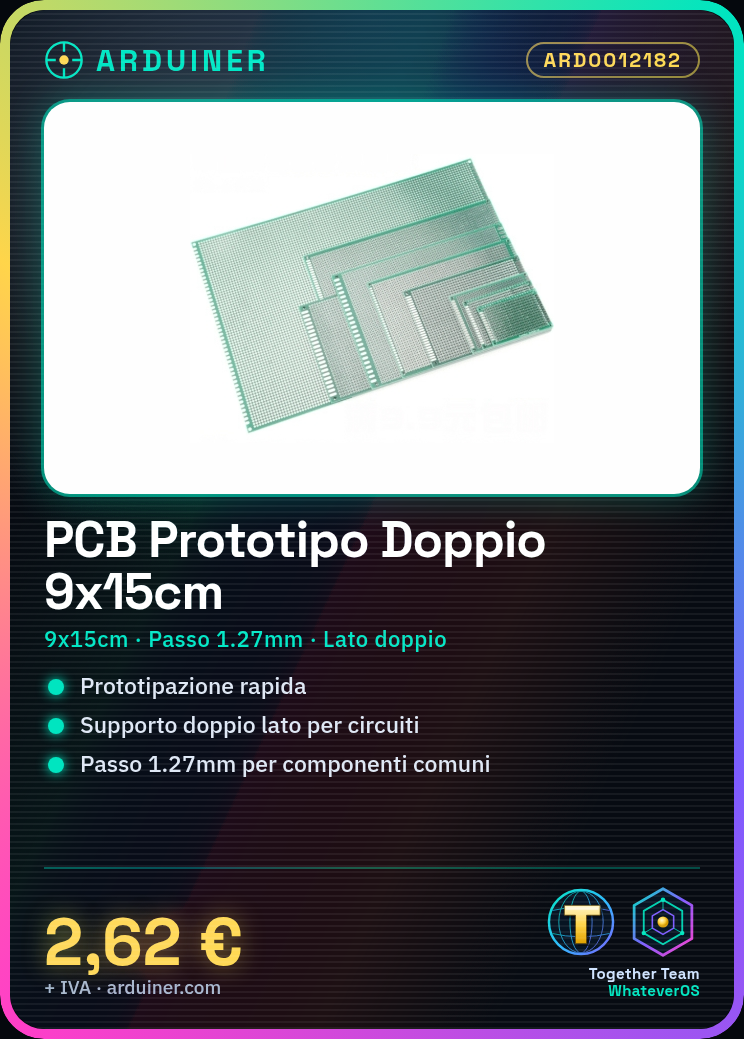
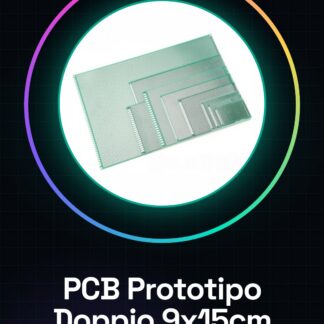
The Double-Sided Prototype PCB 9x15cm is a printed circuit board (PCB) measuring 9x15cm with 1.27mm hole pitch on both sides. It is an ideal support for quickly and easily creating electronic prototypes.
Features
- Dimensions: 9x15cm
- Hole Pitch: 1.27mm
- Side: Double
- SKU: ARD0012182
- Price: 2.62 €
What it is for
The Double-Sided Prototype PCB is perfect for creating small-sized electronic circuit prototypes. It can be used to test new ideas, experiment with electronic components, and create simple lighting, device control circuits, and much more. Its size and hole pitch make it compatible with most common electronic components.
Tutorial: How to use Double-Sided Prototype PCB 9x15cm 1.27mm
The Double-Sided PCB Prototype is an essential support for makers who want to quickly create electronic prototypes. This component is ideal for those learning to work with printed circuits and who want to test new ideas without having to create a custom PCB.
What you need
- Drill Kit
- Soldering Kit
- Electronic Components
- Laser Printer or Laser Cutter
- PCB Design Software
Steps
- Draw or download the layout of your circuit using PCB design software
- Print the PCB layout on a sheet of paper or on a durable cardstock
- Use the printed layout as a guide to drill holes in the PCB
- Solder the drilled holes with the soldering kit
- Mount the electronic components on the PCB following the designed layout
- Check the correct mounting of the components with a multimeter
- Test the circuit with a multimeter or an oscilloscope
- Verify the functionality of the circuit with an electronic simulation software
Mini project
Create a simple lighting circuit prototype with an LED and a resistor. Connect a button to control the lighting.
Common mistakes
- Do not use a precise and correct layout
- Do not check the proper mounting of components before testing the circuit
- Do not use a multimeter to verify the proper functionality of the circuit
- Do not test the circuit before proceeding with the final realization
Recommended accessories
- Soldering kit
- Multimeter
- Laser printer
- PCB design software
Frequently asked questions
How can I draw the layout of my circuit?
Use software like Eagle, KiCad or Fritzing to draw the layout of your circuit.
What tools are necessary to drill holes on the PCB?
Use a specific PCB drilling kit.
How can I verify the proper functionality of my circuit before testing it?
Use an electronic circuit simulation software like LTspice to verify the correct functionality of the circuit.
Reviews
There are no reviews yet.