 EN
 IT Italiano
 ES Español
 FR Français
 DE Deutsch
Description
What it is
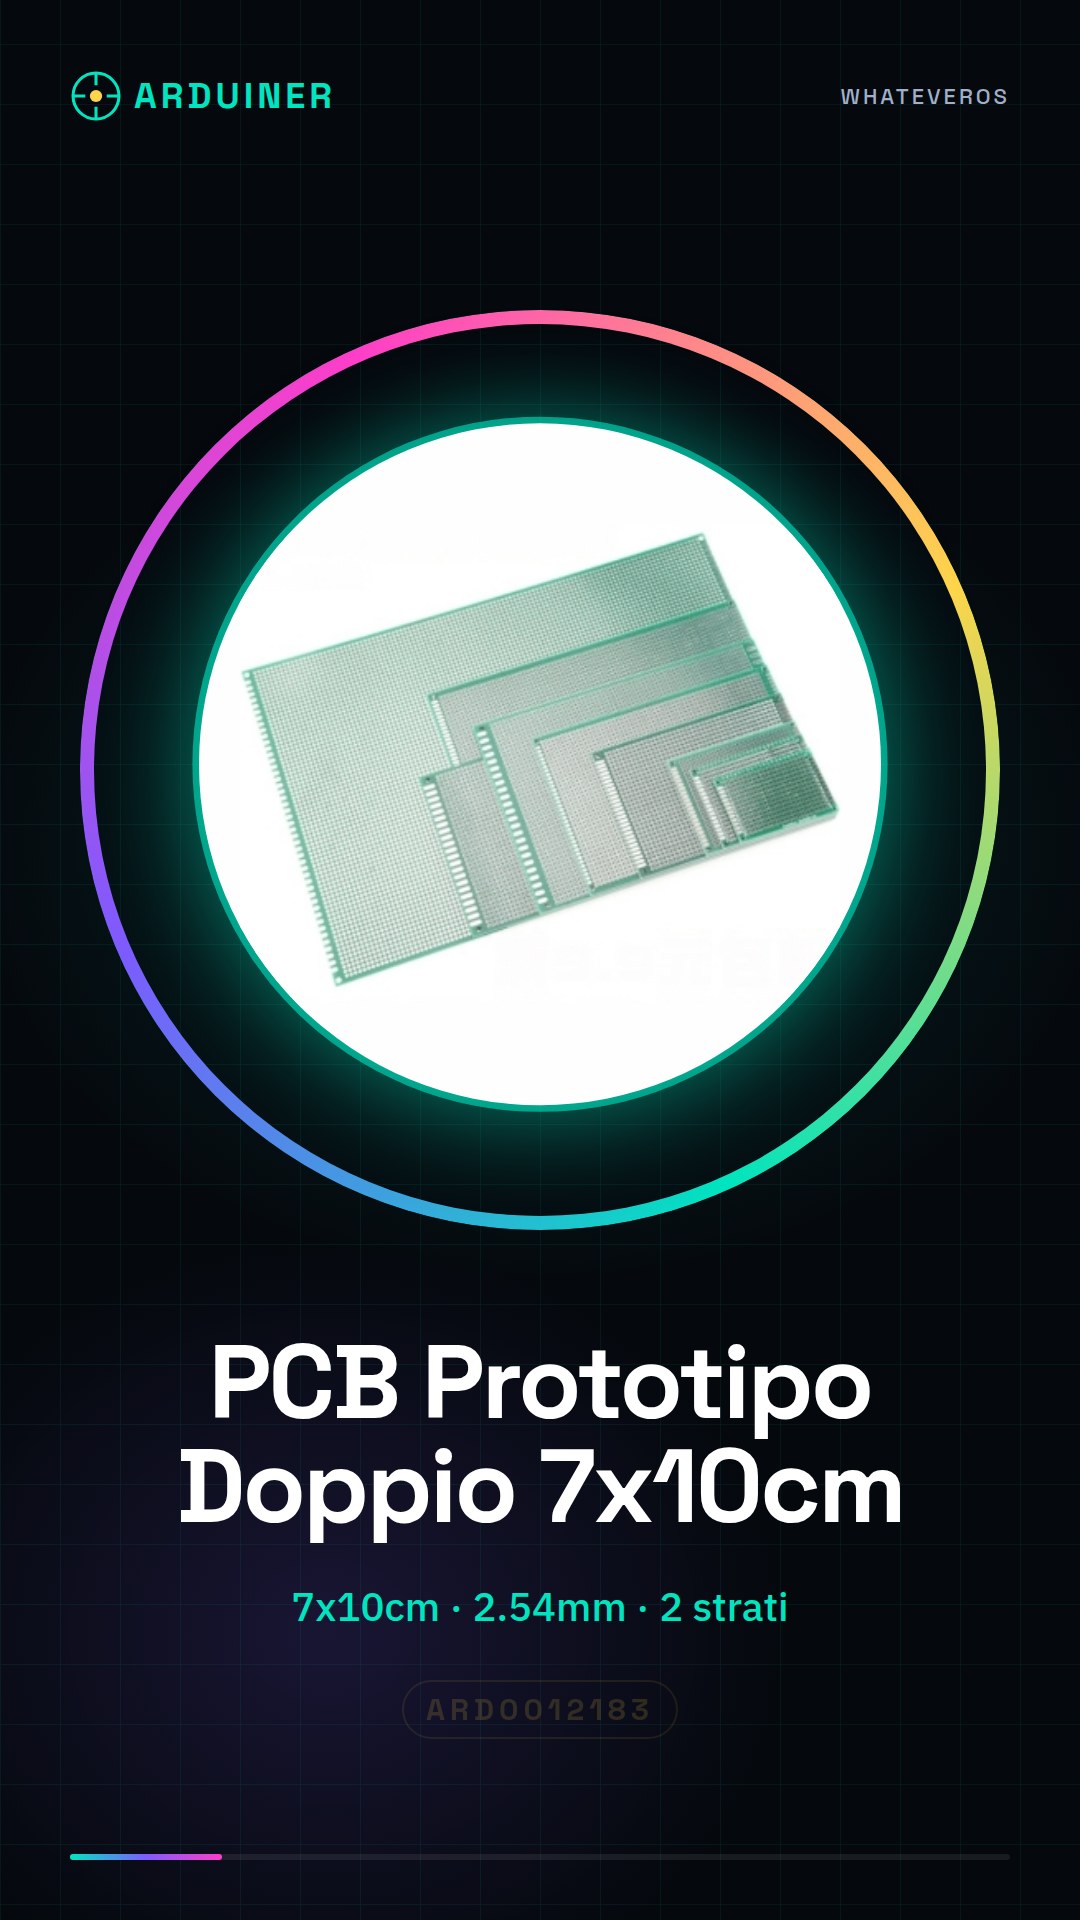
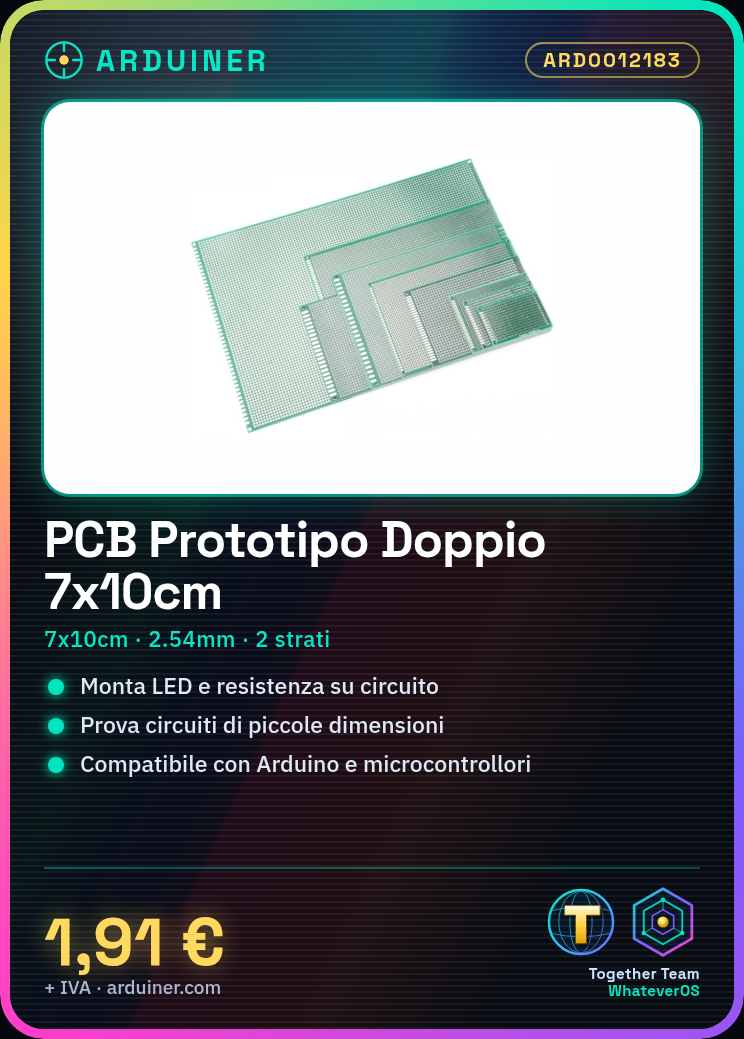
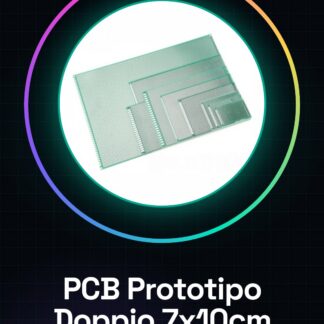
The Double-Sided PCB Prototype 7x10cm 2.54mm is a support for the realization of electronic prototypes, ideal for makers and enthusiasts who want to develop electronic circuits with precision. This PCB allows for testing and small-scale projects.
Features
- Dimensions: 7x10cm
- Spacing: 2.54mm
- Number of layers: 2
What it is for
This PCB prototype is usable for small-scale projects, such as the LED Blink project. With it, you can mount an LED and a resistor and connect them to an Arduino to make the LED blink. It is compatible with Arduino and other microcontrollers.
Tutorial: How to use Double-Sided PCB Prototype 7x10cm 2.54mm
The Double-Sided PCB Prototype 7x10cm 2.54mm is a perfect support for makers who want to perform tests and small-scale projects. Ideal for enthusiasts who are starting to work with electronic circuits.
What you need
- Arduino
- Electronic components (resistors, capacitors, LEDs, etc.)
- Solder pick-up
- Solder
Steps
- 1. Check the compatibility of the components you want to mount on the PCB.
- 2. Draw the circuit layout on the PCB using a circuit pencil or a PCB marker.
- 3. Position the components on the PCB using the solder pick-up.
- 4. Prepare the solder for melting, ensuring it is clean and ready to use.
- 5. Melt the solder onto the components, ensuring each connection is solid and free of short circuits.
- 6. Check the mounted circuit using a multimeter to verify electrical continuity.
- 7. Test the circuit with an Arduino by loading a test sketch.
- 8. If necessary, repeat steps 1-7 until the circuit works correctly.
Mini project
LED Blink Project: mount an LED and a resistor on a prototype PCB and connect them to an Arduino. Write a sketch to make the LED blink.
Common mistakes
- Short circuits caused by poorly applied solder
- Components placed incorrectly
- Not having a circuit layout before starting
- Not testing the circuit before finishing
Recommended accessories
- Soldering kit
- Solder for electronics
- Multimeter
- Kit of electronic components
Frequently asked questions
How can I clean a PCB after using it?
Use a PCB cleaning brush and some isopropyl alcohol to remove any solder residue or grease.
What is the difference between a prototype PCB and a printed PCB?
The prototype PCB is a basic support for testing circuits, while the printed PCB is a final circuit with printed traces.
Reviews
There are no reviews yet.