 EN
 IT Italiano
 ES Español
 FR Français
 DE Deutsch
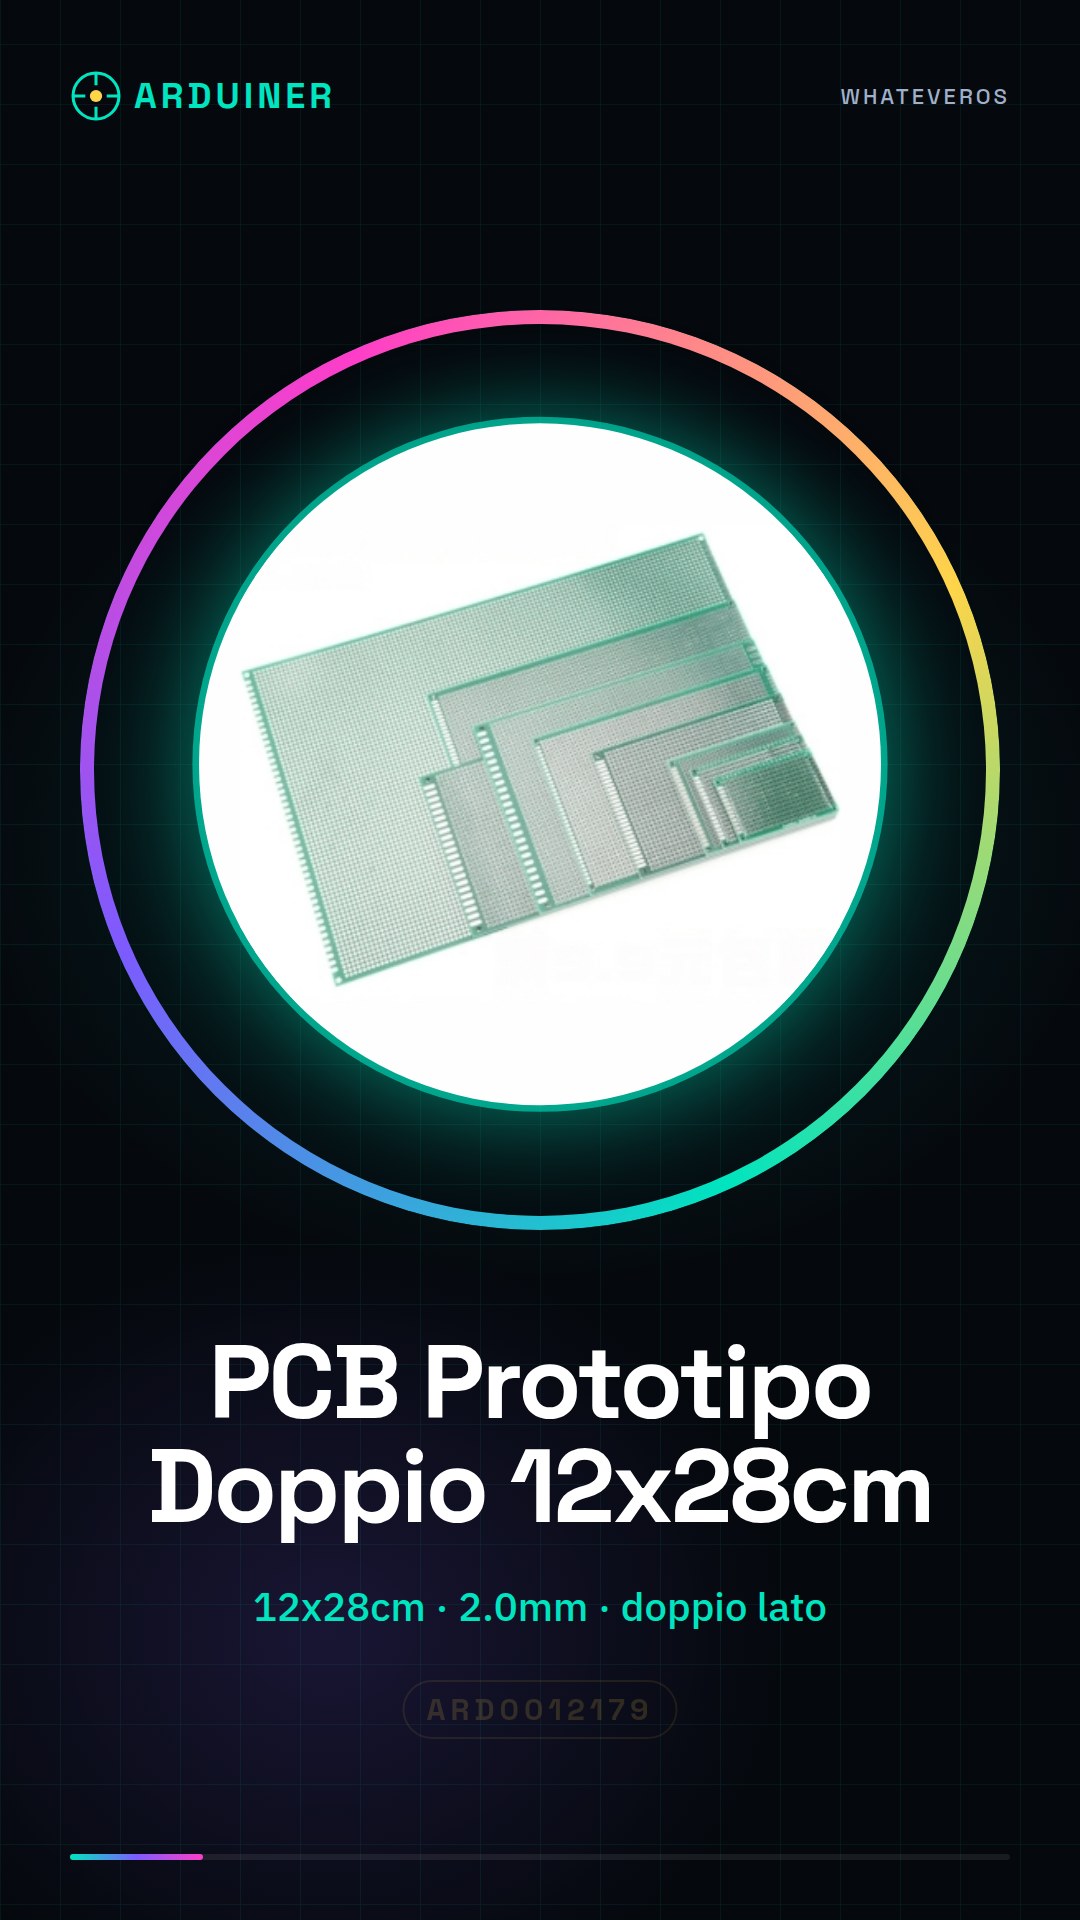
Description
What it is
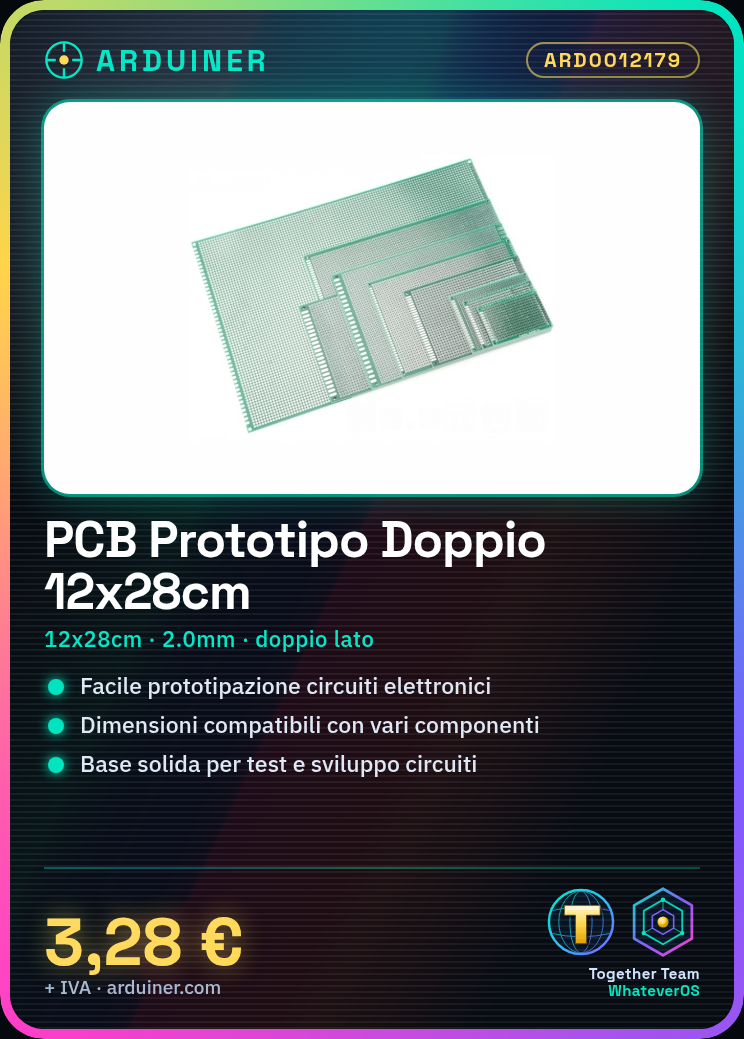
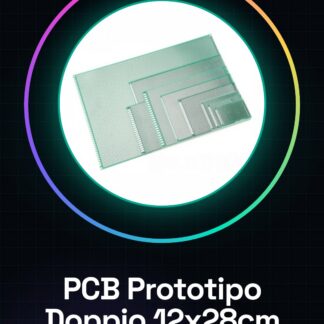
The Double-Sided PCB Prototype 12x28cm 2.0mm is a printed circuit board ideal for electronic circuit prototypes. This PCB offers a solid foundation for the development and testing of electronic circuits, allowing makers to quickly create prototypes of projects of various sizes.
Features
- Dimensions: 12x28cm
- Thickness: 2.0mm
- Format: Double-sided
What it is for
This PCB is suitable for both small and larger projects, offering a solid base for the creation of custom circuits. It is ideal for prototyping electronic circuits that require high flexibility and easy testing. It can be used in combination with various electronic components, including Arduino and ESP.
Tutorial: How to use Double-Sided PCB Prototype 12x28cm 2.0mm
The Double-Sided PCB Prototype 12x28cm 2.0mm is ideal for makers who want to quickly create electronic circuit prototypes. This PCB is suitable for both small and larger projects, offering a solid base for custom circuit creation.
What you need
- Multimeter
- PCB Printer
- Ferric Chloride
- Permanent Marker
- Soldering Kit
- Arduino (or electronic control device)
Steps
- Check the PCB specifications on the datasheet to understand the layout and pad placement.
- Print the PCB according to the provided specifications.
- Use ferric chloride to remove the unexposed protective coating.
- Label the pads with a permanent marker to facilitate soldering.
- Solder the electronic components to the PCB following the project.
- Check the soldering with a multimeter.
- Test the PCB with an electronic control device such as Arduino.
- Check the functionality of the prototype and make any necessary adjustments.
Mini project
Basic Project: Create a circuit prototype that lights up an LED in response to an input signal from a button. This project takes about 30 minutes to complete.
Common mistakes
- Soldering components incorrectly or not soldering enough.
- Ignoring PCB verification before soldering.
- Not using a proper PCB layout.
- Not testing the PCB before completing the project.
Recommended accessories
- PCB Printer
- Soldering Kit
- Arduino Uno
- Ferric Acid
Frequently asked questions
What is the difference between a PCB prototype and a custom PCB?
A PCB prototype offers a standardized layout that can be used for various projects, while a custom PCB is designed specifically for a particular project.
How can I protect a PCB after it has been made?
Use a protective coating such as nitric acid or a protective spray to protect the PCB from the elements and corrosion.
Reviews
There are no reviews yet.