 EN
 IT Italiano
 ES Español
 FR Français
 DE Deutsch
Description
What it is
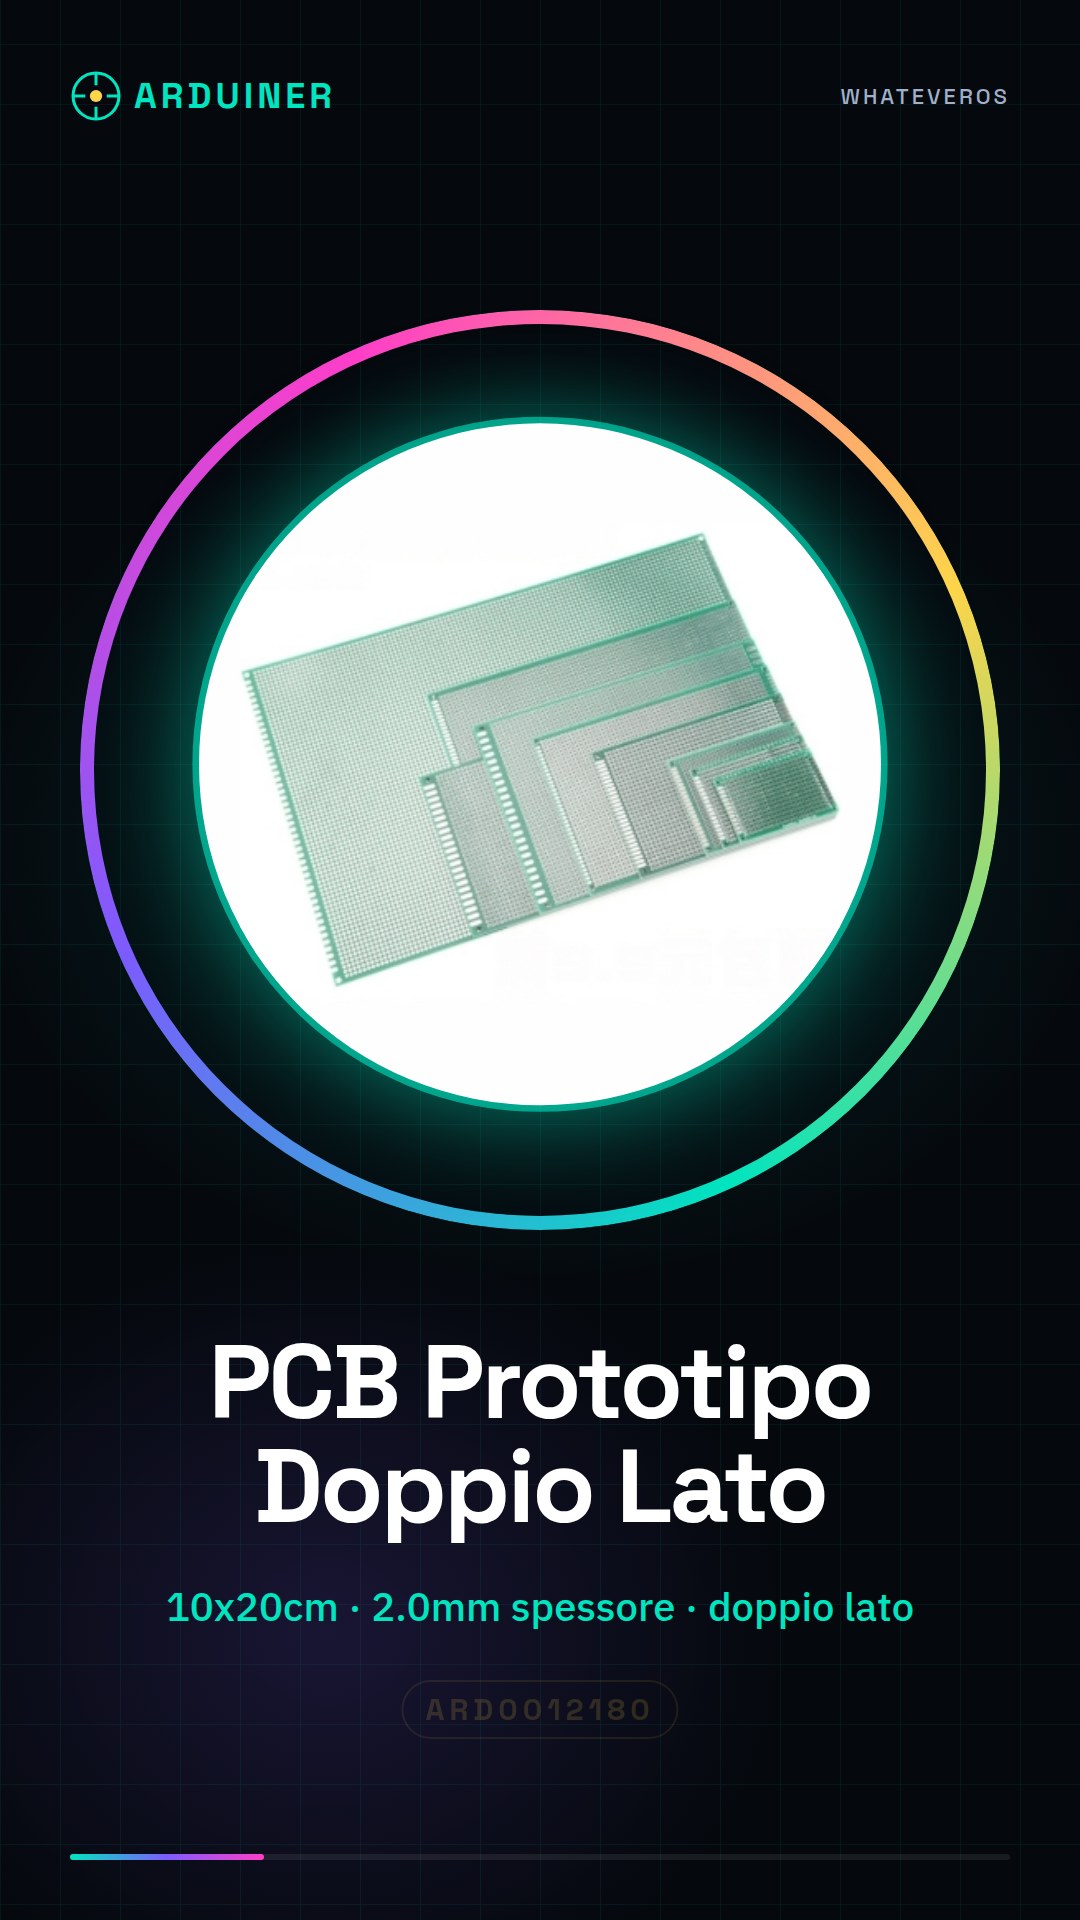
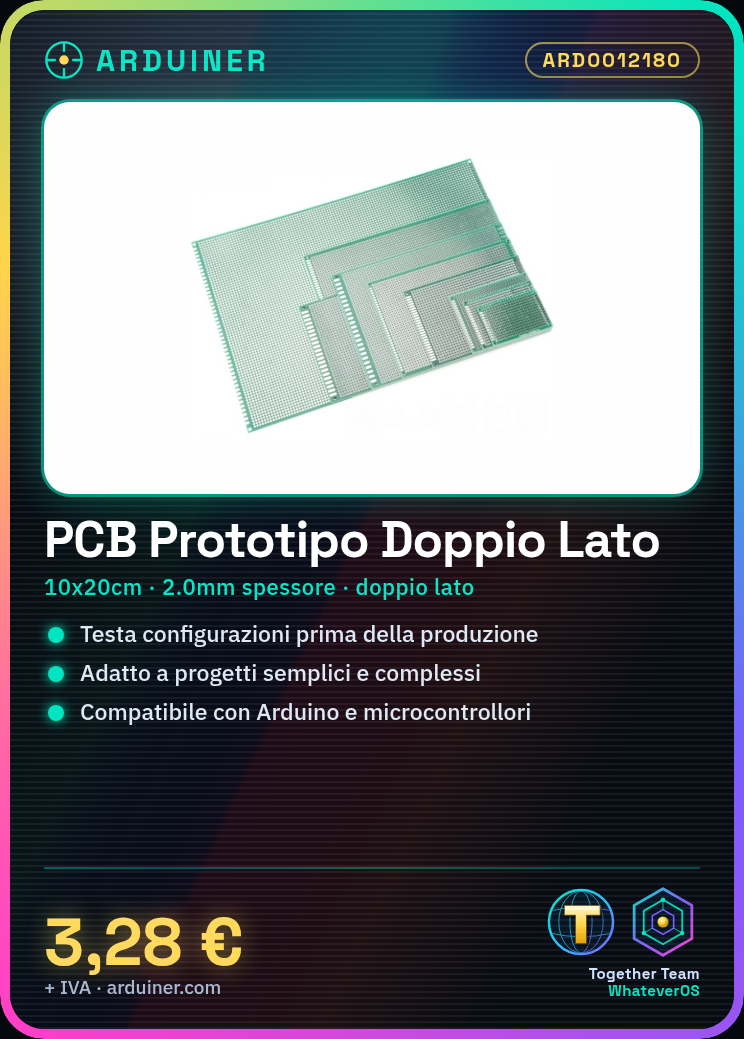
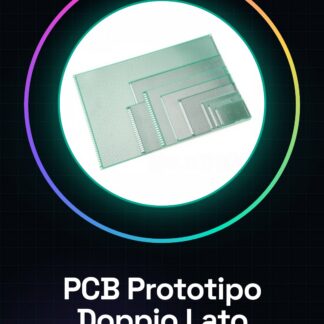
The Double-Sided PCB Prototype 10x20cm 2.0mm is a universal printed circuit board ideal for makers and students who want to create electronic project prototypes. This PCB allows you to explore and test various configurations before creating a final PCB.
Features
- Dimensions: 10x20cm
- Thickness: 2.0mm
- Format: Double-sided
What it is for
This PCB prototype is suitable for both simple and complex projects. You can use it to create a simple LED lighting project controlled by a button, by connecting a button, a resistor, and an LED to the PCB. It is compatible with Arduino and other microcontrollers for testing and developing prototypes before final production.
Tutorial: How to Use the Double-Sided PCB Prototype 10x20cm
The Double-Sided PCB Prototype 10x20cm is a universal printed circuit board ideal for makers and students who want to create electronic project prototypes. This PCB is suitable for both simple and complex projects, allowing you to explore and test various configurations before creating a final PCB.
What you need
- Double-Sided PCB Prototype 10x20cm
- Electronic Components
- Pins
- Pin Vise
- Capacitors
- Resistors
Steps
- Prepare the PCB Prototype by cleaning it with a dry cloth to remove any impurities.
- Place the electronic components on the PCB according to the project you want to create.
- Use the pins and pin vise to secure the components to the PCB.
- Check the position of the components and correct any errors.
- Connect the components to each other using the top side of the PCB.
- Verify the connectivity between the components using a multimeter.
- If necessary, use the bottom side of the PCB to connect components.
- Test the project with a power supply and multimeter to verify correct operation.
Mini project
Create a simple LED lighting project controlled by a button. Connect a button and a resistor to the PCB, then connect an LED with the correct current-limiting resistor. When you press the button, the LED turns on.
Common mistakes
- Connect components without cleaning the PCB first.
- Do not check connectivity between components before testing the project.
- Use incorrect current-limiting resistors for LEDs and other light-emitting components.
- Do not test the project with a multimeter before powering it.
Recommended accessories
- Capacitors
- Resistors
- Pins
- Pins plier
Frequently asked questions
How can I clean the PCB?
Use a dry cloth to remove any impurities from the PCB before starting the project.
What tools do I need to connect the components?
You will need pins and a wire stripper to secure the components to the PCB.
Reviews
There are no reviews yet.