 EN
 IT Italiano
 ES Español
 FR Français
 DE Deutsch
Description
What it is
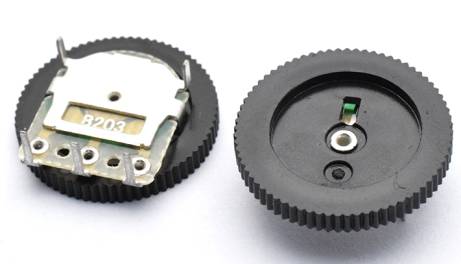
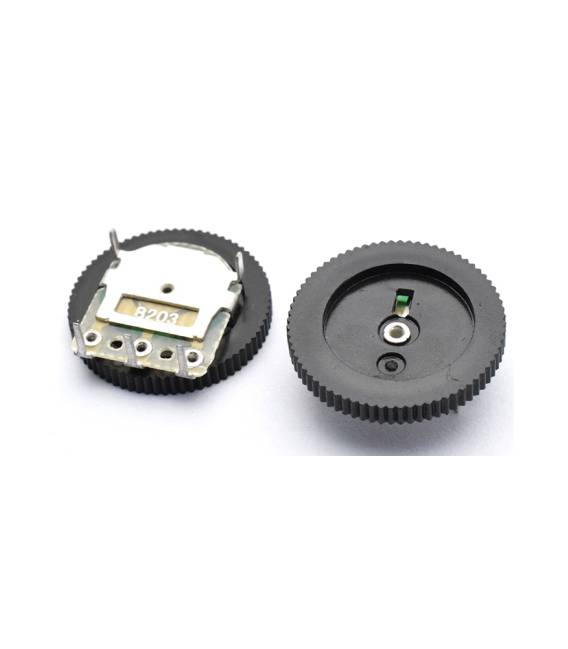
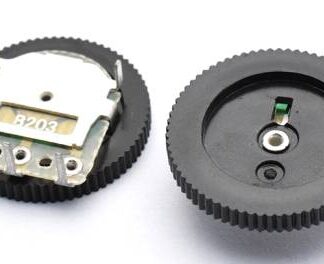
The Double Potentiometer 16×2 5 Pin B103 is an electronic component that allows adjusting the resistance value between two points. It consists of two independent potentiometers, each with an output and a 10k ohm resistance.
Features
- Type: Double Potentiometer
- Number of pins: 5
- Resistance: 10k ohm
- Quantity: 4 pieces
What it is for
Double potentiometers are ideal for makers who want to control variables such as volume, brightness, or any other analog setting in their project. They can be used with Arduino and other microcontrollers to create dimmers, speed controls, audio equalizers, and many other applications.
Tutorial: How to use Double Potentiometer 16×2 5 Pin B103 10K
The 10K dual potentiometer is an electronic component that allows adjusting the resistance value between two points. It is ideal for makers who want to control variables such as volume, brightness, or any other analog setting in their project.
What you need
- Arduino Uno
- Header connections
- Prototype board
Steps
- Connect the 5 pins of the potentiometer to the prototype board.
- Connect the ‘A’ pin of the potentiometer to an analog pin of Arduino (e.g., A0).
- Connect the ‘B’ and ‘C’ pins of the potentiometer to ground.
- Write an Arduino sketch to read the value of the potentiometer.
- Compile and upload the sketch to Arduino.
- Open the Serial Monitor to see the values read from the potentiometer.
- Adjust the potentiometer and observe how the values change in the Serial Monitor.
- Check the functionality of the potentiometer with different positions.
Example code
int val = 0;
void setup() {
  Serial.begin(9600);
}
void loop() {
  val = analogRead(A0);
  Serial.println(val);
}
Mini project
Create an LED dimmer by controlling the brightness with a potentiometer.
Common mistakes
- Do not connect the potentiometer correctly to the Arduino analog pins.
- Do not check if the potentiometer is correctly connected to ground.
- Do not read the potentiometer values correctly in the Serial Monitor.
- Do not test the potentiometer in different positions to verify its functionality.
Recommended accessories
- Arduino Uno
- LED
- 220Ω resistor
- Prototype board
Frequently asked questions
What is the resistance of the potentiometer?
Check the datasheet.
How do I connect the potentiometer to Arduino?
Connect the ‘A’ pin of the potentiometer to an analog pin of Arduino and the ‘B’ and ‘C’ pins to ground.
Which analog pins can I use?
You can use any analog pin of Arduino (A0-A5).

Reviews
There are no reviews yet.