 EN
 IT Italiano
 ES Español
 FR Français
 DE Deutsch
Description
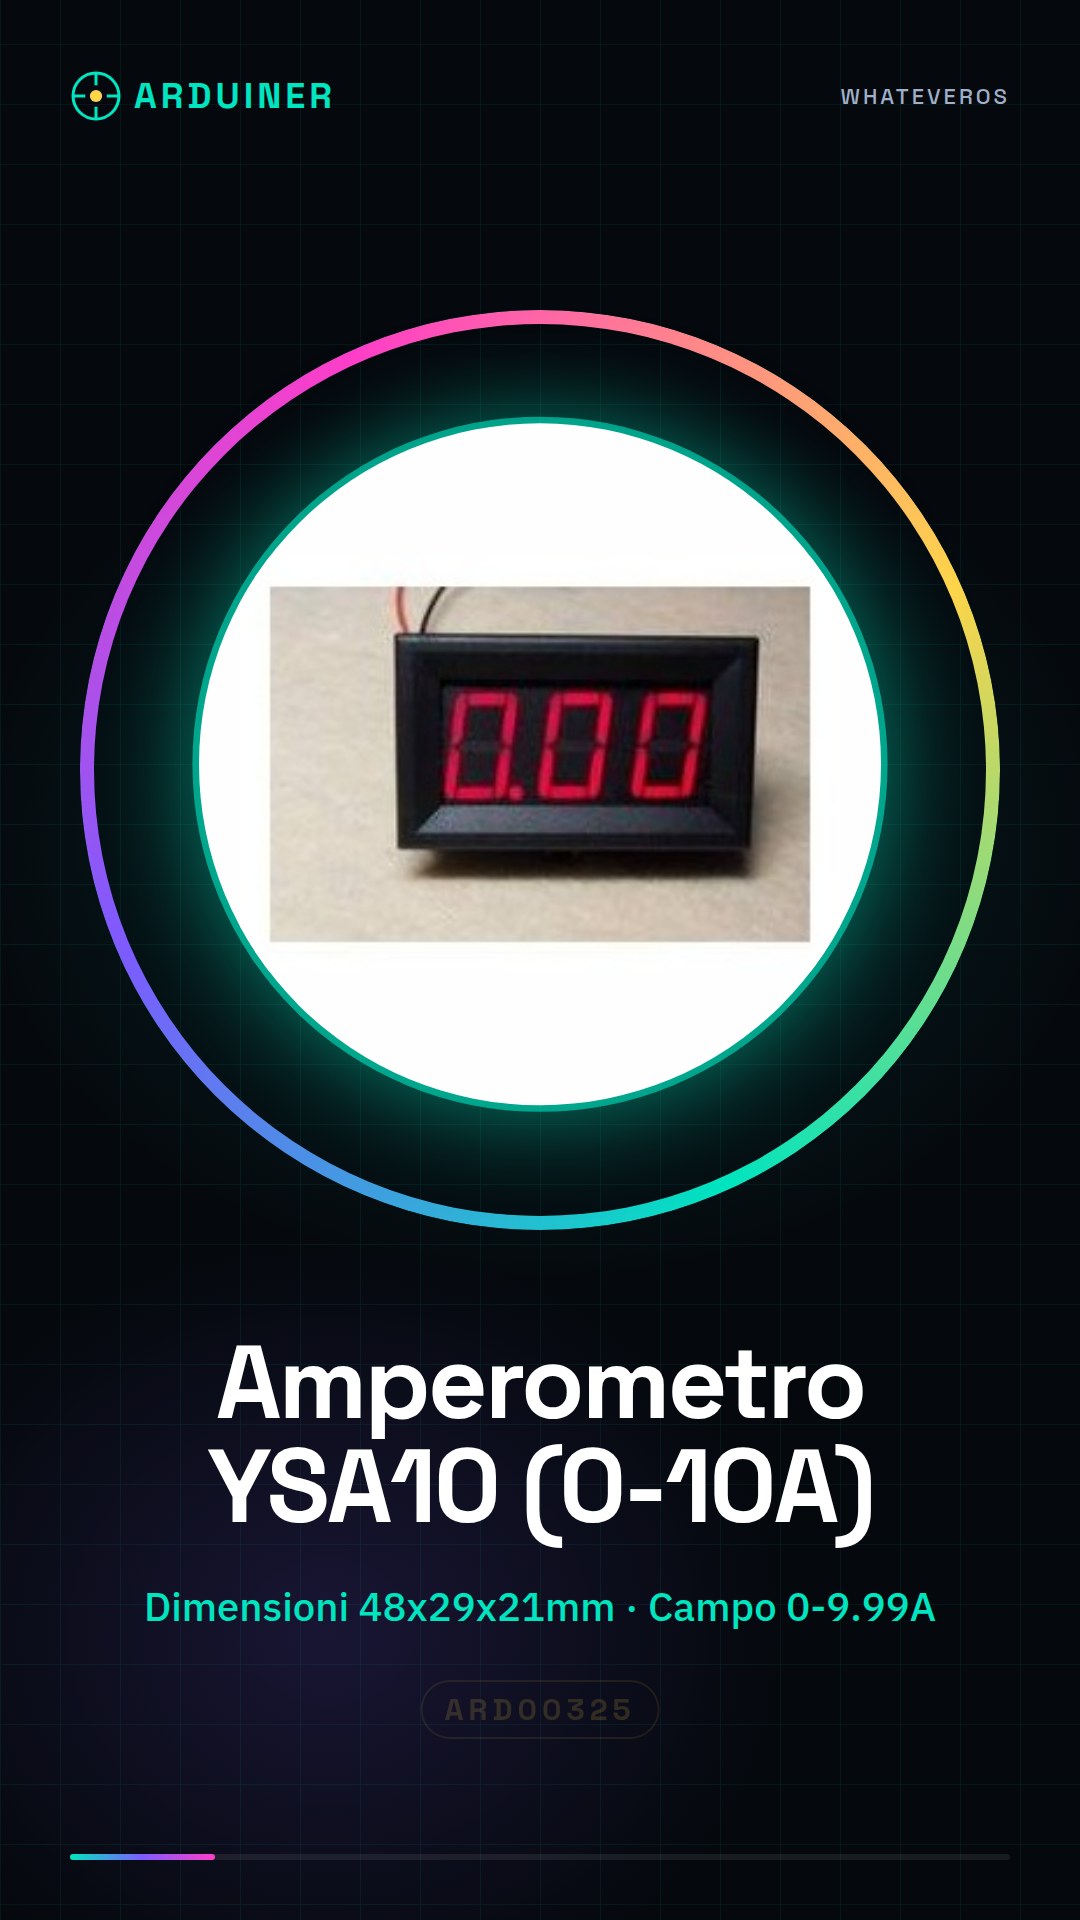
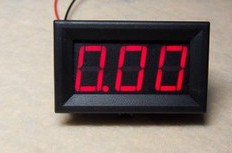
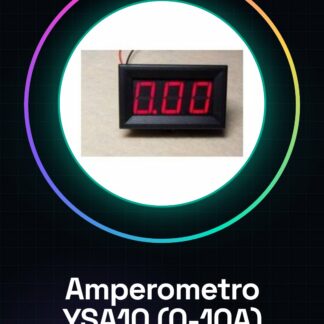
Digital Ammeter YSA10 (0-10A) ammeter head, powered by 4-30V
The basic performance parameters of the ammeter are as follows:
Opening size: 45.5 mm * 26.5 mm
Dimensions: 48 mm * 29 mm * 21 mm
Ammeter measurement range: DC0-9.99A
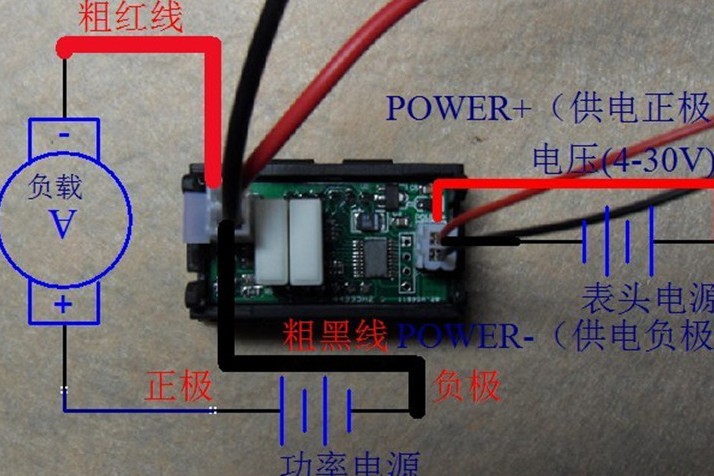
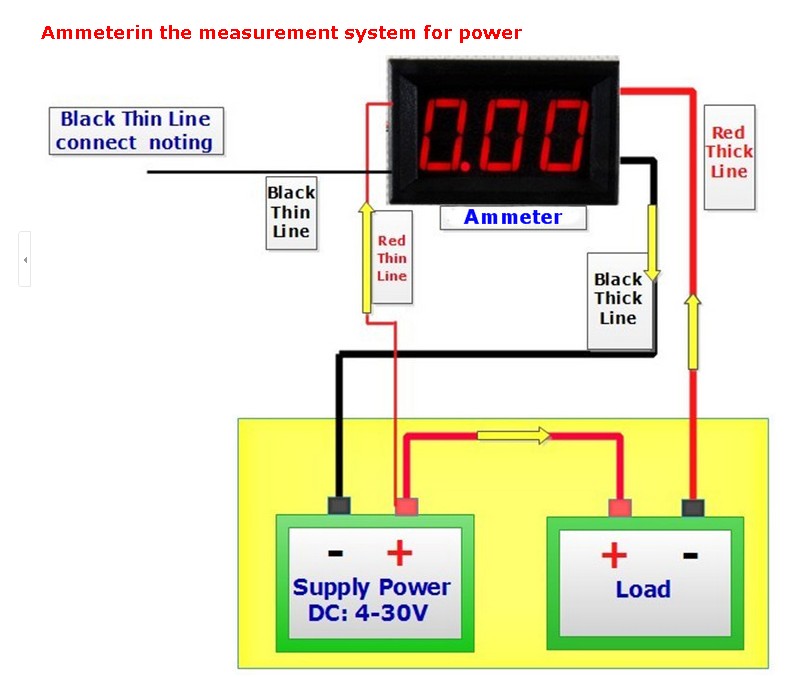
Supply voltage: DC4-30V 2 Line access points
Weight: 23 g / each
Display: Three 0.56 inch LED digital tubes
Display color: Red
Refresh rate: approximately 500 ms
Measurement accuracy: (2% +2 words)
T Technical parameters :
- span style =” font-family:; “> Weight: 22 g
- Display color : Red / Green / Blue
- Display Mode : Three 0.56 inch LED digital tubes
- refresh rate : approximately 500 ms
- Physical dimensions : 48 x 29 x 22 mm (L * W * H)
- Opening dimensions: 45 x 26 mm (L * W)
- Supply voltage : 4-30V
- Cable length : 14 cm
- Measurement range: DC 0-9.99A
- Operating temperature : -10 degrees ~ 65 degrees
- Measurement accuracy : (2% + 2 words)
Note : ( Follow instructions carefully when wiring or burning )
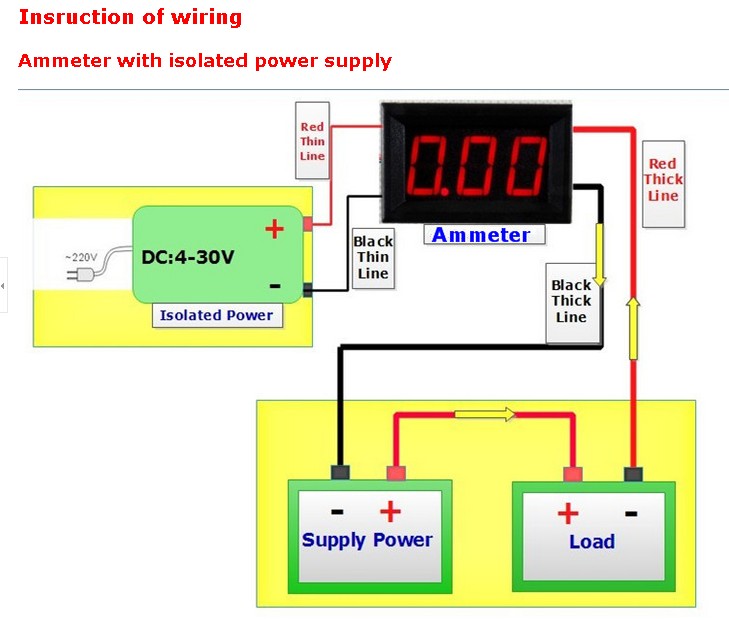
- The end of the ammeter power supply and the measurement of the grounding USE a total design, that is, the power supply ground wire and test the ground wire are reciprocal, therefore, only the ammeter wire test ends after electrical appliances (both devices measured between the cathode and the power of the tested appliance cathode)
- Header power supply recommendations for using separate isolated power supplies
Calibration instructions:
Error phenomenon 1: Due to the aging of some electronic components and influenced by temperature, sometimes when measuring small current, the error of some meters becomes large or sometimes some meters do not show zero without load.
Solution: When the instrument is off, please short circuit A and B (connect A and B). Then make sure the meter has electricity, the instrument will automatically calibrate to zero. At the end of the automatic calibration, disconnect A and B. Subsequently, it’s fine.
Error phenomenon two: Due to the aging of some electronic parts and influenced by temperature, sometimes when measuring a large current, the error of some meters becomes large.
Solution:let the meter show about half of the range (for example: range 0-10A, let meter show about 5A). At the same time, you adjust R7 until the meter shows the value is the same as the value the more digit meter shows.
We have datasheets available for all components. If the datasheet is not included in the product download package, please send us a message through the contact form and we will publish it on our website as soon as possible.
Tutorial: How to Use Digital Ammeter YSA10
The digital ammeter YSA10 allows you to measure currents from 0 to 10A. It is useful for electronic projects that require precise current measurements.
What you need
- Digital Ammeter YSA10
- Arduino
- Power supply cable (powered by 4-30V)
- Sensors or circuit to monitor
Steps
- 1. Check the datasheet for technical specifications.
- 2. Connect the power supply cable to the VCC and GND pins of the ammeter.
- 3. Connect the OUT pin of the ammeter to the A0 pin of Arduino to read the measurement.
- 4. Connect the GND pin of the ammeter to the GND pin of Arduino.
- 5. Upload the example code to Arduino.
- 6. Verify that Arduino reads the measurements correctly.
- 7. Test the functionality with different current levels.
- 8. Verify accuracy with a multimeter.
Example code
```
#include <Wire.h>

void setup() {
 Serial.begin(9600);
}

void loop() {
 float current = analogRead(A0) * 10.0 / 1023.0;
 Serial.println(current);
 delay(1000);
}
```
Mini project
Build a current monitoring system for a small motor. Connect the ammeter to the motor and read the current in real-time.
Common mistakes
- Incorrect power supply: ensure the power supply is between 4-30V.
- Incorrect connection: check that the OUT pin is correctly connected to Arduino.
- Exceeding current limit: do not exceed 10A.
- GND connection: ensure GND is properly connected.
Recommended accessories
- Multimeter
- Arduino UNO
- DC Motors
- Power supply cable
Frequently asked questions
How can I verify the accuracy of the ammeter?
Measure the current with a multimeter and compare the values.
Can I use this ammeter with Arduino Nano?
Yes, the Nano supports analog connectors.
What are the power supply limits?
The power supply must be between 4-30V.
Can I measure currents above 10A?
No, the maximum limit is 10A.
Reviews
There are no reviews yet.