 EN
 IT Italiano
 ES Español
 FR Français
 DE Deutsch

Description
What it is
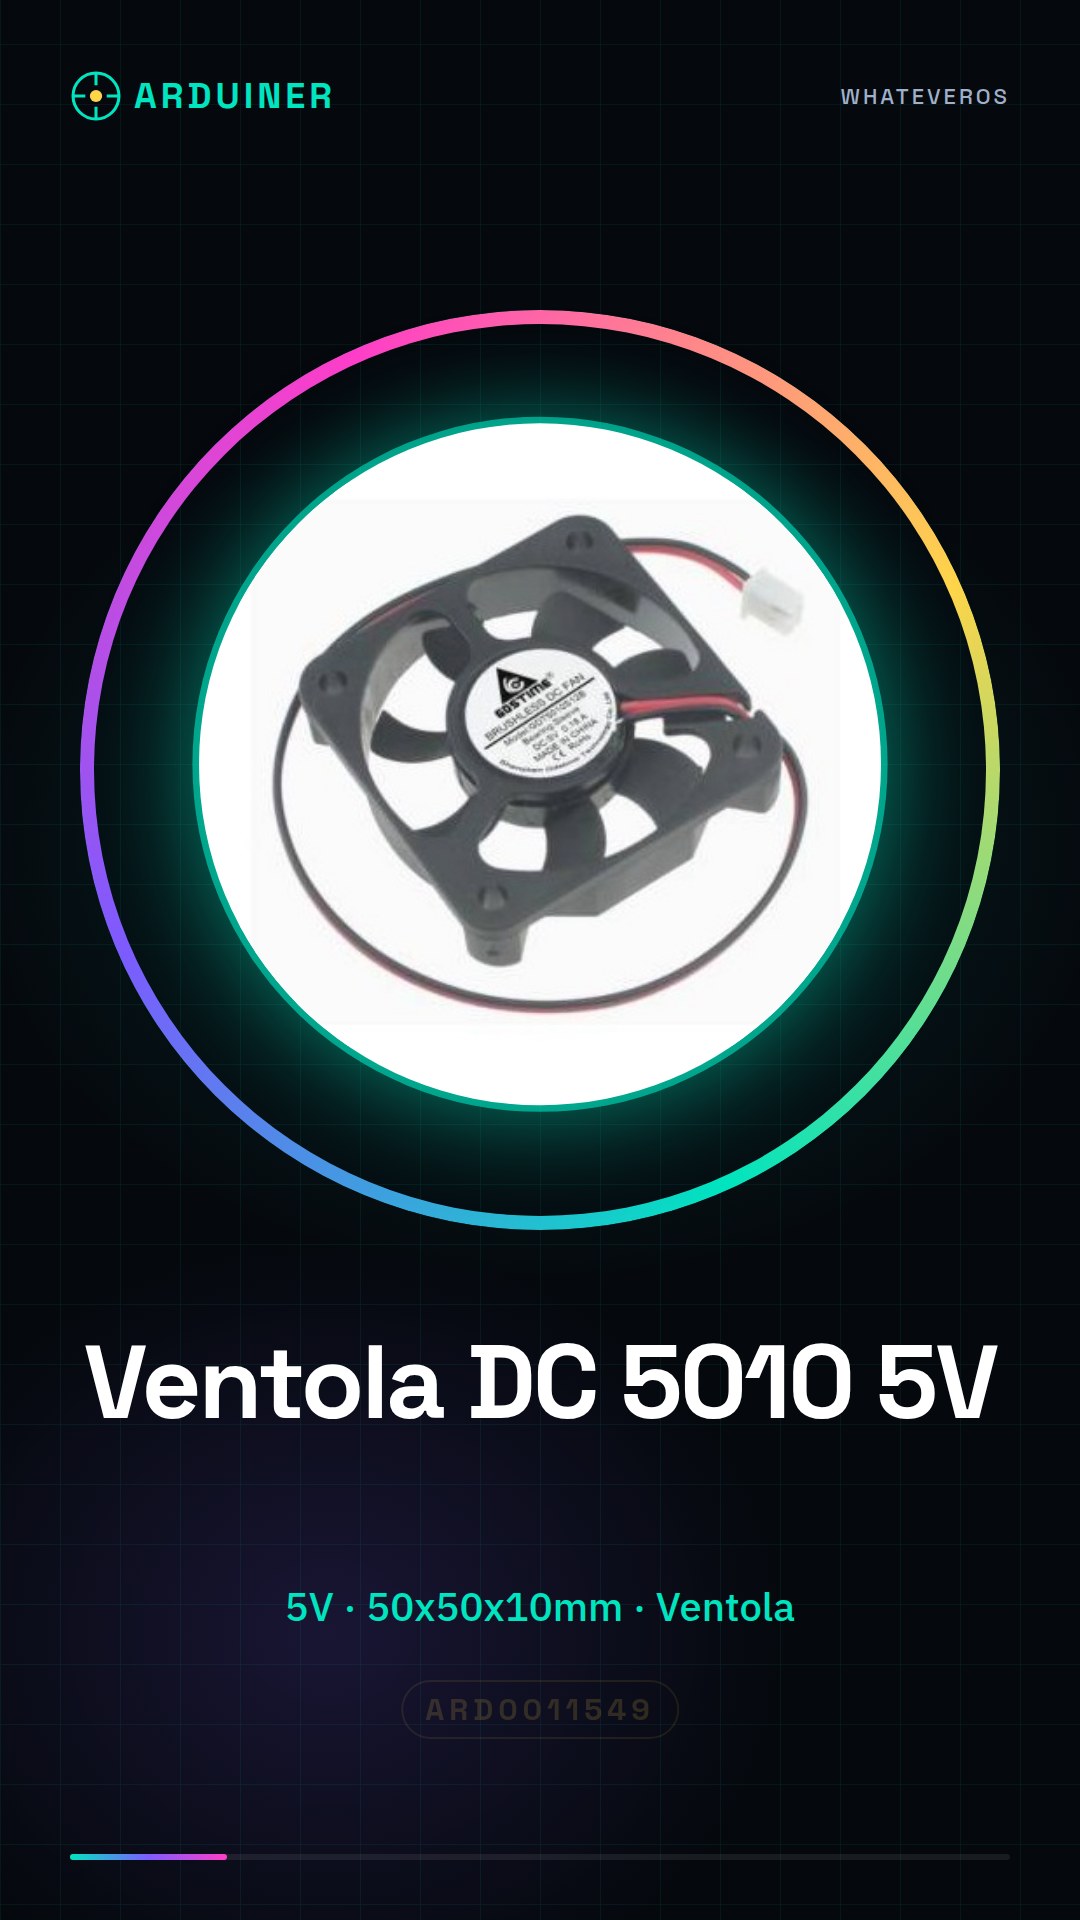
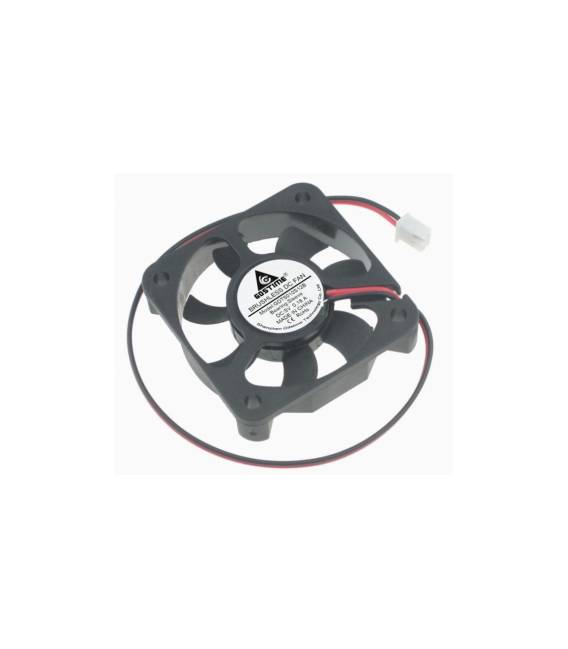
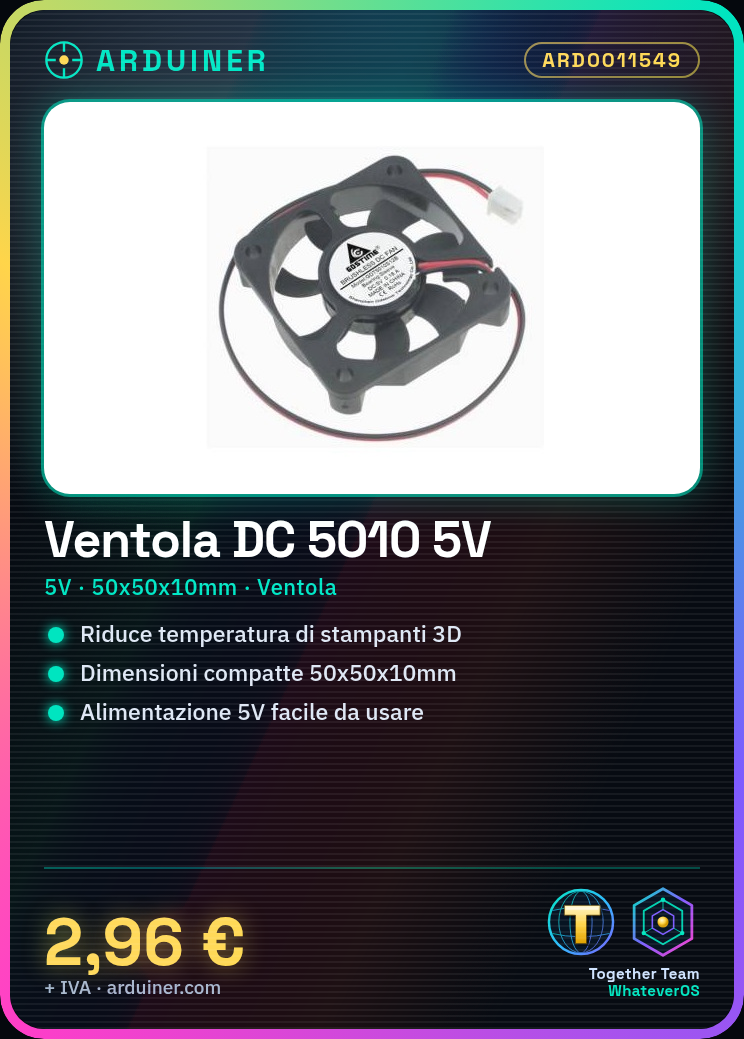
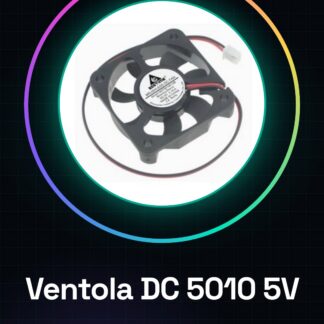
The DC 5010 fan is a small electric cooling device designed to dissipate heat in small devices such as 3D printers and computers. With a compact size, this fan offers practical solutions to improve the thermal efficiency of projects.
Features
- Fan Type: DC 5010
- Operating Voltage: 5V
- Dimensions: 50x50x10mm
What it is for
The DC 5010 fan is ideal for makers looking for a simple and affordable way to improve the cooling of their projects. It can be used in various devices such as 3D printers or small computers, helping to keep temperatures under control.
Tutorial: How to Use DC 5010 Cooling Fan
The DC 5010 cooling fan is ideal for makers looking for a simple and affordable way to improve the cooling of their projects. This small but powerful fan, with compact dimensions of 50x50x10mm, can be used in various devices such as 3D printers or small computers. This tutorial will guide you through the installation and connection of the fan to ensure a constant airflow and reduce the temperature of your device.
What you need
- DC 5010 Fan
- Arduino Uno or compatible
- Connection cable
- Resistor to limit current (check the datasheet)
- Connectors
Steps
- Connect the fan to the power supply with a connection cable.
- Check the specifications of the resistor needed to protect the Arduino from excessive current (check the datasheet).
- Connect the positive terminal of the fan to 5V of the Arduino and the negative terminal to GND.
- Connect a digital pin on the Arduino to the control line of the fan to adjust the speed or turn it on/off with code.
- Check that the fan works properly before installing it in the final project.
- If necessary, physically position the fan near the cooling area of your device.
- Use a piece of rubber or insulation to ensure that the fan stays secure and does not slip during use.
- Insert the project into the final housing, making sure there is enough space for airflow.
Example code
// Codice Arduino
void setup() {
  pinMode(9, OUTPUT); // Imposta pin 9 come output
}

void loop() {
  digitalWrite(9, HIGH); // Accendi la ventola
  delay(5000); // Attende 5 secondi
  digitalWrite(9, LOW); // Spegni la ventola
  delay(5000); // Attende altri 5 secondi
}
Mini project
Design a small cooler for a low-cost 3d printer. Connect the fan to the motor power supply of the printer and write an Arduino code that regulates the fan speed based on temperature.
Common mistakes
- Current was not verified with an appropriate resistor.
- The fan is not activated because the control pin of the Arduino has not been configured correctly.
- The final project does not have sufficient space for a constant airflow, reducing the cooling effectiveness.
Recommended accessories
- Current limiting resistor
- Insulating tape and adhesive rubber
- Small components mounting kit
Frequently asked questions
Can the fan be speed-controlled?
Yes, the fan speed can be controlled via a PWM pin of the Arduino.
What should I do if the fan does not work?
Check the connections and ensure the power supply is correct. Also, check the datasheet specifications for any resistance or voltage requirements.
Reviews
There are no reviews yet.