 EN
 IT Italiano
 ES Español
 FR Français
 DE Deutsch
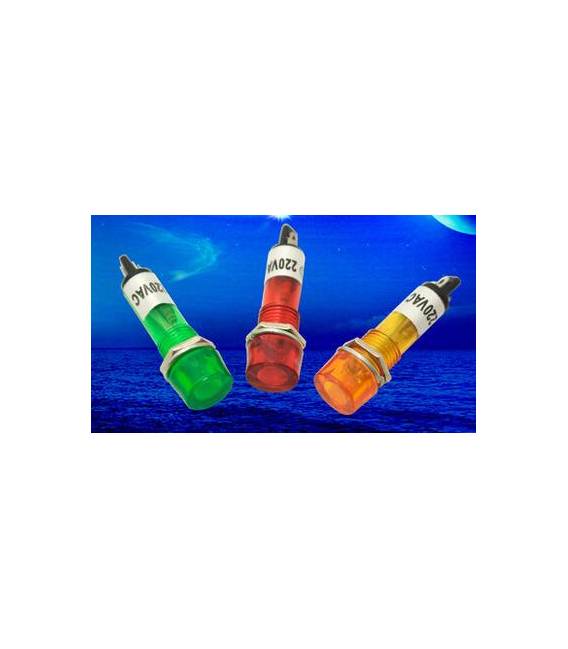
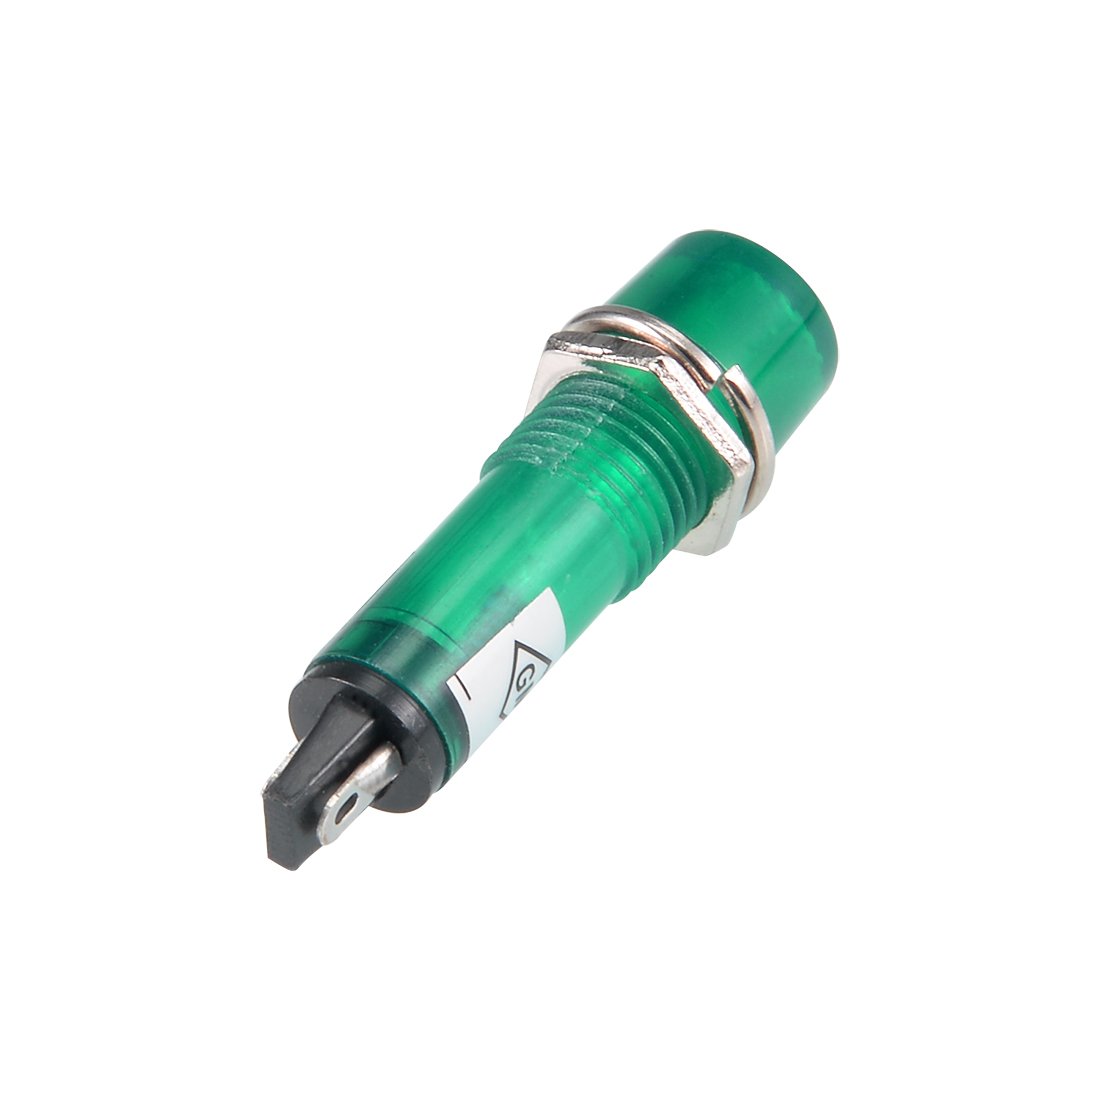
Description
Features:
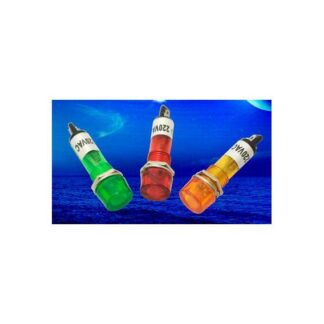
Model: xd10 – 3
Nominal Voltage: DC 24 V
Light Color: green
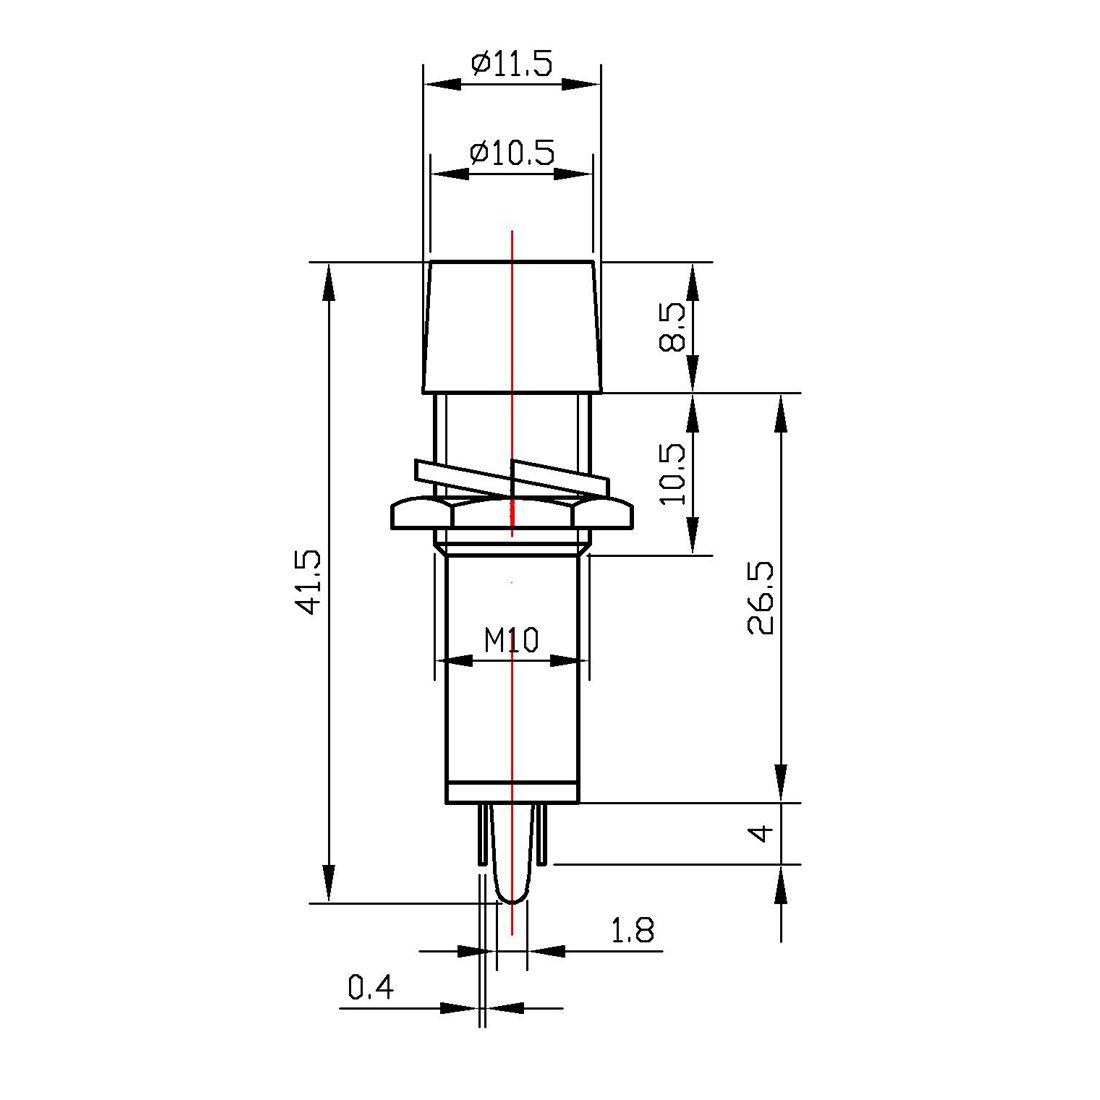
Mounting Hole Diameter: 10 mm (2/)
Dimensions: 41.5 x 11.5 mm/”x (total l * Head D)
Package Contents: 1 Piece
Net Weight: 31 g
Tutorial: How to Use DC 24 V Dashboard Signal Indicator Light
Dashboard signal indicator light to signal working conditions or warnings. Useful for makers and automation projects.
What you need
- DC 24 V Dashboard Signal Indicator Light
- DC 24 V Power Supply
- Control Panel or Arduino (optional)
Steps
- Check the power supply voltage (24 V DC). Refer to the datasheet.
- Connect the positive wire of the light to the + of the power supply.
- Connect the negative wire of the light to the – of the power supply.
- If using a control panel, connect the light pins to the panel.
- If using Arduino, connect the light pins to a digital pin.
- Load the example code (see code).
- Turn on the signal light with a simple program.
- Check the functionality and correctness of the light.
Example code
void loop() {
  digitalWrite(LED_PIN, HIGH);
  delay(1000);
  digitalWrite(LED_PIN, LOW);
  delay(1000);
}
Mini project
Create an emergency warning with the light flashing on and off every second.
Common mistakes
- Connect the positive and negative leads correctly.
- Ensure the voltage is correct (24 V DC).
- Check that the light is not short-circuited.
- Avoid connecting directly to the source without a control panel.
Recommended accessories
- Control panel
- Arduino
- DC 24 V power supply
- Multimeter
Frequently asked questions
The light does not turn on?
Check connections and power supply voltage.
Which pins to use on Arduino?
Use a digital pin such as D2 or D3.
Can I use a 220 V AC power source?
No, use a 24 V DC power source.
Reviews
There are no reviews yet.