 EN
 IT Italiano
 ES Español
 FR Français
 DE Deutsch
Description
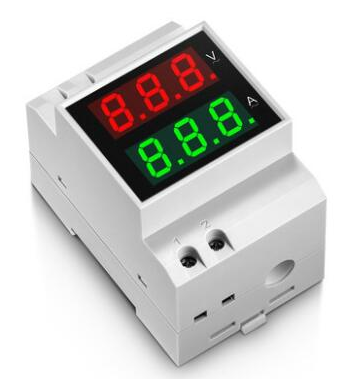
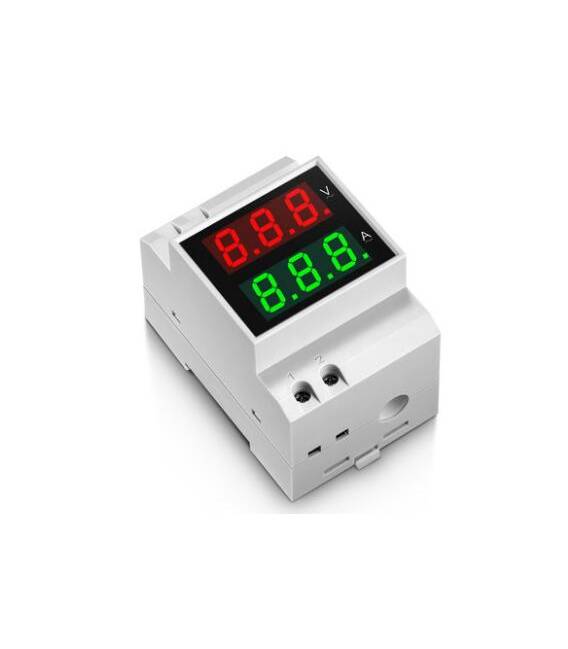
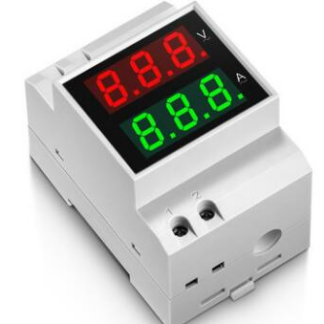
D52-2042 Voltmeter + Ammeter Display 200-450 V CT External 99,9 A
Product Description
This voltmeter / ammeter on DIN rail can quickly measure the voltage and current of the device by passing the wire through the hole, especially for monitoring high-power devices at any time, thus ensuring our safety.
Specifications:
Measurement Range: AC 80-300 V 0,2-99,9 A
Power Supply: <0,2 V * A
Installation: DIN rail
Accuracy: 1% 2 digits
Measurement Speed: approximately 2 times per second
Display Type: 0,5″ digital LED tube
Display Size: 5 * 4 cm / 2 * 1,6 inches
Installation Width: = 3P (DZ47 / C45, switch air position)
Product Dimensions: 8 * 5,5 * 6,5 cm / 3,1 * 2,2 * 2,6 inches
Product Weight: 124 g / 4,4 ounces
Package Size: 8,8 * 7,4 * 6,1 cm / 3,5 * 2,9 * 2,4 inches
Package weight: 144 g / 5.1 oz
Package includes:
1 * Digital Voltmeter / Ammeter on DIN rail
Tutorial: How to use D52-2042 Voltmeter + Ampermeter
This voltmeter/ampermeter is ideal for measuring voltages from 200 to 450V and currents up to 99.9A. Useful for projects requiring precise voltage and current measurements.
What you need
- D52-2042 Voltmeter + Ampermeter
- Arduino
- Power Supply
- Test Lead
Steps
- 1. Check that the voltmeter/ampermeter is functioning correctly.
- 2. Connect the test lead to the power supply.
- 3. Connect the test lead to the external CT of the voltmeter.
- 4. Turn on the power supply.
- 5. Connect the external CT to pin A0 of the Arduino.
- 6. Upload the following code to your Arduino.
- 7. Check the datasheet for maximum voltage and current specifications.
- 8. Read the voltage and current values on the display.
Example code
void loop() {
  float voltage = analogRead(A0) * (5.0 / 1023.0);
  float current = voltage / 0.1; // Calcolo della corrente
  Serial.println(current);
}
Mini project
Build a current monitor for your power supply system. Connect the D52-2042 to the system and read the current values every 5 seconds.
Common mistakes
- Connecting the CT to the wrong Arduino pin.
- Forgetting to check the voltage specifications.
- Not reading the datasheet carefully.
- Forgetting to calibrate the voltmeter/ammeter.
Recommended accessories
- Arduino Uno
- 5V Power Supply
- External CT 200-450V
- Test Lead
Frequently asked questions
The display does not show correct values.
Check connections and voltage specifications. Verify if the CT is correctly connected.
How to calibrate the voltmeter/ammeter?
Check the datasheet for specific instructions. Generally, use a known calibration source.
Can I use this module with Arduino Mega?
Yes, but verify that the pin used supports power.
Reviews
There are no reviews yet.