 EN
 IT Italiano
 ES Español
 FR Français
 DE Deutsch
Description
What it is
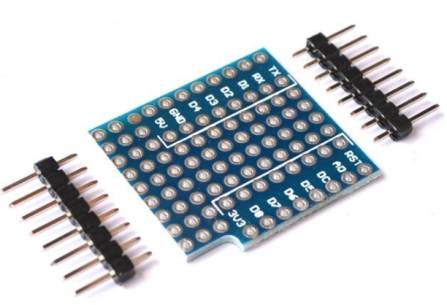
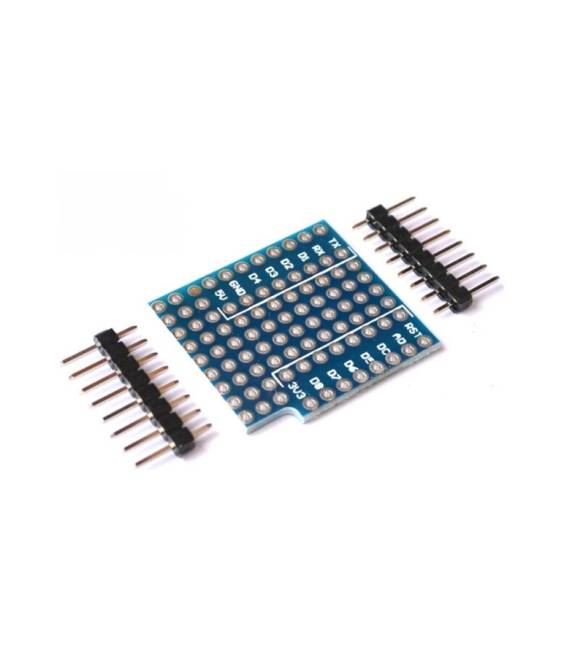
The D1 Mini board is a mini dual-sided insert WiFi IoT development board. Ideal for IoT projects, it is designed for makers and developers who want to explore the world of the Internet of Things without excessive investment.
Features
- Mini dual-sided insert format
- Integrated WiFi connection
- SKU: ARD0011509
- Price: 1.97 €
- Available for preorder
What it is for
The D1 Mini board can be used to create home alarm systems that send email notifications, monitor environmental data, and develop interactive projects. Compatibility with the Arduino and ESP development environment should be verified in the datasheet.
Tutorial: How to use WiFi IoT D1 Mini Board
The WiFi IoT D1 Mini board is ideal for anyone who wants to explore the world of the Internet of Things (IoT) without investing too much. With it, you can control remote devices, monitor environmental data, and create interactive projects.
What you need
- Arduino IDE installed
- Computer with Windows, Mac or Linux operating system
- USB type A-micro B cable
- WiFi antenna (check the datasheet for specifications)
- WiFi configuration software (check the datasheet for specifications)
Steps
- Install the Arduino IDE and add the ESP8266 library.
- Connect the D1 Mini board to the computer via USB.
- Open the ‘Tools’ menu and select ‘Board’ -> ‘ESP8266 NodeMCU 1.0 (ESP-12E Module)’
- Select ‘Serial Port’ -> ‘Auto’
- Verify the connection by downloading a simple example like ‘Blink’.
- Configure the WiFi network using the configuration software.
- Load a simple sketch that uses the WiFi connection.
- Test the connection and data transmission to the WiFi network.
Example code
void setup() {
  Serial.begin(115200);
  WiFi.begin("SSID", "PASSWORD");
  while (WiFi.status() != WL_CONNECTED) {
    delay(500);
    Serial.print(".");
  }
  Serial.println("nConnesso!");
}

void loop() {
  // Codice di esempio
}
Mini project
Create a home alarm system that sends email notifications when triggered.
Common mistakes
- WiFi connection error: check that the network is correctly configured and that the antenna is connected.
- Power supply issues: ensure that the board is receiving adequate current.
- Sketch upload error: check the serial port and board configuration.
- Connectivity issues: test the WiFi network with other devices.
Recommended accessories
- WiFi Antenna
- 3.7V LiPo Battery
- 5V Relay
- PIR Motion Sensors
Frequently asked questions
How can I upload a sketch to D1 Mini?
Connect the board to the computer, open Arduino IDE, select the correct board and serial port, then upload the sketch.
Which sensors can I use with D1 Mini?
You can use any sensor that works with 3.3V such as temperature, humidity, light sensors, etc.
How can I connect D1 Mini to a WiFi network?
Use the WiFi.begin() command to connect to the network specifying SSID and password.
Reviews
There are no reviews yet.