 EN
 IT Italiano
 ES Español
 FR Français
 DE Deutsch
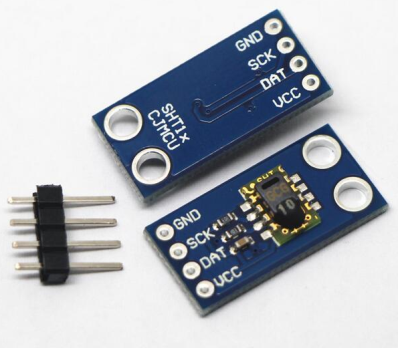
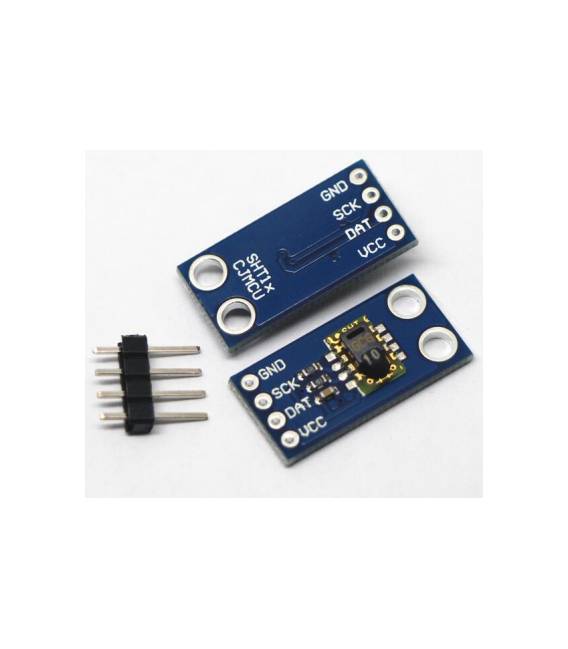
Description
Temperature and Humidity Sensor CJMCU-SHT10
Tutorial: How to Use CJMCU-SHT10
The CJMCU-SHT10 is a convenient sensor for measuring temperature and humidity. It is useful for smart home or environmental projects.
What you need
- CJMCU-SHT10
- Arduino
- Pull-up Resistor (10kΩ)
- Connection Cable
Steps
- 1. Connect the pull-up resistor between VCC and SCK/DI.
- 2. Connect SCK/DI to the DI/DOUT pin of your Arduino.
- 3. Connect GND of the sensor to GND of your Arduino.
- 4. Load the Sketch code.
- 5. Check temperature and humidity in the serial monitor.
- 6. Verify the datasheet for further details.
- 7. Try connecting the sensor to another I/O port.
- 8. Check the stability of the connection.
Example code
```cpp
#include <SHT1x.h>

SHT1x sht1x(D1, D2);

void setup() {
  Serial.begin(9600);
}

void loop() {
  float temperature = sht1x.readTemperature();
  float humidity = sht1x.readHumidity();
  Serial.print("Temp: "); Serial.print(temperature);
  Serial.print("°C Hum: "); Serial.println(humidity);
  delay(1000);
}
```
Mini project
Create a simple humidity monitor to control humidity in a corner of your home.
Common mistakes
- Connect SCK/DI directly to VCC without pull-up resistor.
- Omit verifying the datasheet.
- Forget to update the SHT1x library.
- Connect the GND of the sensor to VCC.
Recommended accessories
- Arduino Uno
- SHT1x library
- Connection cable
- Pull-up resistor (10kΩ)
Frequently asked questions
How can I check the temperature and humidity?
Check the Arduino serial monitor.
What is the recommended measurement frequency?
Check the datasheet for further details.
Do I need another library?
Use the SHT1x library.


Reviews
There are no reviews yet.