 EN
 IT Italiano
 ES Español
 FR Français
 DE Deutsch
Description
What it is
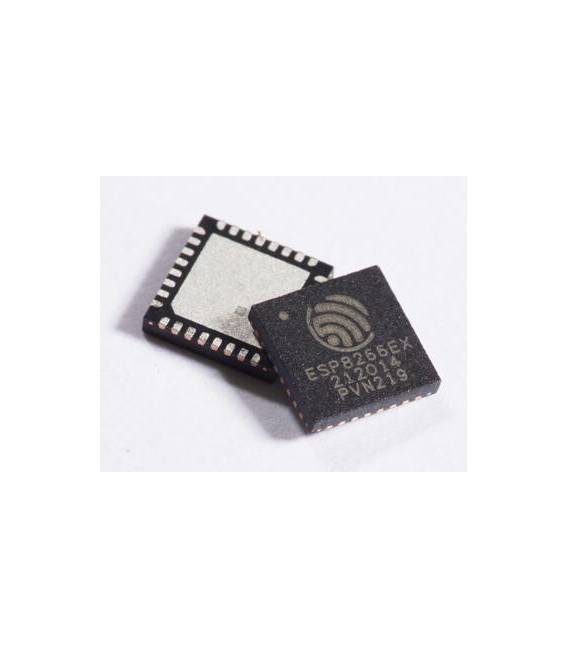
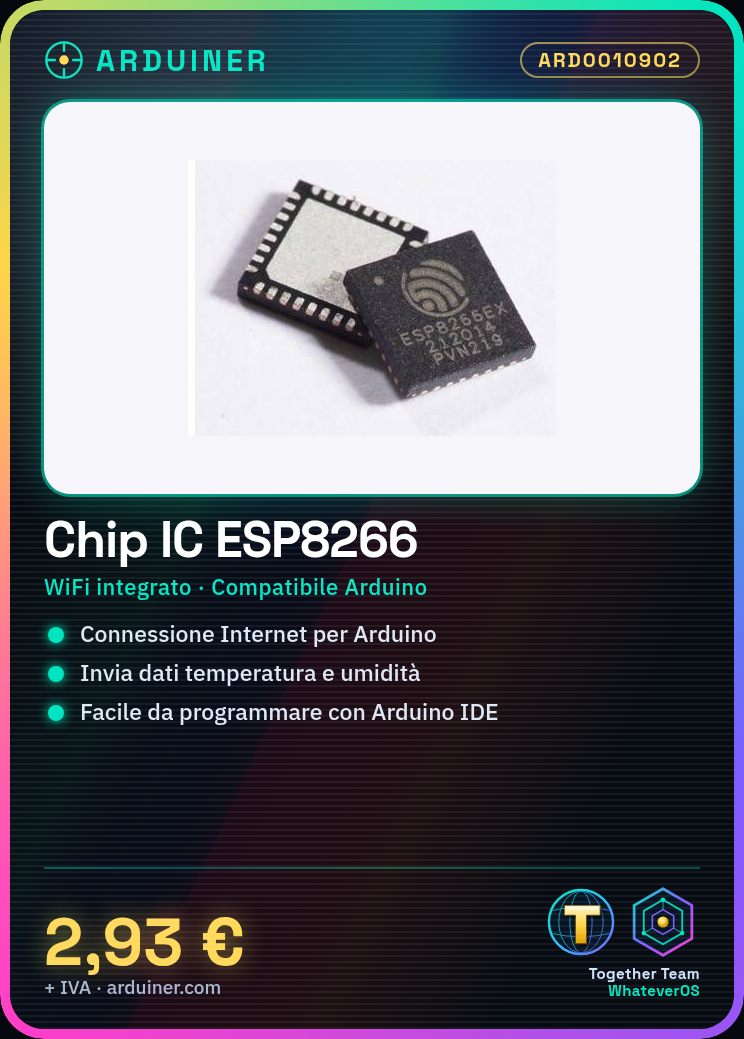
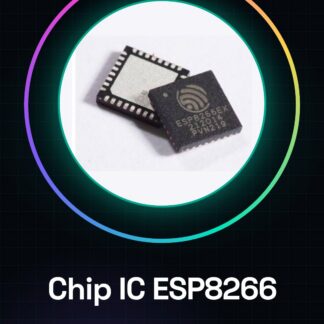
The ESP8266 Chip IC is an integrated WiFi module that allows Arduino projects to connect to the Internet. It offers wireless functionality to create connected smart devices.
Features
- Provides WiFi connectivity to your Arduino projects
- Ideally suited for beginners and makers
What it is for
It is used to create connected devices, such as simple web servers that send temperature and humidity data collected from a DHT11 sensor. It is compatible with Arduino to ease programming.
Tutorial: How to use ESP8266 Chip IC
The ESP8266 chip is an integrated WiFi module that allows Arduino projects to connect to the Internet. Ideal for beginners and makers who want to create connected smart devices.
What you need
- Arduino Uno or similar
- USB Type B cable
- 3.3V battery (optional)
- WiFi connection
Steps
- Connect the ESP8266 chip to the Arduino GPIO0 pin using a jumper wire.
- Download and install the latest version of the Arduino IDE software.
- Install the ESP8266WiFi library through the Library Manager in the Libraries section of the Arduino IDE.
- Open an existing sketch or create a new one in Arduino IDE.
- Add #include <ESP8266WiFi.h> to the code to include the WiFi library.
- Configure the WiFi credentials in the code (SSID and password).
- Upload the source code to the ESP8266 chip via Arduino IDE.
- Verify that the device is connected to the Internet by checking the debug messages in serial.
Example code
void setup() {
  Serial.begin(115200);
  WiFi.begin(ssid, password);
}

void loop() {
  if (WiFi.status() == WL_CONNECTED) {
    Serial.println(WiFi.localIP());
  }
}
Mini project
Create a simple web server with ESP8266 that sends temperature and humidity data collected from a DHT11 sensor.
Common mistakes
- Error during installation of the ESP8266WiFi library.
- WiFi connection issues caused by incorrect credentials or radio interference.
- Difficulty in uploading the code to the chip due to incorrect connection with Arduino.
- Non-specific error messages during code compilation.
Recommended accessories
- DHT11 sensor
- OLED Display 0.96″ I2C
- Relay Module 5V
- 3.7V LiPo Battery
Frequently asked questions
What is the difference between ESP8266 and ESP32?
ESP8266 has a slower CPU and fewer features compared to ESP32, which includes Bluetooth LE and a more powerful processor.
How can I load code directly onto the ESP8266 chip without using Arduino?
Use the OTA (Over-The-Air) bootloader to load code via WiFi.
Reviews
There are no reviews yet.