 EN
 IT Italiano
 ES Español
 FR Français
 DE Deutsch
Description
What it is
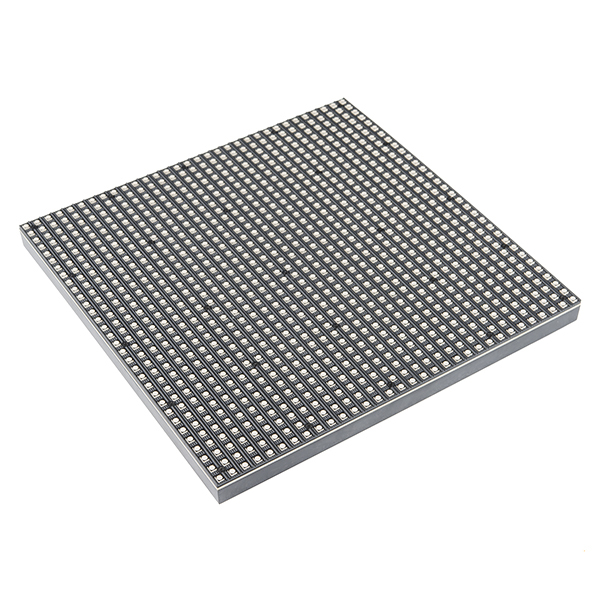
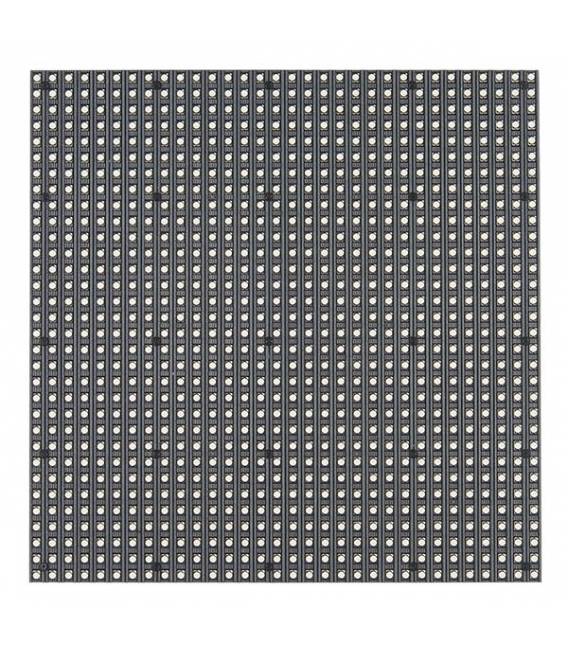
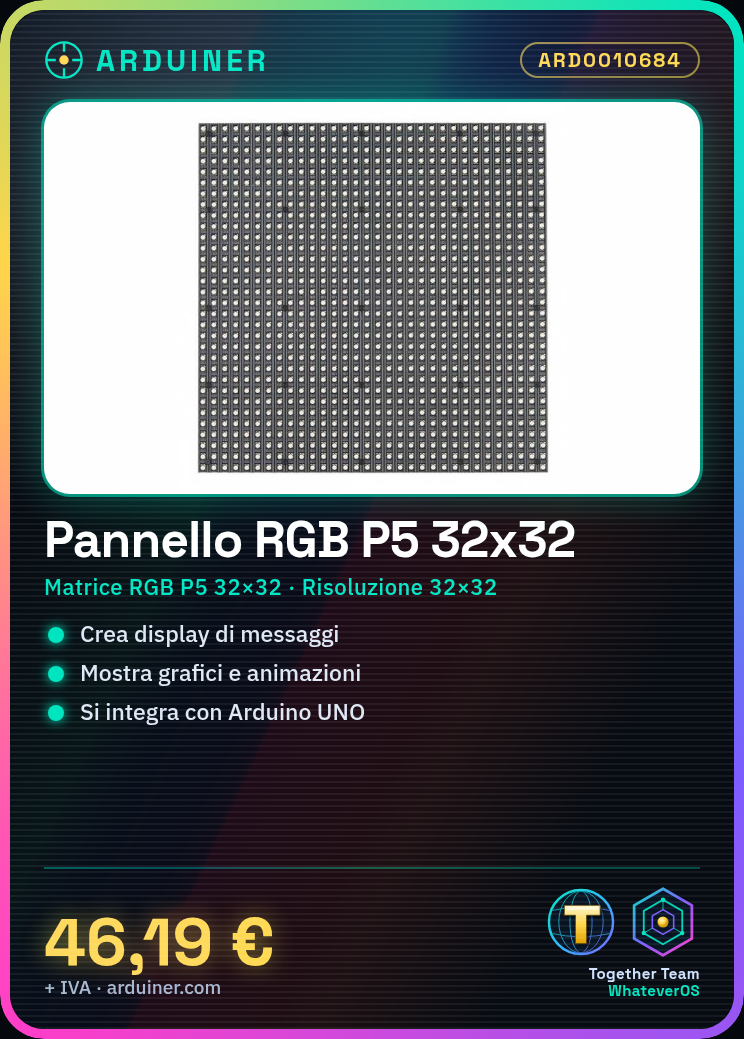
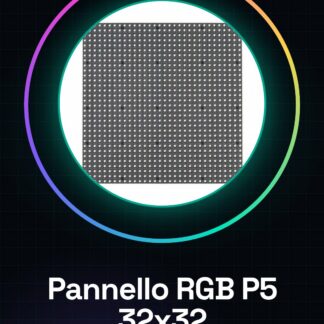
The RGB P5 LED panel is an electronic component that allows the creation of interactive visual displays. Composed of a matrix of colored LEDs, this device offers high resolution for dynamic lighting projects.
Features
- Type: RGB P5 Matrix 32×32
- Resolution: 32×32 pixels (check the datasheet)
What it is for
RGB LED panels are useful for creating message displays, graphs, and animations. They are ideal for projects requiring visual interactivity and can be integrated with Arduino or ESP to control dynamic lighting.
Tutorial: How to Use 2 Pieces 32×32 RGB P5 LED Matrix Panel
This LED panel is ideal for dynamic visualization and interaction projects. Useful for beginners and intermediates, it is perfect for creating message displays, graphs, and animations.
What you need
- 2 pieces 32×32 RGB P5 LED Matrix Panel
- Arduino UNO or compatible
- 5V cable
- 1kΩ resistor
Steps
- 1. Installation: Assemble the 2 LED panels into a 32×32 matrix.
- 2. Connection: Connect the VCC pin to 5V, GND to GND, and D13 to the Data pin of the panel.
- 3. Check the datasheet: Verify the correct polarity of the pins.
- 4. Configuration: Load the provided Arduino code.
- 5. Test: Run the code to verify the lighting.
- 6. Customization: Modify the code to create animations.
- 7. Mounting: Install the panel on a mounting support.
- 8. Connect: Connect the panel to the Arduino and power supply.
Example code
void setup() {
  FastLED.addLeds<WS2812B, D13, GRB>(leds, NUM_LEDS);
  FastLED.setBrightness(100);
}
void loop() {
  for(int i=0; i<NUM_LEDS; i++) {
    leds[i] = CRGB::Red;
  }
  FastLED.show();
  delay(1000);
  for(int i=0; i<NUM_LEDS; i++) {
    leds[i] = CRGB::Green;
  }
  FastLED.show();
  delay(1000);
}
Mini project
Create a message display that changes color every 2 seconds. Estimated time: 30 minutes.
Common mistakes
- Connect the VCC pin to 3.3V instead of 5V.
- Forget to verify the polarity of the pins.
- Fail to configure the Arduino code correctly.
- Do not use resistors to protect the pins.
Recommended accessories
- Arduino UNO
- 5V cable
- 1kΩ resistor
- Mounting support
Frequently asked questions
How can I connect multiple panels?
Connect the VCC and GND pins of the panels in parallel, and the Data pins in series.
Which pins should be used to connect the panel?
Use the VCC, GND, and D13 pins to connect the panel to Arduino.
Does the panel work with Arduino Nano?
Yes, but it might require a different pin. Check the datasheet.
Reviews
There are no reviews yet.