 EN
 IT Italiano
 ES Español
 FR Français
 DE Deutsch
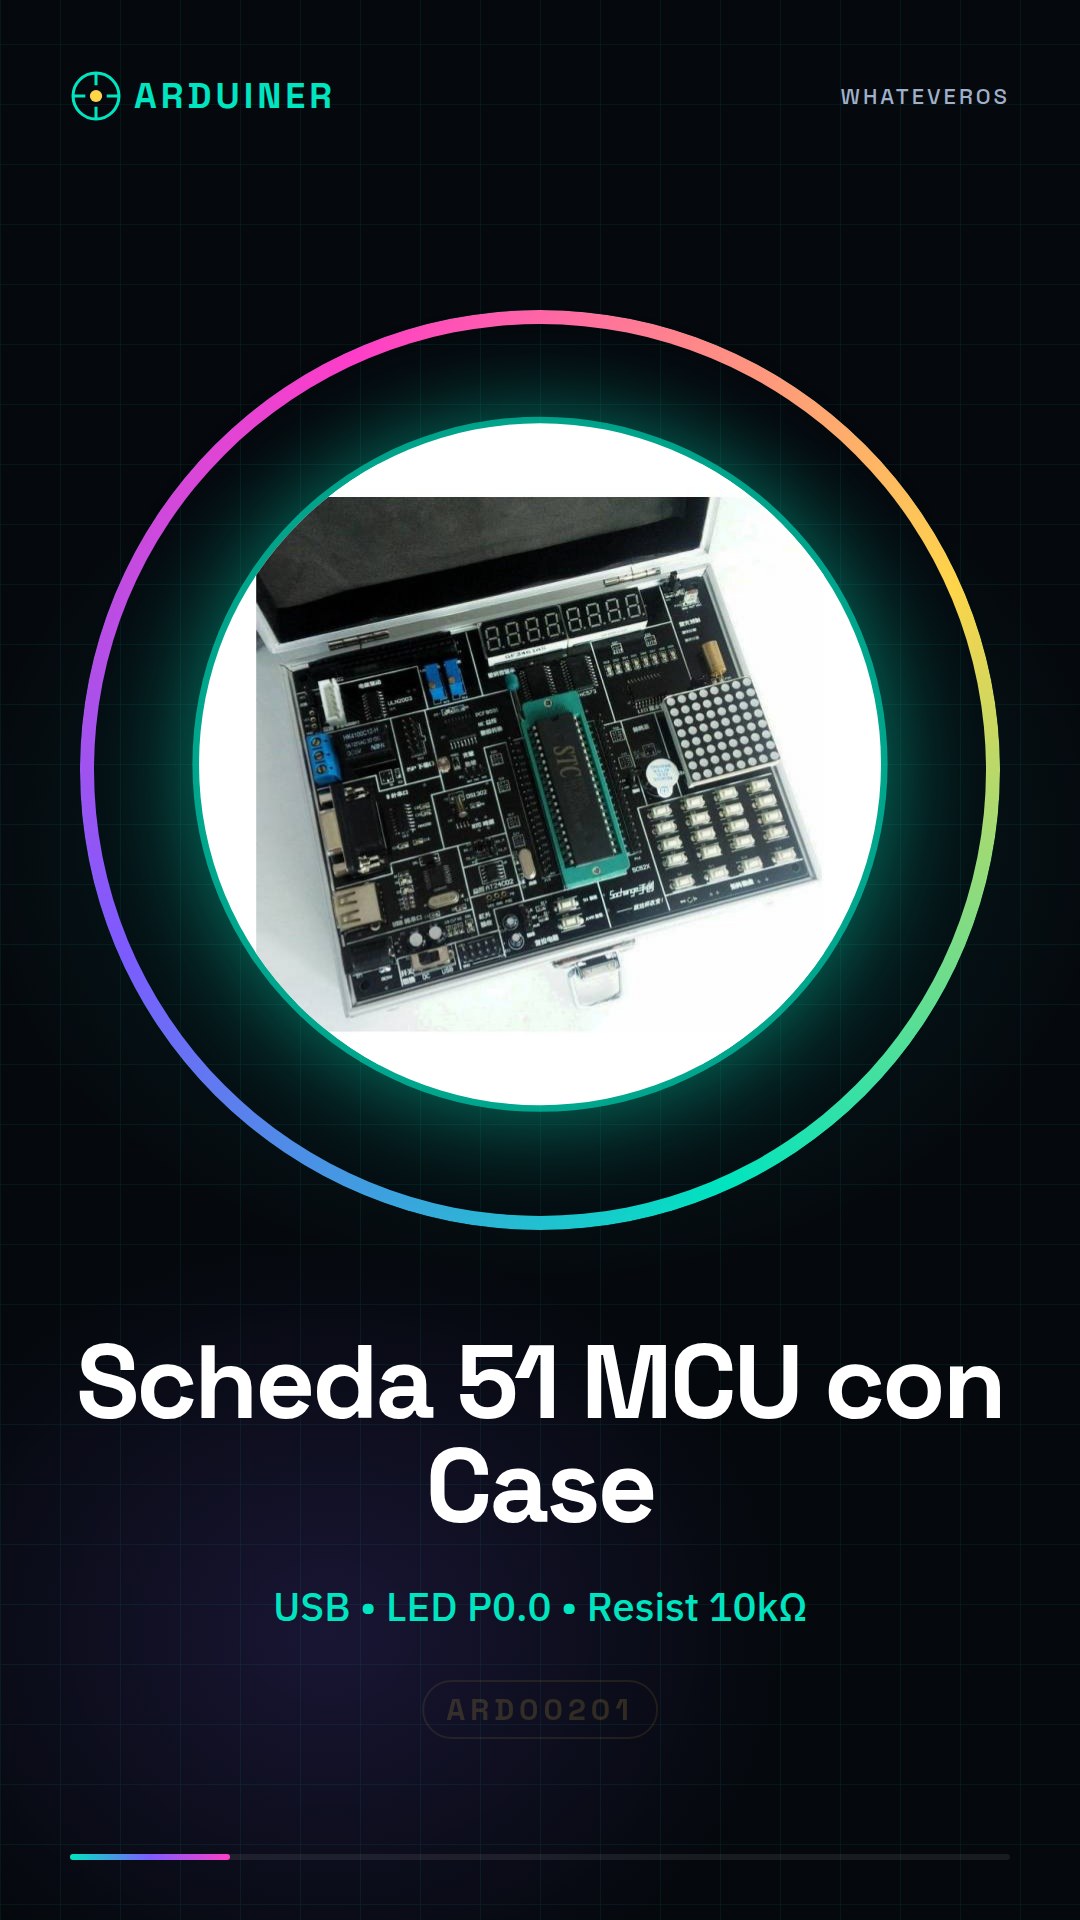
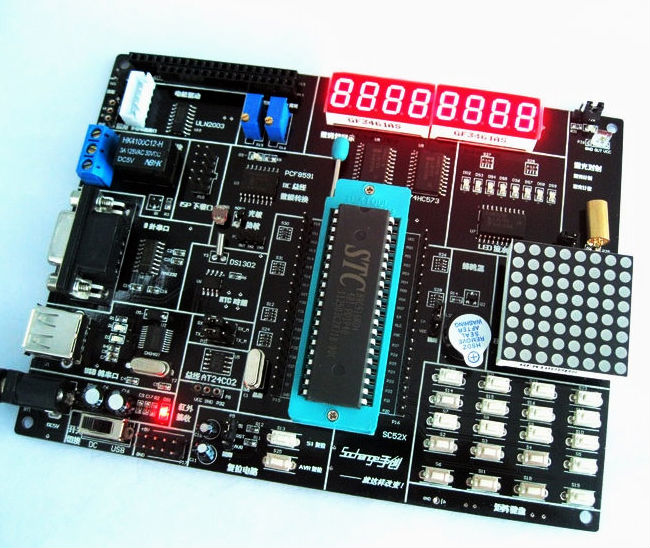
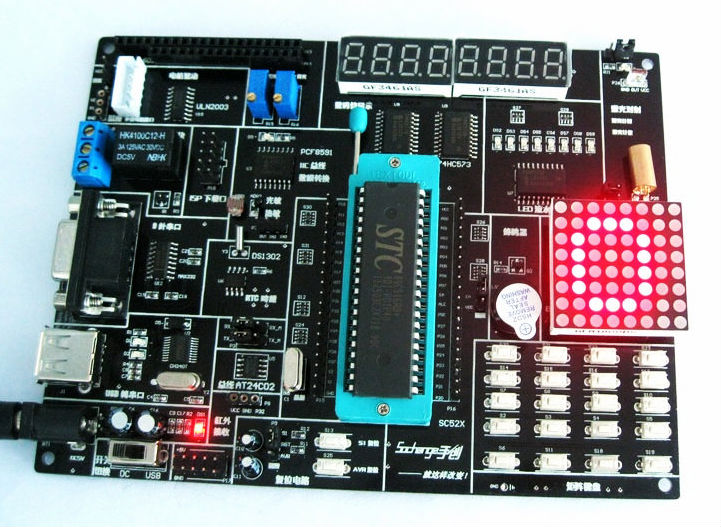
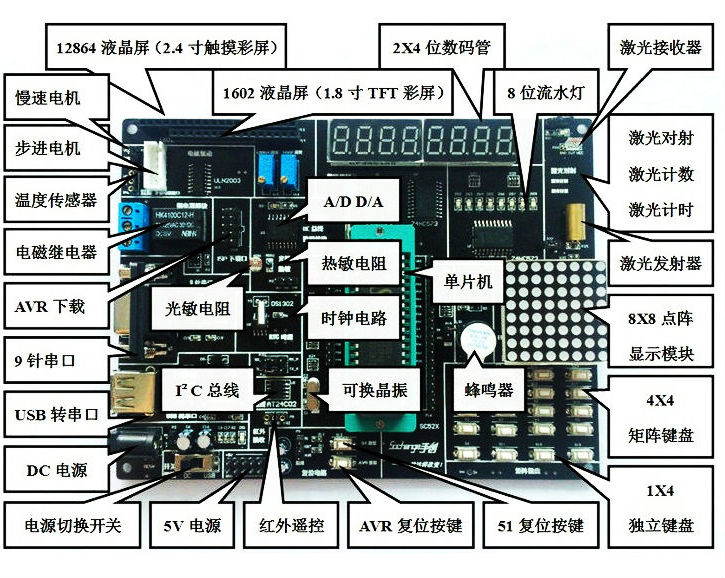
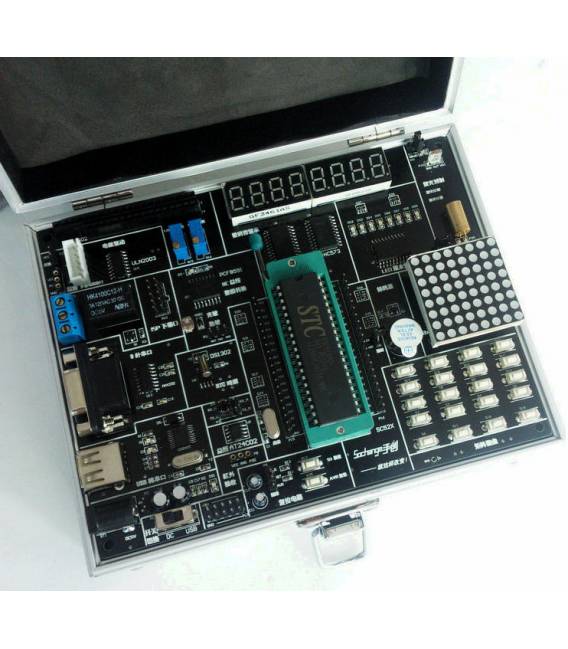
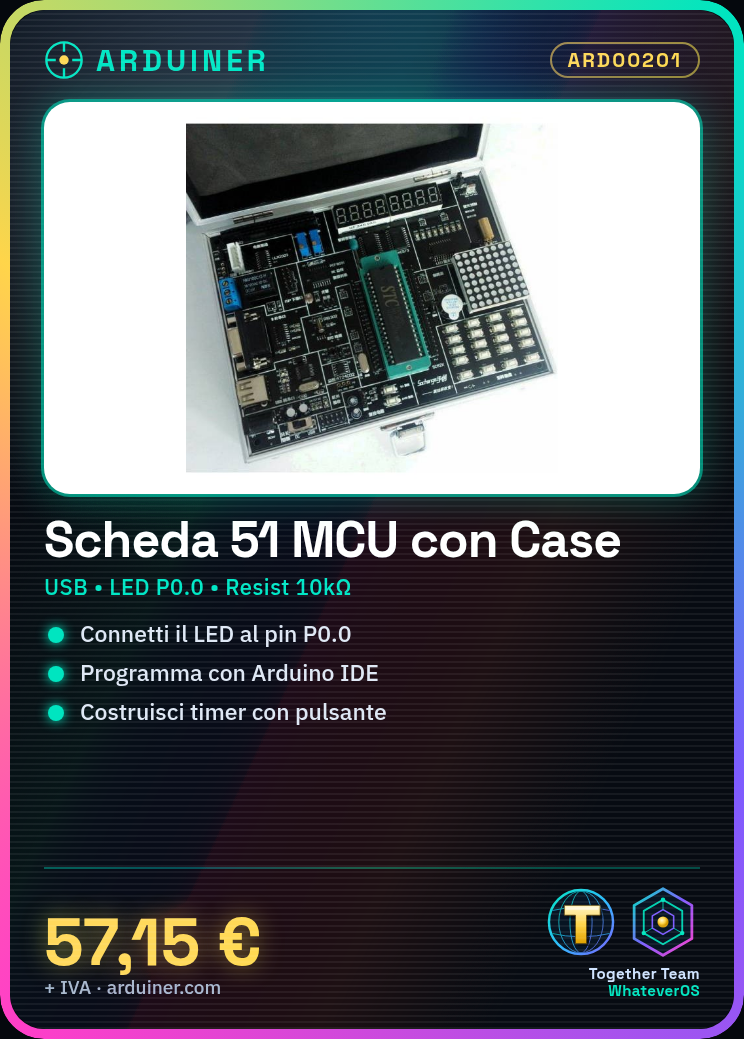
Description
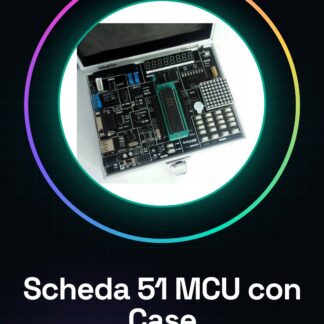
Tutorial: How to Use the Learning 51 MCU Board with Cases
The Learning 51 MCU Board is perfect for Arduino programmers and beginner makers who want to learn how to use 51 microcontrollers. With this board, you can explore the commands and functions of a 51 microcontroller.
What you need
- Arduino IDE installed
- USB cable
- 10kΩ resistor
- LED
- Multimeter
Steps
- 1. Install Arduino IDE.
- 2. Connect the board to the computer with the USB cable.
- 3. Check the datasheet for the presence of an error LED.
- 4. Connect an LED to pin P0.0 and the 10kΩ resistor.
- 5. Write the following code in Arduino IDE:
- 6. `void setup() { pinMode(P0_0, OUTPUT); } void loop() { digitalWrite(P0_0, HIGH); delay(1000); digitalWrite(P0_0, LOW); delay(1000); }`
- 7. Upload the code to the board.
- 8. Verify that the LED blinks on and off every second.
Example code
void setup() { pinMode(P0_0, OUTPUT); } void loop() { digitalWrite(P0_0, HIGH); delay(1000); digitalWrite(P0_0, LOW); delay(1000); }Mini project
Build a simple timer with a button and an LED that turns on for 5 seconds every time the button is pressed.
Common mistakes
- Ensure the USB cable is properly connected.
- Check that the Arduino IDE version is up to date.
- Verify the correct pin configuration in the code.
Recommended accessories
- Button
- 1kΩ Resistor
- LED
- Multimeter
Frequently asked questions
How can I verify that the LED is correctly connected?
Measure the voltage on the LED pin with the multimeter before and after loading the code.
Which pins can I use to connect the LED?
Pin P0.0 is recommended for connecting the LED.
It may happen that the LED does not light up.
Check the pin configuration in the code and the physical connection.
Reviews
There are no reviews yet.