 EN
 IT Italiano
 ES Español
 FR Français
 DE Deutsch
Description
What it is
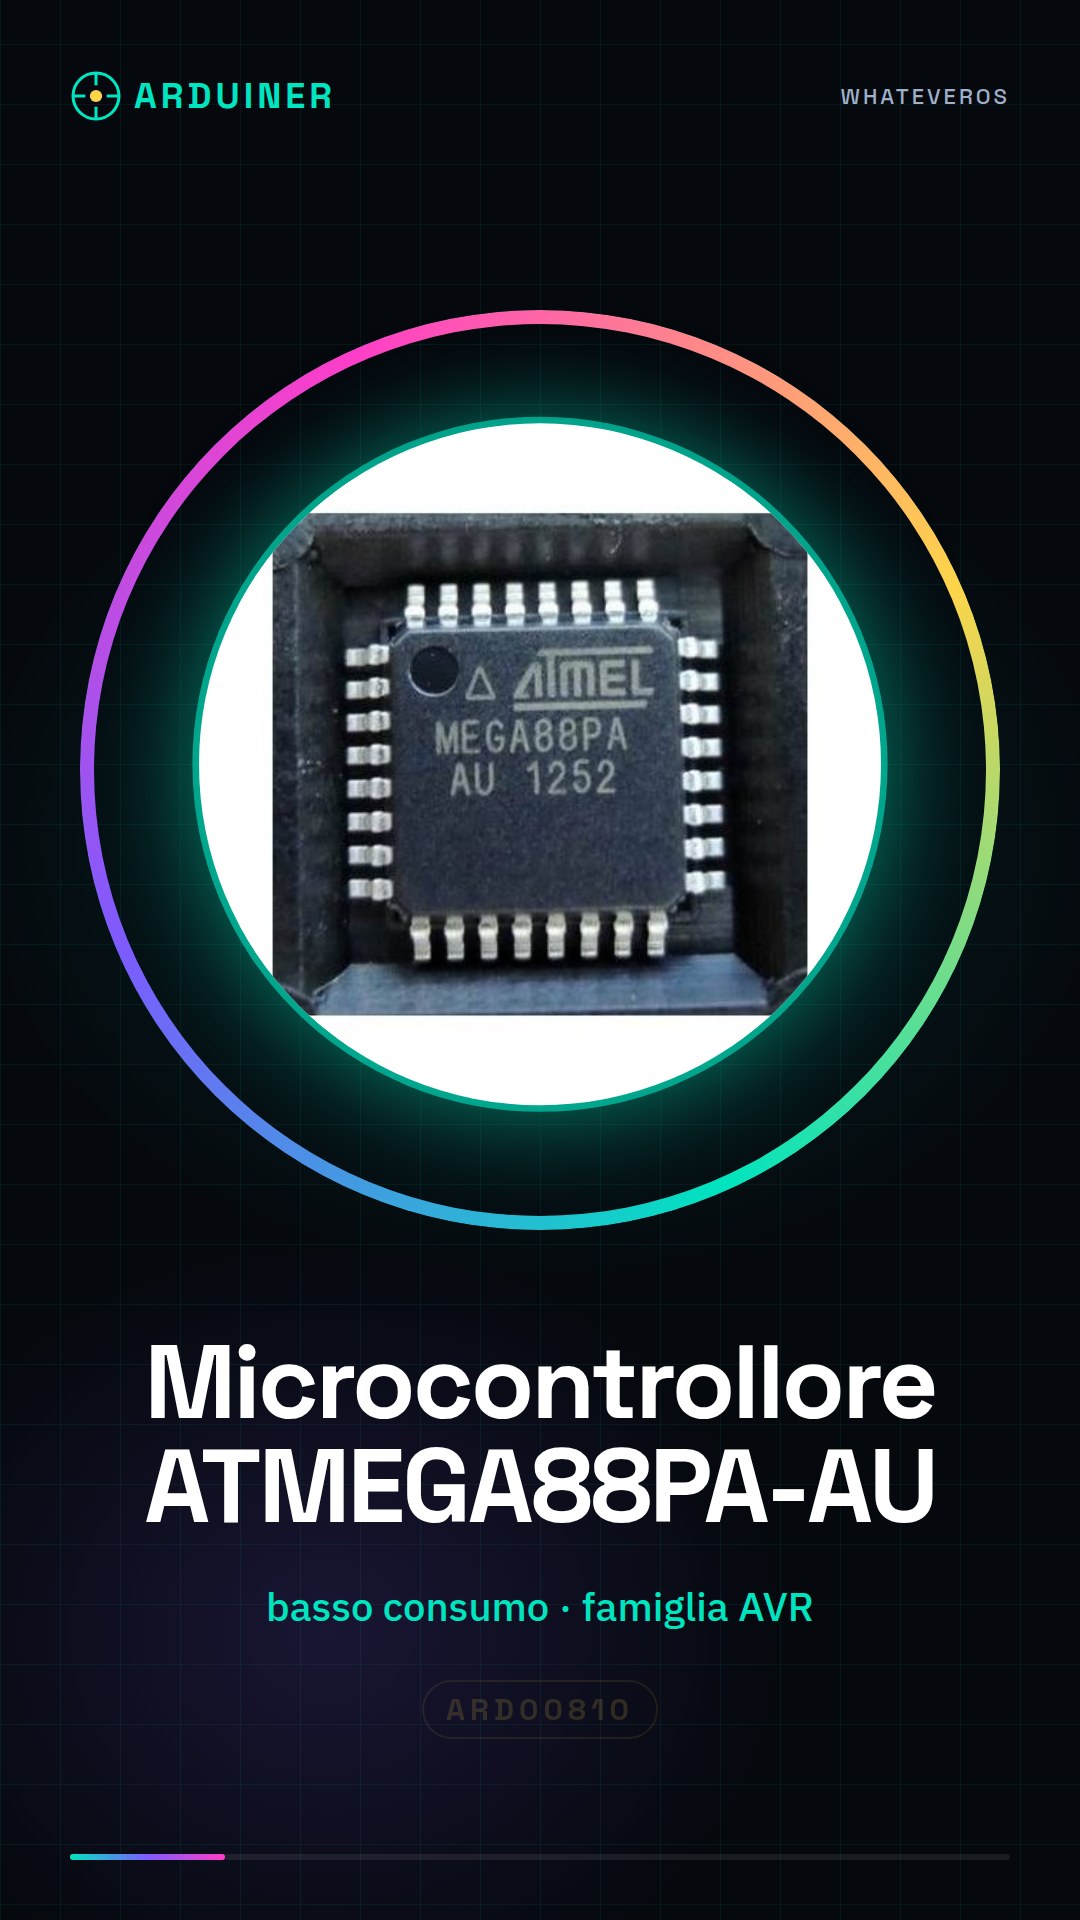
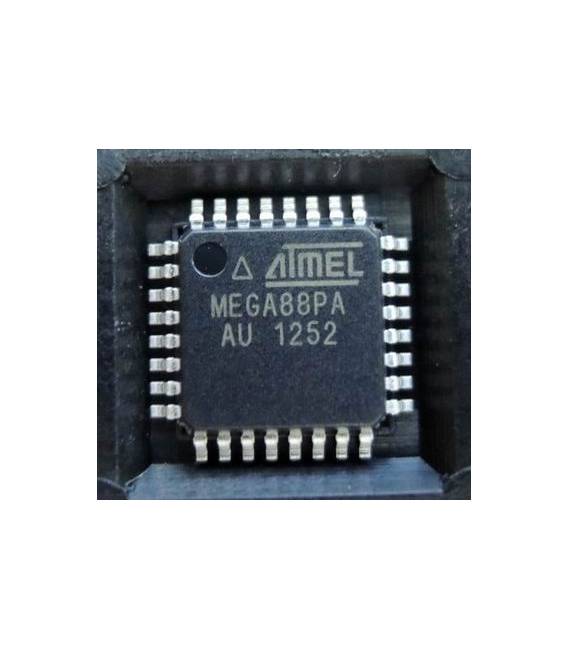
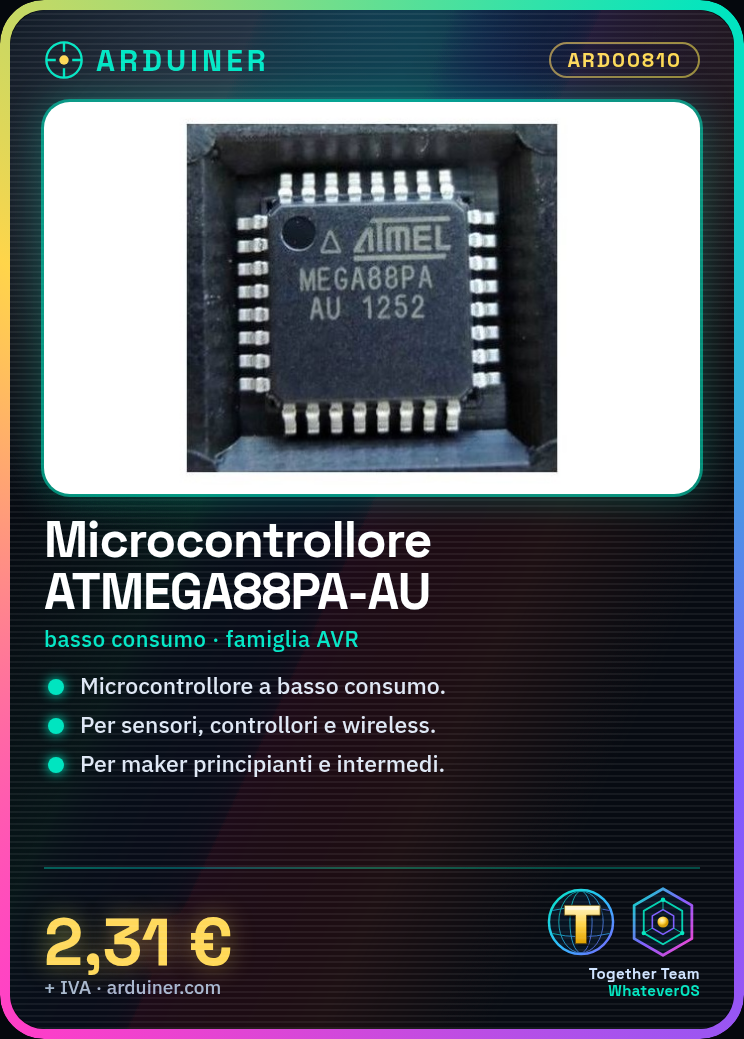
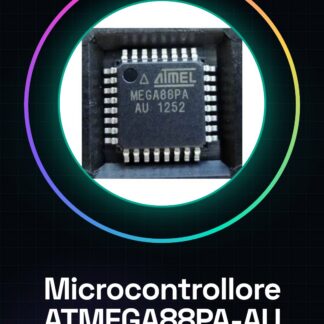
The ATMEGA88PA-AU is a low-power microcontroller from the AVR family, commonly used in open-source electronics projects such as Arduino. This component offers a reliable solution for programmers and makers who seek a versatile device to implement basic functionalities in their circuits.
Features
- ATMEGA88PA-AU Microcontroller
- Integrated Circuit (IC)
What it is for
The ATMEGA88PA-AU is ideal for small-scale projects such as sensors, controllers, and wireless devices. It can be used by beginners and intermediate makers who wish to create standalone projects or integrate them into their existing circuits.
Tutorial: How to Use ATMEGA88PA-AU
The ATMEGA88PA-AU is a low-power microcontroller suitable for small projects such as sensors, controllers, and wireless devices. This component is ideal for beginner and intermediate makers who want to create standalone projects or integrate them into existing circuits.
What you need
- Arduino Uno
- Perfboard
- Soldering Iron
- LED Diodes (optional)
- Resistors (optional)
Steps
- Install the ATMEGA88PA-AU on the perfboard using a pin or socket.
- Connect the VCC and GND pins to power the microcontroller.
- Connect the clock lines (X1, X2) to a crystal oscillator if necessary.
- Solder any required resistors and capacitors to the input/output pins as needed by the project.
- Program the ATMEGA88PA-AU using the bootloader or by directly loading the firmware via ISP.
Example code
#include <avr/io.h>

int main(void) {
    DDRB = 0xFF; // Imposta tutti i pin di PORTB come output
    while(1){
        PORTB ^= 0b00000001; // Inverte il valore del bit più significativo di PORTB ogni ciclo
    }
}
Mini project
Create a small device that changes the brightness of an LED connected to one of the output pins of the ATMEGA88PA-AU. Set an infinite loop in the code to vary the PWM pin value and observe how the light intensity changes.
Common mistakes
- Do not verify the correct power supply voltage.
- Solder the pins incorrectly causing short circuits.
- Omit the necessary pull-up or pull-down resistors for the input pins.
- Use an incompatible oscillator crystal with the ATMEGA88PA-AU.
Recommended accessories
- Arduino Uno
- Microcontroller socket
- 16MHz oscillator crystal
- Perforated board
Frequently asked questions
How can I load the firmware directly onto the ATMEGA88PA-AU?
Use an ISP programmer like Arduino as ISP to load the code onto this microcontroller.
Which input/output pins are available on the ATMEGA88PA-AU?
Check the datasheet of the ATMEGA88PA-AU to get the complete list of pins and their functions.
Reviews
There are no reviews yet.