 EN
 IT Italiano
 ES Español
 FR Français
 DE Deutsch
Description
What it is
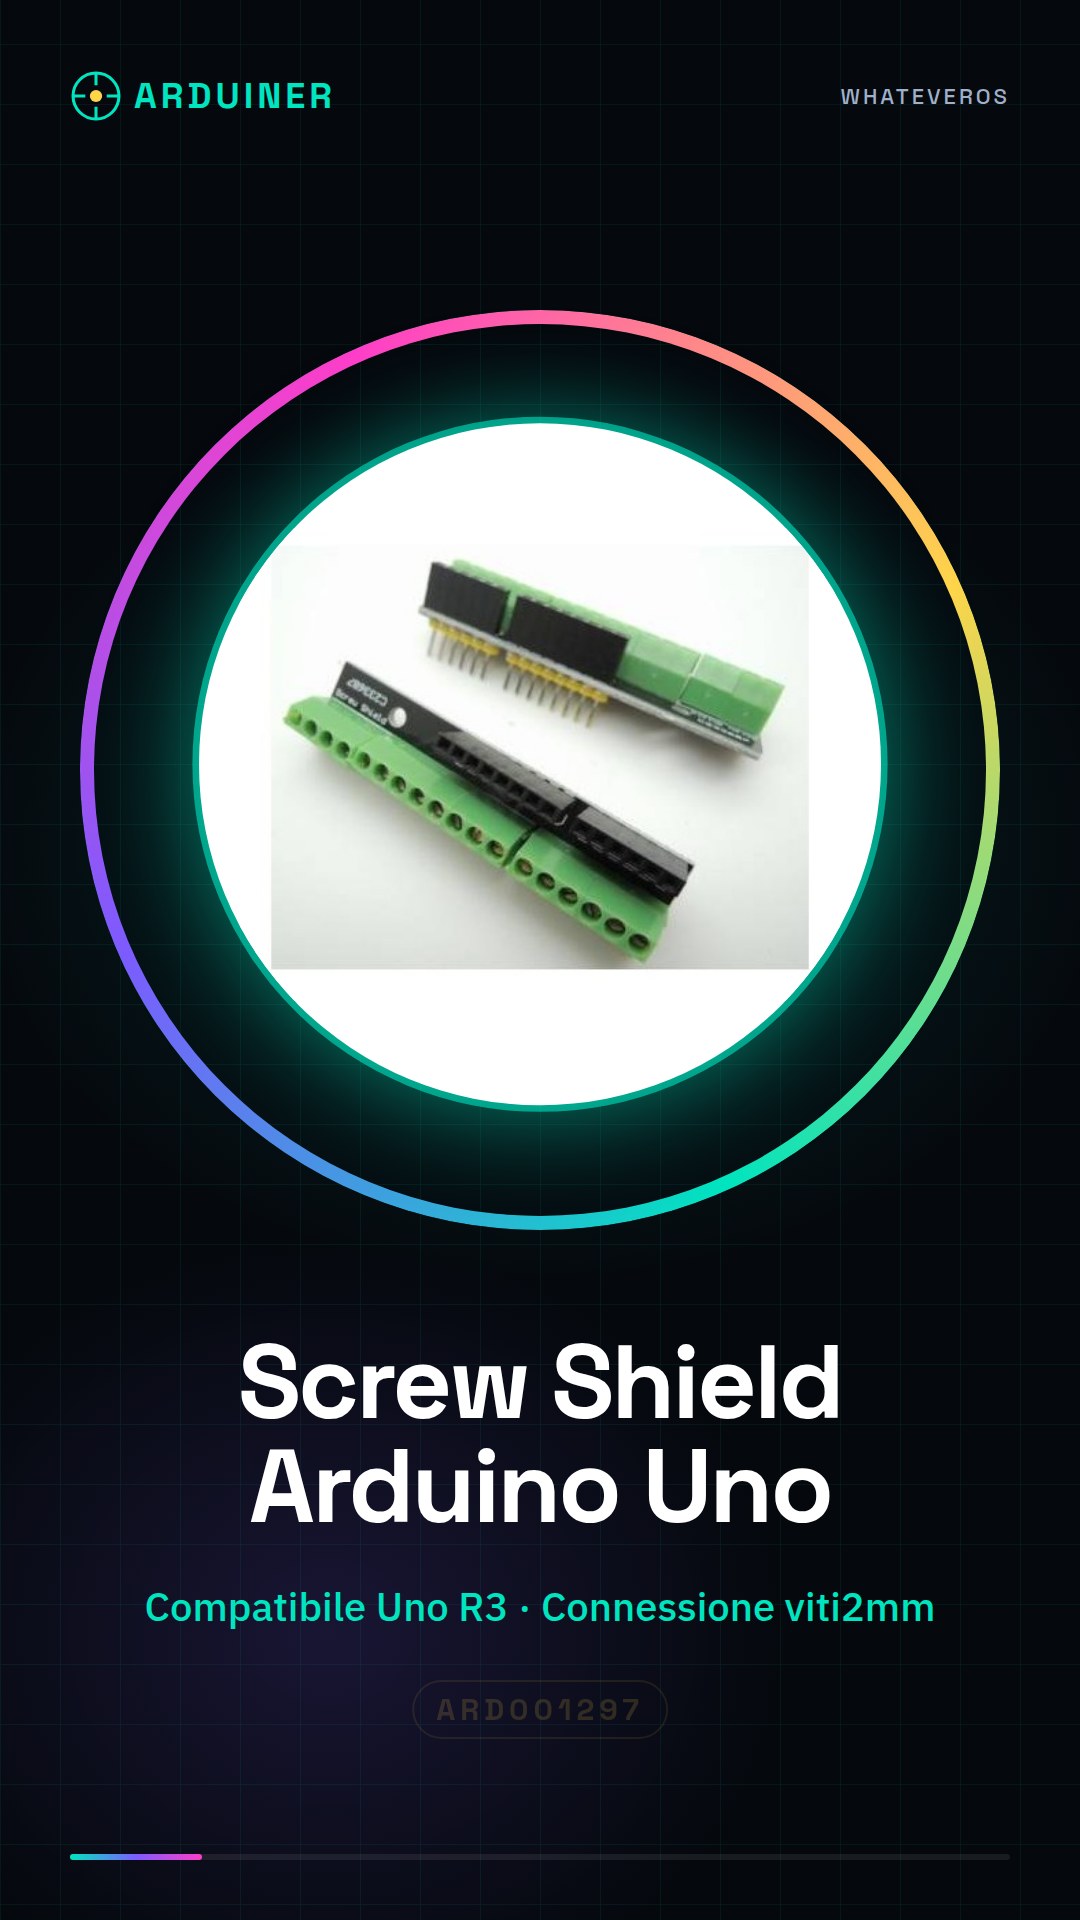
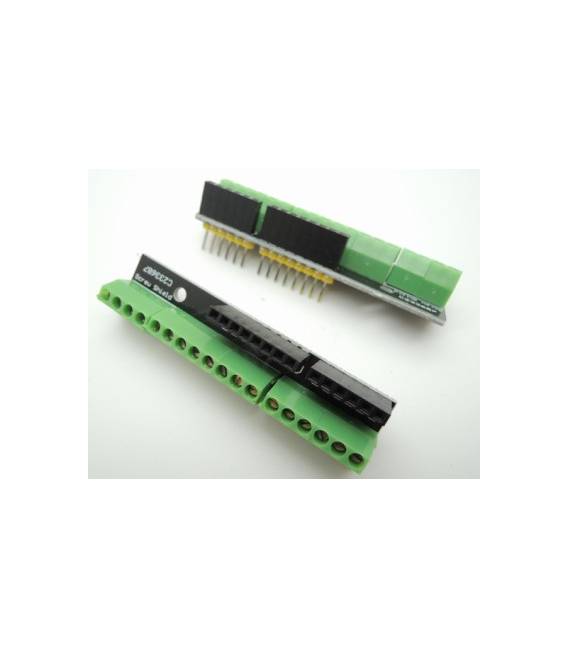
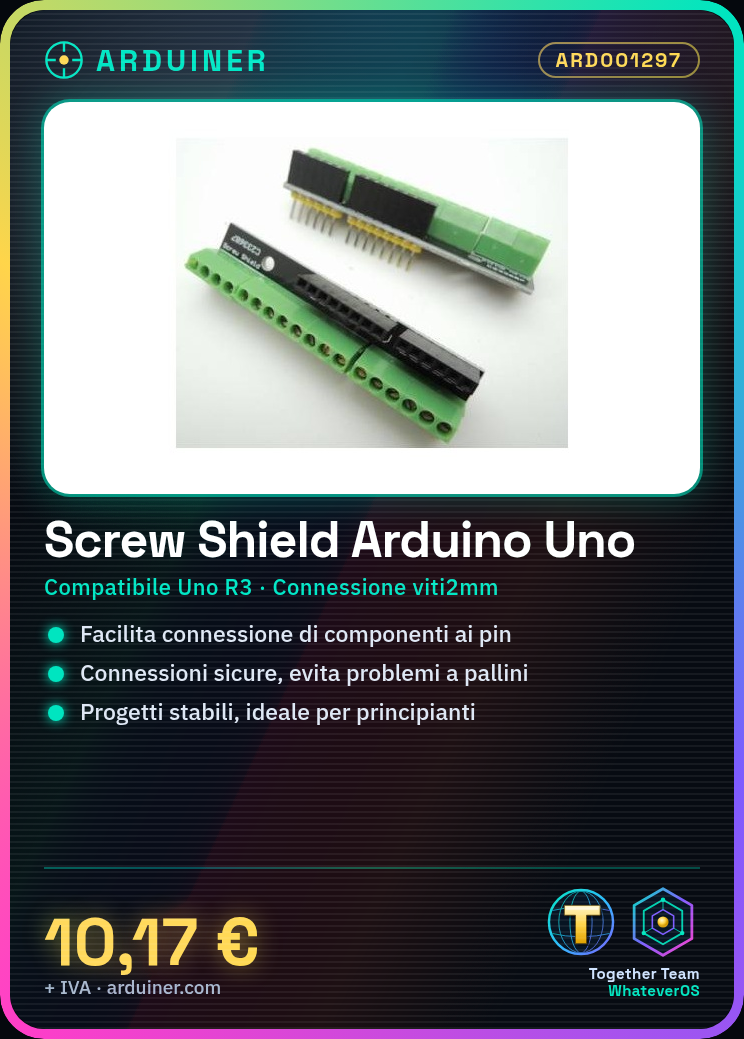
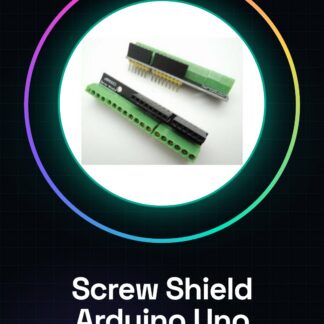
The Arduino Screw Shield is an Arduino Uno R3 compatible module designed to facilitate the connection of electronic components to the Arduino pins using screws. This approach makes the connections safer and avoids common issues related to pin connections.
Features
- Compatible with Arduino Uno R3
- Allows the connection of electronic components using screws
What it is for
The Arduino Screw Shield is ideal for stable and clean projects, especially for beginners who want to avoid connection issues. It can be used to create simple home alarm systems by connecting a PIR sensor to the module.
Tutorial: How to use Arduino Screw Shield Compatible
The Arduino Screw Shield compatible with Arduino Uno R3 allows you to easily connect electronic components to the Arduino pins using screws. Ideal for stable and clean projects, it is particularly useful for beginners who want to avoid connection issues.
What you need
- Arduino Uno R3
- USB A-Micro B cable
- 2mm key
Steps
- Connect the Arduino Screw Shield to the Arduino Uno R3, ensuring that the screws do not get stuck.
- Use the 2mm key to secure the Arduino pins to the shield. Check that each connection is firm and secure.
- Connect the Arduino with the USB cable to your computer to load the sketch.
- Open Arduino IDE and create a new empty project.
- Paste and upload the sketch provided in this tutorial.
- Check that the LEDs on the shield light up correctly according to the logic of the sketch.
- If necessary, adapt the code to test further functions of the shield.
- Explore new project possibilities using the Screw Shield as a base.
Example code
void setup() {
  pinMode(13, OUTPUT);
}

void loop() {
  digitalWrite(13, HIGH);
  delay(1000);
  digitalWrite(13, LOW);
  delay(1000);
}
Mini project
Create a simple home alarm system. Connect a PIR sensor to the Screw Shield and use Arduino to send an email notification when it is triggered.
Common mistakes
- Do not tighten the screws too much, risk damaging the pins.
- Ensure all connectors are securely fastened before uploading the sketch.
- If the LED does not light up, check the correct connection of the USB cable and power supply.
- Do not use screws that are too large or too small to avoid damaging the shield.
Recommended accessories
- PIR sensor
- ESP8266 Wi-Fi module
- Buzzer
- RGB LED
Frequently asked questions
Is the Screw Shield compatible with Arduino Mega?
Check the datasheet to confirm compatibility.
Can I use the Screw Shield without screws?
Yes, but it may be less stable than the screwing method.
Which pins are available with this shield?
Check the datasheet to obtain the complete list of accessible pins.
Reviews
There are no reviews yet.