 EN
 IT Italiano
 ES Español
 FR Français
 DE Deutsch
Description
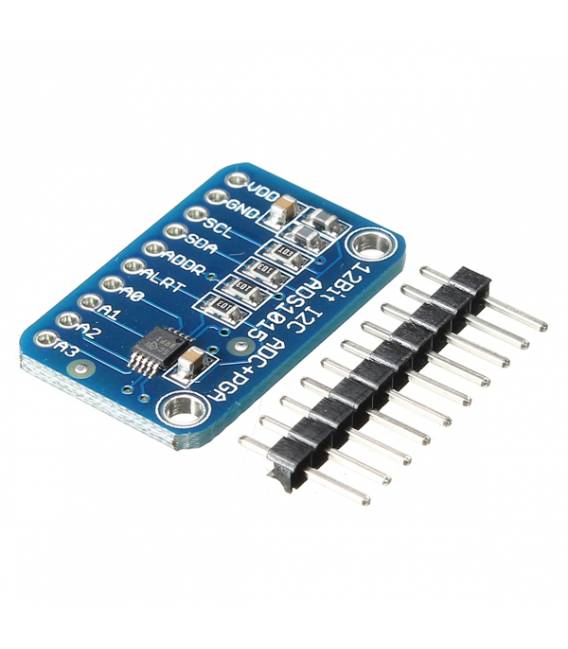
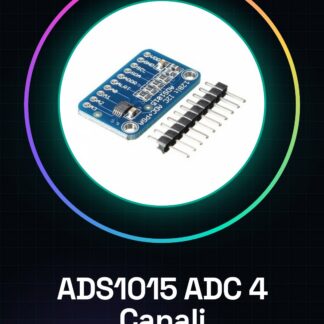
ADS1015 12-Bit Programmable Gain Amplifier ADC – 4 Channels
For microcontrollers without an analog-to-digital converter or when a higher precision ADC is desired, the ADS1015 offers 12-bit precision at 3300 samples/second via I2C. The chip can be configured as 4 single-ended input channels, or two differential channels. As a bonus, it includes a programmable gain amplifier, up to x16, to boost smaller single/differential signals to the full range. We like this ADC because it can operate from 2 V to 5 V power/logic, capable of measuring a wide range of signals and it’s super easy to use. A great 12-bit converter for general use.
The chip is rather small, so it is provided on a breakout board with ferrites to keep the AVDD and AGND quiet. The interface is performed via I2C. The address can be changed to one of the four options (see datasheet table 5) so that up to 4 ADS1015 can be connected to a single 2-wire I2C bus for 16 single-ended inputs.
Tutorial: How to Use ADS1015 Programmable Gain Amplifier
The ADS1015 is a 12-bit analog-to-digital converter (ADC) with four independent channels, ideal for accurate measurements on various types of sensors. It is particularly useful for projects requiring a wide range of inputs and high precision. This module is perfect for both beginners and experts who want to integrate resistive, thermal, or any other analog sensor into an Arduino circuit.
What you need
- Arduino Uno/Nano
- USB A-MicroB Cable
- ADS1015
Steps
- Connect the ADS1015 module to the Arduino using compatible connectors.
- Download the Adafruit_ADS1015 library from GitHub or install it via the Arduino library manager.
- Include the library in your sketch: `#include
` - Instantiate the ADS1015 object and configure it: `Adafruit_ADS1015 ads(0x48);` (check the datasheet)
- Select the channel to read with `ads.startContinuousConversion(channel, gain)`
- Read the conversion values continuously using a while loop.
- Display the data on the serial pins to monitor the measurements in real-time.
Example code
Adafruit_ADS1015 ads(0x48); // Indirizzo I2C del modulo
ads.startContinuousConversion(0, ADS1015_GAIN_ONE);
while (true) {
    int value = ads.getLastConversionResults();
    Serial.println(value);
}
Mini project
Create a digital thermometer that reads values from a LM35 temperature sensor and displays them on an OLED screen connected to the Arduino.
Common mistakes
- Forgetting to install the necessary library for the ADS1015.
- Configuring the channel or gain incorrectly, causing inaccurate readings.
- Omit adding the 3V3 pull-up to the SCL/SDA pin of the I2C module.
- Do not verify the correct configuration of the I2C address in the Arduino code.
Recommended accessories
- Arduino Uno
- 0.96” OLED Display
- Temperature Sensor LM35
- 4.7kΩ Pull-up Resistor
Frequently asked questions
How can I verify the connection of the ADS1015 module?
Use the command `Wire.begin()` and `Wire.scan()` to check if the I2C address is detected.
What other sensors can be used with ADS1015?
Any analog sensor can be used, but make sure to configure the correct gain to obtain accurate readings.

Reviews
There are no reviews yet.