 EN
 IT Italiano
 ES Español
 FR Français
 DE Deutsch
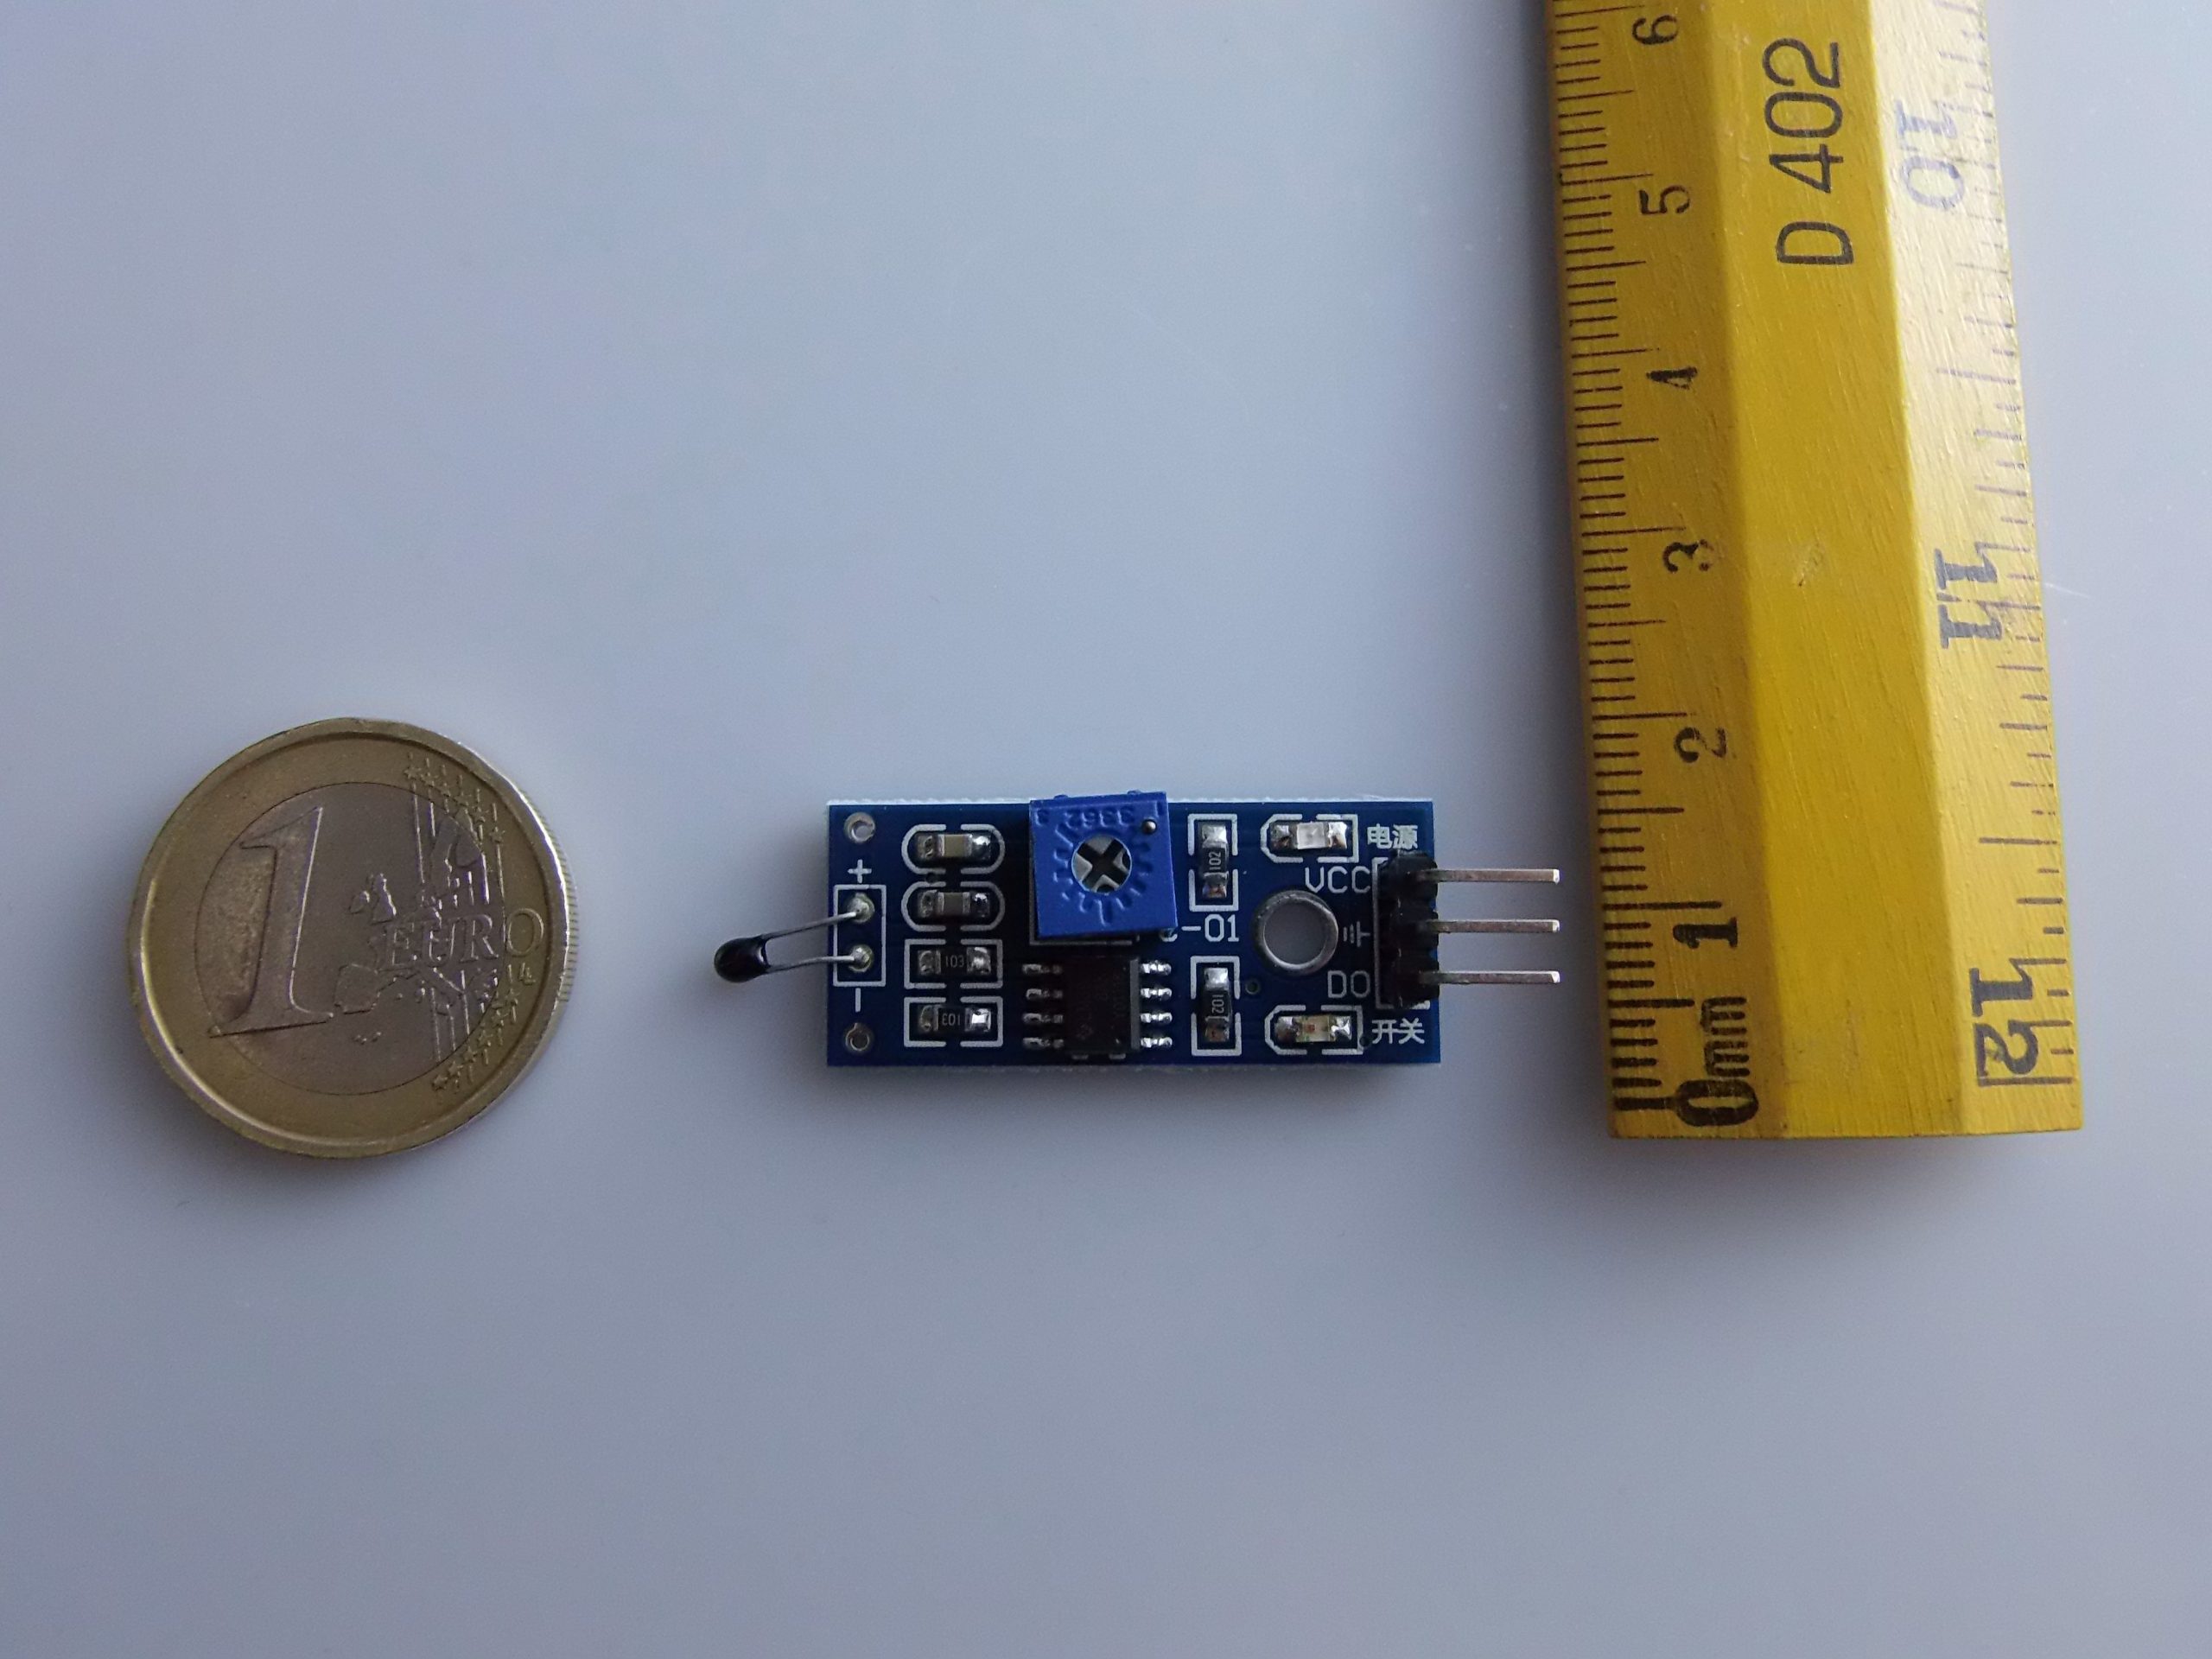
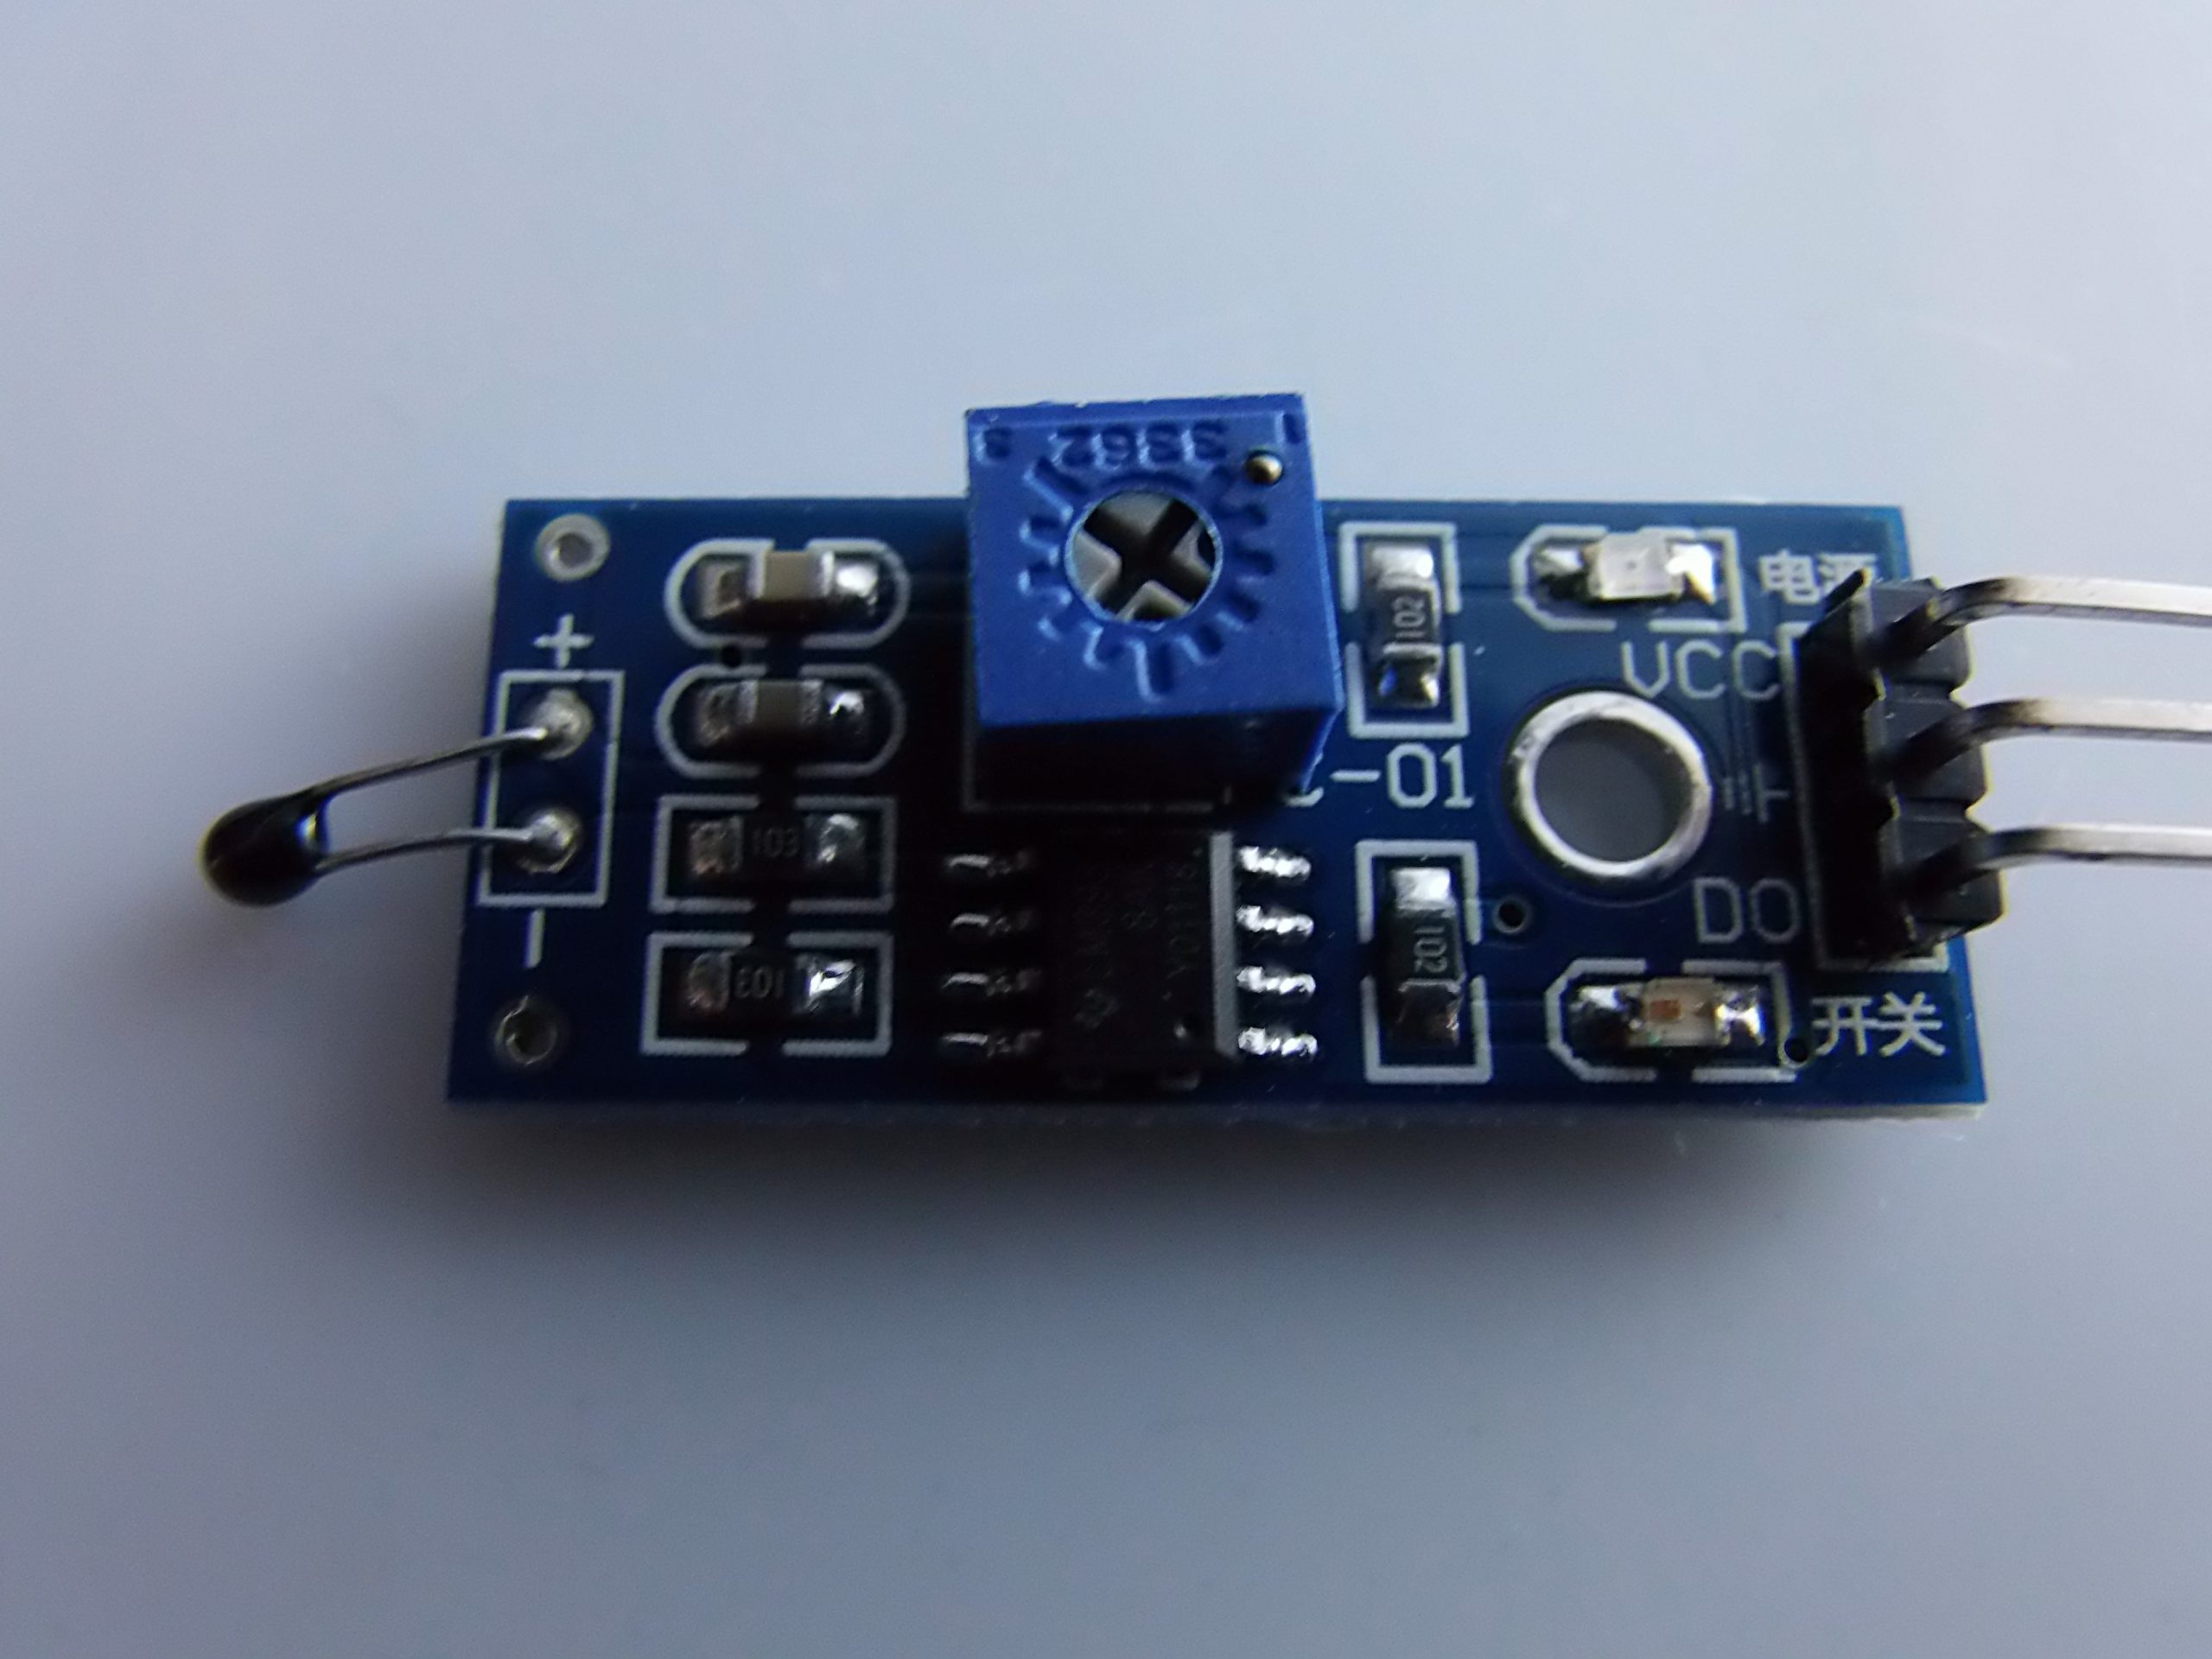
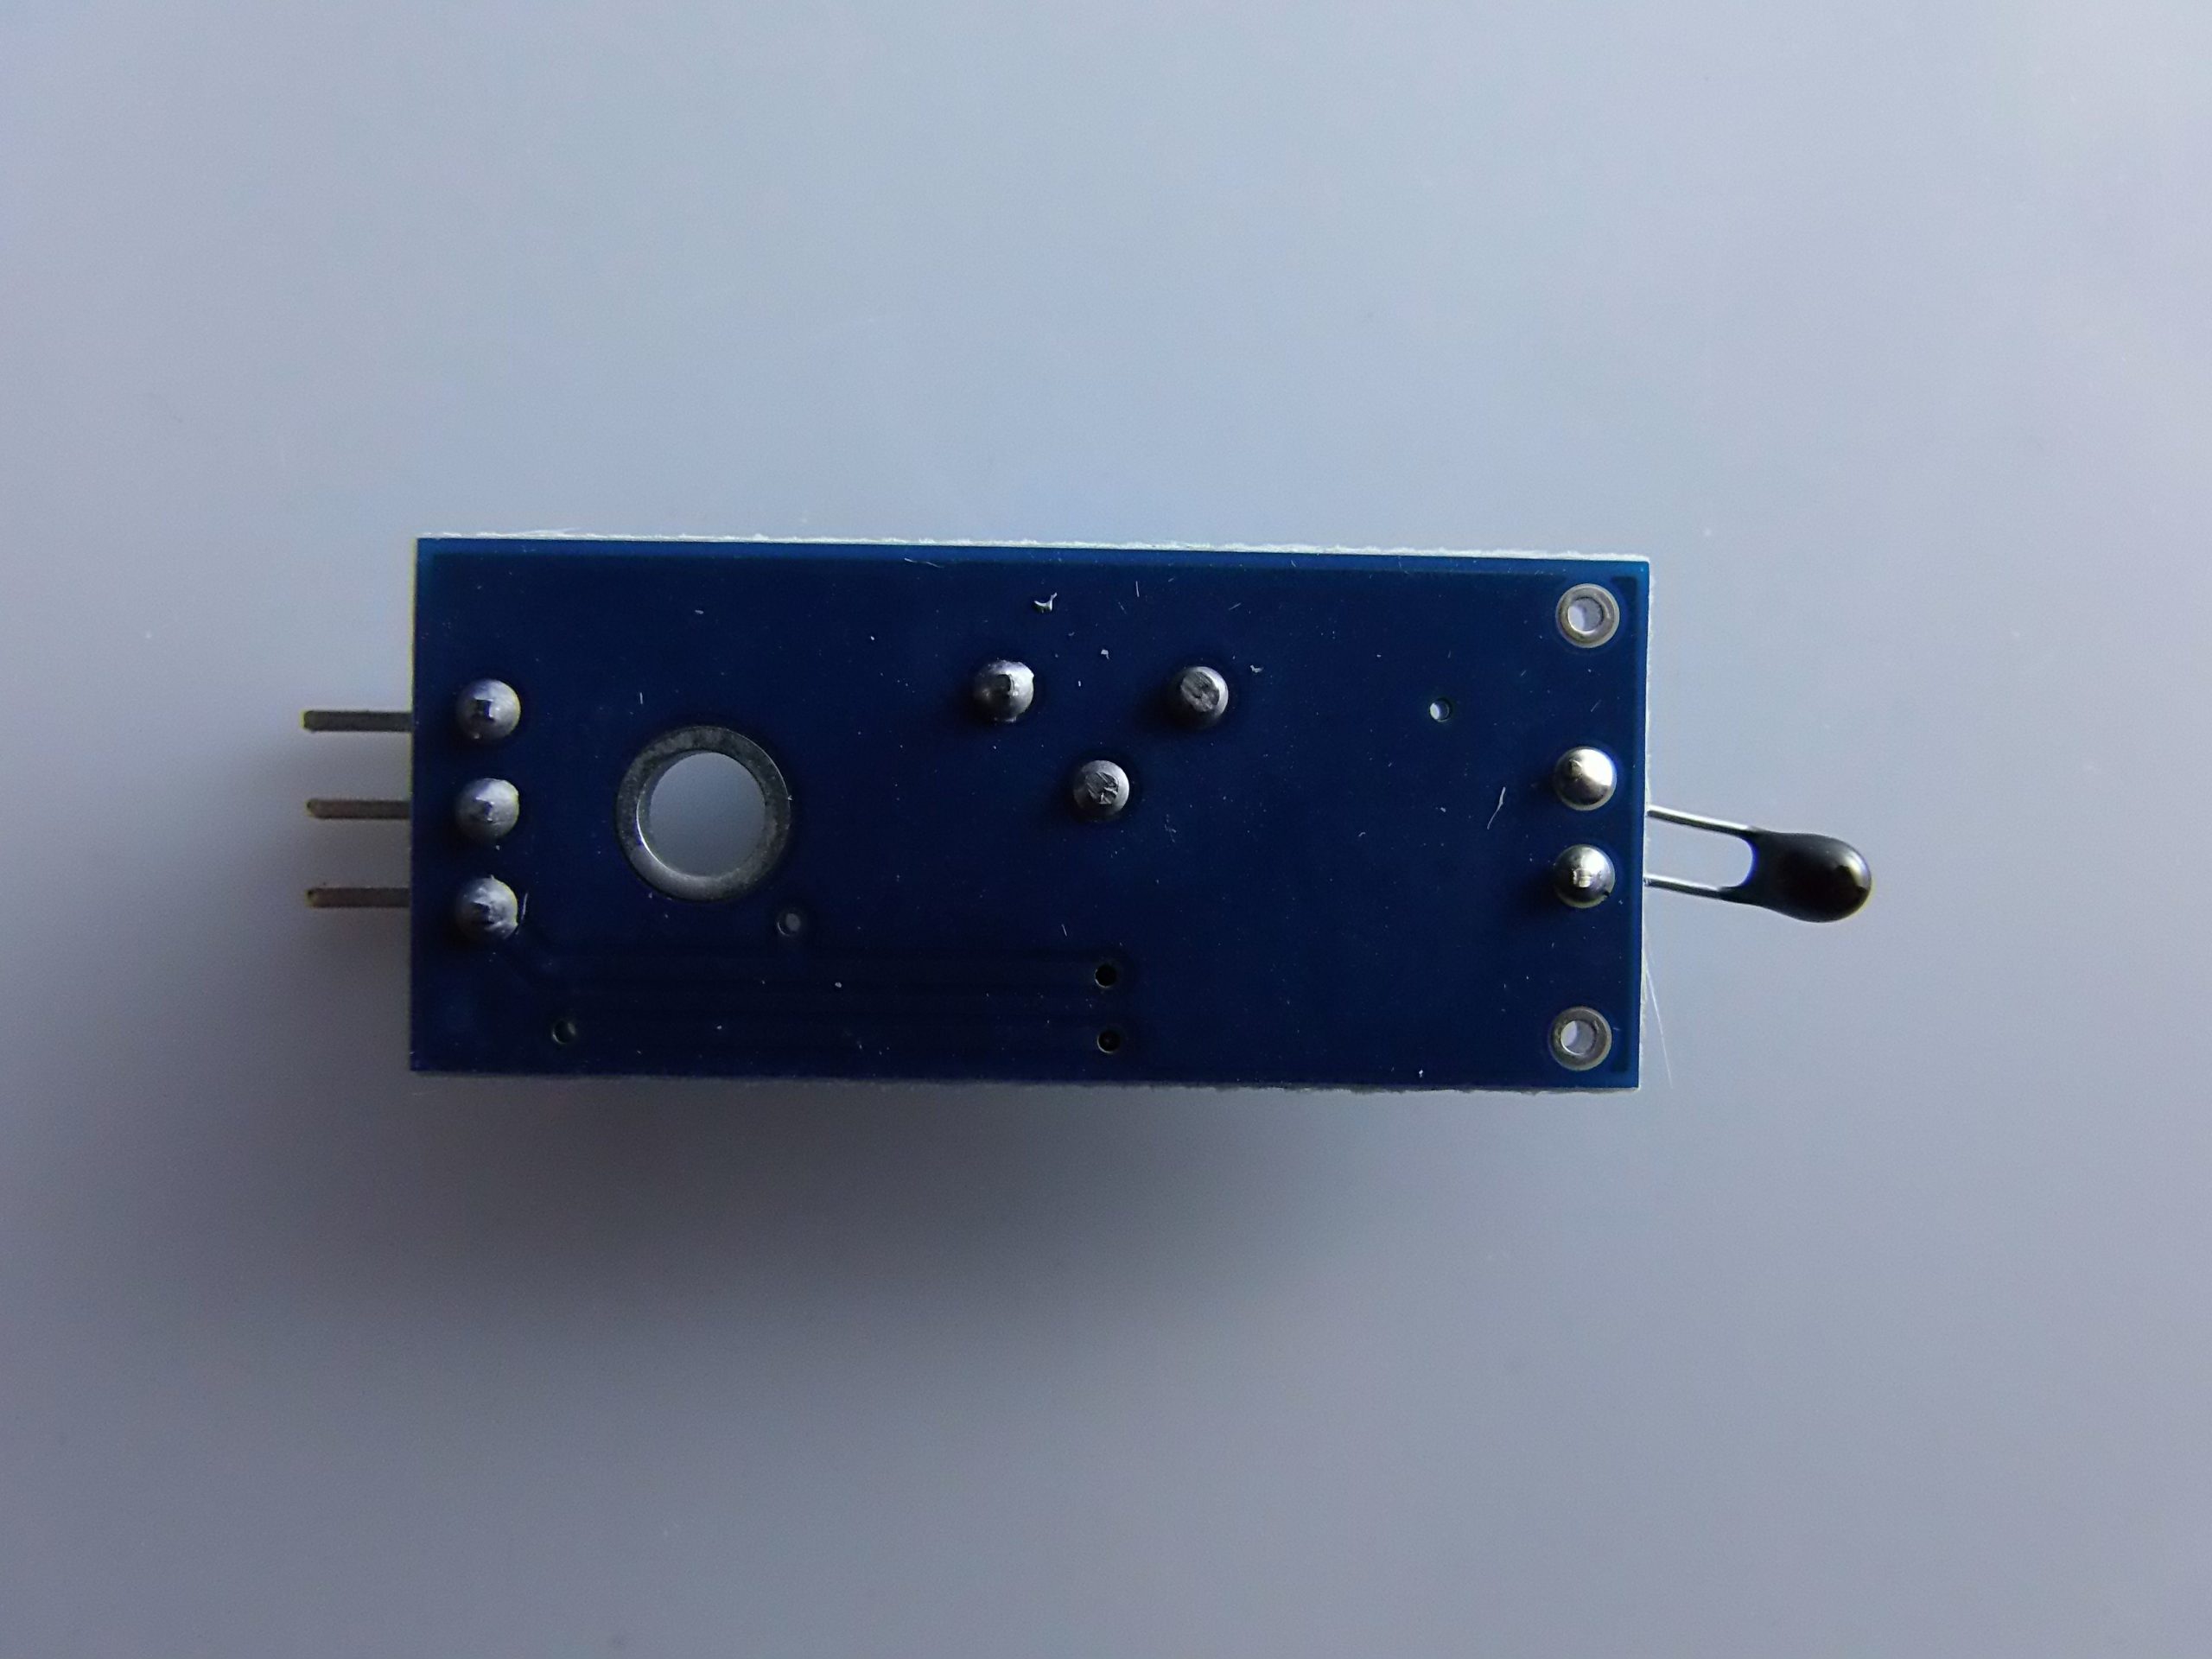
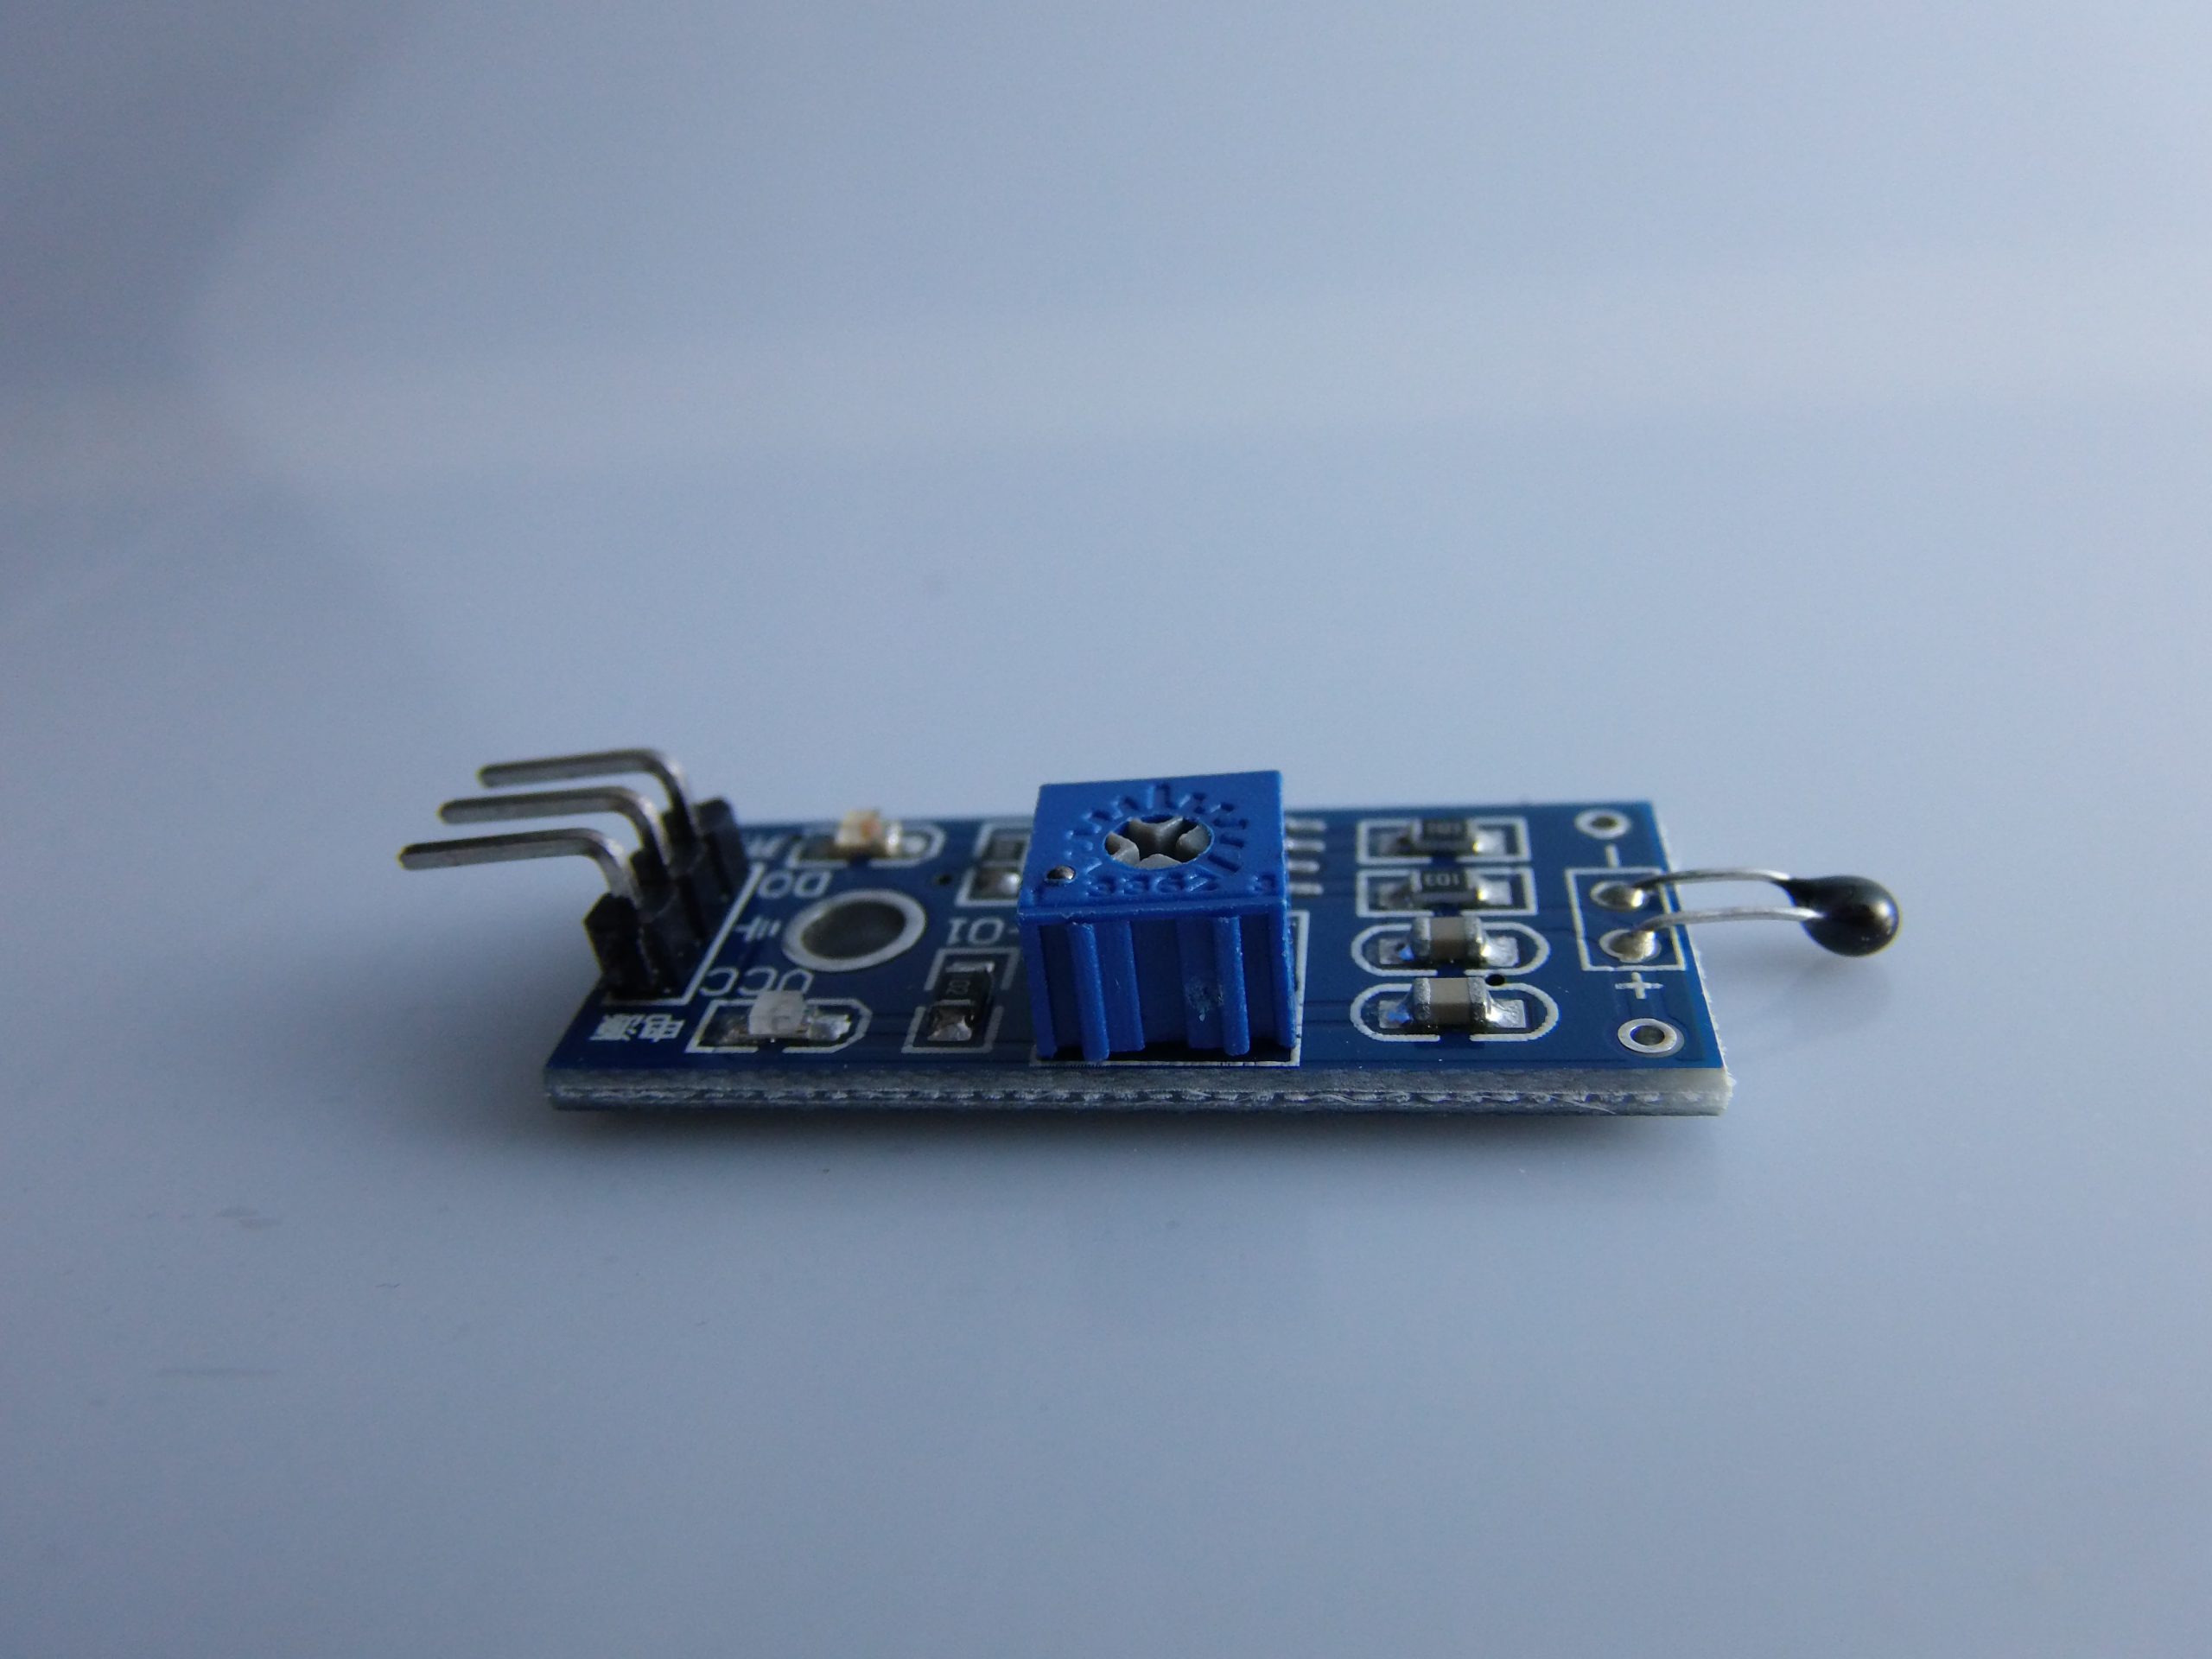
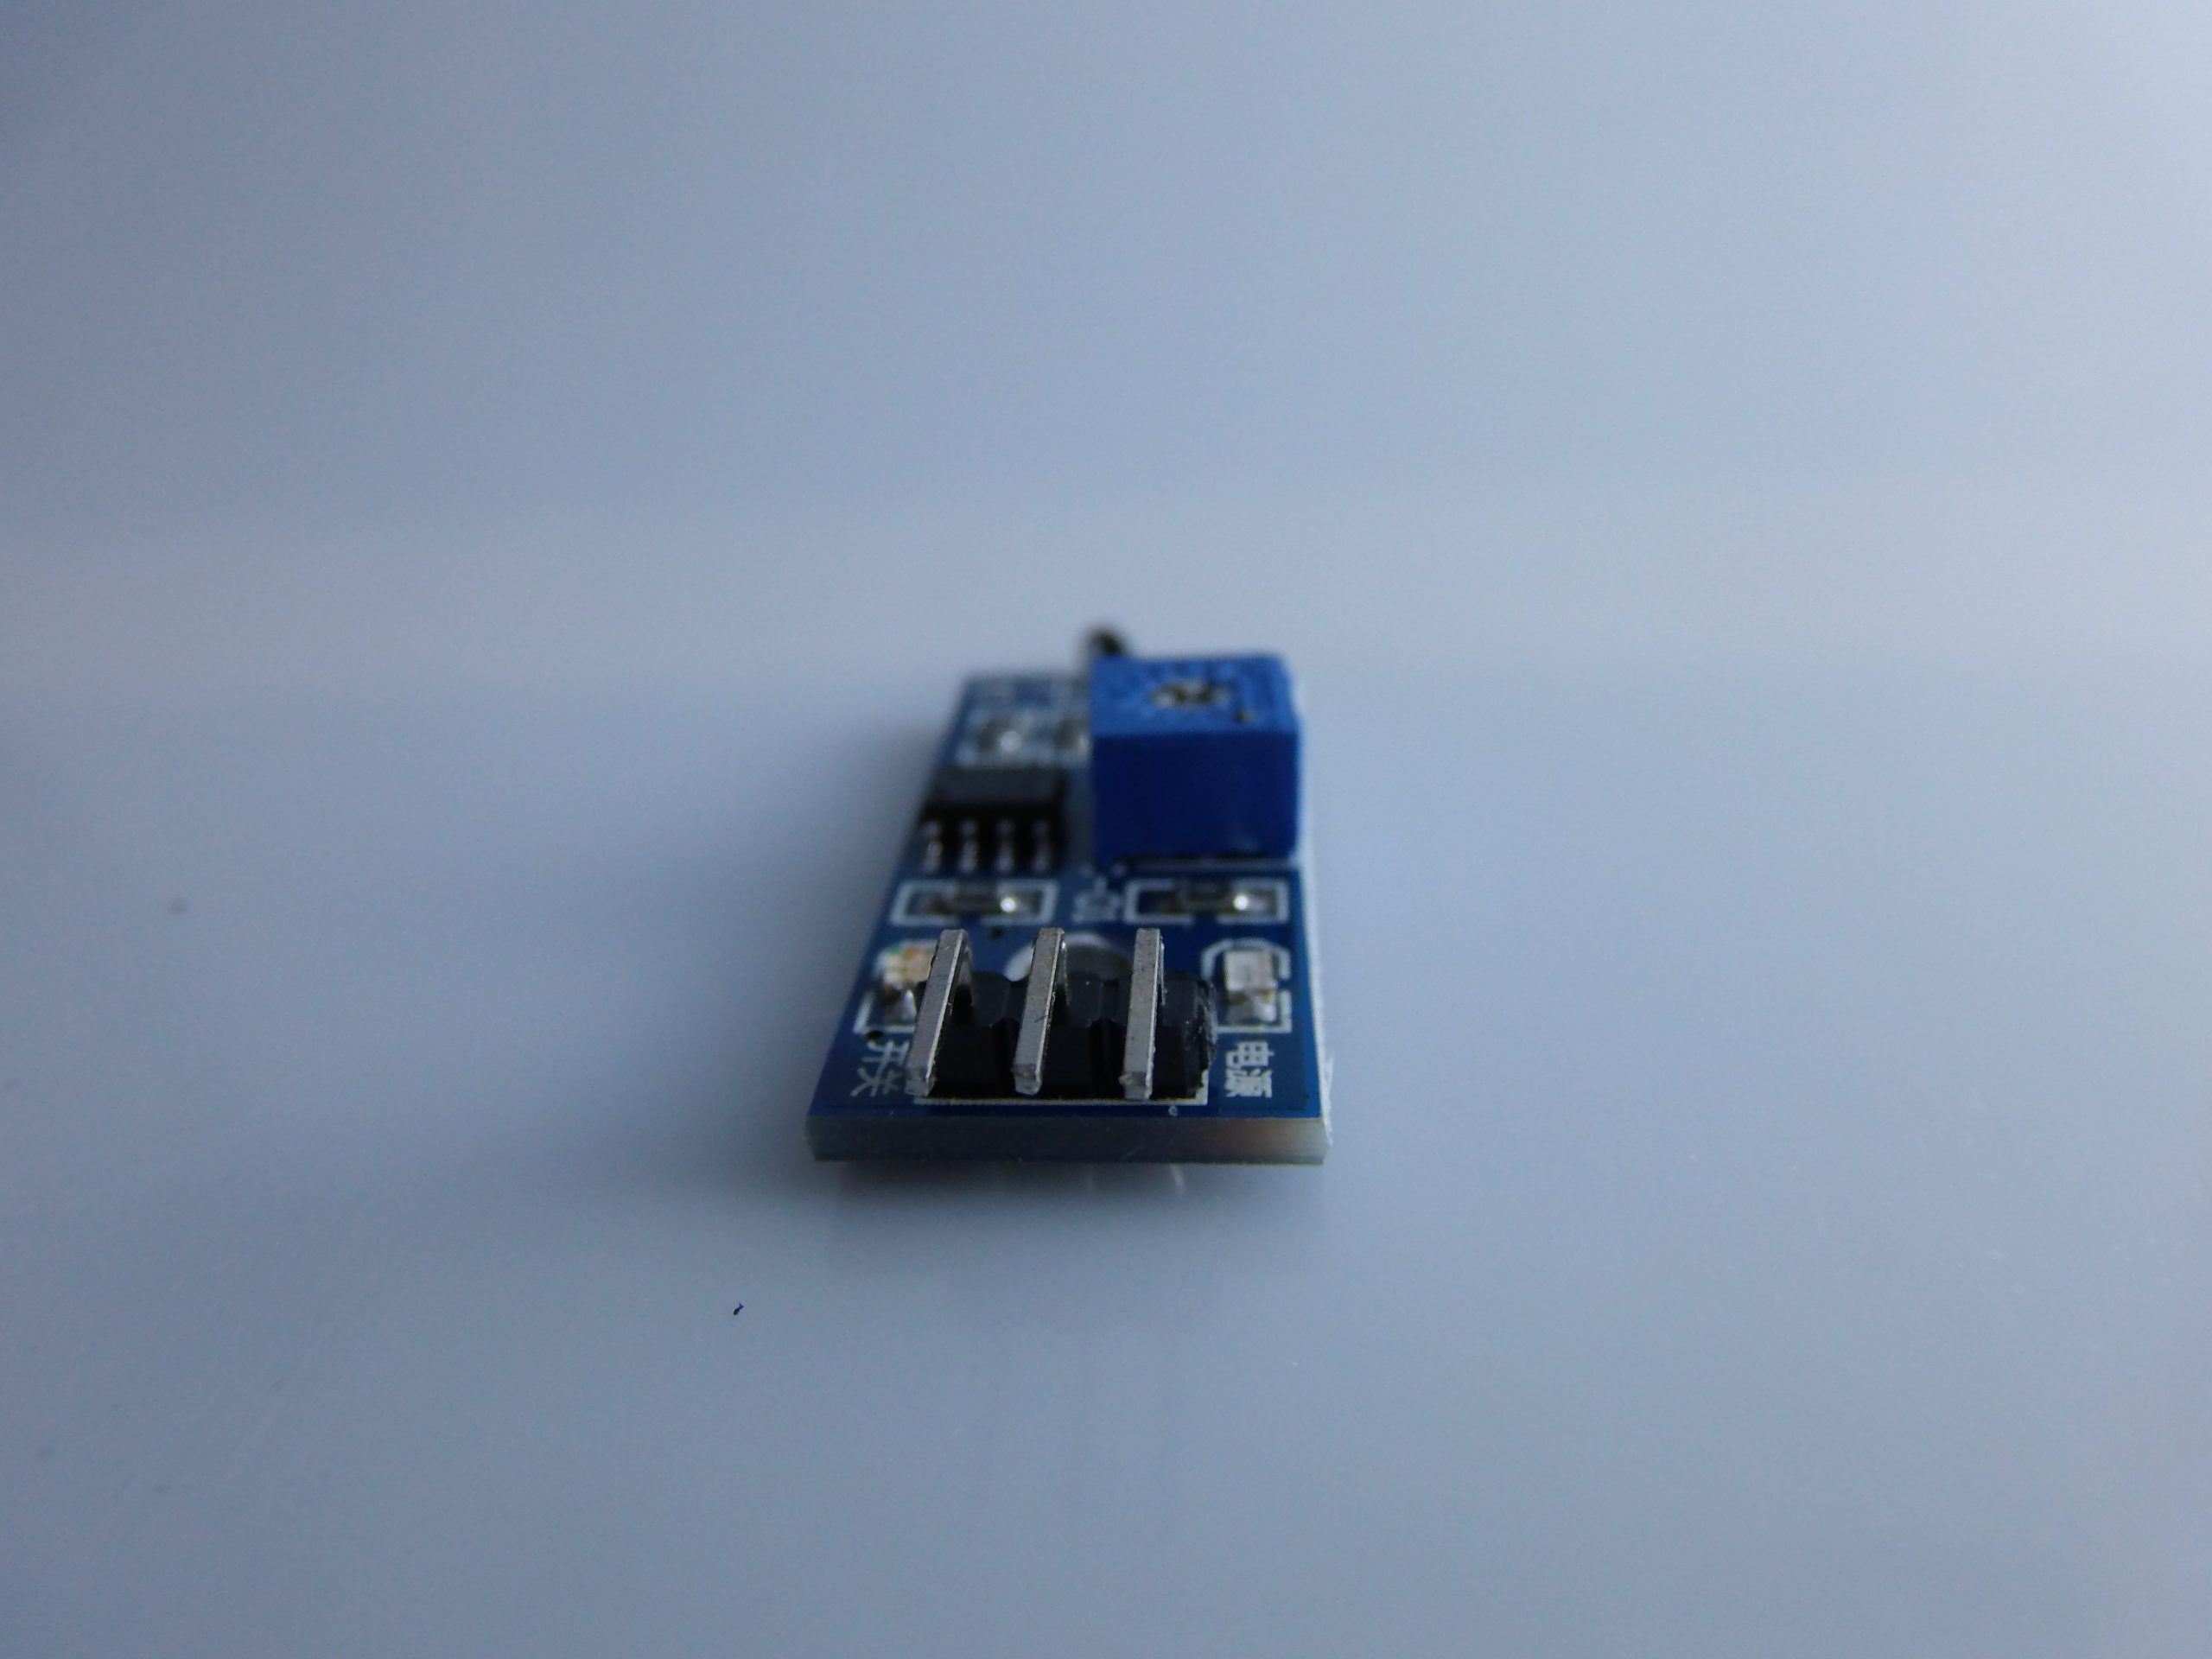
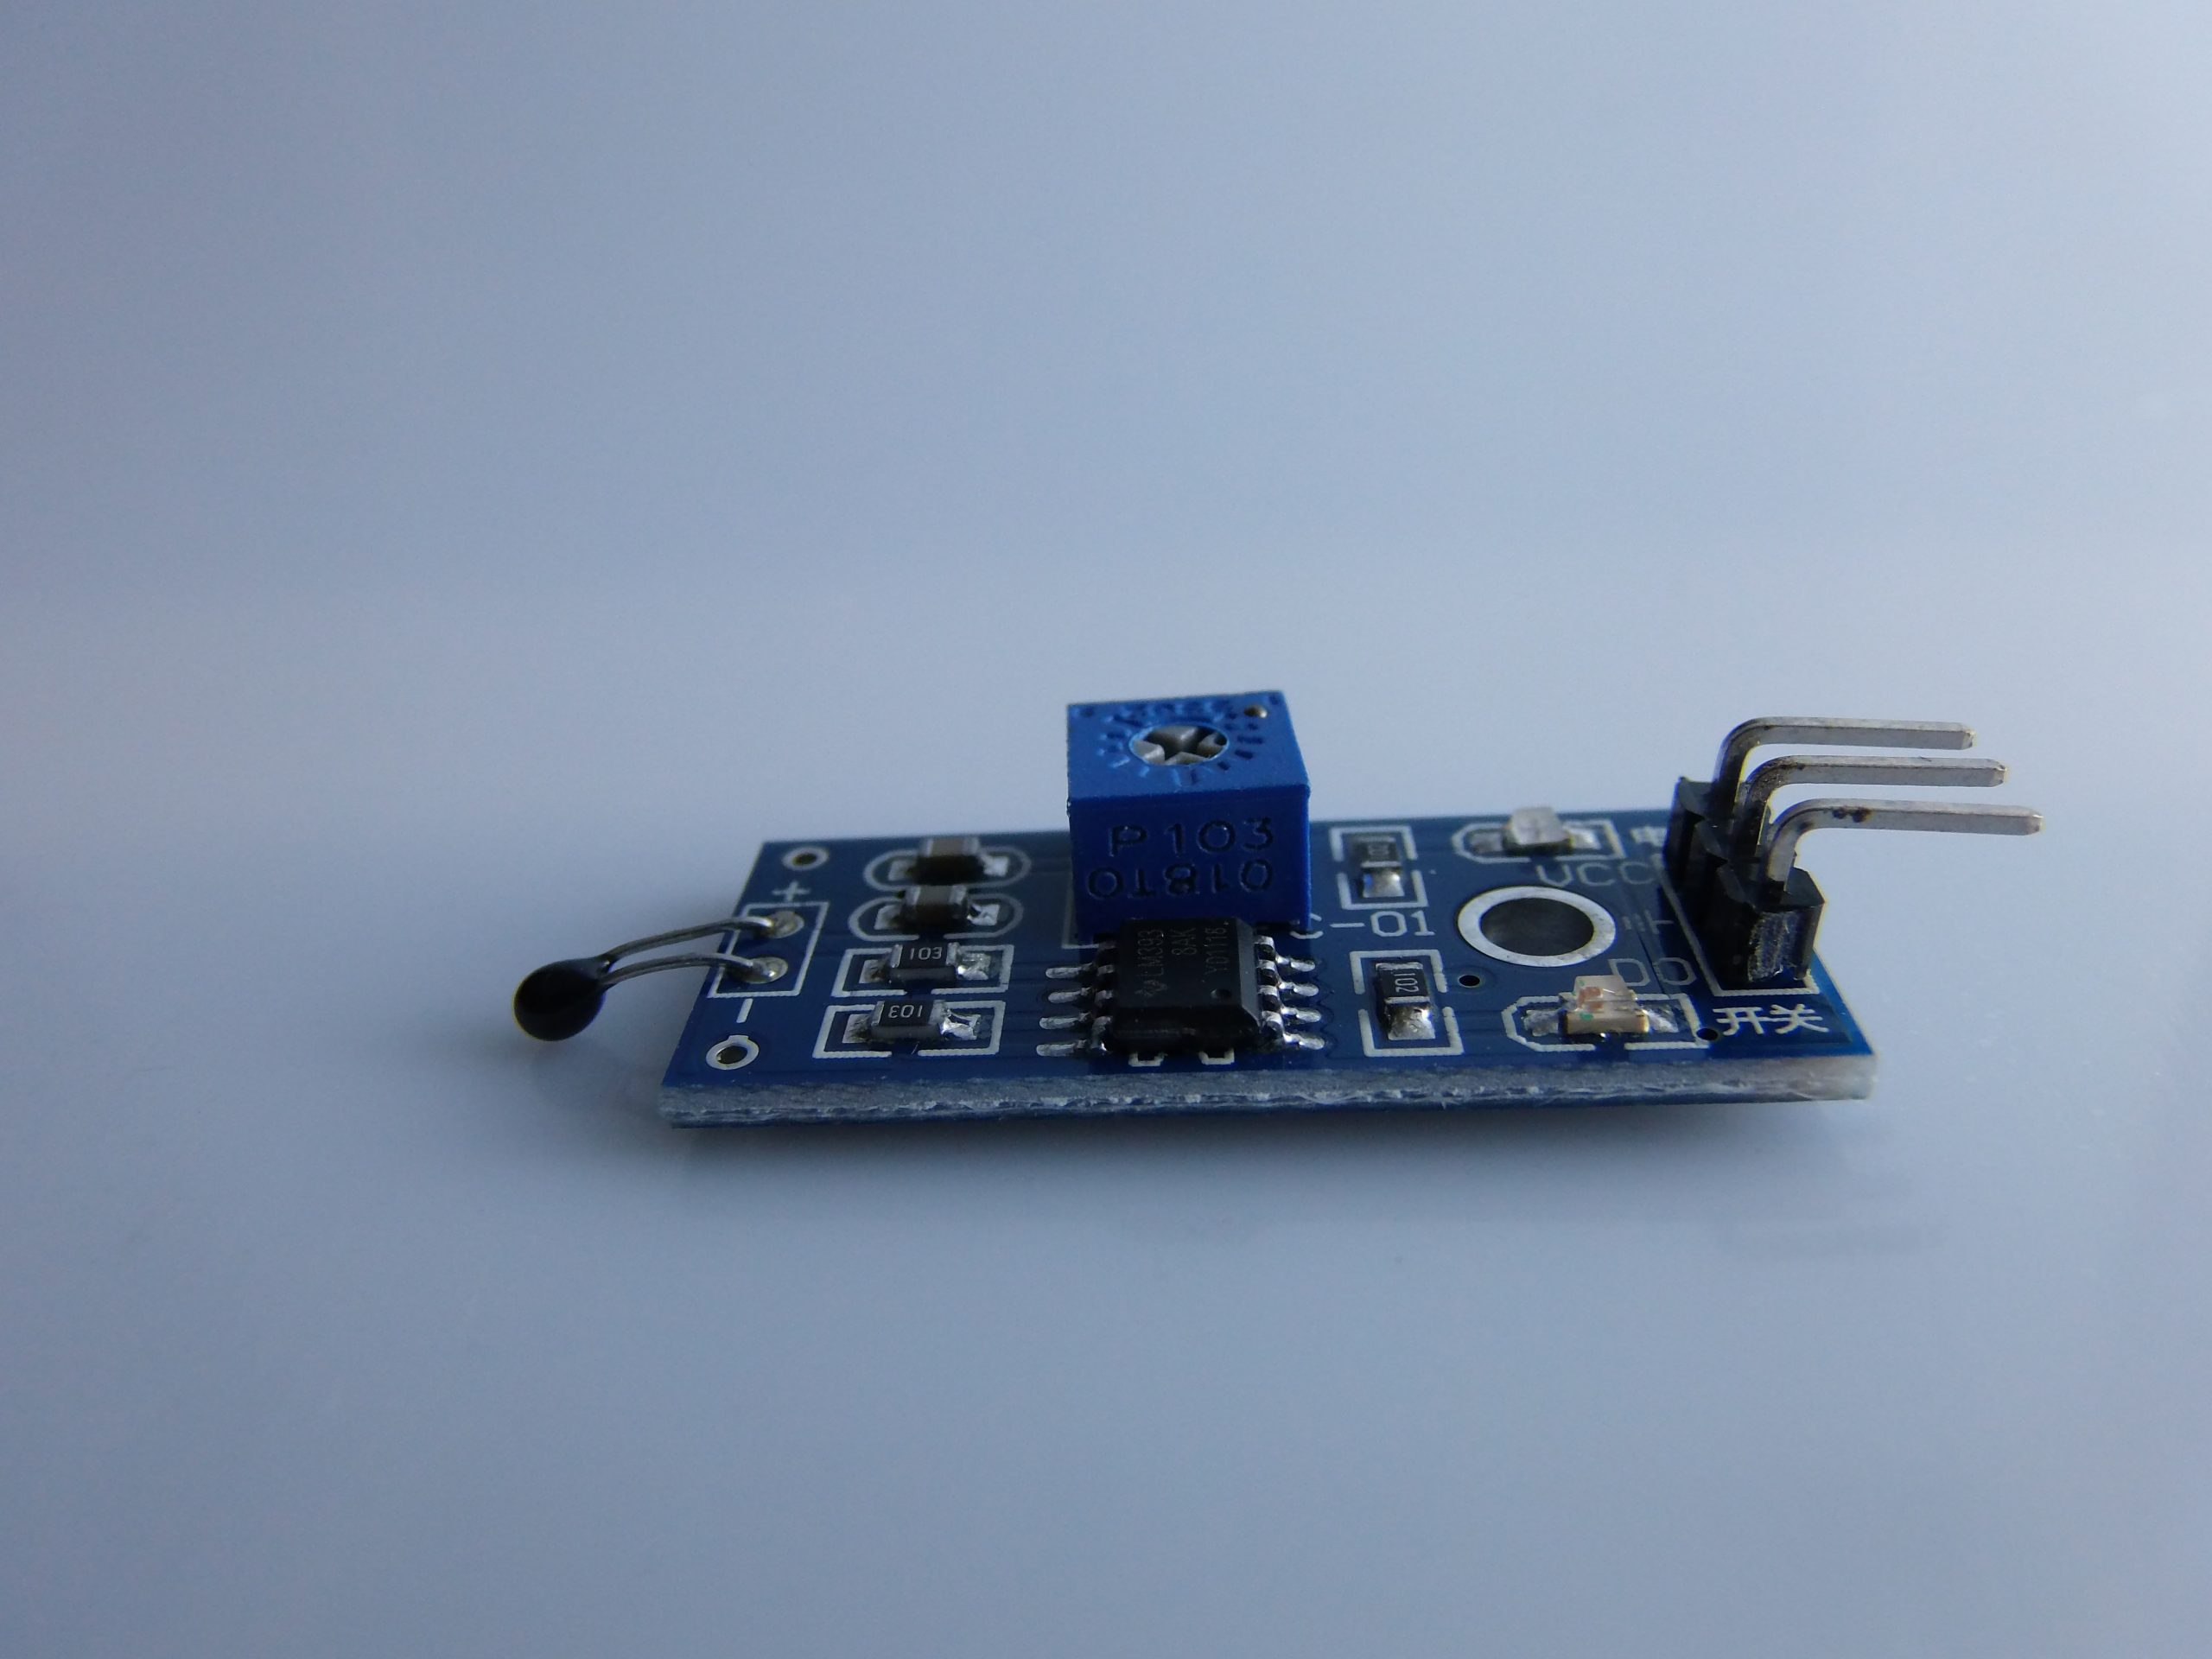
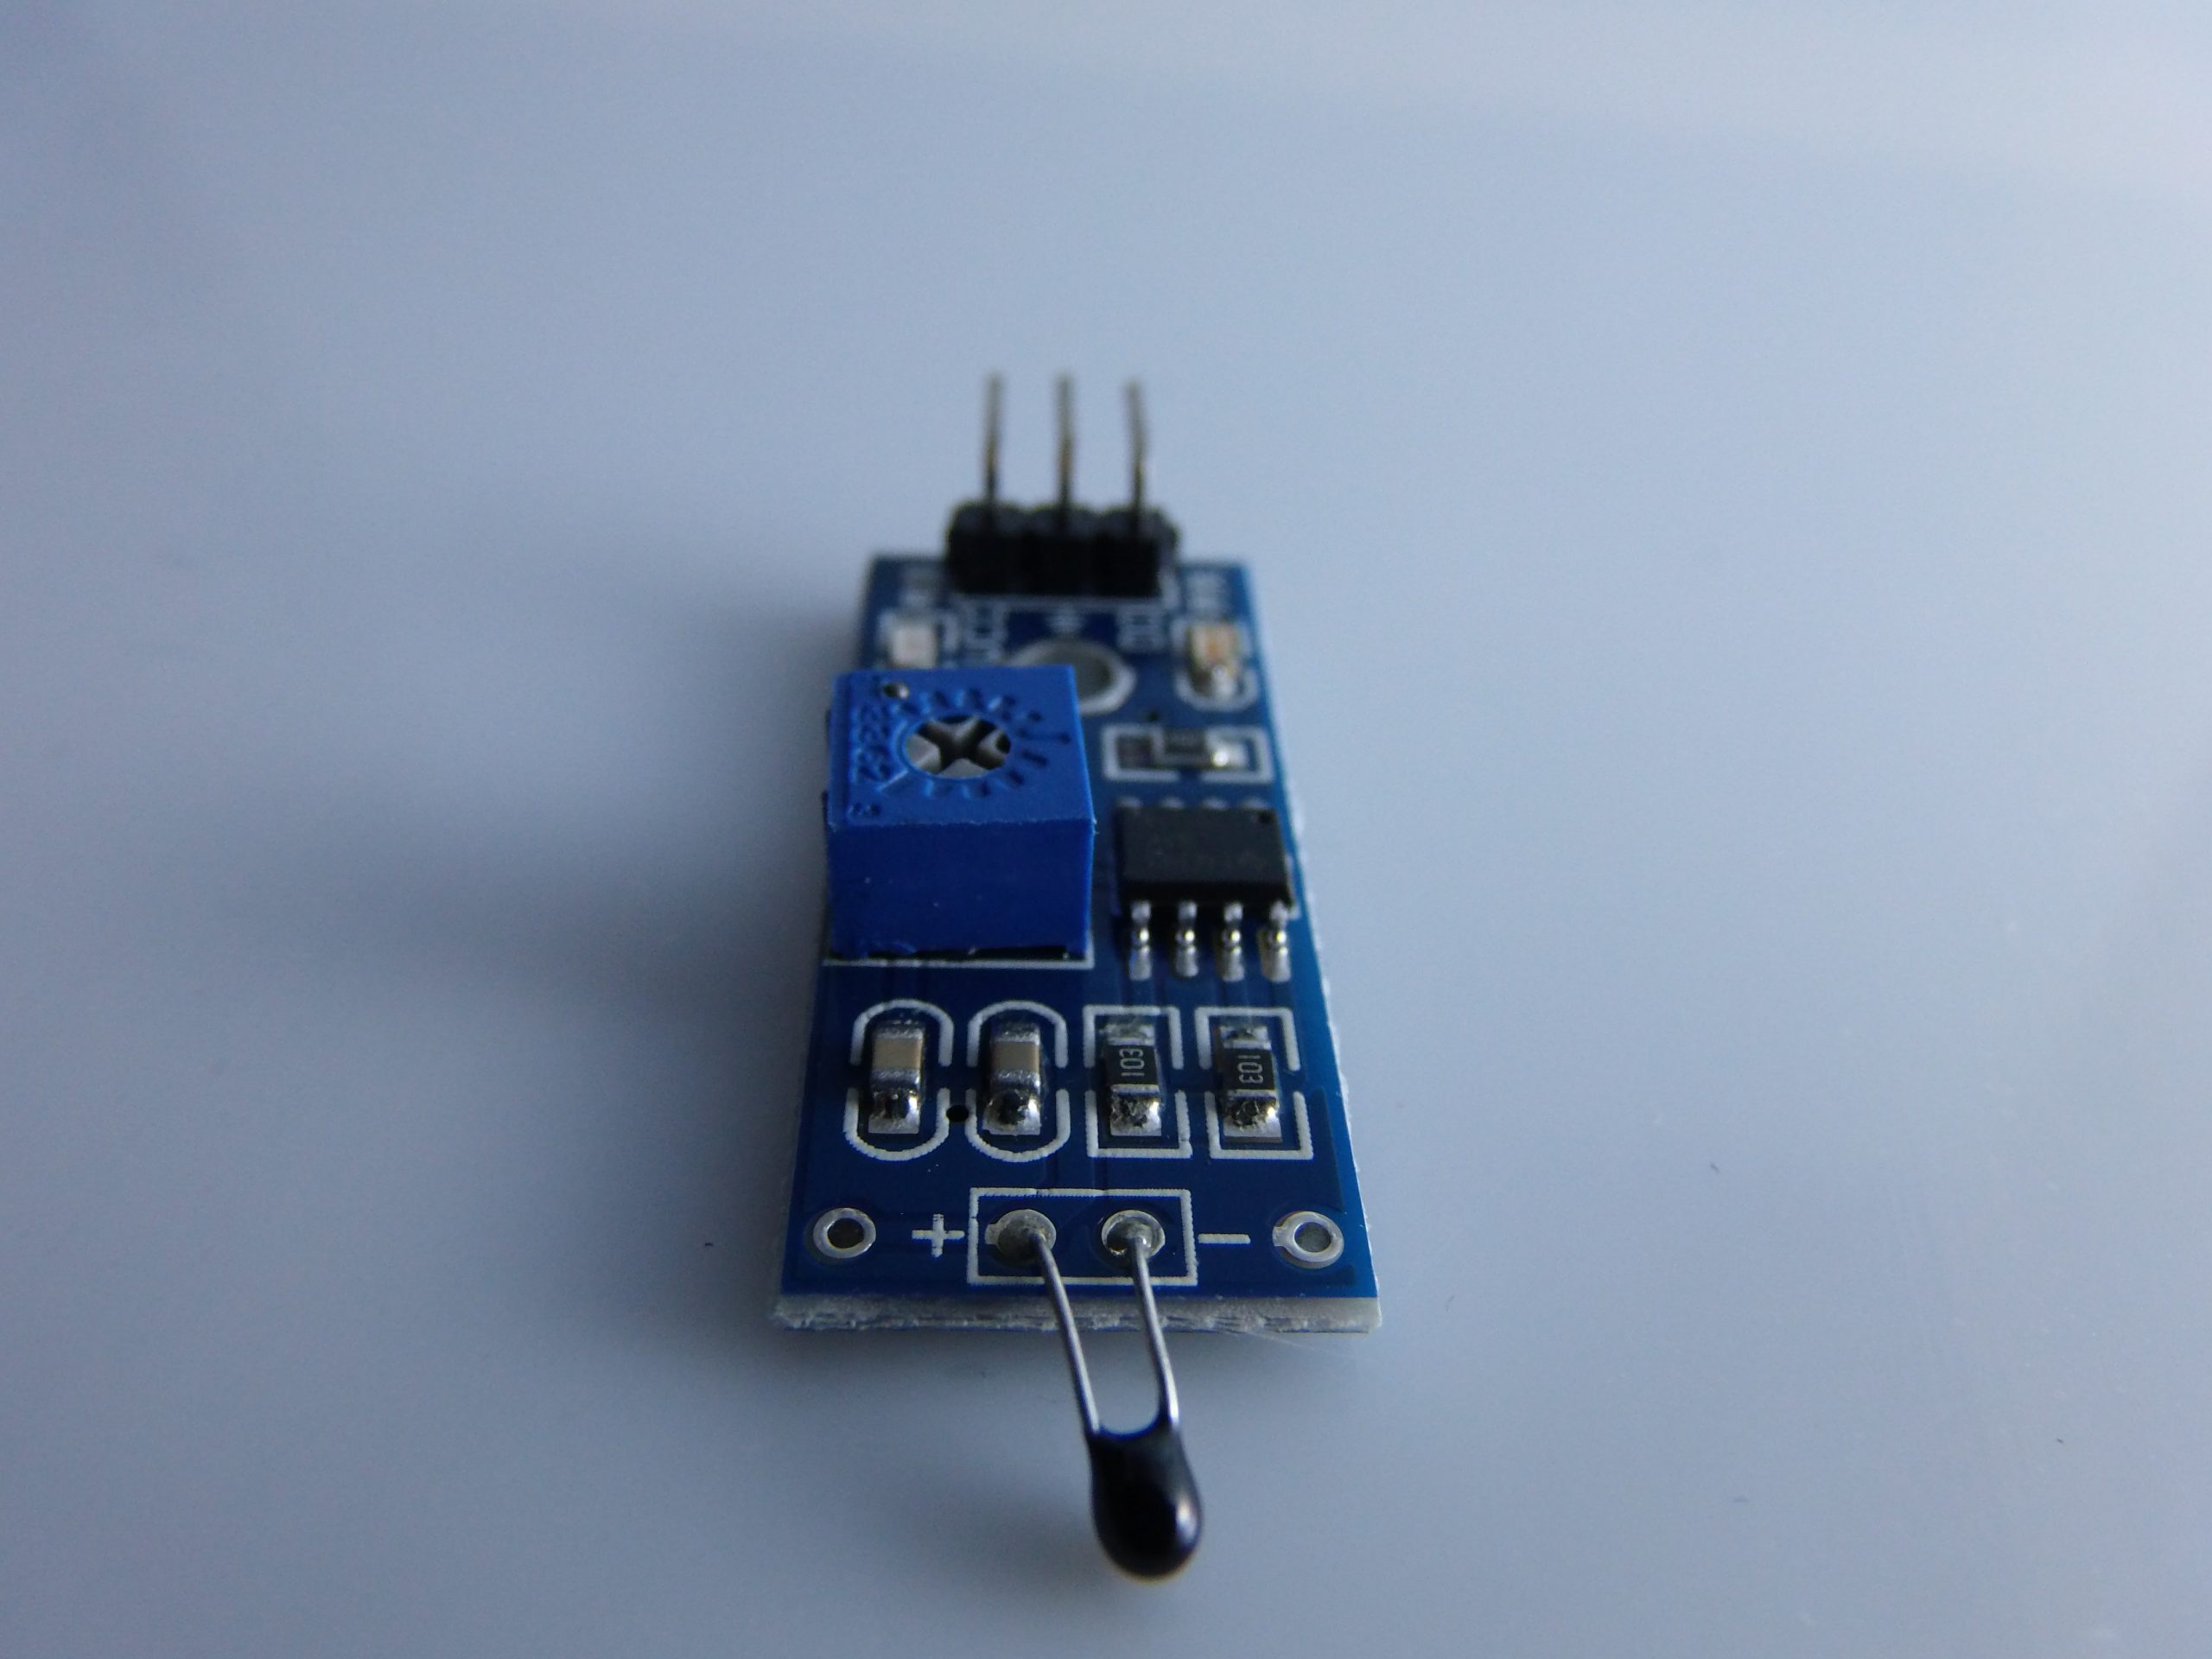
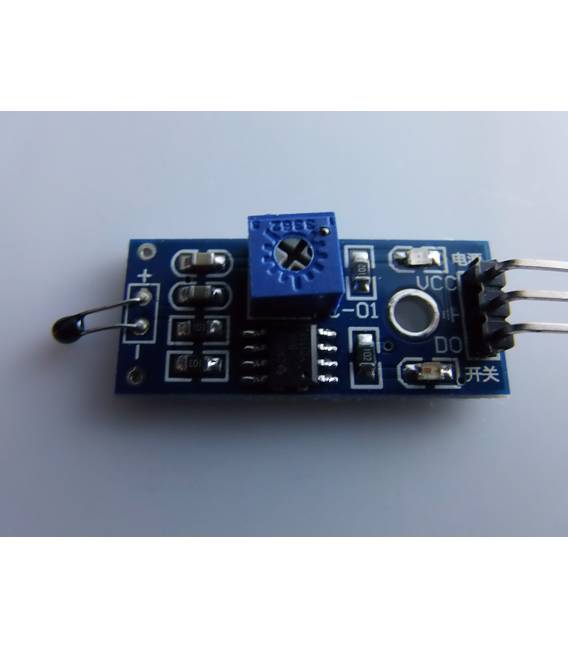
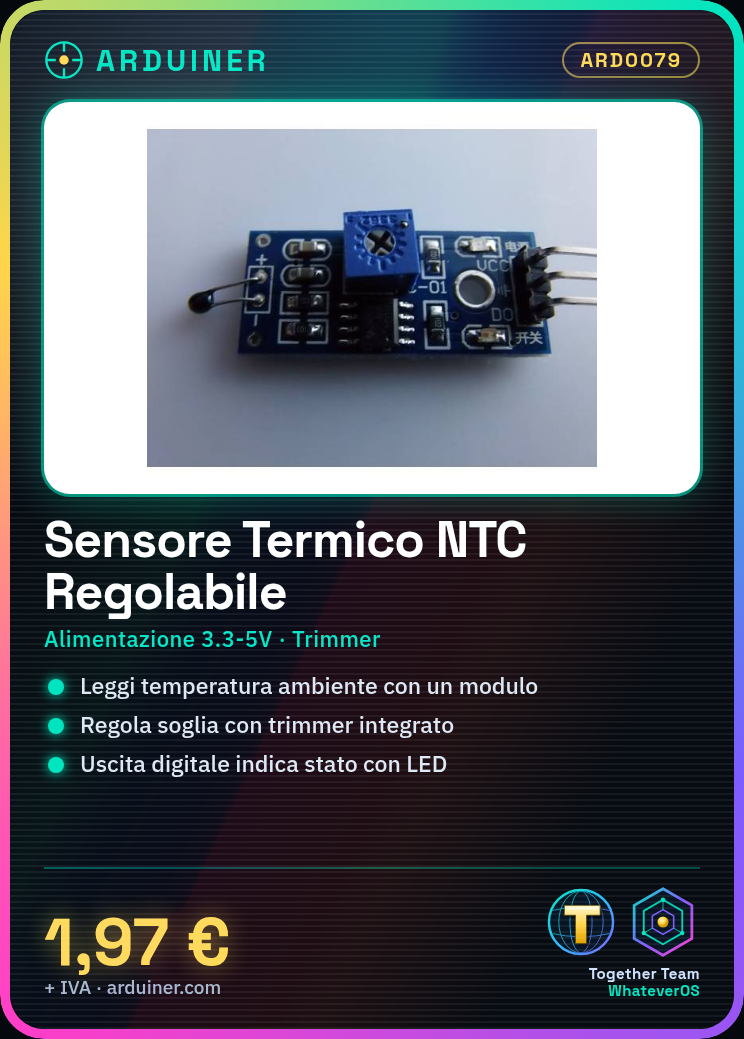
Description
🌡️ NTC Temperature Adjustable Thermal Sensor Module – Complete Description
✅ What is an NTC sensor?
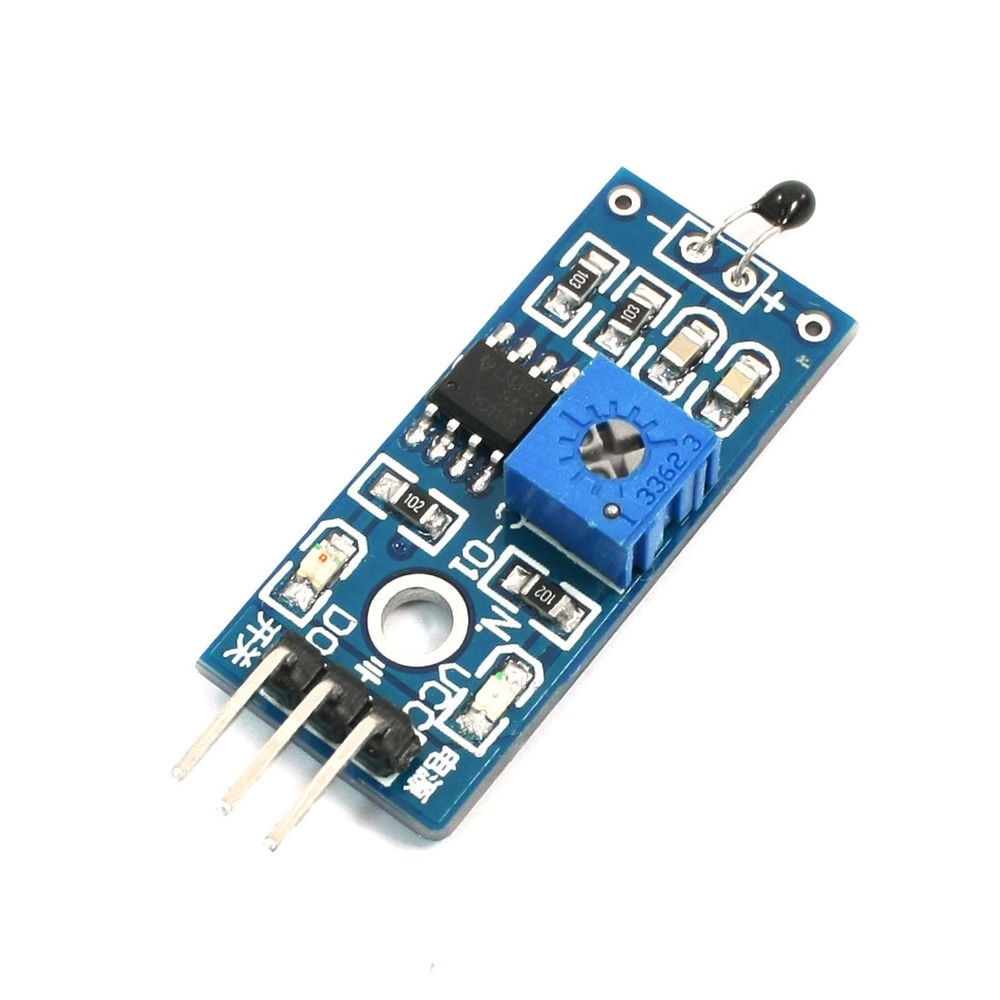
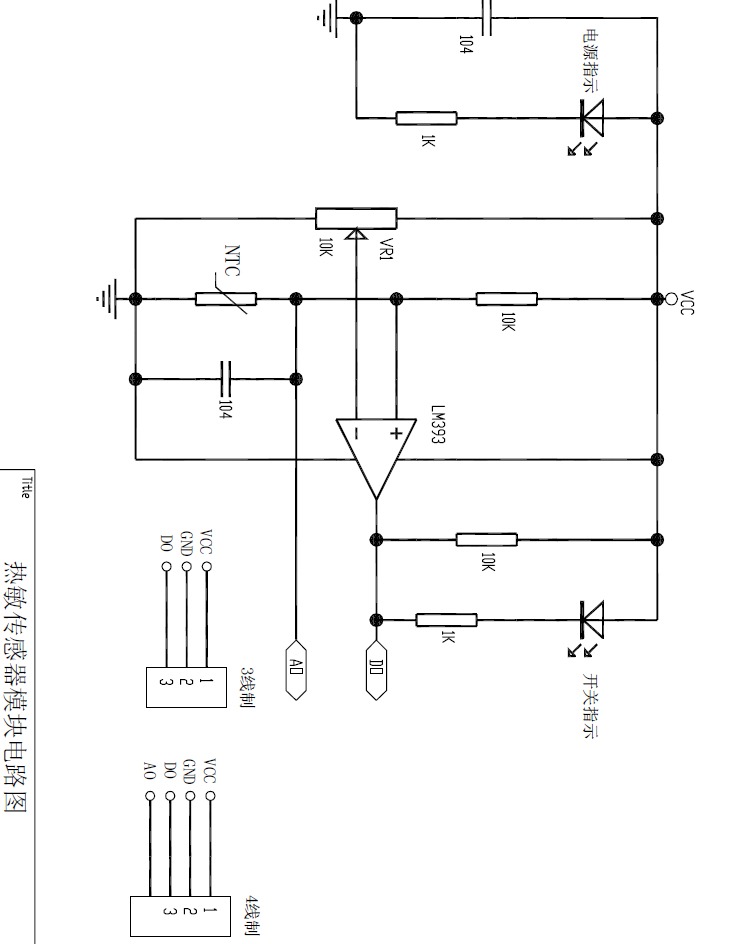
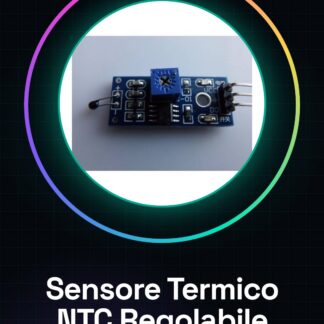
The NTC (Negative Temperature Coefficient) sensor is a type of thermistor, which is a resistor whose resistance decreases as temperature increases. This module allows you to read ambient or object temperature and, thanks to an integrated trimmer, allows you to set an threshold activation on a digital output.
🧩 Module Features
| Feature | Detail |
|---|---|
| Sensor Type | NTC Thermistor |
| Interface | Analog (A0) and Digital (D0) |
| Power Supply | 3.3V – 5V |
| Threshold Adjustment | Integrated trimmer for digital output |
| Digital output | Activates (LOW or HIGH) beyond regulated threshold |
| Status LED | Indicates if the temperature has exceeded the threshold |
| Applications | Thermostats, temperature alarms, relay control |
📌 NTC = Negative Temperature Coefficient → the warmer it gets, the less resistance.
🔌 Connecting the module to Arduino
🧰 Required materials:
- Arduino Uno/Nano
- NTC thermal sensor module
- Jumper wires
- Breadboard (optional)
🖇️ Connection Diagram
| NTC Module Pin | Arduino |
|---|---|
| VCC | 5V |
| GND | GND |
| A0 | A0 |
| D0 | D2 |
👨💻 Base Code: Read Analog Temperature
🎯 Objective:
Read the analog voltage from the sensor to estimate the temperature (relative, not precise in °C without calibration).
const int pinNTC = A0;

void setup() {
 Serial.begin(9600);
}

void loop() {
 int valoreAnalogico = analogRead(pinNTC); // da 0 a 1023
 float tensione = valoreAnalogico * 5.0 / 1023.0;

 Serial.print("Valore ADC: ");
 Serial.print(valoreAnalogico);
 Serial.print(" | Tensione: ");
 Serial.print(tensione, 2);
 Serial.println(" V");

 delay(500);
}
⚠️ This value represents a relative temperature measurement, not a direct value in degrees Celsius.
🌡️ Temperature Estimation (optional, advanced)
You can convert the read value to temperature using the Steinhart-Hart formula or a calibration curve, if you know:
- The nominal resistance of the NTC (e.g., 10kΩ @25°C)
- The Beta coefficient (B) provided in the datasheet
Example (simplified, for NTC 10kΩ):
#define PIN_NTC A0
#define R_SERIE 10000 // Resistenza in serie al NTC (10kΩ)

void setup() {
 Serial.begin(9600);
}

void loop() {
 int adc = analogRead(PIN_NTC);
 float tensione = adc * 5.0 / 1023.0;
 float resistenzaNTC = (5.0 * R_SERIE / tensione) - R_SERIE;

 float tempK = 1.0 / (1.0 / 298.15 + (1.0 / 3950.0) * log(resistenzaNTC / 10000.0));
 float tempC = tempK - 273.15;

 Serial.print("Temp stimata: ");
 Serial.print(tempC, 1);
 Serial.println(" °C");

 delay(1000);
}
🧪 This formula is only an approximation and requires a known NTC (e.g., 10kΩ B=3950).
🔔 Usage of the digital output D0
The module provides a digital output (D0) that goes HIGH or LOW when the temperature exceeds the threshold set via the trimmer.
🧪 Example code:
#define PIN_DIGITALE 2
#define LED_AVVISO 13

void setup() {
 pinMode(PIN_DIGITALE, INPUT);
 pinMode(LED_AVVISO, OUTPUT);
 Serial.begin(9600);
}

void loop() {
 int stato = digitalRead(PIN_DIGITALE);

 if (stato == LOW) { // può essere HIGH o LOW a seconda del modulo
 digitalWrite(LED_AVVISO, HIGH);
 Serial.println("⚠️ Temperatura oltre soglia!");
 } else {
 digitalWrite(LED_AVVISO, LOW);
 Serial.println("✅ Temperatura nella norma.");
 }

 delay(500);
}
Turn the trimmer to adjust the point of intervention of the digital signal.
🧠 Practical applications
- Digital thermostat
- Relay activation above a thermal threshold
- Automatic cooling fans based on heat
- Safety sensor (against overheating)
- Educational projects for studying thermistors
📘 Conclusions
✔️ Easy to use with Arduino
✔️ Measures temperature in analog and digital mode
✔️ Can be calibrated with the trimmer
✔️ Useful for thermal control and alarm
🎓 PowerPoint Presentation – NTC Temperature Sensor for Arduino
🧾 Presentation structure:
🔹 Slide 1 – Title
Adjustable NTC Temperature Sensor Module
Usage with Arduino – Educational Presentation
👨🏫 Course: Electronics & Automation
📅 Date: [inserisci data]
📍 By: [tuo nome]
🔹 Slide 2 – What is an NTC?
- NTC = Negative Temperature Coefficient
- A thermistor that reduces resistance as temperature increases
- Used to measure temperature variations economically
🔹 Slide 3 – The NTC Module
- Includes:
- NTC Sensor
- Trimmer to adjust the threshold
- Comparators and status LEDs
- Outputs:
- Analog (A0) → proportional voltage to temperature
- Digital (D0) → activates above threshold
🔹 Slide 4 – Technical Specifications
| Characteristic | Value |
|---|---|
| Voltage | 3.3 – 5V |
| Interface | A0 (analog), D0 (digital) |
| Trimmer | Adjusts threshold on D0 output |
| Sensor Type | NTC |
| Digital Output | HIGH/LOW when threshold is exceeded |
🔹 Slide 5 – Connection with Arduino
| NTC Module | Arduino |
|---|---|
| VCC | 5V |
| GND | GND |
| A0 | A0 |
| D0 | D2 |
🔹 Slide 6 – Analog Read (A0)
int val = analogRead(A0);
float volt = val * 5.0 / 1023.0;
Serial.println(volt);
- Used for estimating temperature (relative)
- Calibration is necessary for °C measurements
🔹 Slide 7 – Digital Output (D0)
if (digitalRead(D2) == LOW) {
 Serial.println("Temperatura sopra soglia");
}
- Trimmer to adjust threshold
- Ideal for activating relay, LED or fans
🔹 Slide 8 – Practical Applications
- Smart Thermostat
- Fan Control/Relay
- Overheating Alarm
- Environmental Monitoring
- Educational Projects and Home Automation
🔹 Slide 9 – Alternative: LM35
- Analog Output linear (10mV/°C)
- Connection: OUT → A0
- No digital threshold: temperature is calculated directly in °C
float volt = analogRead(A0) * 5.0 / 1023.0;
float temp = volt * 100;
🔹 Slide 10 – Questions?
❓ Do you have any questions?
📘 Do you want to try the Tinkercad simulation?
📩 Contact me: [email o nome]
✅ Tinkercad – Simulation with LM35 (NTC alternative)
Tinkercad does not have an integrated NTC module, but you can use the LM35 which is compatible and very accurate for simulations.
📌 Components to use on Tinkercad:
- Arduino Uno
- Sensor LM35
- Jumper wires
- LED or buzzer (optional)
🖇️ Connections:
| LM35 | Arduino |
|---|---|
| VCC | 5V |
| GND | GND |
| OUT | A0 |
🧪 Arduino code for LM35:
const int LM35_PIN = A0;

void setup() {
 Serial.begin(9600);
}

void loop() {
 int val = analogRead(LM35_PIN);
 float volt = val * 5.0 / 1023.0;
 float tempC = volt * 100;

 Serial.print("Temperatura: ");
 Serial.print(tempC);
 Serial.println(" °C");

 delay(1000);
}
|
GENERAL |
MODEL |
temperature detector |
|
MATERIALS |
pcb + components |
|
|
COMPATIBILITY |
ARDUINO |
|
|
ELECTRICAL COMPONENTS |
INPUT VOLTAGE |
3,3-5V |
|
WEIGHT AND DIMENSIONS |
PRODUCT WEIGHT |
7g |
|
PACKAGE WEIGHT |
0.085 kg |
|
|
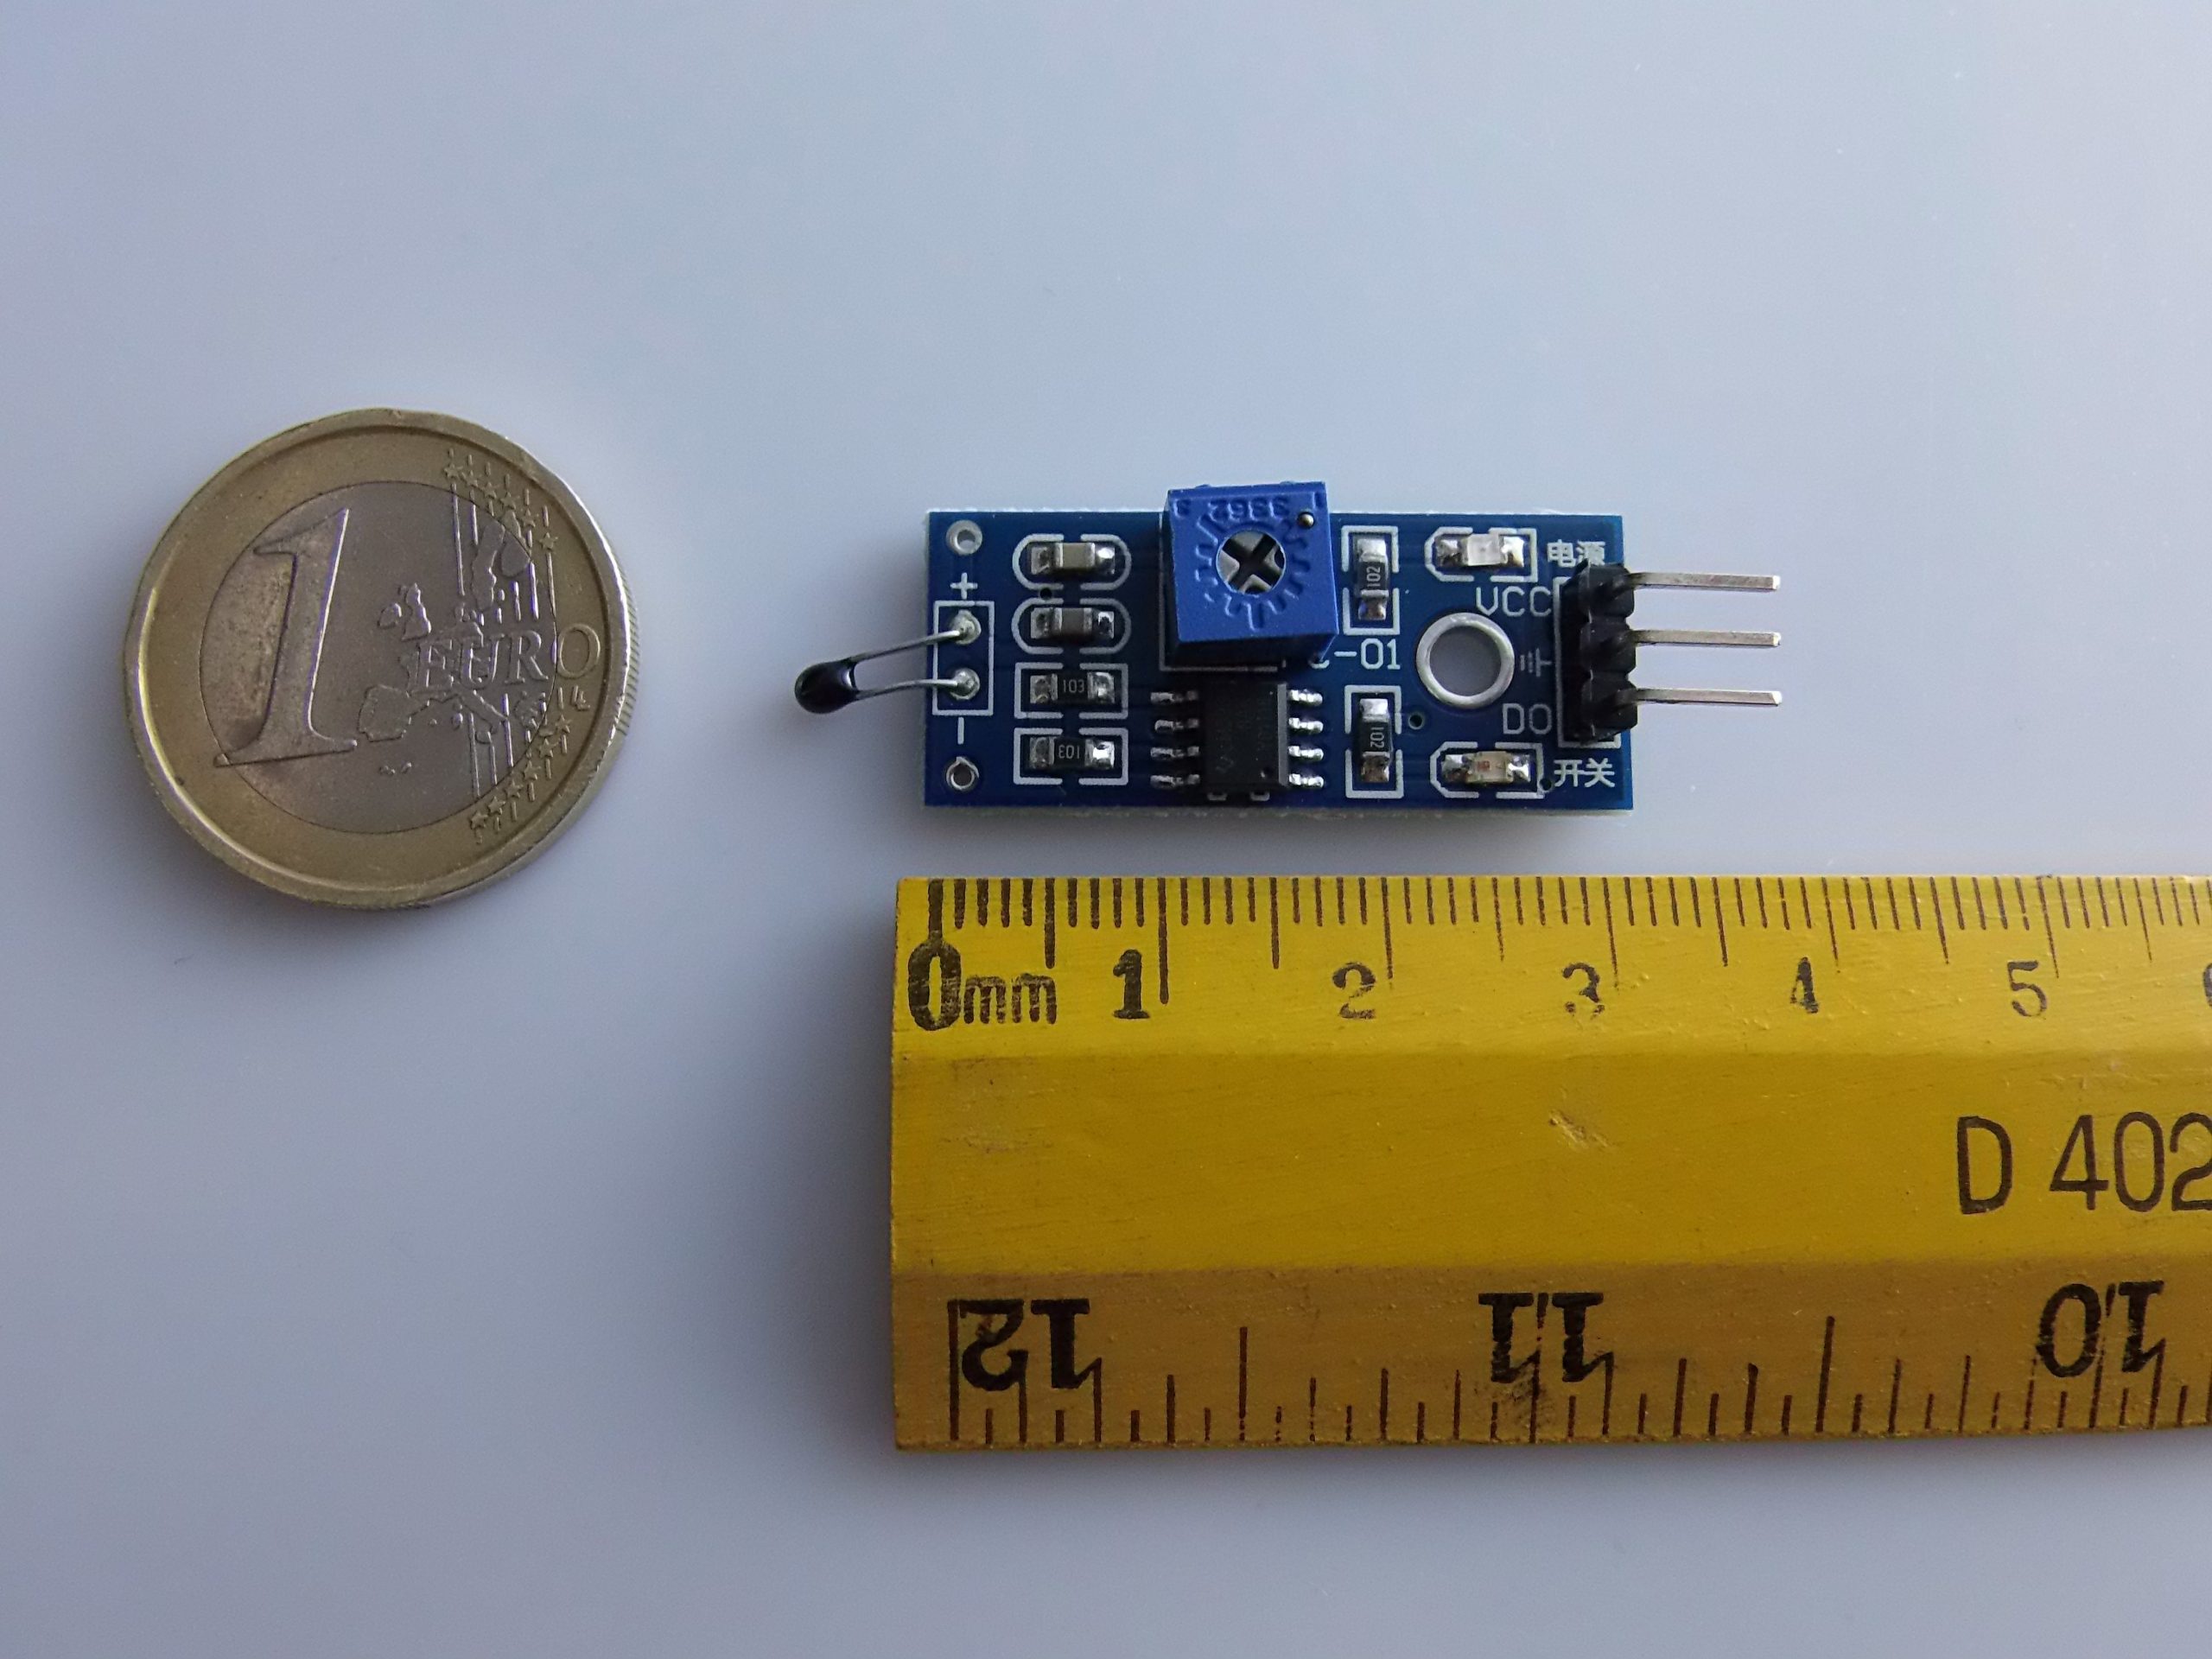
PRODUCT DIMENSIONS (L x W x H) |
4.5 x 1.5 x 1 |
|
| PACKAGE DIMENSIONS
(L x W x H) |
5 x 3 x 2 cm |
|
|
CONTENTS OF PACKAGE |
CONTENTS OF PACKAGE |
1 x Module |
We have available the technical sheet of all components, should it not be present in the product download card, send us a message from the contact us module and we will publish as soon as possible on our website.
Tutorial: How to Use Adjustable NTC Temperature Sensor Module
The adjustable NTC thermal sensor module is an essential component for measuring temperature in Arduino projects. Ideal for beginners and makers who want to add climate monitoring features to their devices.
What you need
- Arduino Uno or compatible
- USB to micro-USB connection
- Arduino IDE software installed
Steps
- Connect the NTC module to your laptop or PC via the USB port of your Arduino.
- Open the Arduino IDE and create a new sketch.
- Insert the following code into your sketch.
- Ensure that the pins used in the code match those used on the NTC module.
- Upload the sketch to your Arduino.
- Open the Serial Monitor window of the Arduino IDE (Baud Rate: 9600).
- Observe the temperature value displayed in the console.
- Manually adjust the sensor NTC setup and measure the temperature again.
Example code
const int tempPin = A0; // Collega al pin analogico 0
float temperature;
void setup() {
Serial.begin(9600);
}
void loop() {
analogRead(tempPin); // Leggi il valore del sensore NTC
// Calcola la temperatura (verifica sul datasheet)
Serial.println(temperature, DEC);
delay(1000);}
Mini project
Create a thermal alarm system that sends an email notification when the temperature exceeds a certain value.
Common mistakes
- Error in the pin address
- NTC sensor calibration missing
- Incorrect Serial Monitor settings
Recommended accessories
- LCD module to display real-time temperatures
- Kit of connectors and cables to test the module
- WiFi or Ethernet module to send data over the internet
- Batteries and battery chargers for mobile projects
Frequently asked questions
How can I adjust the sensitivity of my NTC sensor?
You can physically modify the resistance circuit on the module, or adjust it in the code.
My sensor doesn’t seem to be working. How can I check?
Check the electronic connection between your Arduino and the NTC sensor.
Reviews
There are no reviews yet.