 EN
 IT Italiano
 ES Español
 FR Français
 DE Deutsch
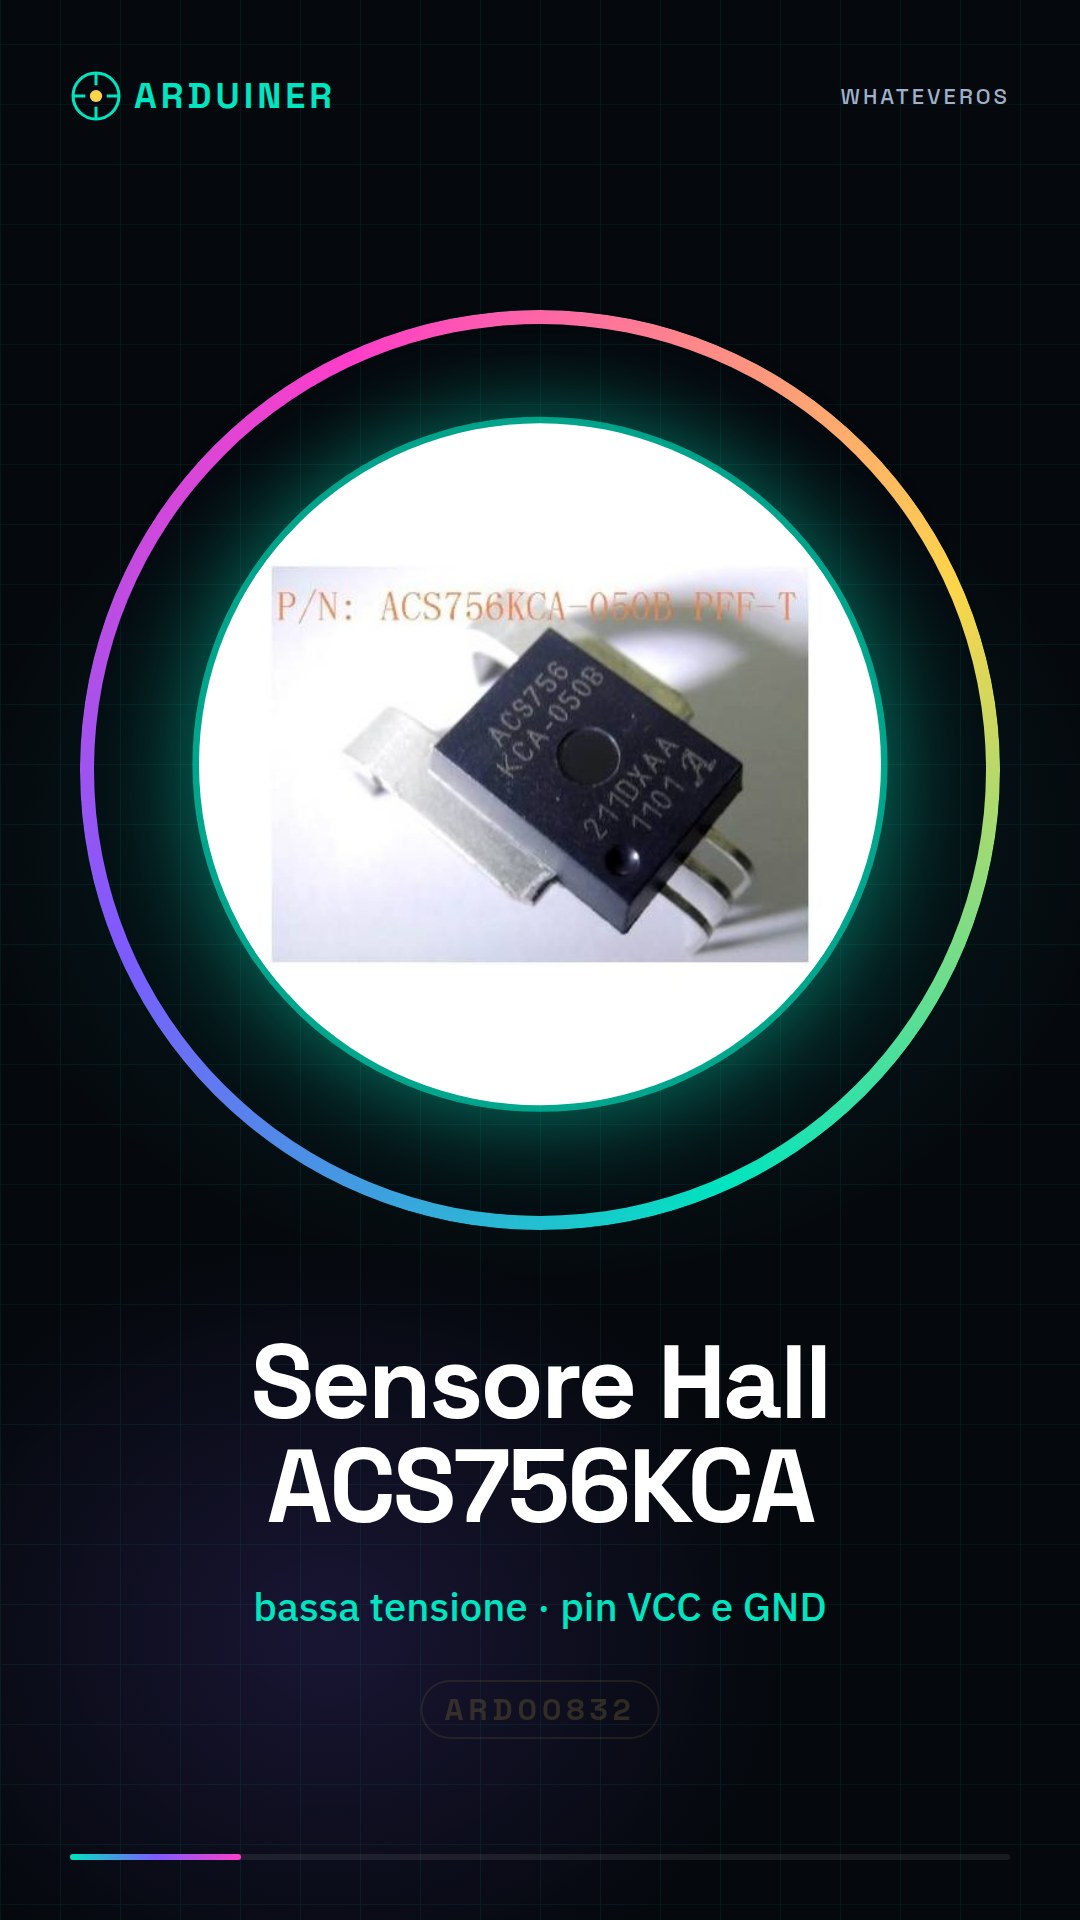
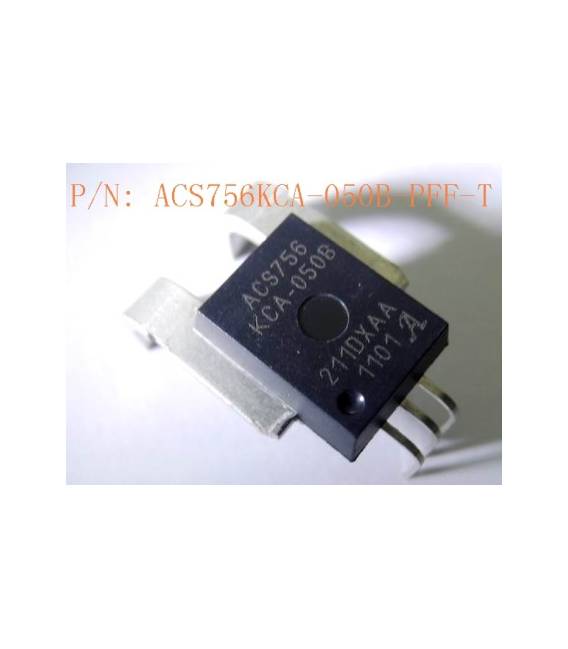
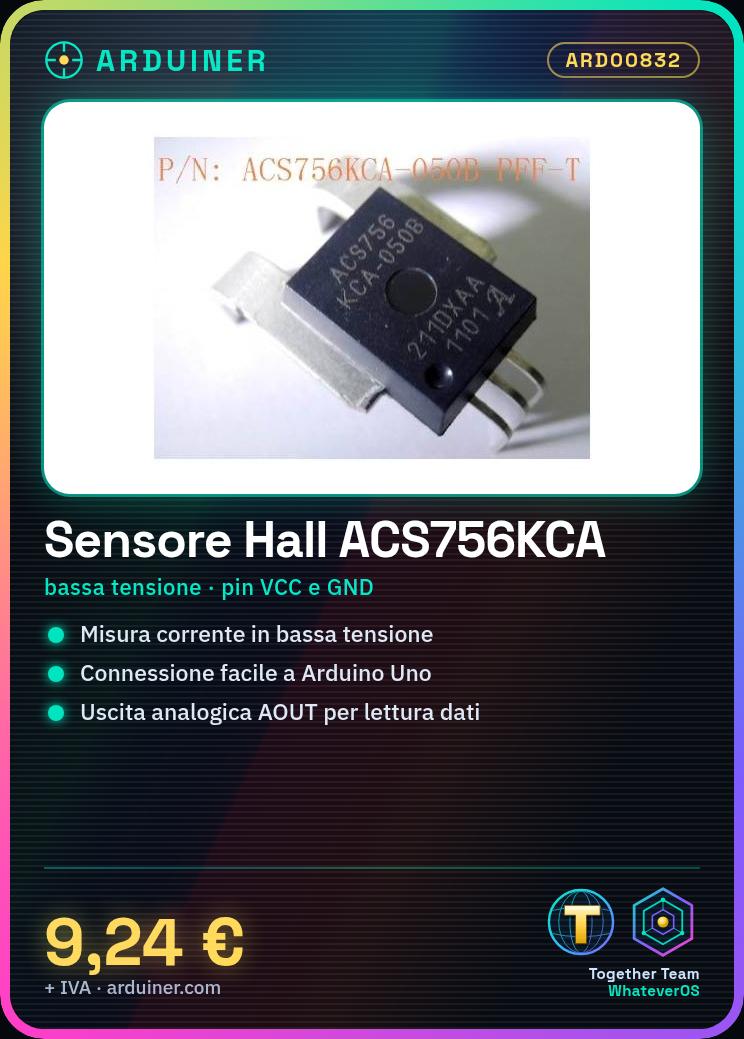
Description
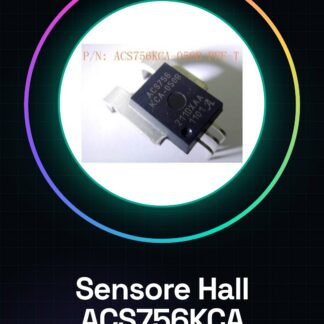
Tutorial: How to Use ACS756KCA-050B-PFF-T Current Hall Effect Sensor
The ACS756KCA-050B-PFF-T current hall effect sensor is a crucial component for projects requiring the measurement of electrical current in low-voltage circuits. It is ideal for beginner and intermediate makers who want to integrate current flow monitoring features into their devices.
What you need
- Arduino Uno or compatible
- Jumper wire
- Connecting to the circuit
Steps
- Connect the VCC and GND pins of the ACS756KCA-050B-PFF-T sensor to the Arduino’s power supply and ground.
- Connect the analog output (AOUT) to the Arduino’s analog pin A0 for data reading.
- Open the Arduino IDE software and upload the example sketch provided in the ‘Code’ section.
- Start serial communication in Arduino to display the values read from the sensor on the serial monitor.
- Check that the sensor output is consistent with the theoretical predictions of the current measured in the test circuit.
- If necessary, adjust the sensor calibration based on the reference data provided in the datasheet.
Example code
const int currentPin = A0;

void setup() {
  Serial.begin(9600);
}

void loop() {
  int sensorValue = analogRead(currentPin);
  float voltage = (sensorValue * 5.0) / 1024.0; // Verifica sul datasheet per la conversione esatta
  float current = (voltage - 2.5) * 200; // Verifica sul datasheet per il calcolo corretto della corrente
  Serial.print("Corrente: ");
  Serial.println(current);
  delay(1000); // Attendi un secondo prima di rilevare nuovamente la corrente
}
Mini project
Create an energy consumption monitoring system for a lamp or small electronic device. Connect the ACS756KCA-050B-PFF-T sensor to the device circuit and use Arduino to track the current consumed over time.
Common mistakes
- Do not connect VCC or GND correctly, resulting in erroneous data from the sensor.
- Use a supply voltage different from that specified in the sensor datasheet.
- Omit the sensor calibration to obtain accurate current measurements.
Recommended accessories
- Arduino Uno
- USB cable for Arduino
- Connectors and test cables
- Breadboard
Frequently asked questions
How can I calibrate the ACS756KCA-050B-PFF-T sensor?
For calibration, use a stable and known current to verify the output values of the sensor. Then adjust the conversion equation in Arduino code.
Can the sensor measure negative currents?
Yes, the sensor is designed to detect both positive and negative current through a central voltage of 2.5V.
Reviews
There are no reviews yet.