 EN
 IT Italiano
 ES Español
 FR Français
 DE Deutsch
Description
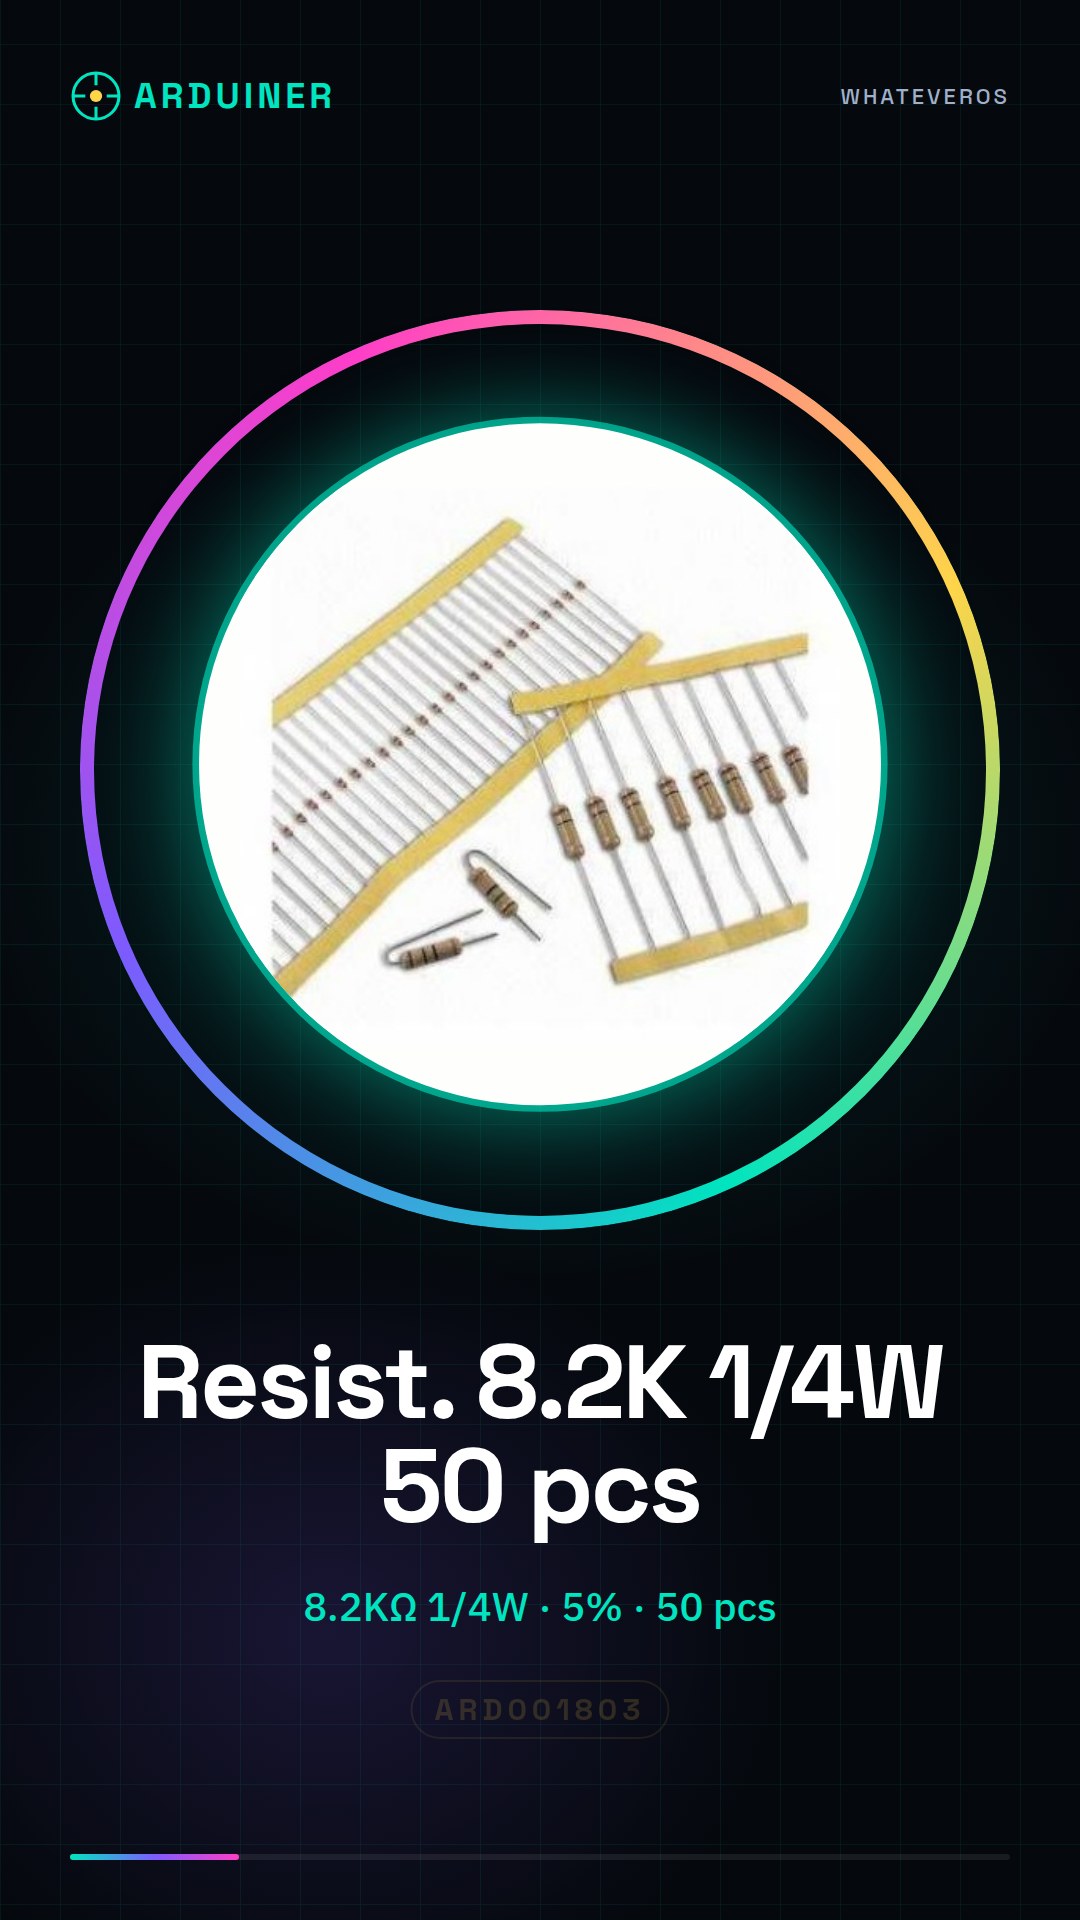
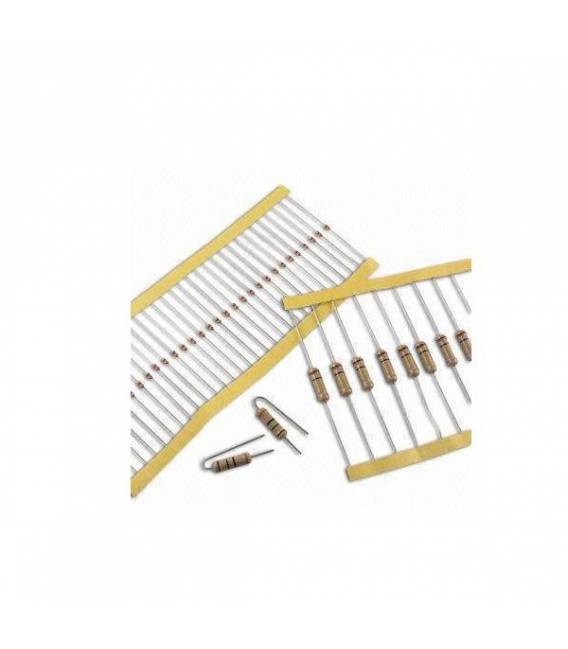
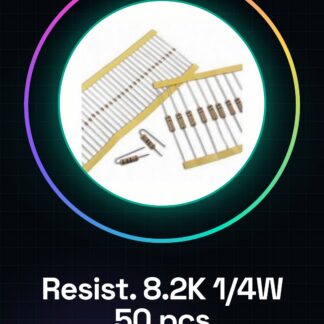
50PCS Resistor 8.2K ohm 8200 ohm 1/4w 1/4 w 5%
Tutorial: How to use 8.2K ohm Resistor
Resistors are fundamental components in any electronic project, they are used to limit the flow of electrical current through a circuit. This 8.2k ohm resistor is ideal for beginners who are learning to work with Arduino.
What you need
- Arduino
- test kit
- jumper wire
Steps
- Check the resistance on the electronic multimeter.
- Connect one end of the resistor to digital pin 2 on the Arduino.
- Connect the other end to ground (GND).
- Upload the test sketch to the Arduino.
- Observe the behavior of the circuit with the resistor inserted.
Example code
void setup() {
  pinMode(2, OUTPUT);
}

void loop() {
  digitalWrite(2, HIGH);
  delay(1000);
  digitalWrite(2, LOW);
  delay(1000);
}
Mini project
Create a simple PWM lighting circuit using the resistor to control the potentiometer arm and vary the brightness of an LED.
Common mistakes
- Connect the resistor to the wrong pin.
- Reverse the polarity of the resistor.
- Use it in a circuit that requires a different resistance.
- Do not check the resistance with a multimeter.
Recommended accessories
- Electronic test kit
- Potentiometer 10k ohm
- LEDs various colors
- Jumper wires
Frequently asked questions
Q: What is the purpose of the resistor?
Limits the current to protect the circuit components.
Q: Can I use a different resistor?
Check your project’s datasheet to ensure compatibility.
Reviews
There are no reviews yet.