 EN
 IT Italiano
 ES Español
 FR Français
 DE Deutsch
Description
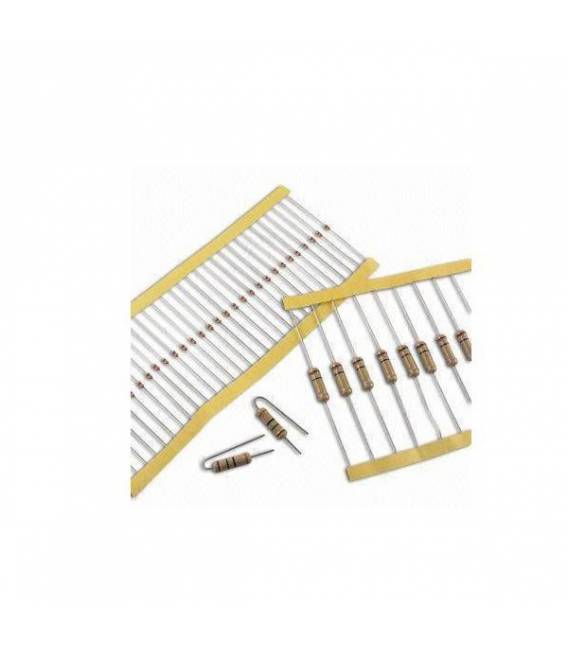
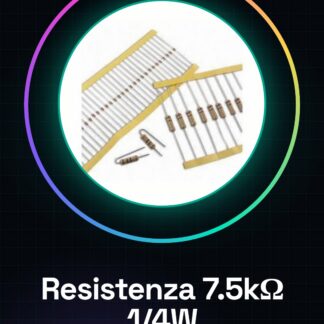
50PCS 7.5K ohm 7500 ohm 1/4w 1/4 w 5% resistor
Tutorial: How to use 7.5K ohm resistor
Resistors are fundamental components to limit the flow of current in an electronic circuit. This 7.5kΩ resistor is ideal for Arduino projects, sensor systems, and protection circuits.
What you need
- Arduino Uno
- Led
- Breadboard
Steps
- Check the resistance with a multimeter or test card.
- Connect the Arduino to your computer via the USB connector.
- Install the Arduino IDE and load a simple sketch that turns on an LED connected to a digital pin of the Arduino.
- Check the datasheet for the maximum power of the resistor (1/4w) to avoid overheating.
- Connect the LED to the output pin of the Arduino and to ground, inserting the resistor between the microcontroller pin and the anode of the LED.
- Modify the sketch to control the brightness of the LED by varying the value of the digital pin.
Example code
void setup() {
  pinMode(13, OUTPUT);
}

void loop() {
  digitalWrite(13, HIGH);
  delay(500);
  digitalWrite(13, LOW);
  delay(500);
}
Mini project
Create a simple alarm system with a pull-up resistor connected to a button and an LED to signal activation.
Common mistakes
- Use it in a circuit that requires a power higher than its capacity.
- Connect it without verifying the correct resistance value.
- Omit the necessary resistor between the LED and the microcontroller.
- Use it as a capacitor or diode.
Recommended accessories
- Arduino Uno
- Push button
- Breadboard
Frequently asked questions
What is the maximum power it can handle?
Check the datasheet, usually 1/4w.
How do I verify the resistance value?
Use a multimeter or test card.
Reviews
There are no reviews yet.