 EN
 IT Italiano
 ES Español
 FR Français
 DE Deutsch
Description
Technical Description
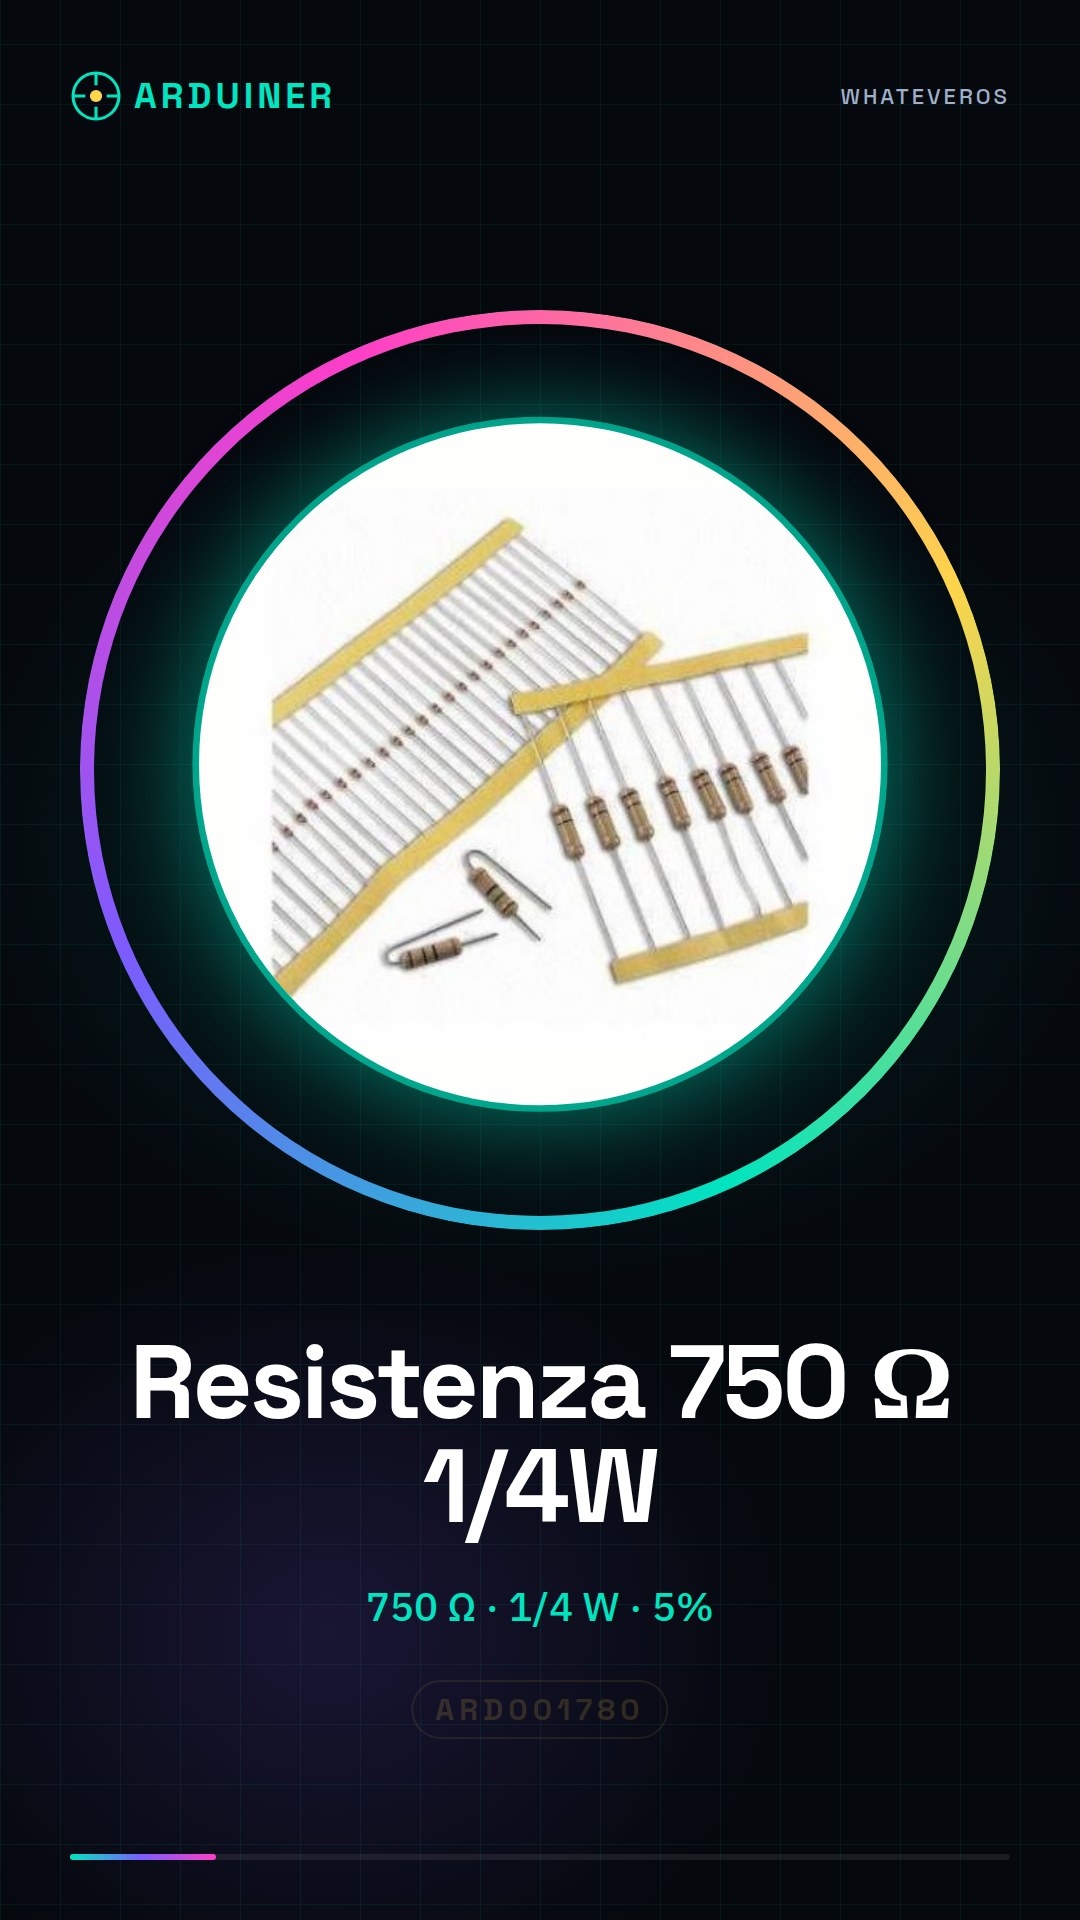
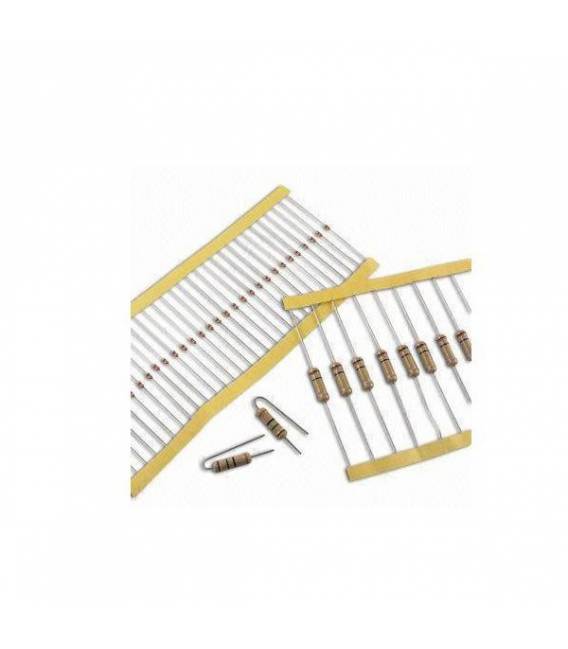
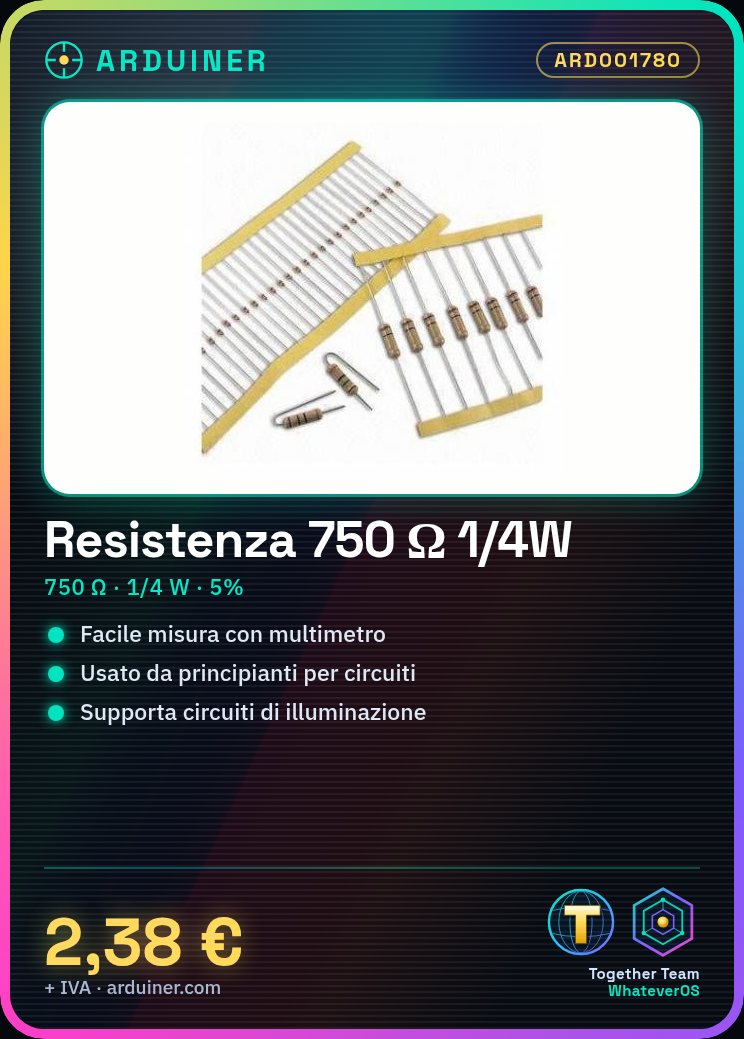
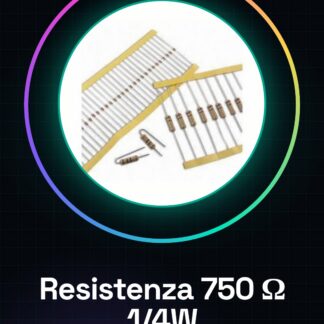
The 750 ohm, 1/4 watt, 5% tolerance resistor is an essential component for limiting current flow in electronic circuits. This resistor is suitable for applications requiring power dissipation below 1/4 watt. Its 5% tolerance ensures good precision in electronic projects.
The resistor is used to create voltage dividers, limit current in circuits, and protect sensitive components from overloads. For proper use, it is important to verify the resistance with a multimeter before connecting it to the circuit.
The resistor can be used in various electronic projects, such as circuit prototypes, component testing, and current control applications.
Key Specifications
| Parameter | Value |
| Model | Resistor 750 ohm 1/4w 5% |
| Quantity | 50 pieces |
| Tolerance | 5% |
| Power Dissipation | 1/4 watt |
| Dimensions | N/A (see manufacturer’s datasheet) |
| Container | N/A (see manufacturer’s datasheet) |
Installation and Usage
- Check the resistance with a multimeter in ohm mode.
- Connect one end of the resistor to a digital pin of the Arduino and the other end to ground (GND).
- Write an Arduino sketch to measure the current value through the resistor.
- Upload the sketch to your Arduino.
- Open the Serial Monitor to view the current data.
Compatibility and Requirements
- The resistor is compatible with Arduino Uno and other microcontrollers.
- A multimeter is required for resistance verification.
- An Arduino prototyping kit is required to build the circuit.
Limitations and Important Notes
- The resistor cannot dissipate more than 1/4 watt.
- It is necessary to verify the resistance before use.
- Do not use a current higher than what the resistor allows.
- The resistor is not designed for high-temperature applications.
Troubleshooting
The current values are not consistent with the expected values.
Probable cause: The resistor may not be properly connected or may not be the expected value.
Solution: Check the connections and the resistor with a multimeter.
The circuit does not work correctly.
Probable cause: The resistor may be damaged or not suitable for the circuit voltage.
Solution: Replace the resistor with one of the correct value and verify the circuit voltage.
The resistor overheats.
Probable cause: The resistor is dissipating too much power.
Solution: Replace the resistor with one of higher power dissipation.
The measured resistance value is different from the expected value.
Probable cause: The 5% tolerance can cause small variations.
Solution: Check the resistance with a precision multimeter.
Use cases
Temperature Sensor for the Lab
Objective: Measure the temperature in a laboratory environment.
What you need: Arduino Uno, thermistor, connection cable.
Steps: 1) Connect the thermistor to the Arduino circuit. 2) Write a sketch to measure the temperature. 3) Display the temperature data on the Serial Monitor.
Expected result: The system accurately measures the temperature in real-time.
Current Meter for the Garage
Objective: Measure the current used by a lighting system.
What you need: Arduino Uno, resistor, connection cable.
Steps: 1) Connect the resistor in series with the lighting system. 2) Write a sketch to measure the current. 3) Display the current data on the Serial Monitor.
Expected result: The system correctly measures the current used by the lighting circuit.
Home alarm system
Objective: Generate an alarm signal when a certain current level is exceeded.
What is needed: Arduino Uno, resistor, connection cable.
Steps: 1) Connect the resistor in series with the circuit to be monitored. 2) Write a sketch to monitor the current. 3) Generate an alarm signal when the current exceeds a certain value.
Expected result: The system correctly generates an alarm signal when a certain current level is exceeded.
Fridge temperature control system
Objective: Regulate the temperature of the fridge.
What is needed: Arduino Uno, thermistor, connection cable.
Steps: 1) Connect the thermal resistor to the Arduino circuit. 2) Write a sketch to regulate the temperature. 3) Display the temperature data on the Serial Monitor.
Expected result: The system correctly regulates the refrigerator’s temperature.
Office lighting control system
Objective: Regulate lighting based on external light.
What’s needed: Arduino Uno, resistor, connection cable.
Steps: 1) Connect the resistor in series with the lighting circuit. 2) Write a sketch to regulate the lighting. 3) Display the lighting data on the Serial Monitor.
Expected result: The system correctly regulates the lighting based on external light.
Computer temperature control system
Objective: Regulate the computer’s temperature.
What’s needed: Arduino Uno, thermal resistor, connection cable.
Steps: 1) Connect the thermal resistor to the Arduino circuit. 2) Write a sketch to regulate the temperature. 3) Display the temperature data on the Serial Monitor.
Expected result: The system correctly regulates the temperature of the computer.
Domestic refrigerator temperature control system
Objective: To regulate the temperature of a domestic refrigerator.
What is needed: Arduino Uno, thermal resistor, connection cable.
Steps: 1) Connect the thermal resistor to the Arduino circuit. 2) Write a sketch to regulate the temperature. 3) Display the temperature data on the Serial Monitor.
Expected result: The system correctly regulates the temperature of the domestic refrigerator.
Temperature control system for the physics lab
Objective: To regulate the temperature in a laboratory environment.
What is needed: Arduino Uno, thermal resistor, connection cable.
Steps: 1) Connect the thermistor to the Arduino circuit. 2) Write a sketch to regulate temperature. 3) Display temperature data on the Serial Monitor.
Expected result: The system correctly regulates temperature in a laboratory environment.
In the package
- 50 pieces
Complete the project
- 50 Pieces Resistor 1000 ohm 1k ohm 1/4w 1/4 w 5%: Used to create voltage dividers in electronic circuits.
- 50 Pieces Resistor, 10000 ohm, 10k, ohm 1/4w 1/4 w 5% , Arduino compatible resistors: Used to limit current in circuits and protect sensitive components.
Technical FAQs
What is the maximum power it can dissipate?
The resistor can dissipate up to 1/4 watt.
Can I use it with other microcontrollers besides Arduino?
Yes, you can use it with any microcontroller that supports resistor connections.
How do I verify the resistance value?
Use a multimeter in ohm mode to measure the value of the resistor.
What is the tolerance of the resistor?
The tolerance of the resistor is 5%.
Tutorial: How to use 750 ohm 1/4w Resistor
Resistors are fundamental components to limit the flow of current in an electronic circuit. This 750 ohm resistor is ideal for projects requiring a maximum power dissipation below 1/4 Watt. It is particularly useful for beginners in the world of electronics.
What you need
- Arduino Uno
- Multimeter
- Connection cable
Steps
- Check the resistor using a multimeter in ohm mode.
- Connect one end of the resistor to digital pin 2 of the Arduino and the other to ground (GND).
- Write an Arduino sketch to measure the current value through the resistor.
- Upload the sketch to your Arduino.
- Open the Serial Monitor to view the current data.
- Check that the values are consistent with the expected ones (750 ohms).
- If necessary, adjust the connection position or repeat the measurements.
Example code
const int resistorPin = 2;
void setup() {
  Serial.begin(9600);
}

void loop() {
  int sensorValue = analogRead(resistorPin);
  float voltage = sensorValue * (5.0 / 1023.0);
  float current = voltage / 750;
  Serial.println(current);
}
Mini project
Create a simple lighting circuit controlled by Arduino that turns on and off based on the connected resistance.
Common mistakes
- Connect the resistance to the wrong pin of the Arduino.
- Do not verify the resistance value before using it.
- Use a current higher than the one allowed by the resistance.
Recommended accessories
- Digital multimeter
- Arduino prototyping kit
- Universal connection cables
Frequently asked questions
What is the maximum power it can dissipate?
Check the datasheet, but generally for 1/4w resistors.
Can I use it with other microcontrollers besides Arduino?
Yes, you can use it with any electronic circuit that requires a 750 ohm resistance.
Reviews
There are no reviews yet.