 EN
 IT Italiano
 ES Español
 FR Français
 DE Deutsch
Description
What it is
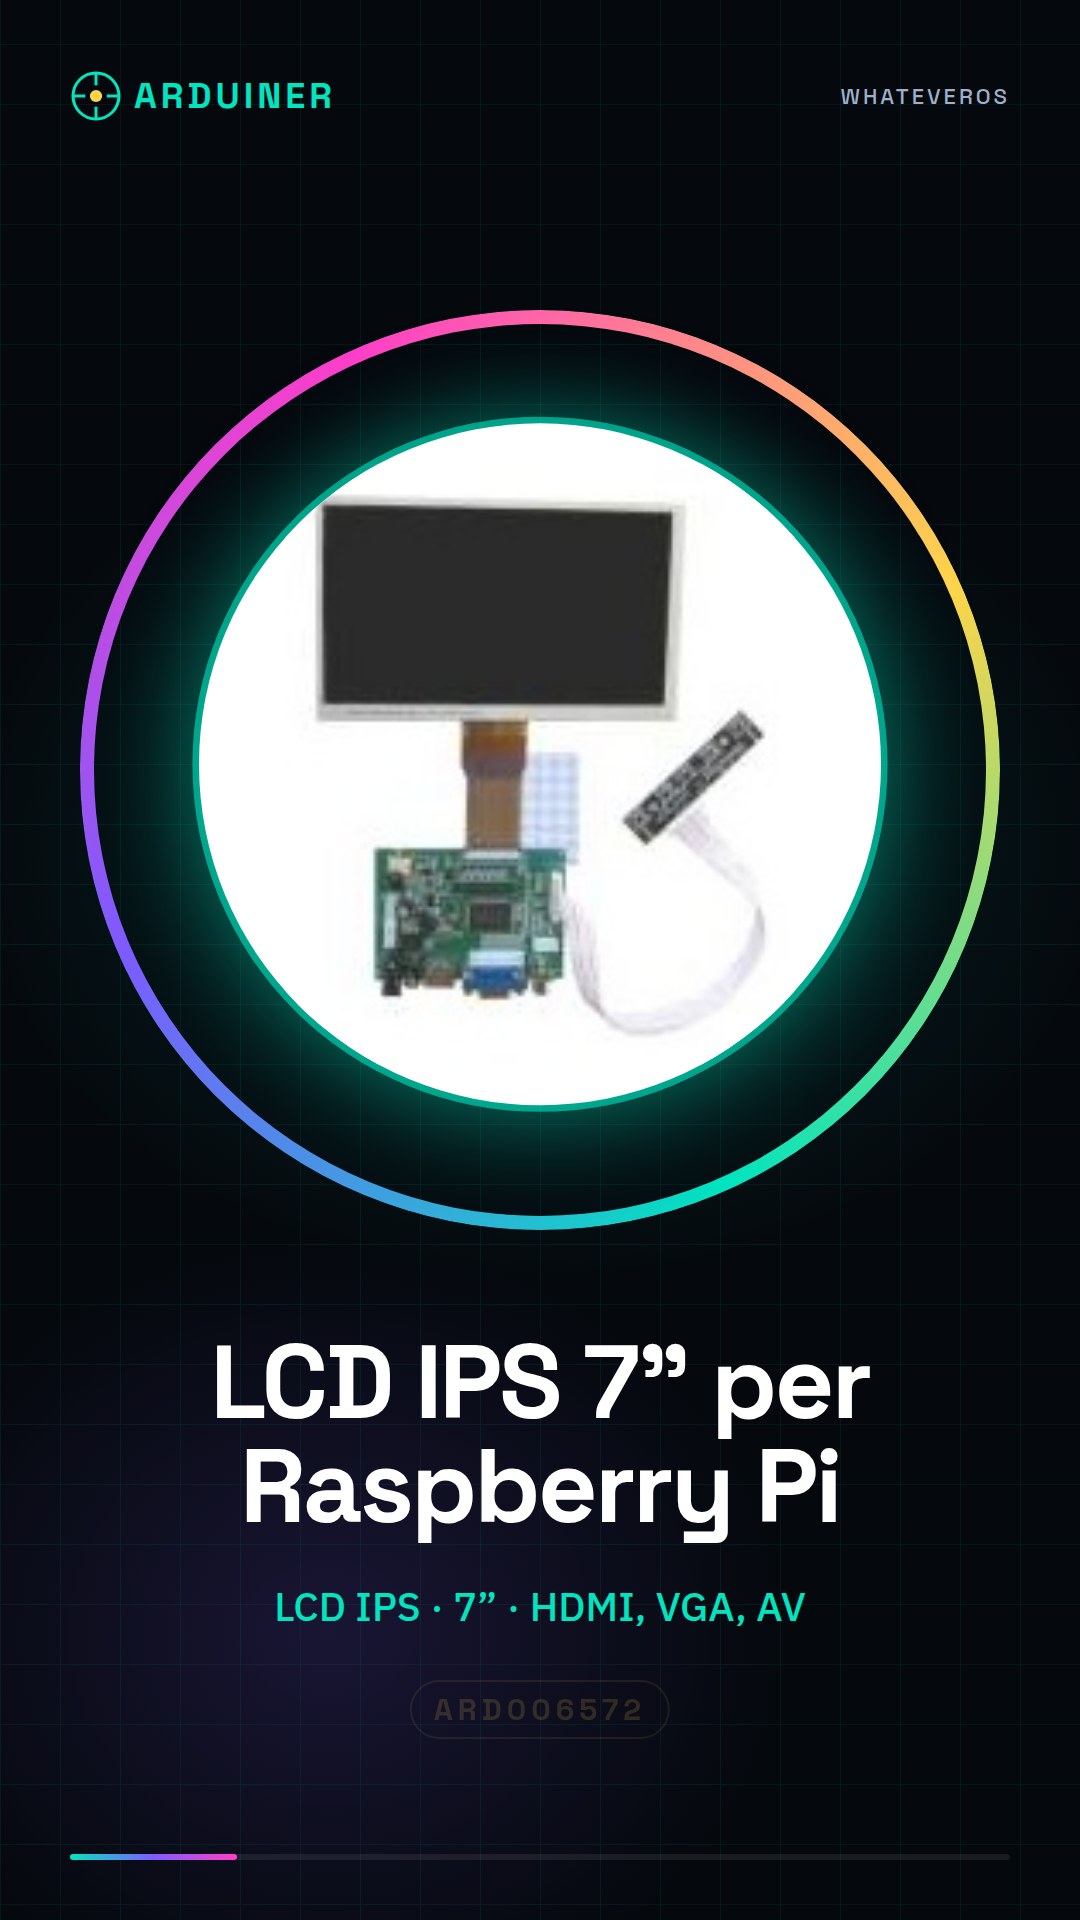
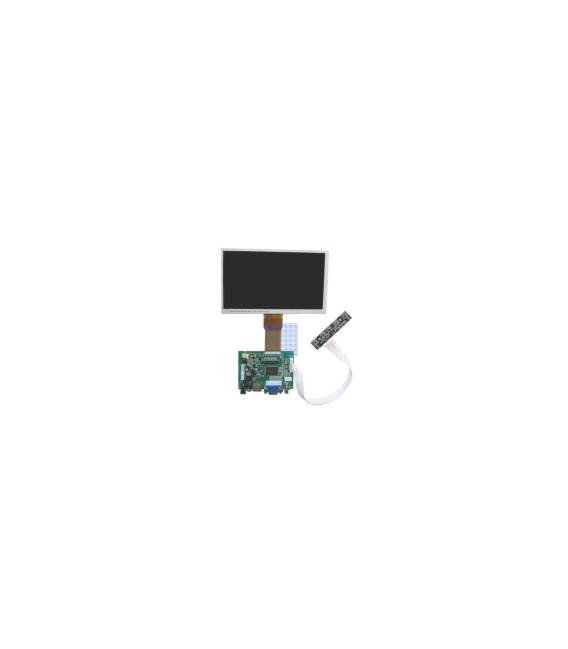
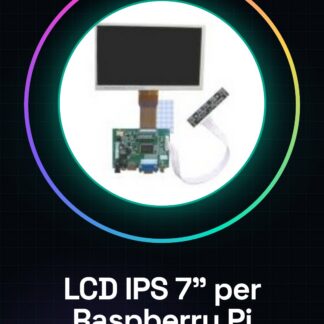
7-inch Raspberry Pi LCD IPS Display with HDMI VGA AV Screen Module is a high-contrast and high-resolution display, ideal for graphic and multimedia projects on Raspberry Pi.
Features
- Screen Type: LCD IPS
- Screen Size: 7 inches
- Compatibility: Raspberry Pi
- Supported Video Inputs: HDMI, VGA, AV
What it is for
This display can be used to create home monitoring systems displaying data such as ambient temperature, humidity, and light level. It is suitable for both developers who want to improve the graphical interfaces of their Raspberry Pi projects and makers building monitoring or user interface systems.
Tutorial: How to Use 7-inch Raspberry Pi LCD IPS Display with HDMI VGA AV
This 7-inch IPS LCD display is ideal for anyone who wants to add a larger and more visible screen to their Raspberry Pi project. It is perfect for developers who want an improved graphical interface, as well as makers creating monitoring systems or user interfaces.
What you need
- Raspberry Pi
- SD Card with Raspbian installed
- HDMI Adapter (if needed)
- AV Cable (if needed)
- VGA Cable (if needed)
Steps
- Connect the LCD display to the Raspberry Pi via the appropriate adapter (HDMI, AV, or VGA). Check the datasheet for connector compatibility.
- Access the Raspberry Pi shell and install any necessary drivers for the display. You can use the command ‘sudo apt-get update && sudo apt-get install rpi-update’.
- Verify that the operating system correctly recognizes the display by running ‘tvservice -s’ or ‘vcgencmd get_config disp’.
- Configure the graphical interface to adapt to the new display using ‘sudo raspi-config’, selecting ‘Interfaccia desktop e menu’ -> ‘Risoluzione schermo’.
- If necessary, install additional software such as ‘fbcp-ili9341’ or ‘framebuffer’ to optimize the display.
- Verify that all graphical programs are correctly configured for the new display.
- Test the user interface and graphical applications on the 7-inch LCD screen.
- In case of issues, check the module documentation or seek online support.
Mini project
Create a home monitoring system with Raspberry Pi and this display. Display data such as ambient temperature, humidity, and light level on a visible screen.
Common mistakes
- The display is not recognized by the Raspberry Pi: ensure that the connectors are properly connected and check the system configuration.
- The image resolution is low or distorted: check the resolution settings in the ‘raspi-config’ menu.
- The display turns off automatically after a few minutes: disable the screen timeout in ‘Preferences -> Screensaver’.
- Problems with color or gamma alignment: check the driver configuration and update if necessary.
Recommended accessories
- HDMI to microHDMI adapter for Raspberry Pi
- Universal AV cable
- Raspberry Pi protection kit
- Temperature and humidity sensors
Frequently asked questions
The display does not turn on.
Check the cable connections and system configuration. Ensure the display is properly powered.
How can I change the screen resolution?
Use ‘raspi-config’ to modify the resolution settings or add a line manually in /boot/config.txt.
The display shows a distorted image.
Check the display drivers and the resolution settings configuration.
Reviews
There are no reviews yet.