 EN
 IT Italiano
 ES Español
 FR Français
 DE Deutsch
Description
What it is
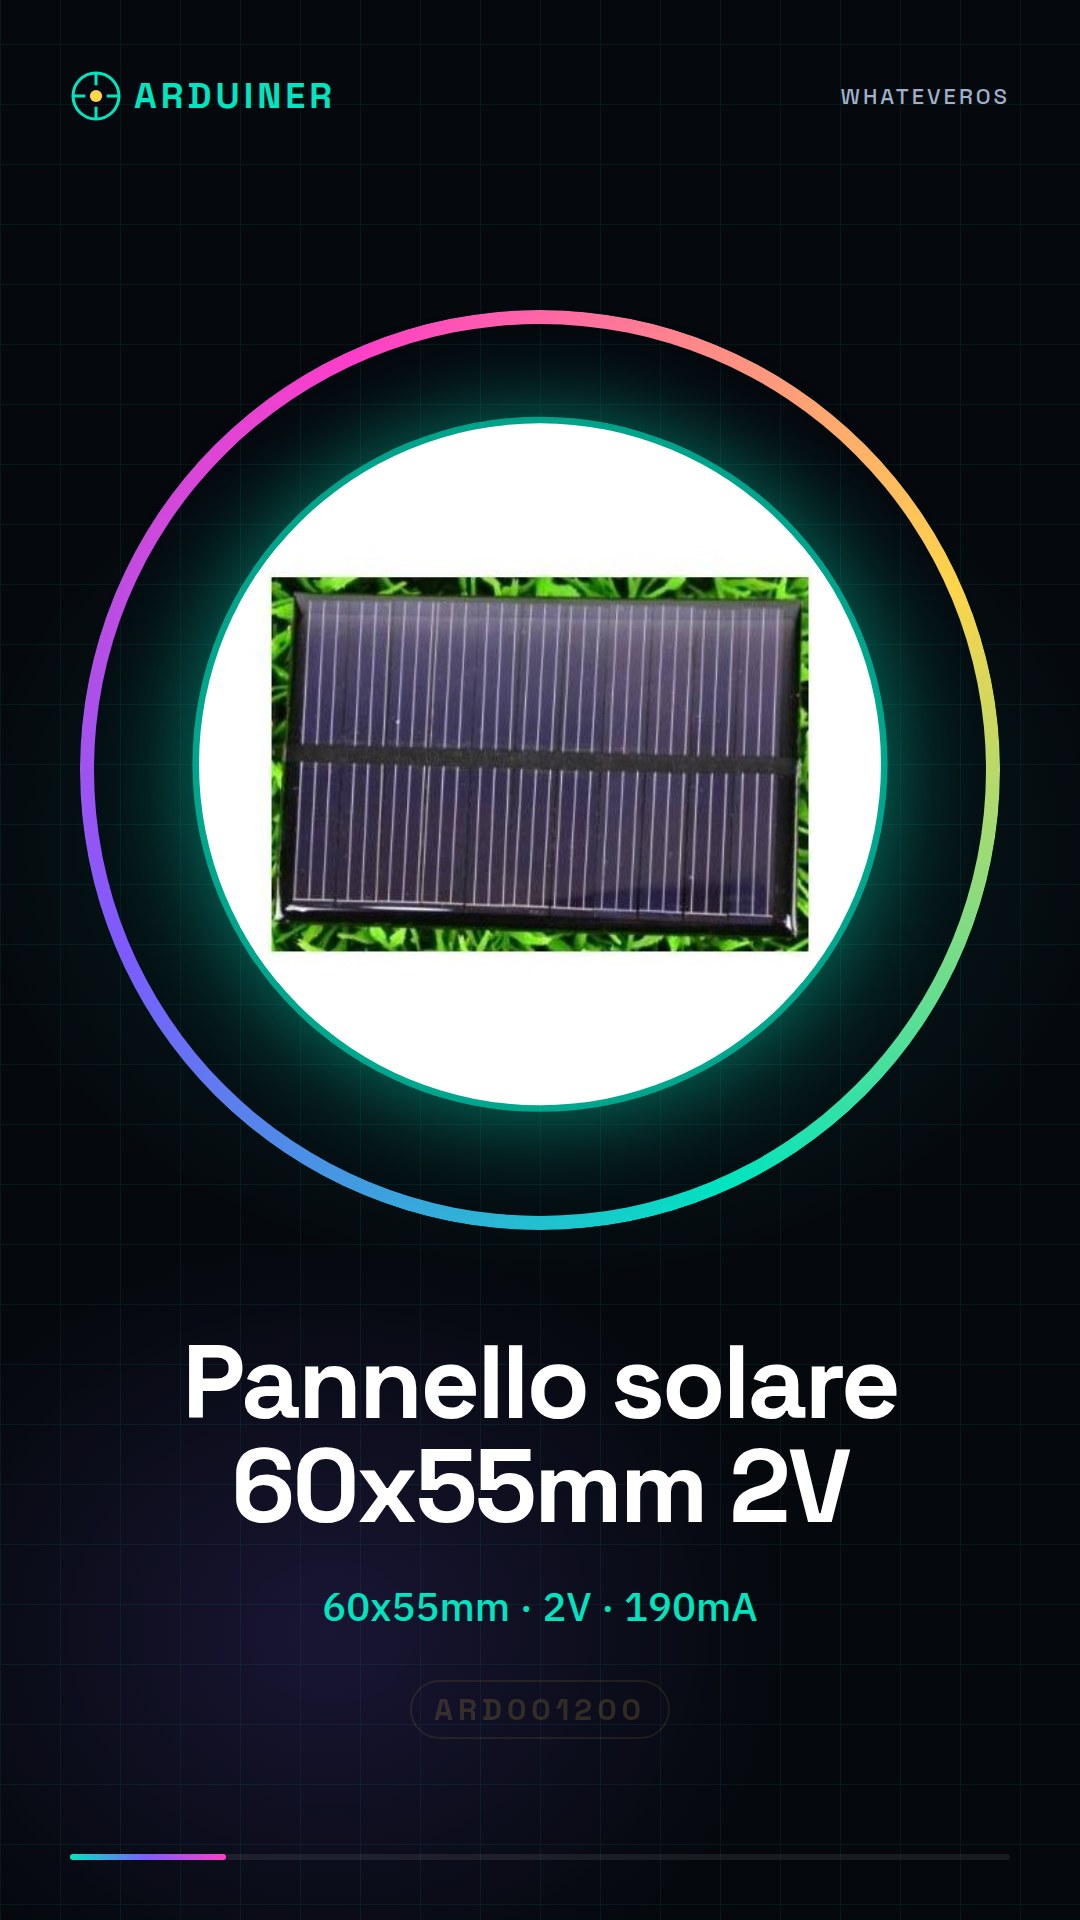
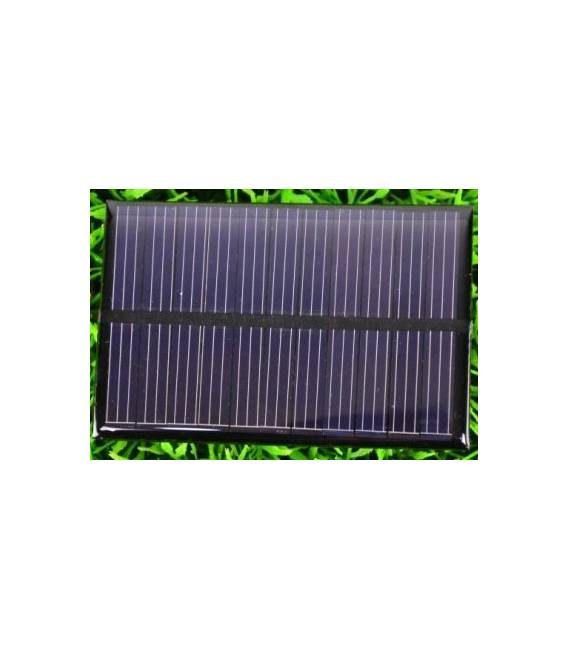
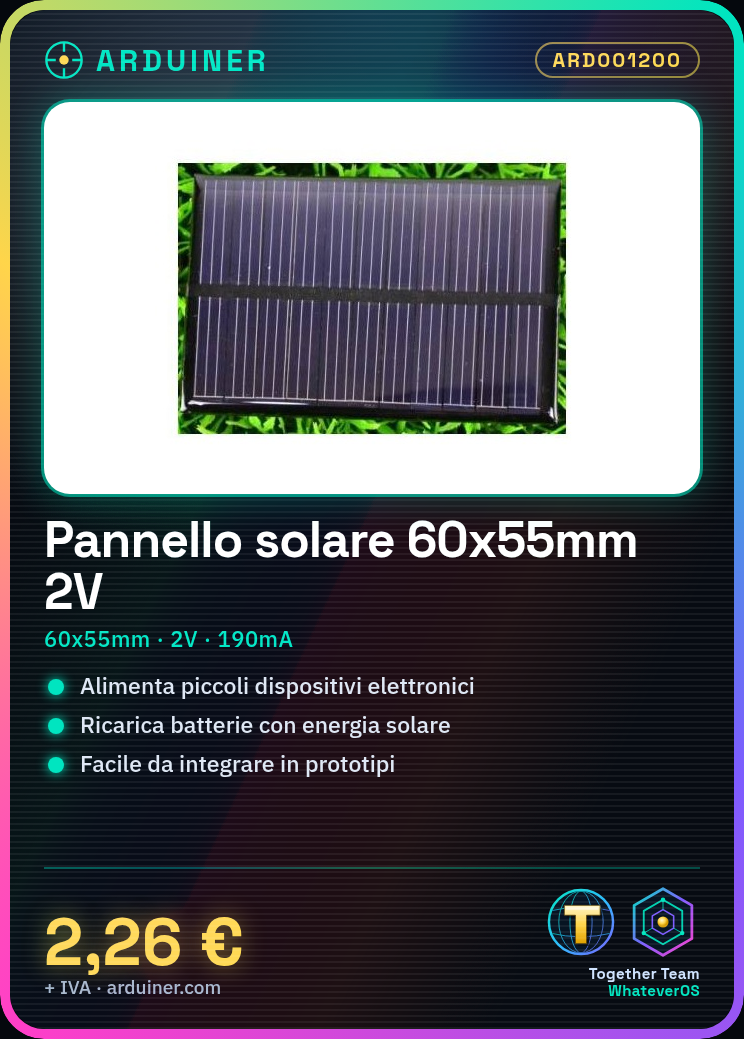
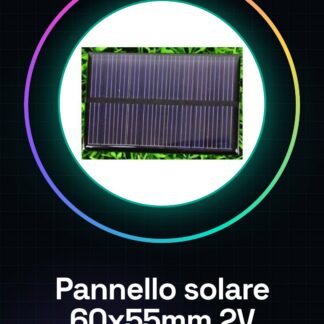
The ARD001200 solar panels are small solar energy devices used to power or recharge batteries and other electronic components. With compact dimensions, these solar panels offer a practical solution for DIY projects and prototypes.
Features
- Dimensions: 60 x 55 mm
- Maximum Voltage: 2V
- Maximum Current: 190mA
- Maximum Power: 0.38 W
What it is for
The ARD001200 solar panels are ideal for powering small electronic devices or charging batteries in Arduino projects. They are suitable for alternative energy applications, prototypes, and autonomous charging systems.
Tutorial: How to Use 2V Solar Panel
The ARD001200 solar panel is perfect for powering small electronic devices or charging batteries. It is ideal for DIY projects, prototypes, and alternative energy applications.
What you need
- Arduino Uno
- 3.7V Battery
- JST Cable
Steps
- Connect the solar panel to the JST cable.
- Connect the opposite end of the JST cable to the 3.7V battery or to a device that requires power.
- If necessary, use resistors to regulate the current output from the solar panel (check the datasheet).
- Place the solar panel in a well-lit position.
- Verify with a multimeter that the voltage is in accordance with the product specifications.
- If you intend to use the panel to charge a battery, ensure you have an overcharge protection circuit (check the datasheet).
- Upload the Arduino sketch to monitor the voltage and current produced by the solar panel.
- Test the project under different lighting conditions.
Example code
// Es. di codice Arduino
void setup() {
  Serial.begin(9600);
}

void loop() {
  int volt = analogRead(A0); // lettura tensione dal pannello solare
  float v = (volt * 5.0) / 1024.0;
  Serial.println(v);
}
Mini project
Build an autonomous battery charging system for Arduino using the solar panel and a small battery.
Common mistakes
- Connect the battery directly without overcharge protection.
- Do not use resistors to correctly regulate the current coming out of the solar panel.
- Position the solar panel in a shaded area.
- Ignore the specifications in the datasheet during installation.
Recommended accessories
- JST Cable
- 3.7V Battery
- Variable resistors
- Digital multimeter
Frequently asked questions
Can the ARD001200 solar panel power a Raspberry Pi?
It is possible, but make sure you have an appropriate voltage converter.
What batteries can I charge with the solar panel?
LiPo or NiMH batteries suitable for the panel voltage (check the datasheet).
Reviews
There are no reviews yet.