 EN
 IT Italiano
 ES Español
 FR Français
 DE Deutsch
Description
What it is
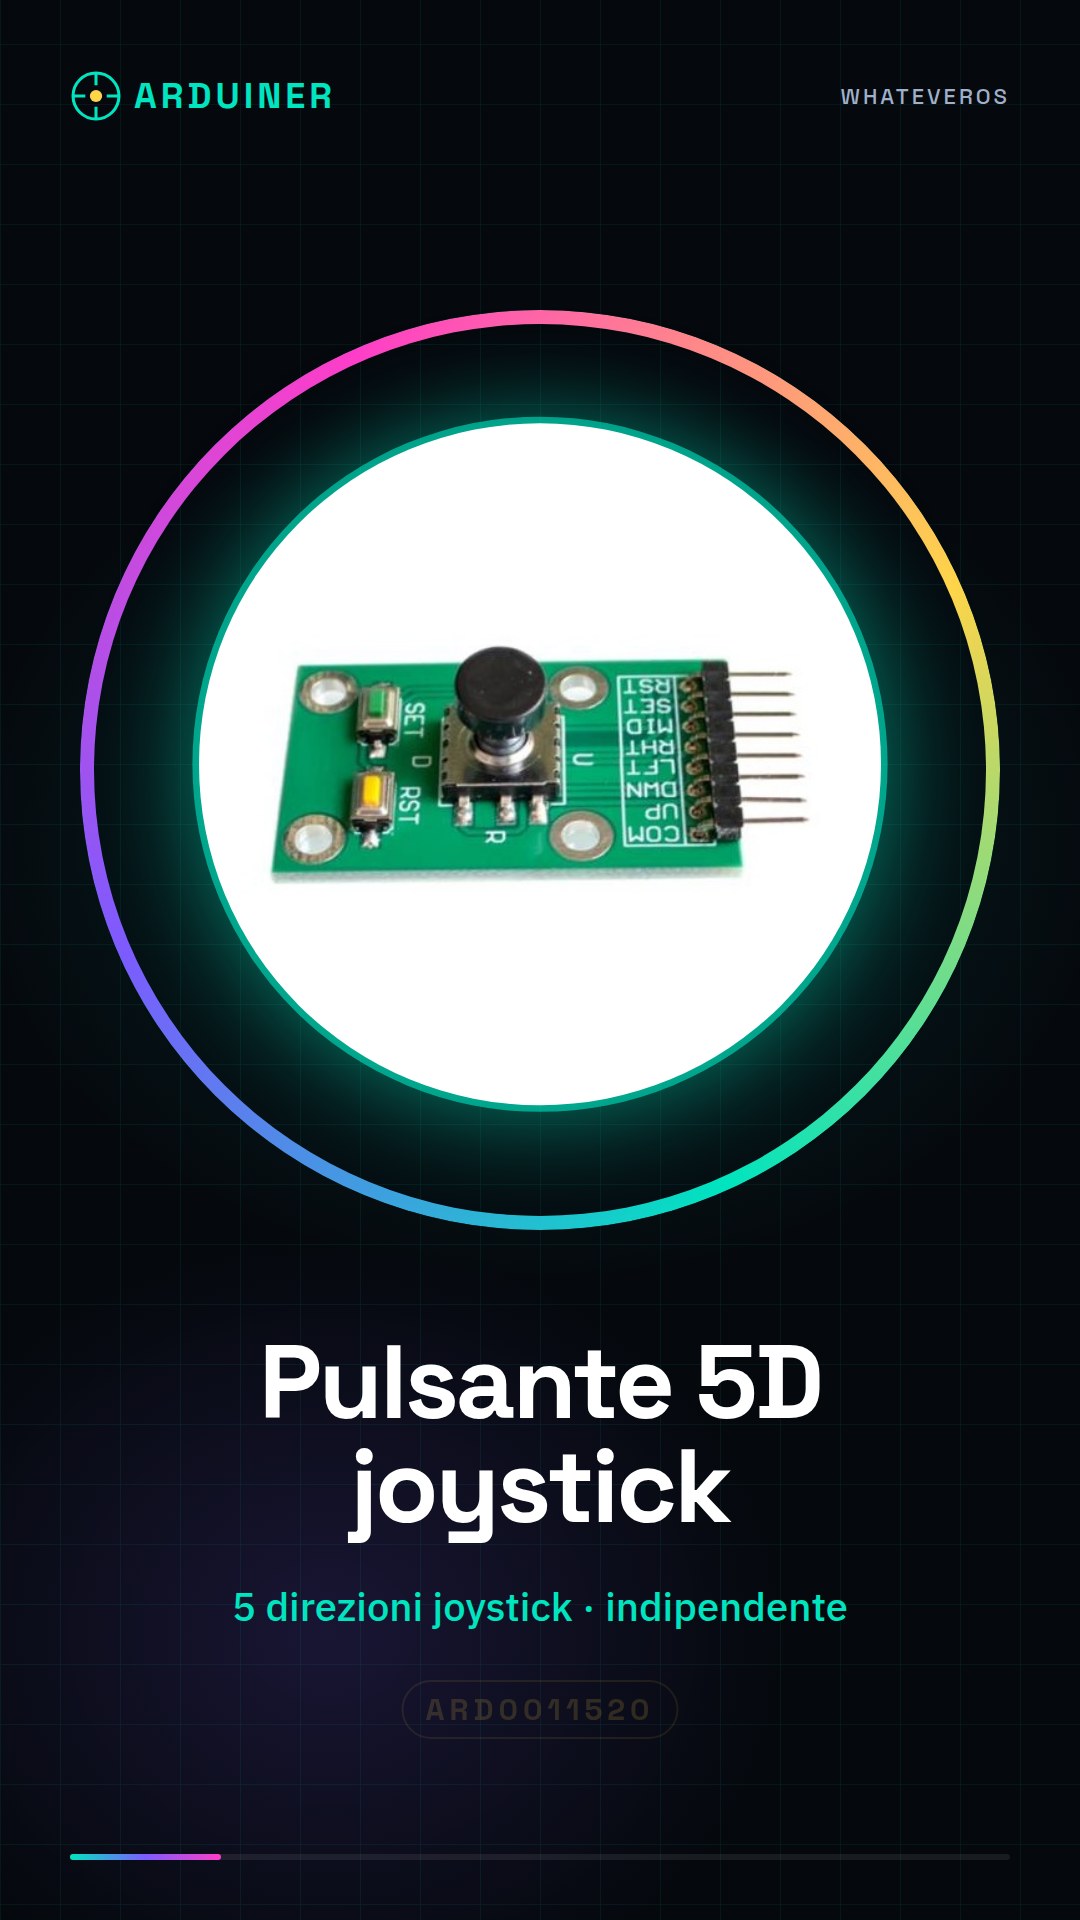
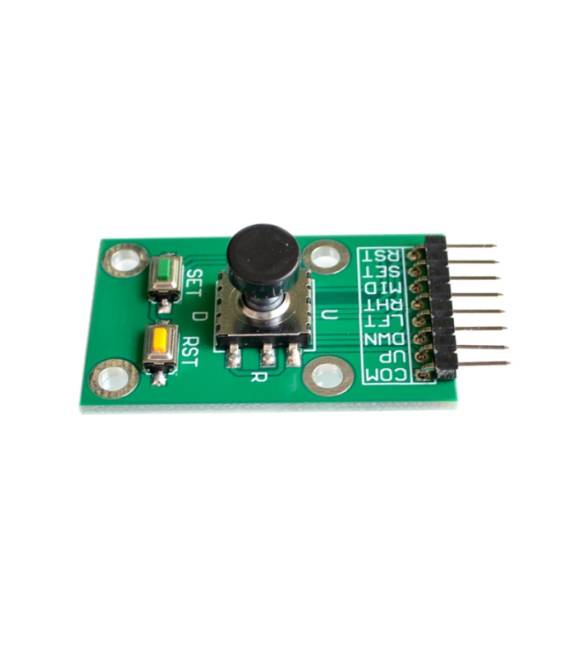
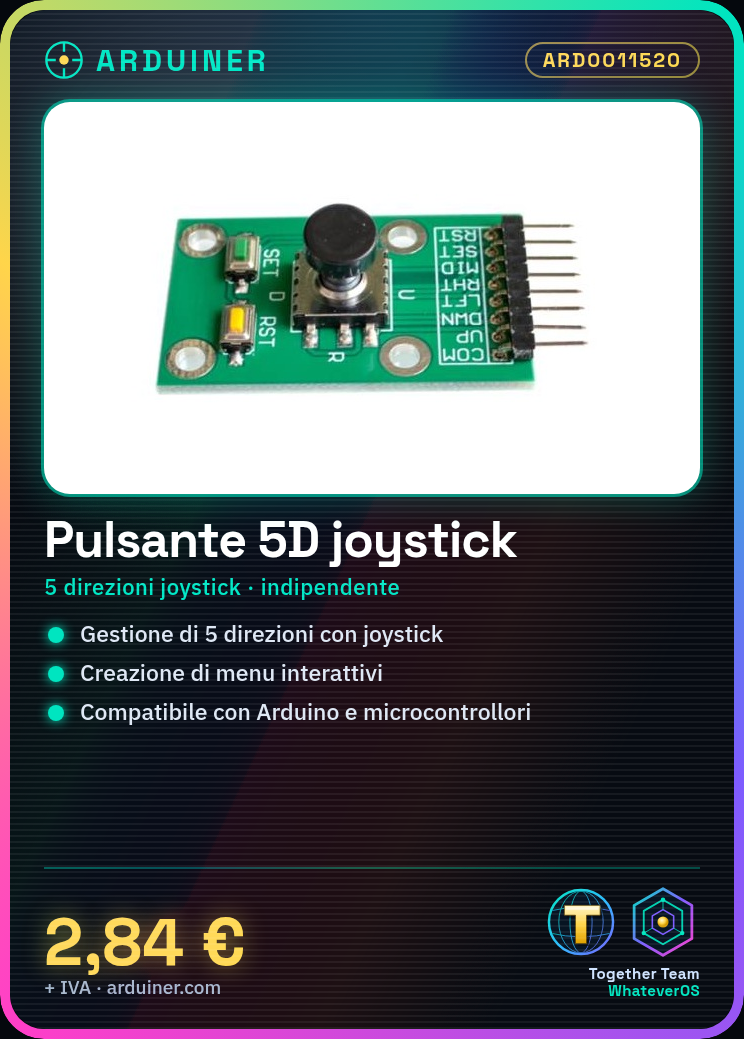
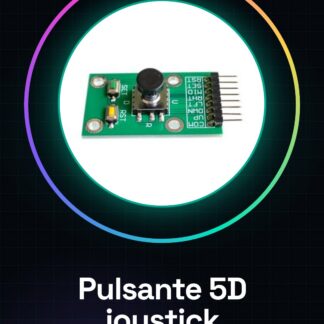
The Five-way navigation button module 5D joystick switch independent keyboard is an electronic component designed to provide easy interactivity for projects. This module allows for managing up to five directions of movement (up, down, left, right, center) through an integrated joystick.
Features
- Five-way navigation button with independent joystick
- Ideally suited for Arduino and other microcontroller projects
What it is for
This module is useful for creating interactive menus, welcome screens that change pages by pressing up or down, and selecting options by pressing center. Check the datasheet for additional technical specifications.
Tutorial: How to use the Five-way Navigation Button
The five-way navigation button is a useful component for projects requiring easy interactivity. Ideal for menus and controls, this 5D joystick module works well with both Arduino and other microcontrollers.
What you need
- Arduino or other microcontroller
- connection cable
- power supply
Steps
- Connect the button pins to the digital pins of the Arduino.
- Check the power supply voltage on the datasheet and ensure it is compatible with your project.
- Write a sketch to read the state of the joystick contacts.
- Test each direction (up, down, left, right) separately to identify the correct values.
- Check the central press and add logic to handle it.
- Test all functions together to ensure everything works as expected.
- Adjust the code as necessary based on the results of the tests.
- Insert the button into your final project.
Example code
const int upPin = 2;
const int downPin = 3;
const int leftPin = 4;
const int rightPin = 5;
const int centerPin = 6;

void setup() {
pinMode(upPin, INPUT);
pinMode(downPin, INPUT);
pinMode(leftPin, INPUT);
pinMode(rightPin, INPUT);
pinMode(centerPin, INPUT);
}

void loop() {
if (digitalRead(upPin) == HIGH) Serial.println("Up");
if (digitalRead(downPin) == HIGH) Serial.println("Down");
if (digitalRead(leftPin) == HIGH) Serial.println("Left");
if (digitalRead(rightPin) == HIGH) Serial.println("Right");
if (digitalRead(centerPin) == HIGH) Serial.println("Center");
}
Mini project
Create an interactive menu with the 5D button. Try to create a welcome screen that changes pages when you press up or down, and select options by pressing in the center.
Common mistakes
- The joystick does not respond correctly.
- Incompatible power supply with the module.
- Incorrectly connected pins.
- Incorrect reading of the contact state.
Recommended accessories
- Arduino Uno
- USB cable for Arduino
- Prototype board
- Pull-up resistors
Frequently asked questions
How can I verify if the button is connected correctly?
Check the input pins and make sure they are correctly connected to the Arduino pins. Try to read the contact state one by one.
What additional components might be needed for this module?
You can use pull-up resistors if the datasheet recommends it, and a prototype board can facilitate temporary connections.
Reviews
There are no reviews yet.