 EN
 IT Italiano
 ES Español
 FR Français
 DE Deutsch
Description
Technical Description
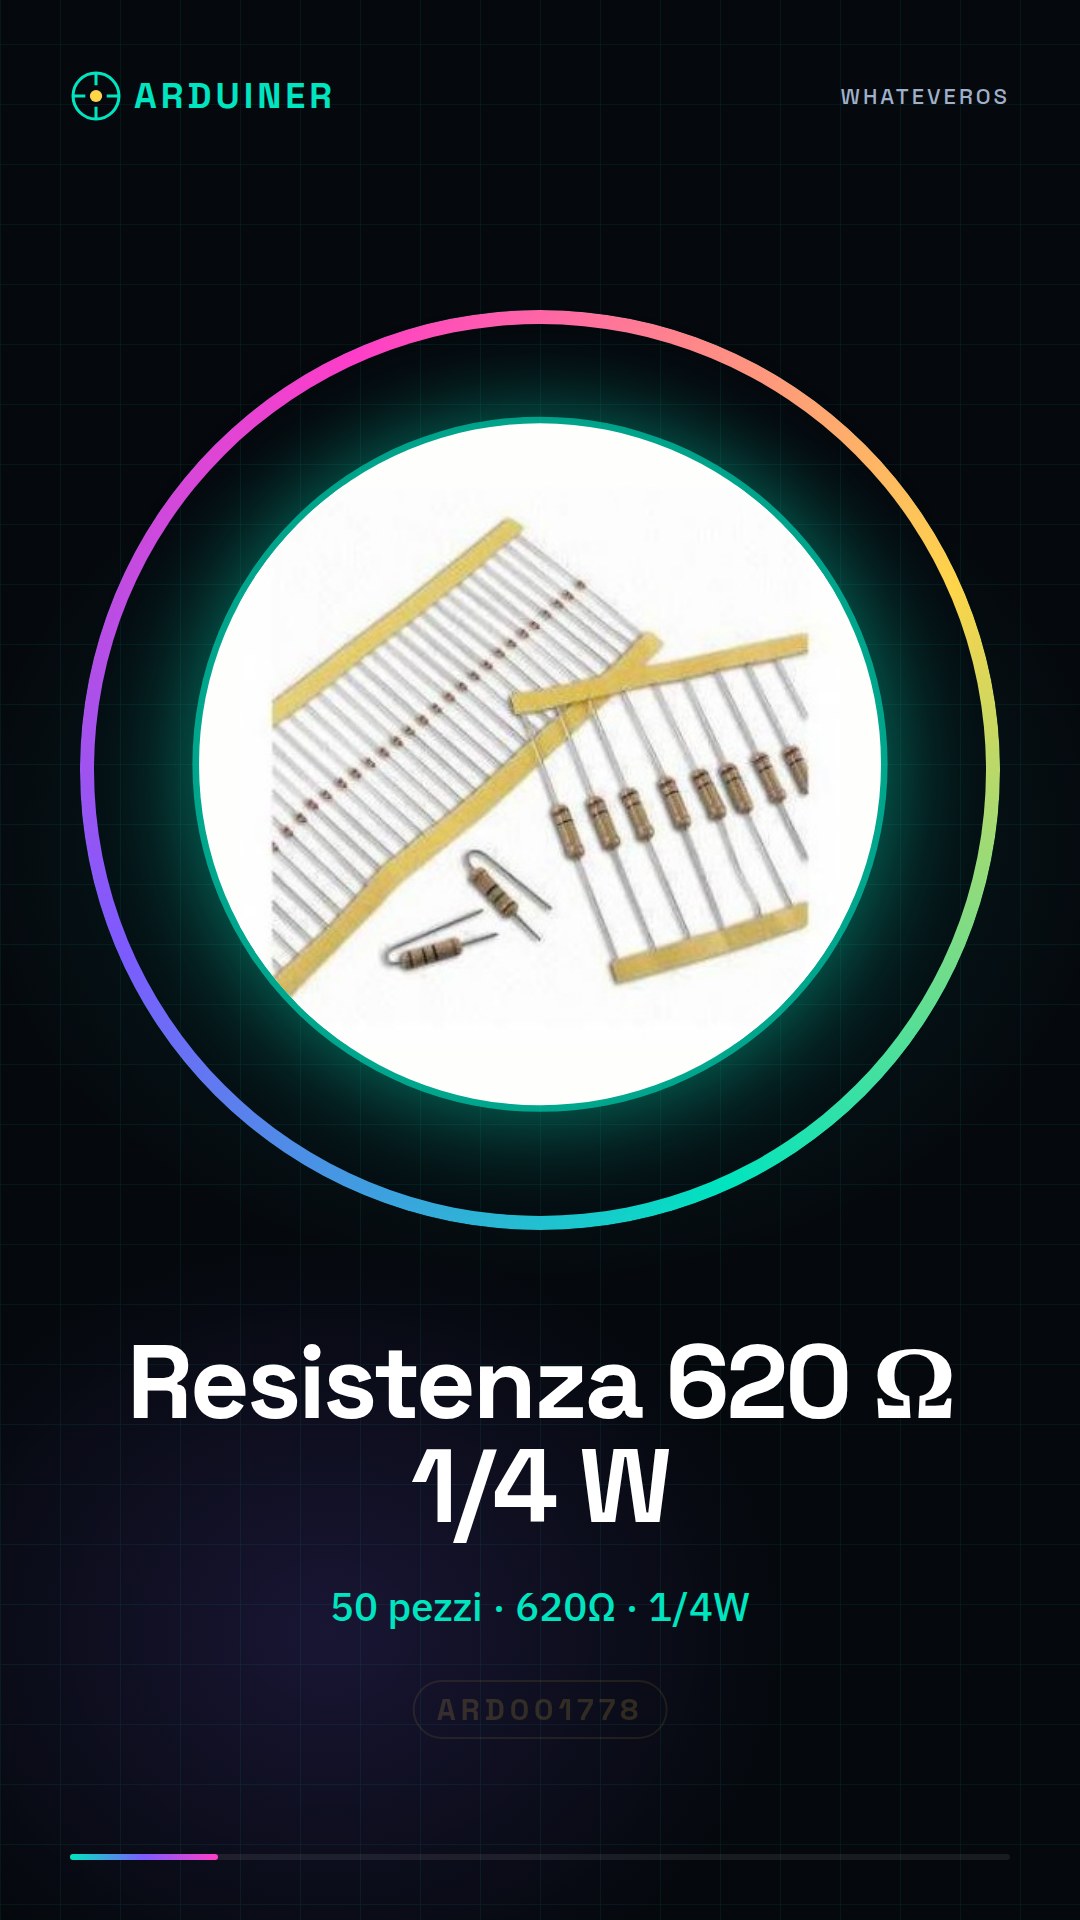
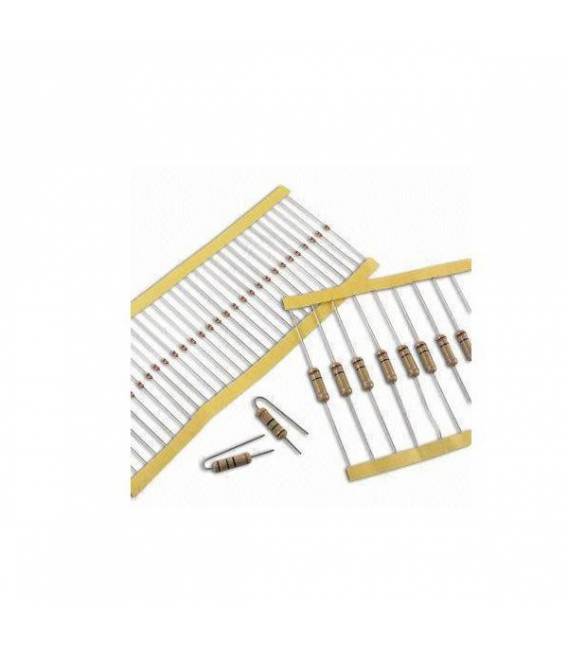
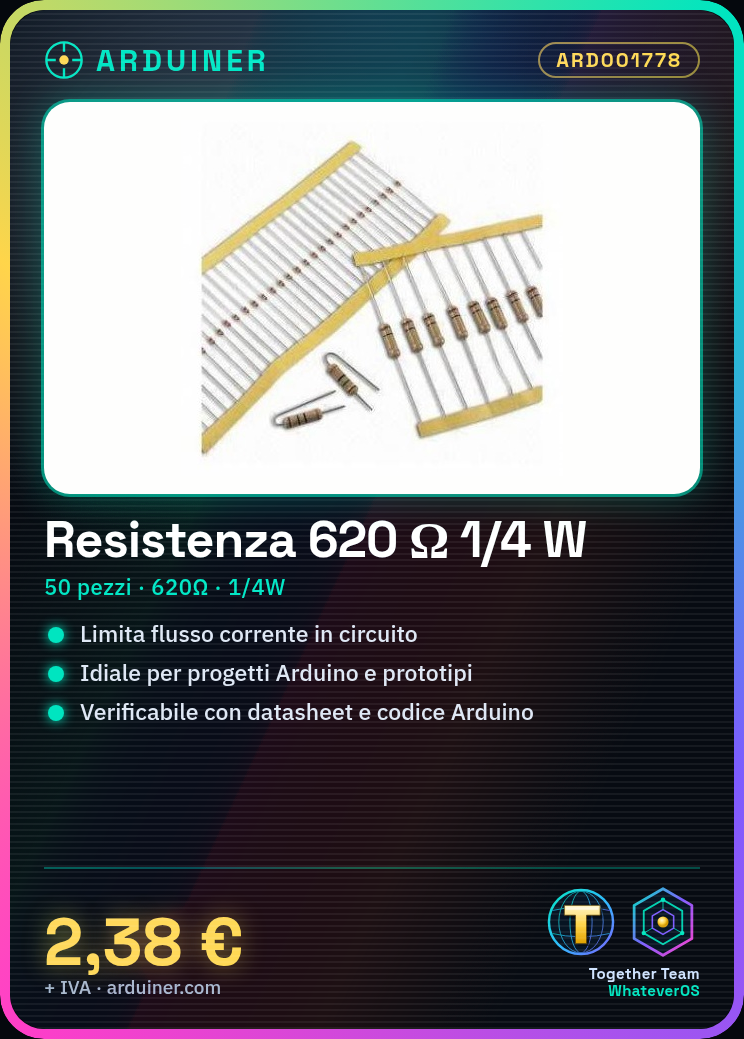
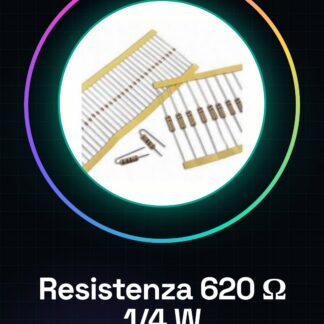
The 620 ohm resistor with a 5% tolerance is a fundamental component for limiting current flow in electronic circuits. This type of resistor is used in Arduino projects and prototypes to control current and voltage. The resistor has a maximum power rating of 1/4 watt, ensuring safe use in low-consumption applications.
The resistor can be used in various scenarios, such as the creation of light sensors or limiting current flow through other components like photoresistors or LEDs. Its application requires proper identification of the resistive value through band colors and correct connection to the circuit.
For proper installation and use, it is recommended to check the component datasheet and follow the specific connection instructions for the project in which the resistor is intended to be used.
Key Specifications
| Parameter | Value |
| Model | Resistor 620 ohm 1/4w 5% |
| Quantity | 50 pieces |
| Resistor | 620 ohm |
| Tolerance | 5% |
| Power | 1/4 watt |
| Dimensions | N/D (see manufacturer’s technical sheet) |
| Container | N/D (see manufacturer’s technical sheet) |
Installation and Use
- Identify the color bands on the resistor to verify the resistive value (620 ohm).
- Verify the resistive value on the datasheet.
- Connect one end of the resistor to an output pin of the Arduino and the other end to ground.
- Write an Arduino sketch to control the current flow through the resistor.
- Ensure everything works correctly using the serial monitor to display voltage and current values.
Compatibility and Requirements
- The resistor is compatible with Arduino Uno and other microcontroller-based systems.
- For use with Arduino, a connector or clip is required.
- The resistor can be used in prototyping and testing projects.
- For use in home automation projects, it is recommended to use the resistor in combination with other components such as photoresistors and LEDs.
Limits and Important Notes
- The resistor cannot handle electrical voltages above its tolerance (1/4W).
- Using imprecise values of the resistor can cause incorrect sensor readings.
- The resistor is not designed for high-power applications.
- It is important to verify the resistive value before using the resistor in the circuit.
Troubleshooting
Imprecise values read from the sensor.
Probable cause: Incorrect resistor value.
Solution: Verify the resistive value and recalibrate the circuit.
Incorrect resistor connection.
Probable cause: Color band identification error.
Solution: Verify the resistive value on the datasheet and recalibrate the connection.
Incorrect voltage values.
Probable cause: Arduino sketch configuration error.
Solution: Verify and correct the Arduino sketch.
Excessive heat during use.
Probable cause: Using an electrical voltage higher than the resistor’s tolerance.
Solution: Check the electrical voltage and reduce the power if necessary.
Use cases
Light sensor for home
Objective: Create a simple light sensor.
What’s needed: 620 ohm resistor, photoresistor, Arduino Uno.
Steps: 1) Connect the resistor between the photoresistor and the Arduino input pin. 2) Write a sketch to measure the brightness. 3) Verify that the sensor works correctly.
Expected result: The light sensor correctly measures the brightness.
Limit the current flow for an LED
Objective: Limit the current flow to protect an LED.
What’s needed: 620 ohm resistor, LED, Arduino Uno.
Steps: 1) Connect the resistor between the output pin of the Arduino and the LED. 2) Write a sketch to turn the LED on and off. 3) Verify that the LED works correctly.
Expected result: The LED is protected and works correctly.
Temperature Sensor for a Hobby
Objective: Create a temperature sensor.
What you need: 620 ohm resistor, thermistor, Arduino Uno.
Steps: 1) Connect the resistor between the thermistor and the input pin of the Arduino. 2) Write a sketch to measure the temperature. 3) Verify that the sensor works correctly.
Expected result: The temperature sensor measures the temperature correctly.
Motion Sensor for School
Objective: Create a motion sensor.
What you need: 620 ohm resistor, photoresistor, Arduino Uno.
Steps: 1) Connect the resistor between the photoresistor and the Arduino input pin. 2) Write a sketch to detect motion. 3) Verify that the sensor works correctly.
Expected result: The motion sensor correctly detects motion.
Distance sensor for the lab
Objective: Create a distance sensor.
What you need: 620 ohm resistor, distance sensors, Arduino Uno.
Steps: 1) Connect the resistor between the distance sensor and the Arduino input pin. 2) Write a sketch to measure distance. 3) Verify that the sensor works correctly.
Expected result: The distance sensor correctly measures distance.
Light sensor for the garage
Objective: Create a light sensor for the garage.
What you need: 620 ohm resistor, photoresistor, Arduino Uno.
Steps: 1) Connect the resistor between the photoresistor and the Arduino input pin. 2) Write a sketch to turn on the lights when it’s dark. 3) Verify that the sensor works correctly.
Expected result: The light sensor turns on the lights when it’s dark.
Temperature sensor for maintenance
Objective: Create a temperature sensor for maintenance.
What’s needed: 620 ohm resistor, thermistor, Arduino Uno.
Steps: 1) Connect the resistor between the thermistor and the Arduino input pin. 2) Write a sketch to measure the temperature. 3) Verify that the sensor works correctly.
Expected result: The temperature sensor measures the temperature correctly.
Motion sensor for security
Objective: Create a motion sensor for security.
What’s needed: 620 ohm resistor, photoresistor, Arduino Uno.
Steps: 1) Connect the resistor between the photoresistor and the Arduino input pin. 2) Write a sketch to detect motion. 3) Verify that the sensor works correctly.
Expected result: The motion sensor correctly detects movement.
In the package
- 50 pieces
Complete the project
- 50 Pieces Resistor 1000 ohm 1k ohm 1/4w 1/4 w 5%: To create prototyping and testing projects with resistors of different values.
- 50 Pieces Resistor, 10000 ohm, 10k, ohm 1/4w 1/4 w 5%, Arduino compatible resistors: To create home automation projects with resistors of different values.
- 50 Pieces Resistor 100 ohm 1/4w 5%: To create hobby projects with resistors of different values.
- 50 Pieces Resistor 220 ohm 1/4w 1/4 w 5%: To create laboratory projects with resistors of different values.
- 50 Pieces Resistor 4.7K ohm 4700 ohm 1/4w 1/4 w 5%: To create maintenance projects with resistors of different values.
Technical FAQs
What is the maximum power that this resistor can handle?
Check the datasheet. Usually, a 1/4W resistor can handle up to 0.25 watts of power.
How can I verify the resistive value of the resistor?
Identify the color bands on the resistor and verify the resistive value on the datasheet.
What are the steps to connect the resistor to a circuit?
Identify the color bands, verify the resistive value, connect one end of the resistor to an output pin of the Arduino and the other end to ground.
What are the steps to verify that everything is working correctly?
Write an Arduino sketch to control the current flow through the resistor, verify that everything is working correctly using the serial monitor.
Tutorial: How to Use 620 Ohm Resistor
Resistors are fundamental components for limiting the flow of current in an electronic circuit. This 620 ohm resistor is ideal for Arduino projects, prototypes, and small applications.
What you need
- Arduino Uno
- Connectors
- Pens or Pliers
Steps
- Identify the color bands on the resistor to verify its resistance (620 ohm). Check the datasheet.
- Connect one end of the resistor to an output pin of the Arduino and the other end to ground.
- Write an Arduino sketch to control the flow of current through the resistor.
- Verify that everything works correctly using the serial monitor to display the voltage and current values.
Example code
void setup() {
  Serial.begin(9600);
}

void loop() {
  int sensorValue = analogRead(A0);
  float voltage = sensorValue * (5.0 / 1023.0);
  Serial.println(voltage);
}
Mini project
Create a simple light sensor that uses the resistor to limit the flow of current through a photoresistor.
Common mistakes
- Incorrect resistor connection.
- Imprecise readings from the sensor due to incorrect resistance value.
- Using an electrical voltage higher than the resistance tolerance (1/4W).
Recommended accessories
- Photoresistor
- LED
- 9V battery with connector
Frequently asked questions
What is the maximum power this resistance can handle?
Check the datasheet. Usually, a 1/4W resistance can handle up to 0.25 watts of power.
How can I verify the resistance value?
Use a multimeter or connect the resistance to Arduino and measure the resistance with a sketch similar to the provided example.
Reviews
There are no reviews yet.