 EN
 IT Italiano
 ES Español
 FR Français
 DE Deutsch
Description
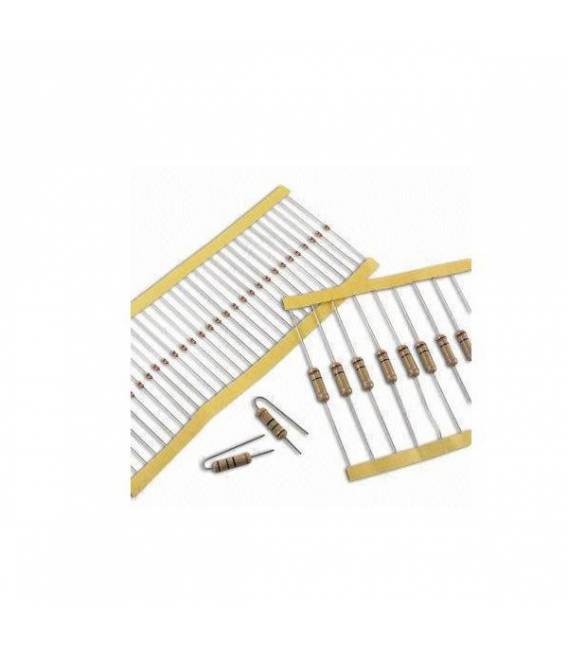
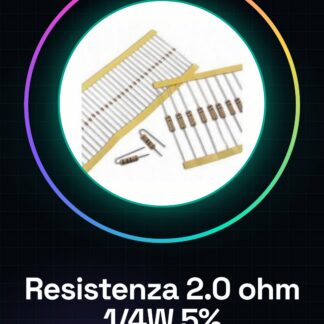
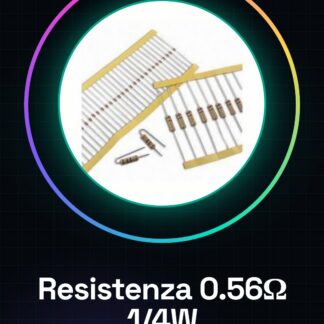
50PCS Resistor 0.56 1/4w 1/4 w 5%
Tutorial: How to use Resistor 0.56 ohm
The resistor is a fundamental component to regulate the flow of current in an electronic circuit. This tutorial will guide you on the selection and use of the 0.56 ohm resistor, ideal for Arduino projects and quick prototypes.
What you need
- Arduino uno or compatible
- jumper wire
- circuit printer (optional)
- multimeter
Steps
- Check the specifications of the resistor on the datasheet.
- Connect the resistor between an output pin of the Arduino and an LED to limit the flow of current.
- Use a multimeter in resistance mode to measure the real impedance of the component.
- If necessary, model the circuit on the circuit printer or on a breadboard.
- Insert the resistor into your project and test it with Arduino IDE.
Mini project
Create an Arduino-controlled LED lamp using this resistor to limit current.
Common mistakes
- Do not verify the actual resistance value.
- Incorrect connection between the resistor and the component (e.g., LED).
- Using a resistor with insufficient power rating that may overheat.
- Omitting necessary protections to prevent circuit damage.
Recommended accessories
- Arduino uno or compatible – SKU: ARD001865
- Jumper wire – SKU: ARD001923
- Circuit printer – SKU: ARD001947
- Digital multimeter – SKU: ARD001962
Frequently asked questions
How can I check the power rating of the resistor?
Use a multimeter in resistance mode to measure the actual resistance and check the datasheet.
What are the risks of using a resistor with too low resistance?
It can cause circuit damage or overheating of the resistor.
Reviews
There are no reviews yet.