 EN
 IT Italiano
 ES Español
 FR Français
 DE Deutsch
Description
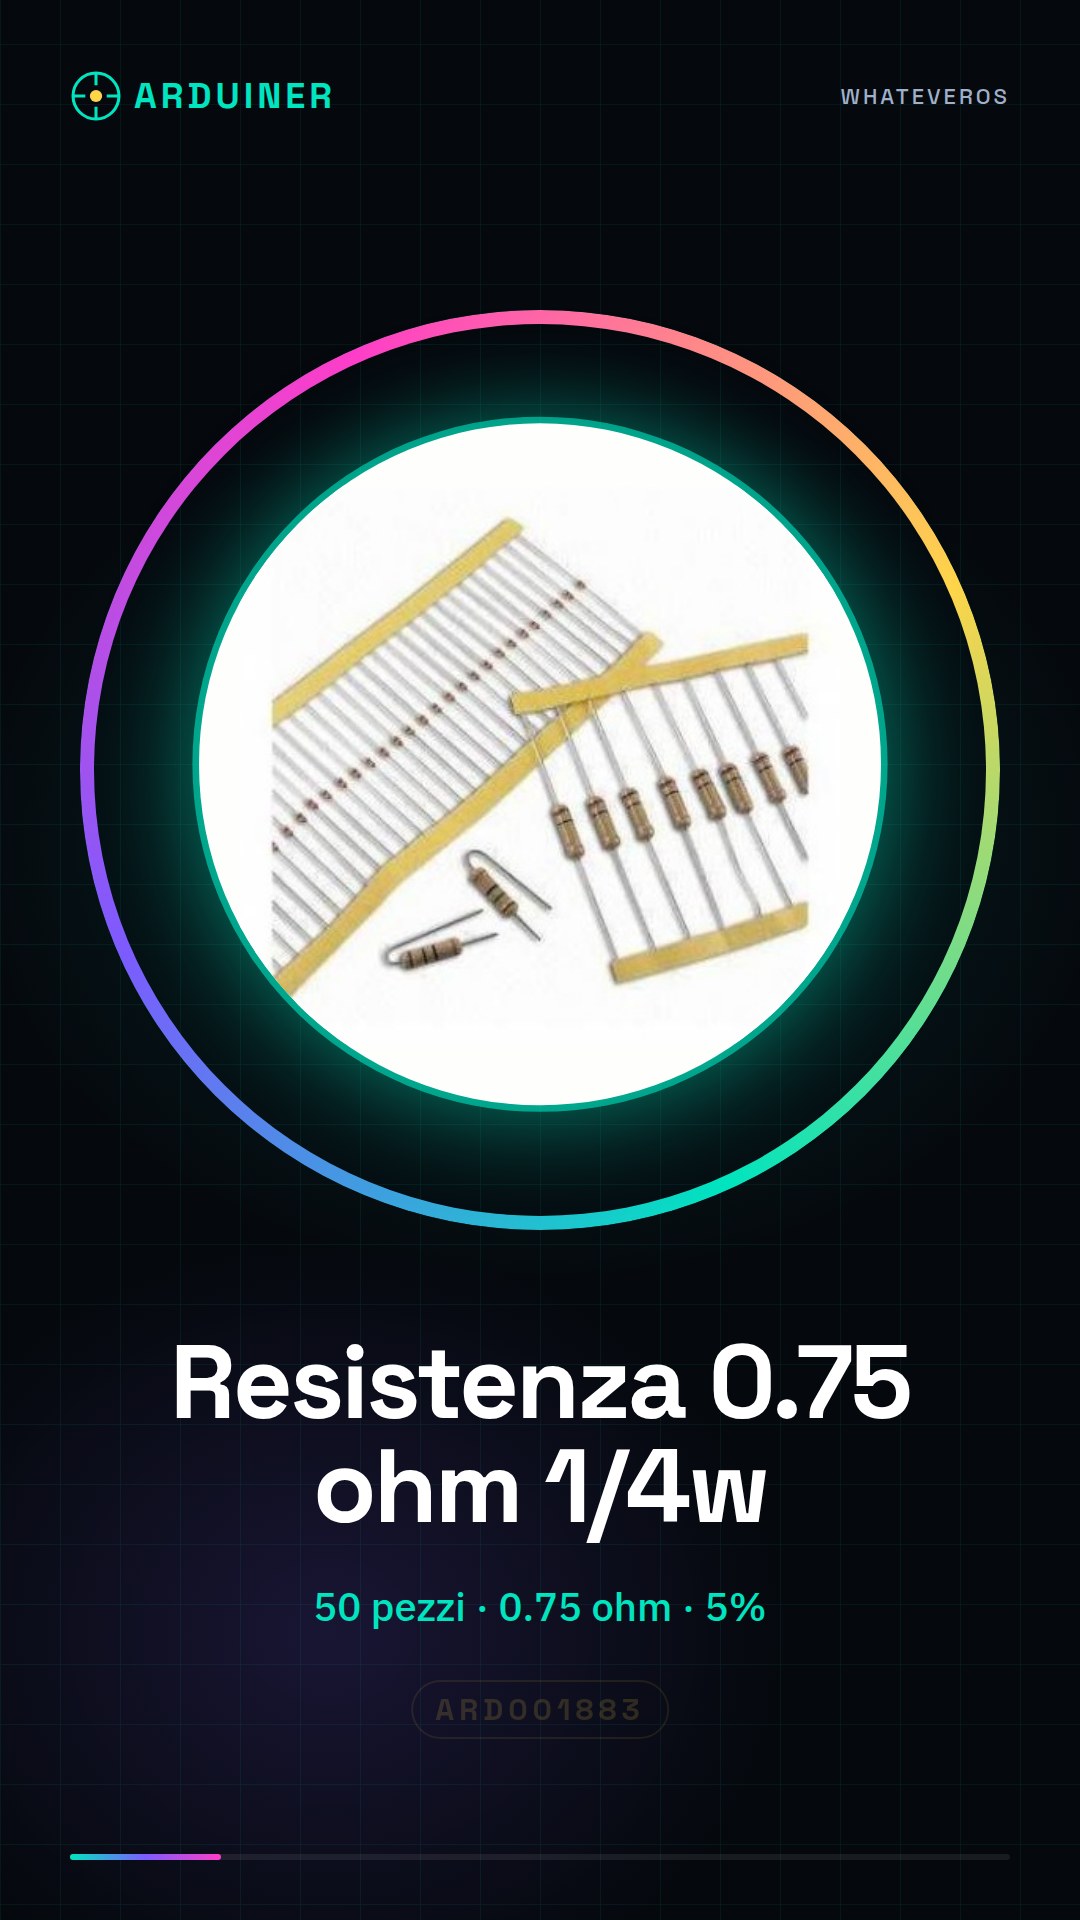
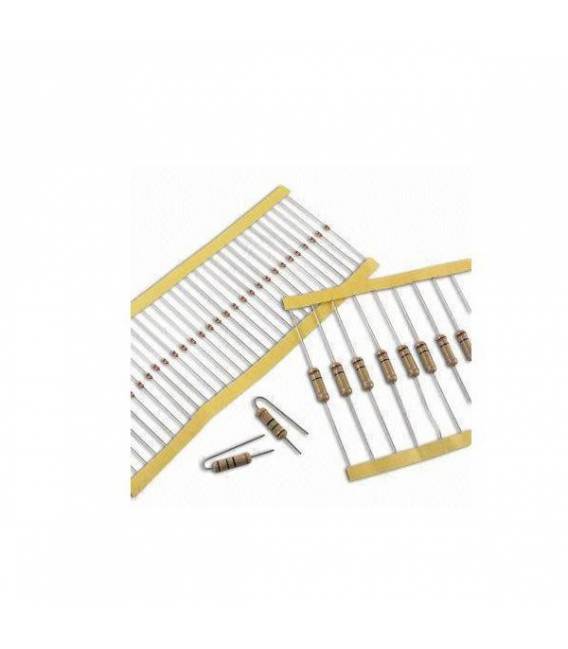
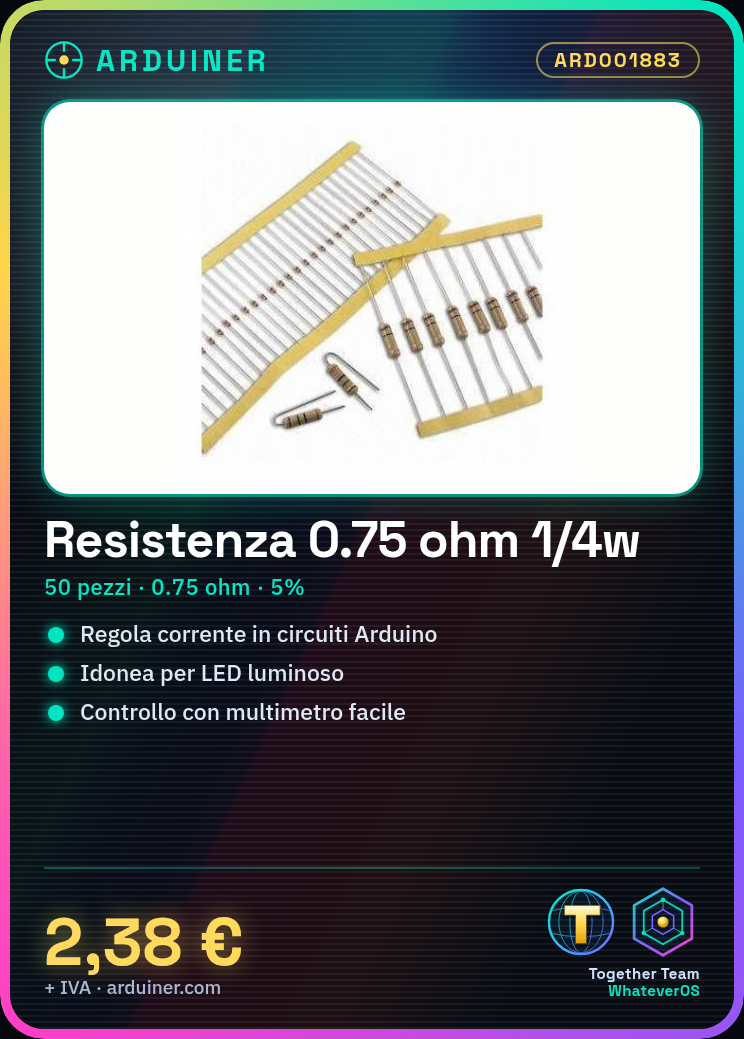
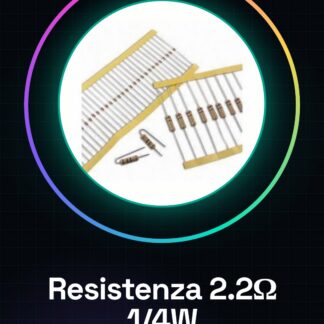
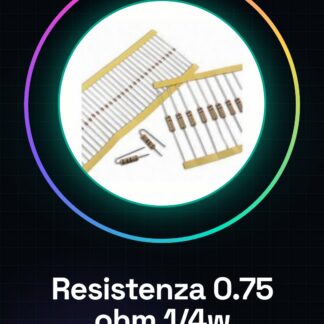
50PCS Resistor 0.75 1/4w 1/4 w 5%
Tutorial: How to use Resistor 0.75 ohm
Resistors are fundamental for controlling electrical currents in a circuit. This 0.75 ohm resistor is ideal for Arduino projects, sensor applications, and electronic prototypes where a low resistance is required.
What you need
- Arduino Uno
- Breadboard
- Jumper wires
Steps
- Check the resistance of the component by consulting the datasheet or using a multimeter.
- Connect one end of one of the two connections of the resistor to a digital pin of the Arduino.
- Connect the other end to ground (GND) via a jumper wire.
- Write and upload an Arduino sketch to read the state of the pin connected to the resistor.
- Ensure that the component does not exceed the maximum power of 1/4W during use.
- If necessary, add a thermal dissipation or resize the circuit to properly manage the heat produced by the resistor.
Example code
void setup() {
  pinMode(2, INPUT);
}

void loop() {
  int val = digitalRead(2);
  Serial.println(val);
}
Mini project
Create a simple light control circuit where the resistor adjusts the intensity of the light emitted by an LED.
Common mistakes
- Exceed the power limit of the resistor
- Connect the resistor to GND without first checking its resistance
- Do not use a thermal dissipation when necessary
Recommended accessories
- Arduino Uno
- Breadboard
- Various LEDs
- Digital multimeter
Frequently asked questions
Can this resistor be used with Arduino?
Yes, it is perfectly suitable for Arduino projects.
What are the power limits for this resistor?
Check the product datasheet.

Reviews
There are no reviews yet.