 EN
 IT Italiano
 ES Español
 FR Français
 DE Deutsch
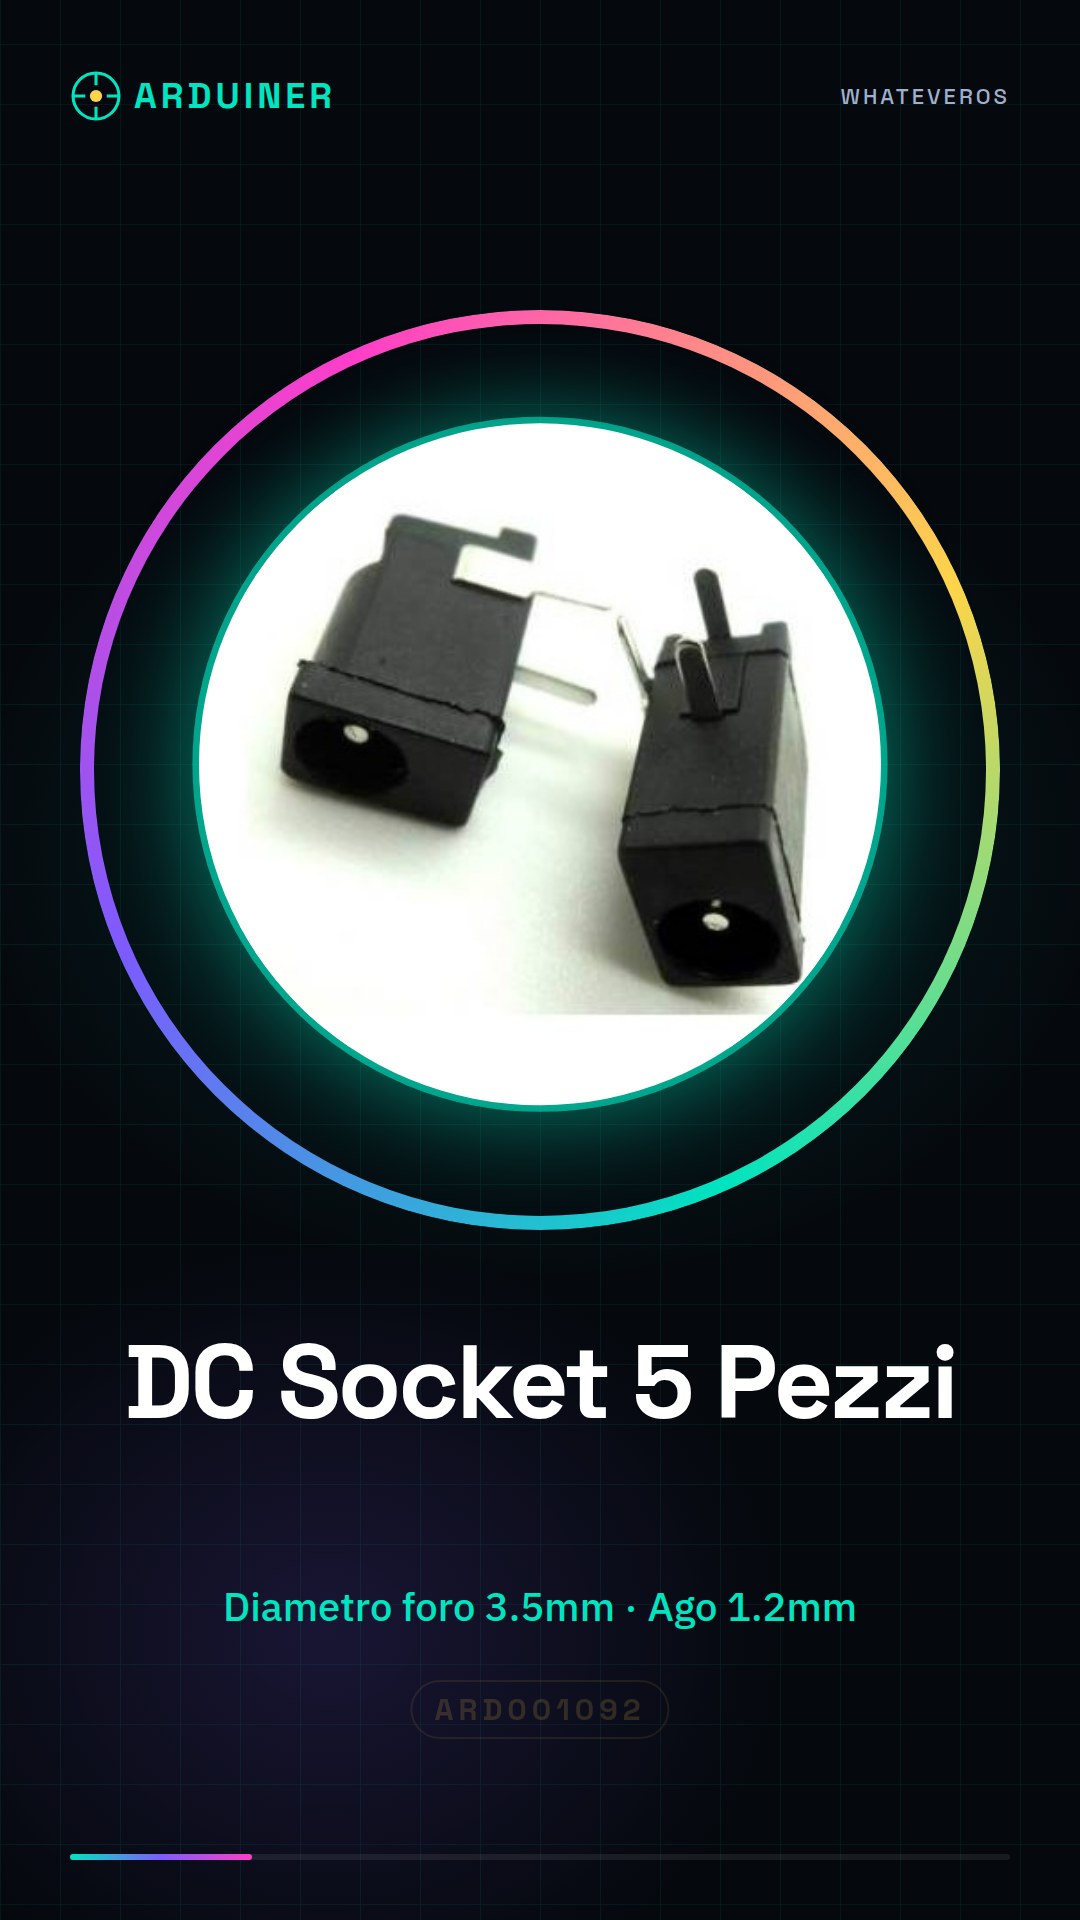
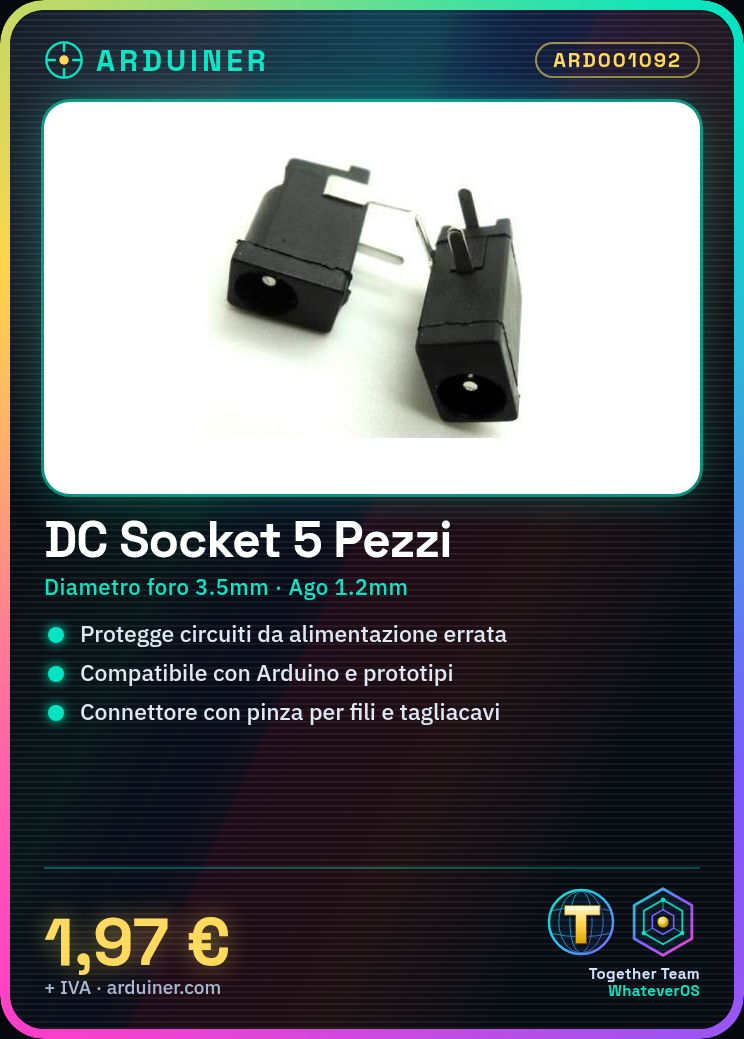
Description
Tutorial: How to Use Small DC Socket Connector
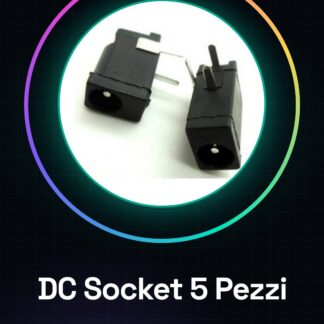
The small DC socket connector is an essential component to protect your Arduino board or any other electronic circuit from damage due to incorrect power supply. This tutorial will guide you through the safe and efficient installation of these connectors.
What you need
- Arduino or prototyping circuit
- DC power supply
- wire stripper
Steps
- Check the datasheet for the hole diameter (3.5mm) and the internal pin diameter (1.2mm).
- Insert the connectors into the prototyping circuit or the motherboard, ensuring they are properly soldered.
- Connect the power supply wires to the DC socket connector using a wire stripper and a wire cutter.
- Insert the DC power supply into the connector and verify the proper functioning of the circuit.
Mini project
Create a simple LED projector with Arduino, powered by a 5V transformer. The addition of DC socket connectors ensures that the power supply is safe and protected.
Common mistakes
- Insufficient or inaccurate soldering
- Hole too large or too small
- Connector inserted backwards
Recommended accessories
- Wire stripper (SKU: ARD001234)
- DC power cable (SKU: ARD005678)
Frequently asked questions
How can I check if the connector has been installed correctly?
Check for short circuits and ensure that the power supply plugs in without forcing.
Can I use these connectors with other types of power supplies?
Yes, but make sure the pin diameter is compatible (check the datasheet).
Reviews
There are no reviews yet.