 EN
 IT Italiano
 ES Español
 FR Français
 DE Deutsch
Description
Tutorial: How to use 3F07 dual-channel audio connector
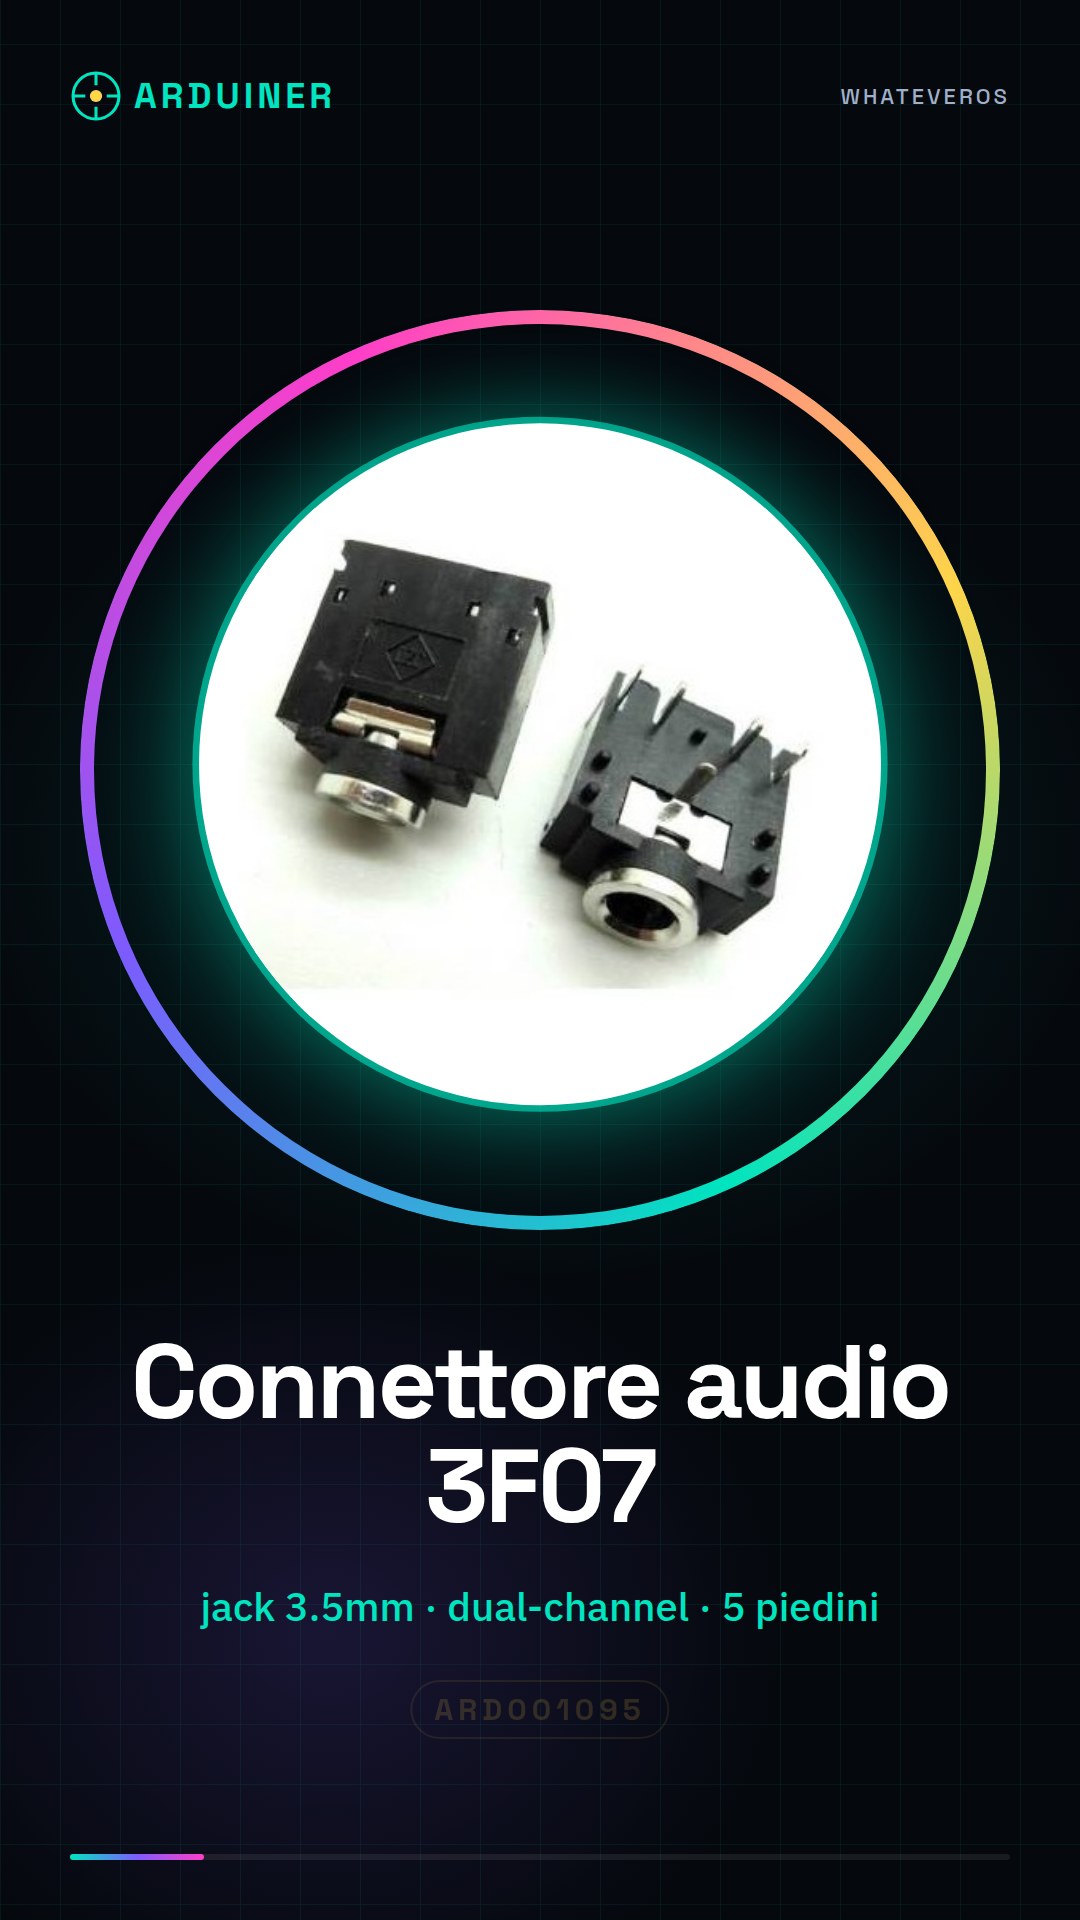
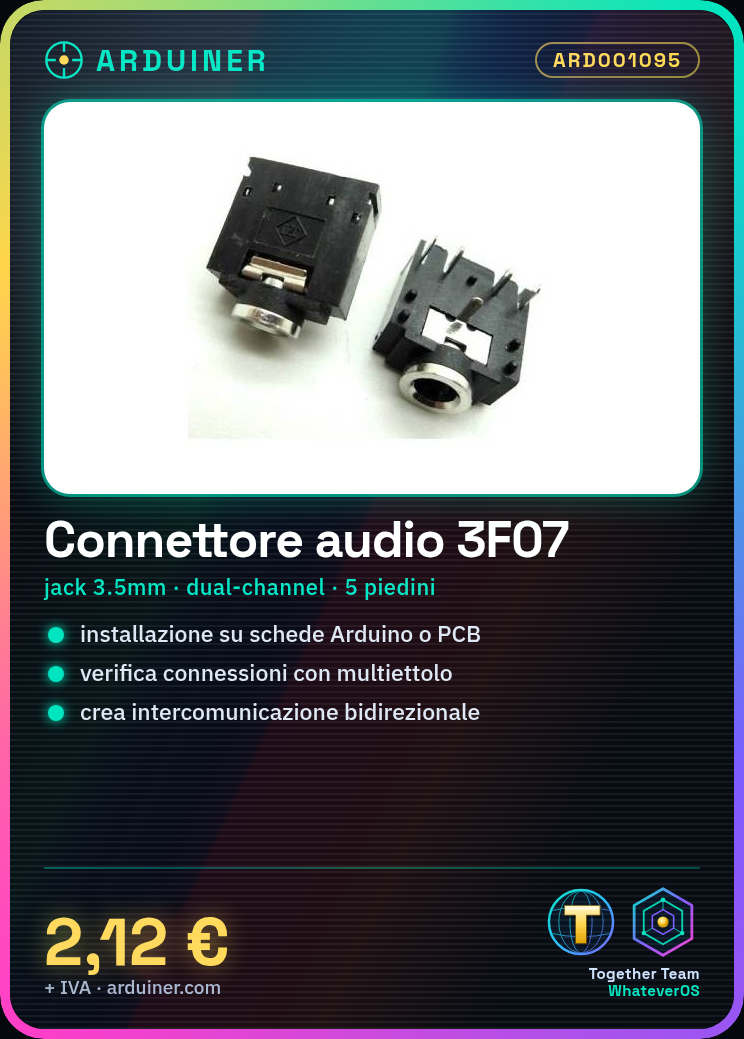
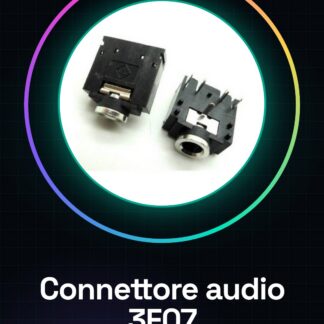
The 3F07 audio connector is an essential component for projects requiring the use of headphones and microphones. This tutorial will guide you through its installation on Arduino boards or custom PCBs.
What you need
- Arduino
- PCB
- headphones
- microphone
Steps
- Check the datasheet for the type of connector you are using (e.g., stereo, mono).
- Prepare the position of the connector on the PCB or 3D print.
- Use a soldering iron to solder the connector pins to the PCB.
- Check the connections with a multimeter.
- Connect the microphone and/or headphones to the appropriate pins on the connector.
Mini project
Create a simple intercom system by connecting two Arduinos through these audio connectors, allowing for bidirectional communication.
Common mistakes
- Incorrect pin connections
- Incorrect use of the multimeter to check connections
- Headphone or microphone malfunction due to a faulty connection
Recommended accessories
- Multimeter
- Vise
- Soldering Pliers
- Quick Connections (Jumpers)
Frequently asked questions
Can this connector be used with other types of boards besides Arduino?
Yes, it can be used on any PCB or 3D print.
How do you verify if the connector is installed correctly?
Check the electrical connections between the connector pins and the PCB using a multimeter.
Reviews
There are no reviews yet.