 EN
 IT Italiano
 ES Español
 FR Français
 DE Deutsch
Description
What it is
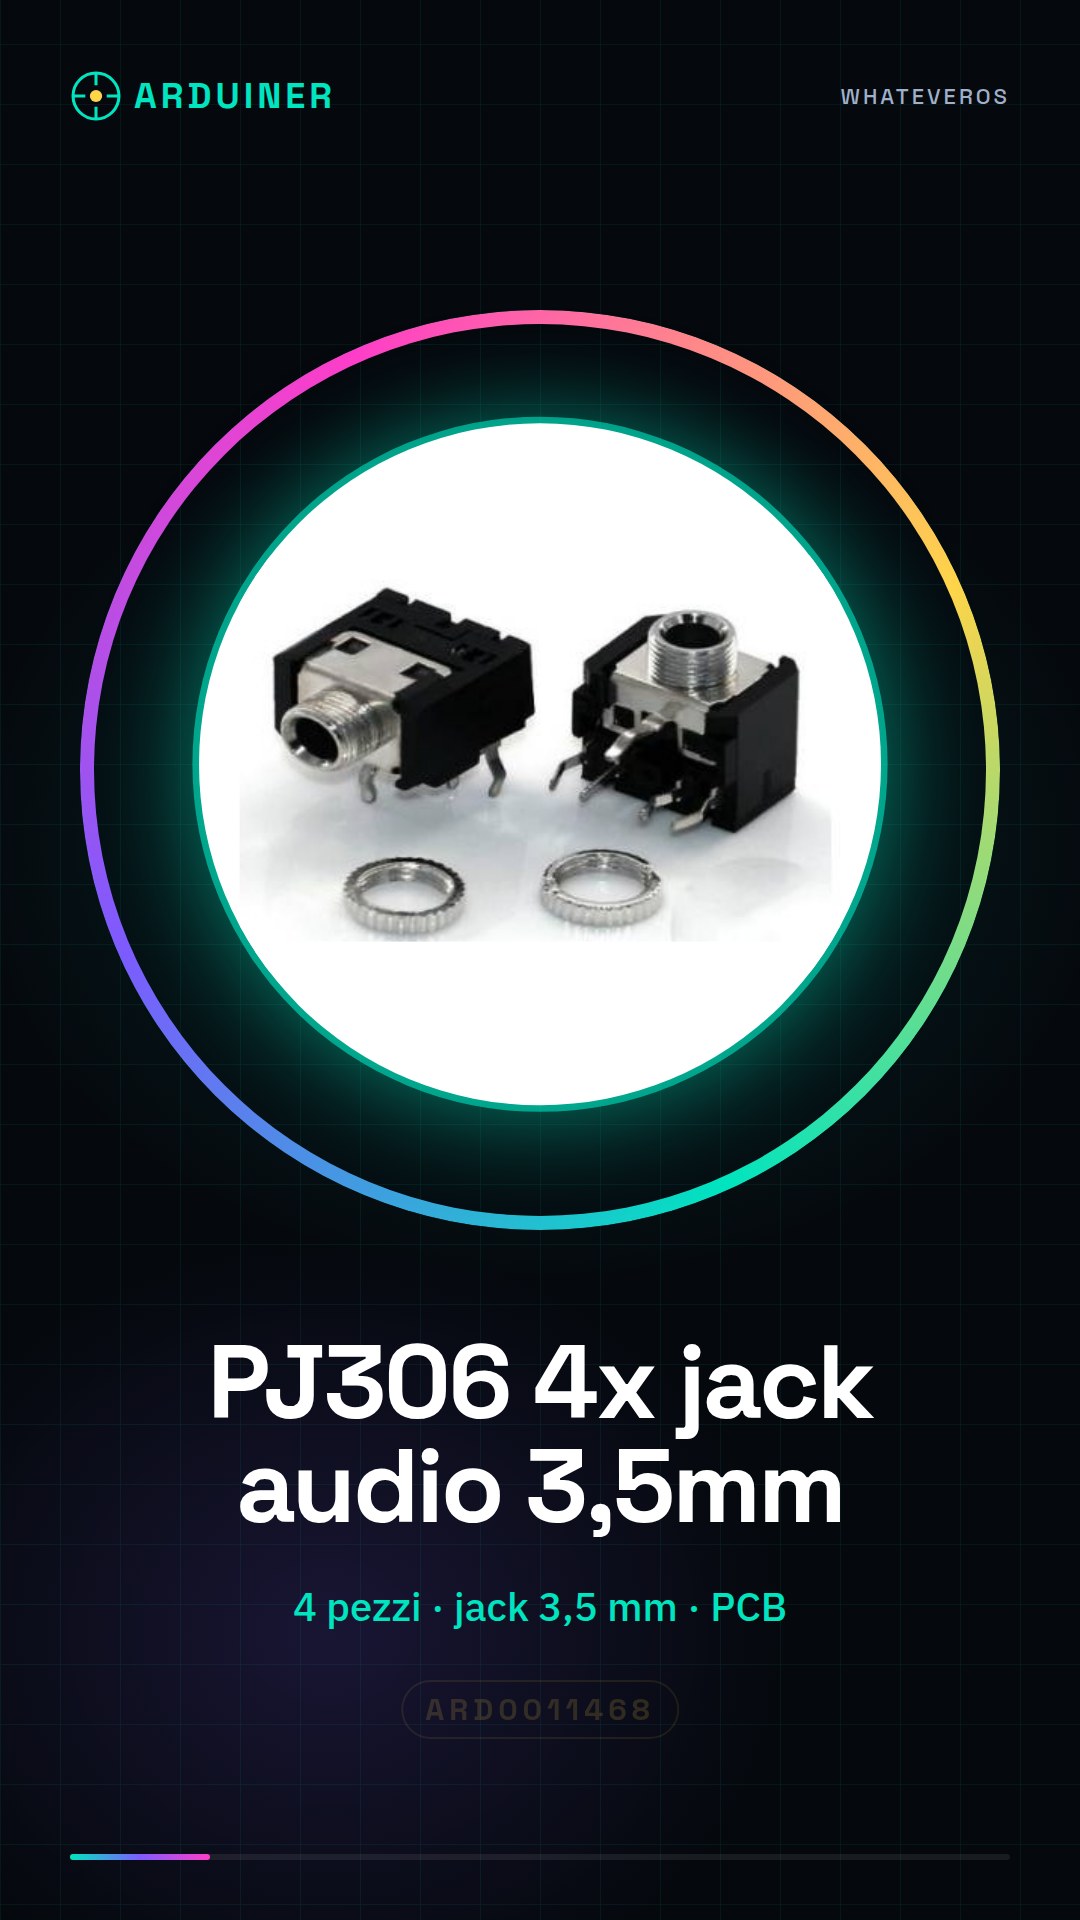
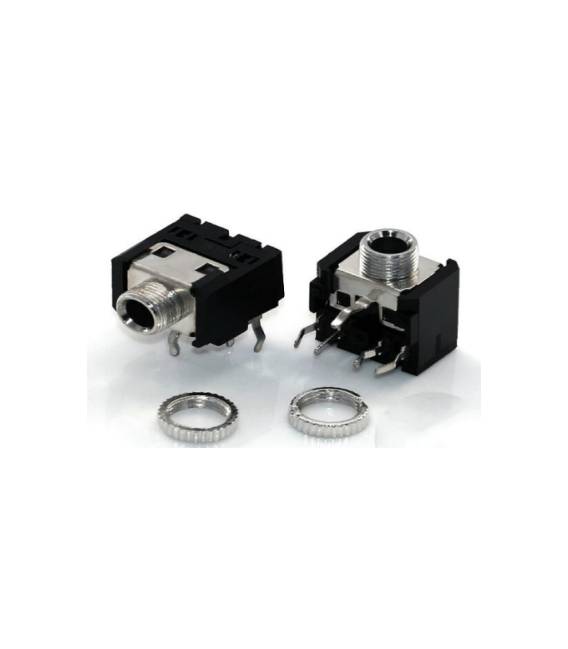
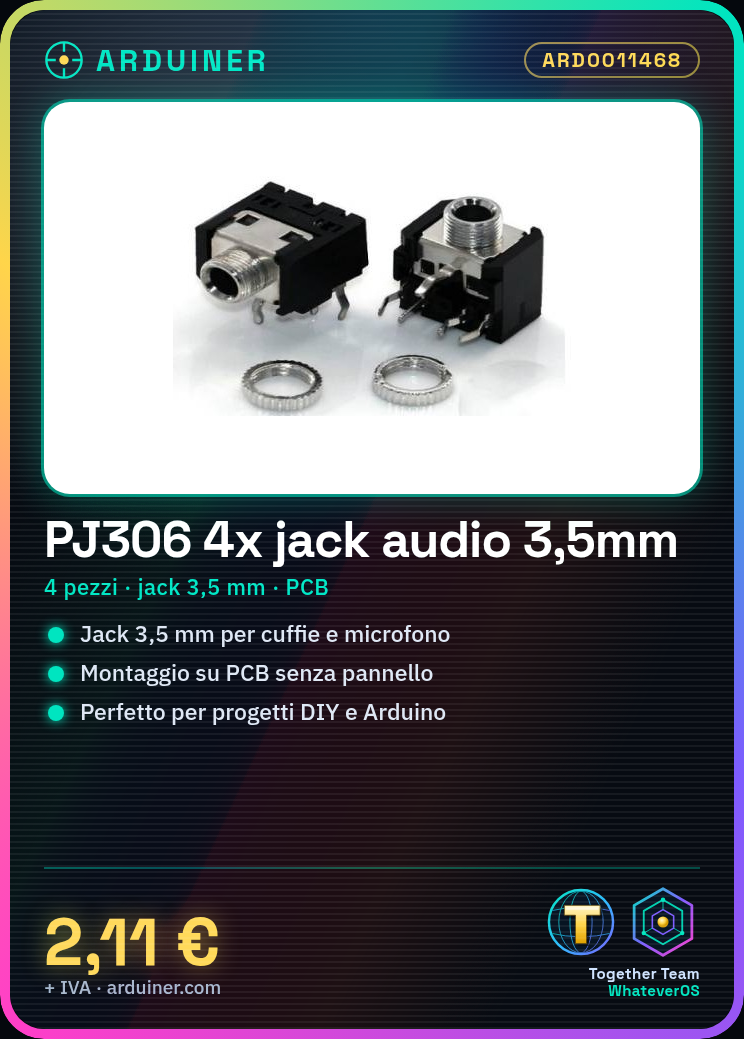
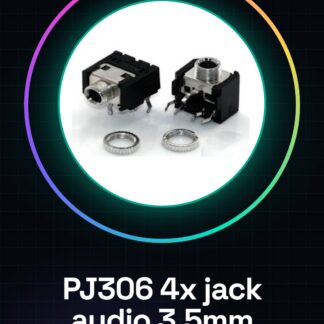
The PJ306 3.5mm audio jack connectors are components used for mounting on PCB. These connectors are essential in projects that require the integration of devices such as headphones and microphones.
Features
- 4 pieces PJ306 3.5mm audio jack connector
- PCB Mount (no panel)
What it is for
PJ306 audio jack connectors are ideal for DIY and Arduino projects. They are useful for creating simple audio amplifiers by integrating the connector with an LM386-based circuit.
Tutorial: How to Use Audio Jack Connector PJ306
The PJ306 audio jack connector is an essential component for projects that require audio signal input or output. Ideal for beginner and intermediate makers, this connector allows for easy connection of devices such as headphones, microphones, and other audio instruments.
What you need
- Arduino
- PCB
- solder
- hippopotamus pliers
Steps
- Install the jack connector on the PCB using the hippo pliers to hold the component steady during installation.
- Solder each contact point of the jack connector to the PCB, ensuring that the filament is well positioned and not tangled.
- Check the soldering with a multimeter to ensure that all connections are correct and stable.
- Connect the jack connector to an audio device such as headphones or a microphone using 3.5 mm cables.
- Configure the Arduino to manage audio input/output through the jack connector, following the project specifications.
Mini project
Create a simple audio amplifier by integrating the PJ306 jack connector with a small amplification circuit based on an LM386 operational amplifier. Test the amplifier by connecting it to an audio source and headphones.
Common mistakes
- Do not check the soldering before use.
- Tangle the filament during the connection.
- Omitting to properly configure the Arduino to handle audio.
- Using a jack connector that is not compatible with the PCB.
Recommended accessories
- 3.5 mm cables
- Digital multimeter
- Soldering repair kit
Frequently asked questions
How can I verify that the soldering is correct?
Use a multimeter to check the connections between the jack connector and the PCB.
What types of projects are suitable for this connector?
Audio projects such as amplifiers, voice recorders, or audio interfaces.
Reviews
There are no reviews yet.